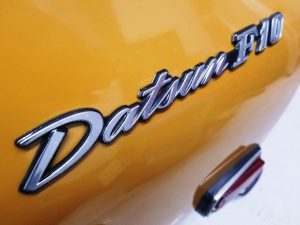
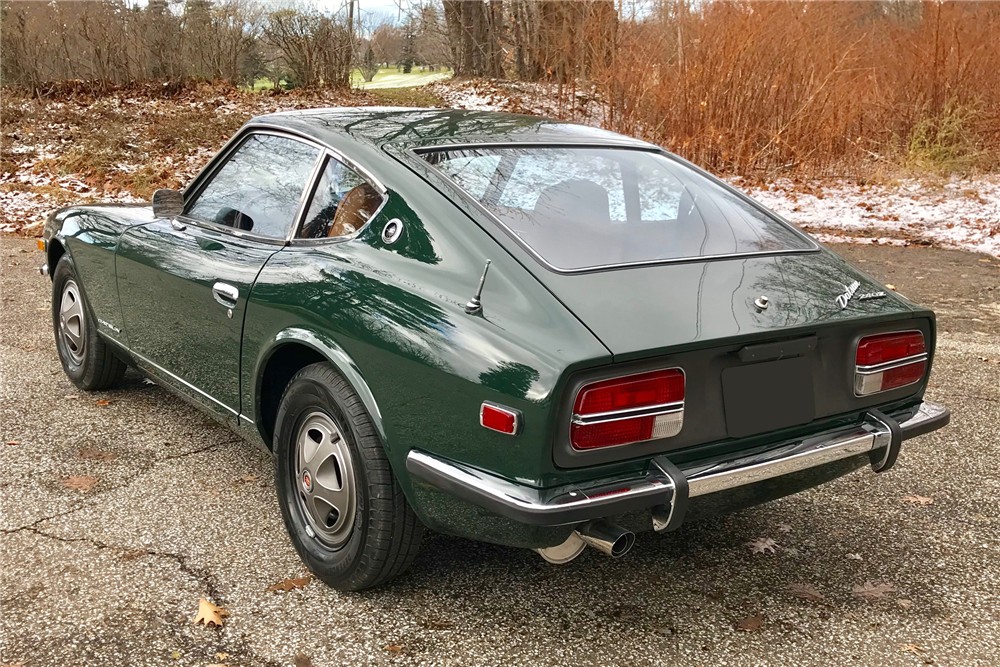
As easy as it would be to make this article about me and about the cool stuff we do at Datsun Ranch, this one really needs to be about this car… this very special car, with a neat backstory.
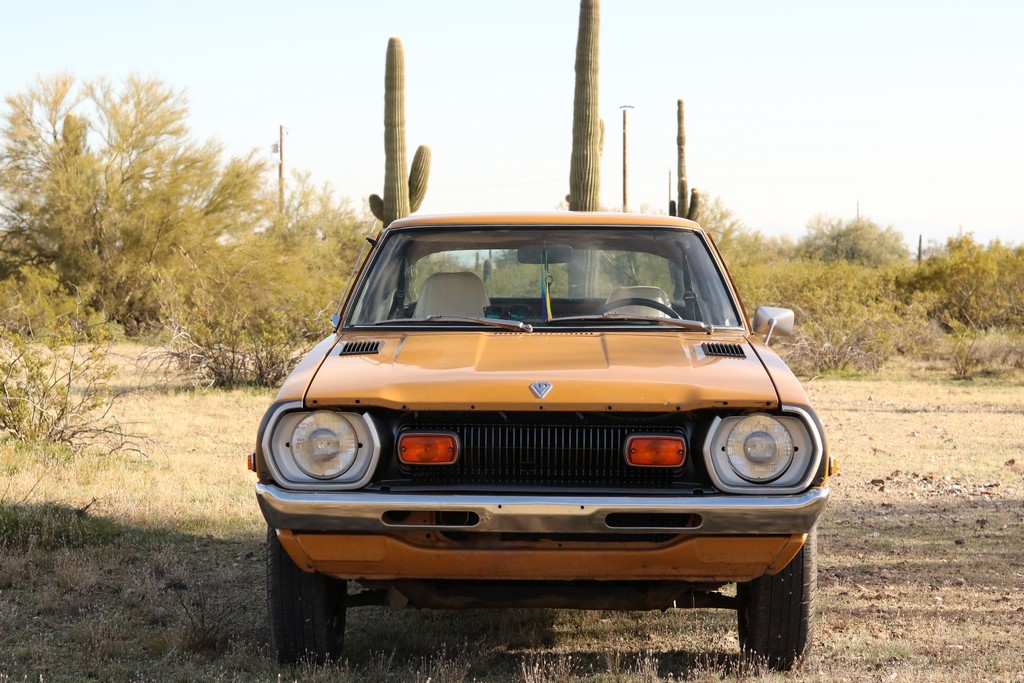
A quick Google search for Datsun F10 reveals words like “quirky, odd, ugly, lemon, and bizarre.” And yes, let’s be honest – each one applies. Styling in 1976 wasn’t Datsun’s claim to fame, but cheap reliability was. CAFE standards had taken their toll on American cars, and to be fair, the list of visually-attractive 1976 cars is painfully short. 
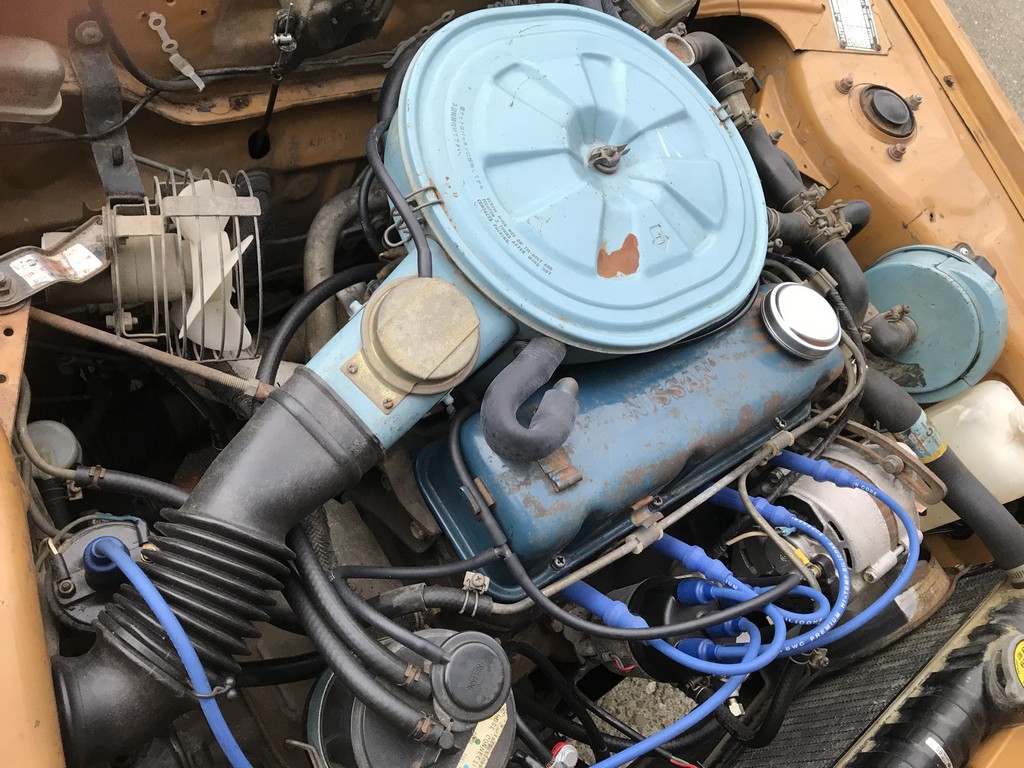
This car represents Datsun’s first foray into front-wheel drive in America. A 78hp A-14 engine backed up by a dogleg five-speed meant this little anomaly could reach 60mph in a mind-numbing 16 seconds. The cheapest car in the lineup, it weighed in at just over 2300 lbs, was a bit nose-heavy, and was remarkably devoid of even the simplest of creature comforts – more on that later.
So, how did this ugly duckling wind up at Datsun Ranch? Well, let’s go back a bit.
The original owner’s name is lost to history, but sometime in the 80’s, a gentleman in Arizona named Bryan Thompson ran across this car in a trailer park in Prescott Valley, Arizona. According to Bryan, “It had 53,000 miles and not a spot of rust anywhere. It was sitting under a tree behind a double-wide mobile home, covered in filth. I had a lot of fun rescuing and restoring it, and her name is Arnelle.” Bryan [@bryansthompson] is a designer and actually worked for Nissan in the past.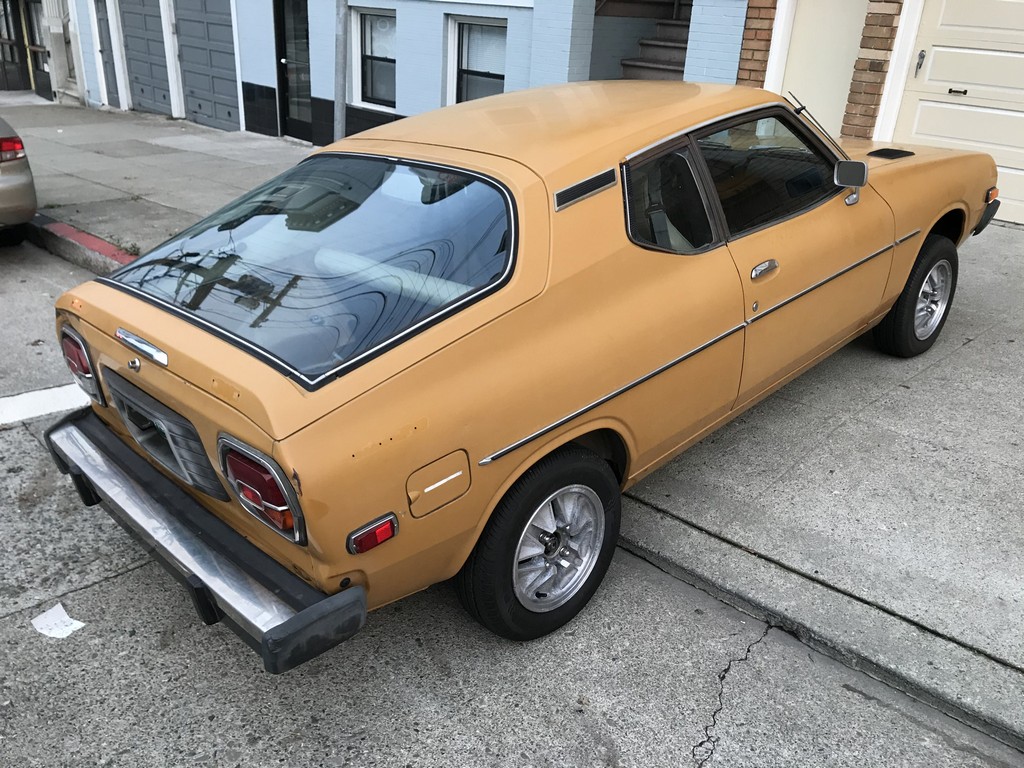
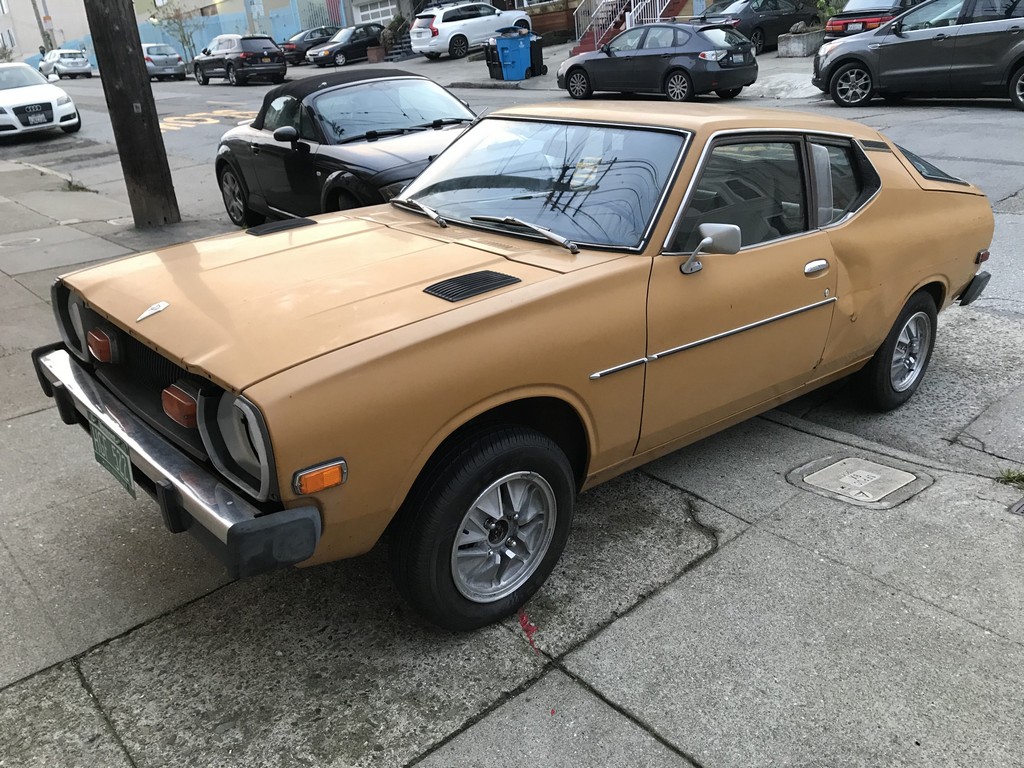
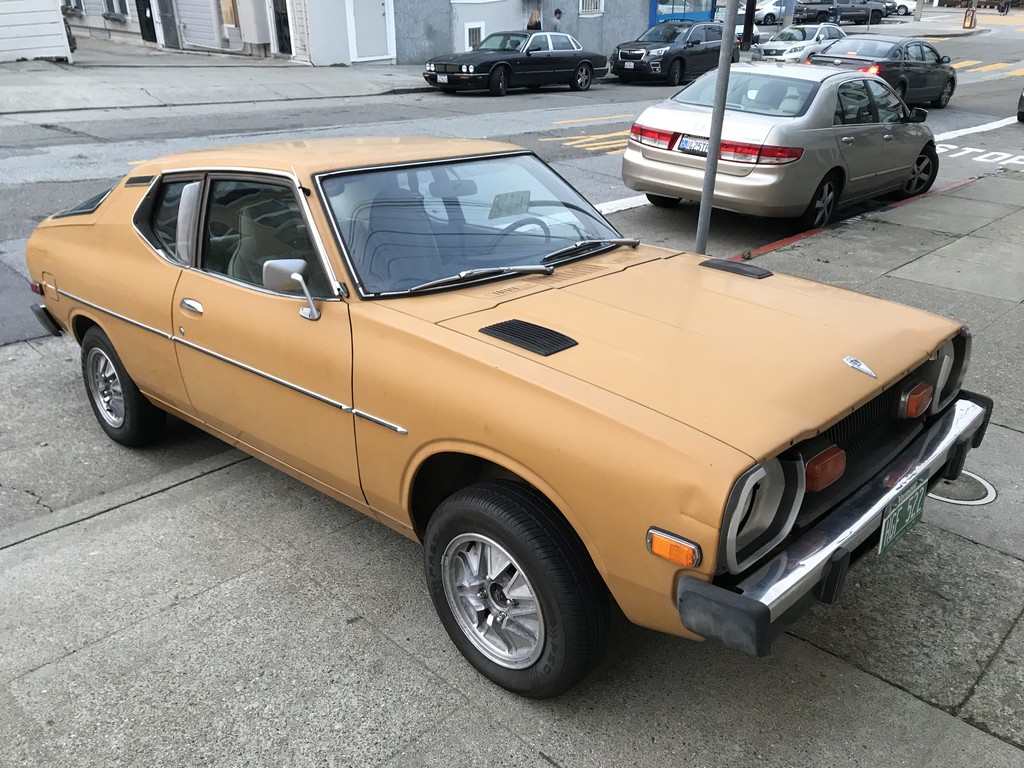
Some time later, Bryan sold Arnelle to an older gentleman who, not long after, passed away. Bryan adds: “For years, I thought the car was probably sold to a wrecker after an estate auction failed to find a home for it.”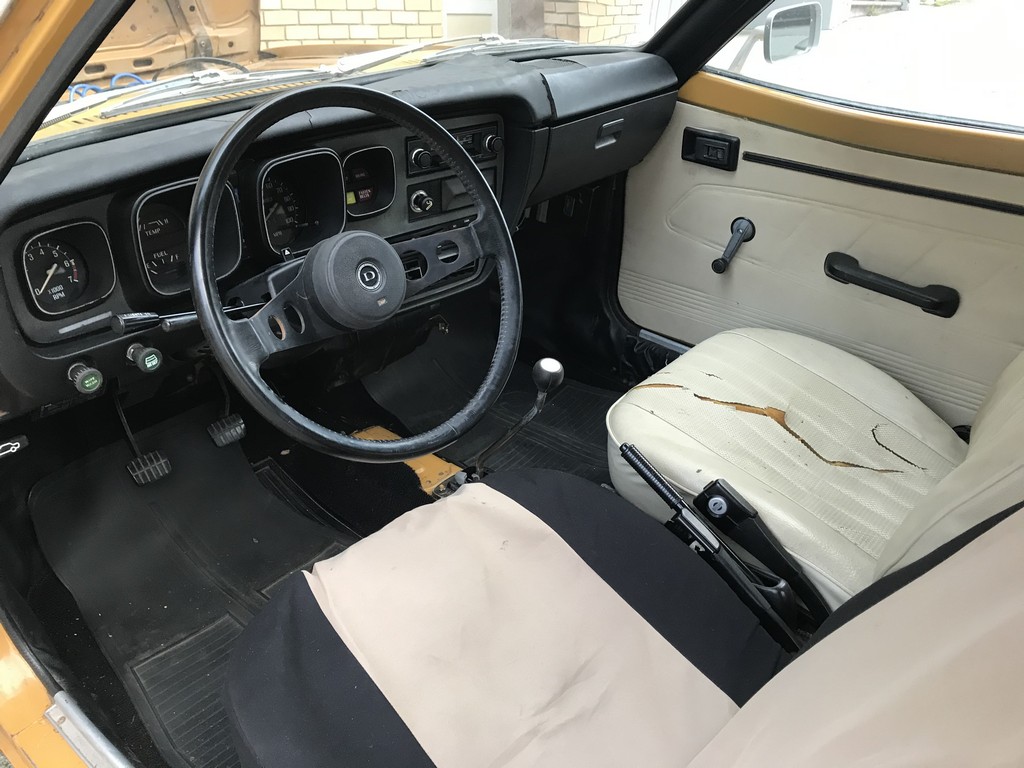
As it turns out, this wasn’t the case. An old college friend of Bryan’s spotted a familiar-looking car on Craigslist, and messaged Bryan to ask if it was indeed his F10. The car had been in storage all these years, and Bryan’s friend once again rescued Arnelle. 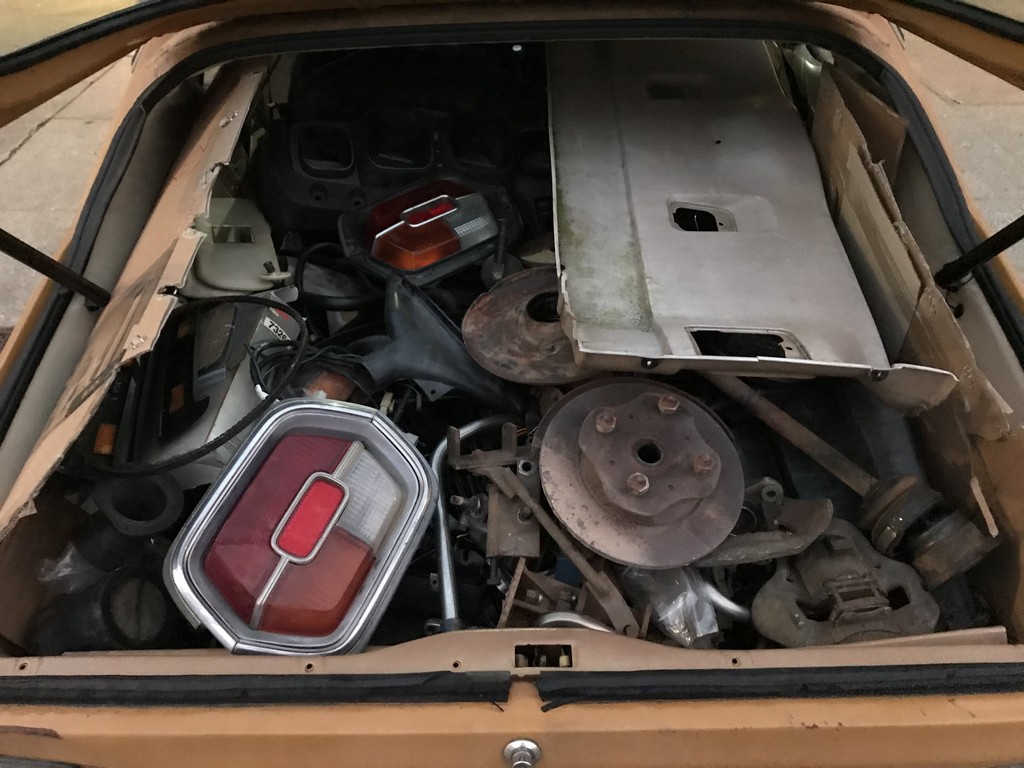
Over the next few years, the new owner collected F10 parts. And when we say collected, we mean ‘hoarded.’ Again, we’ll revisit that later in the story.
Through some turn of events, whether lack of time, lack of space, or lack of motivation, Arnelle found herself once more in need of a home. Along comes Ross Parks of Z Sport Canada and annual Datsun Ranch snowbird, and Arnelle was headed from NorCal to her new temporary home in sunny Arizona.
Arnelle arrived with no fanfare, but elicited a chorus of groans and sideways glances from the folks that frequent Datsun Ranch… I can only imagine the muttering from the collectible Datsuns inside as Arnelle spent her first night parked among such rarities as a pristine ’63 Bluebird and a SR-powered ’68 510. 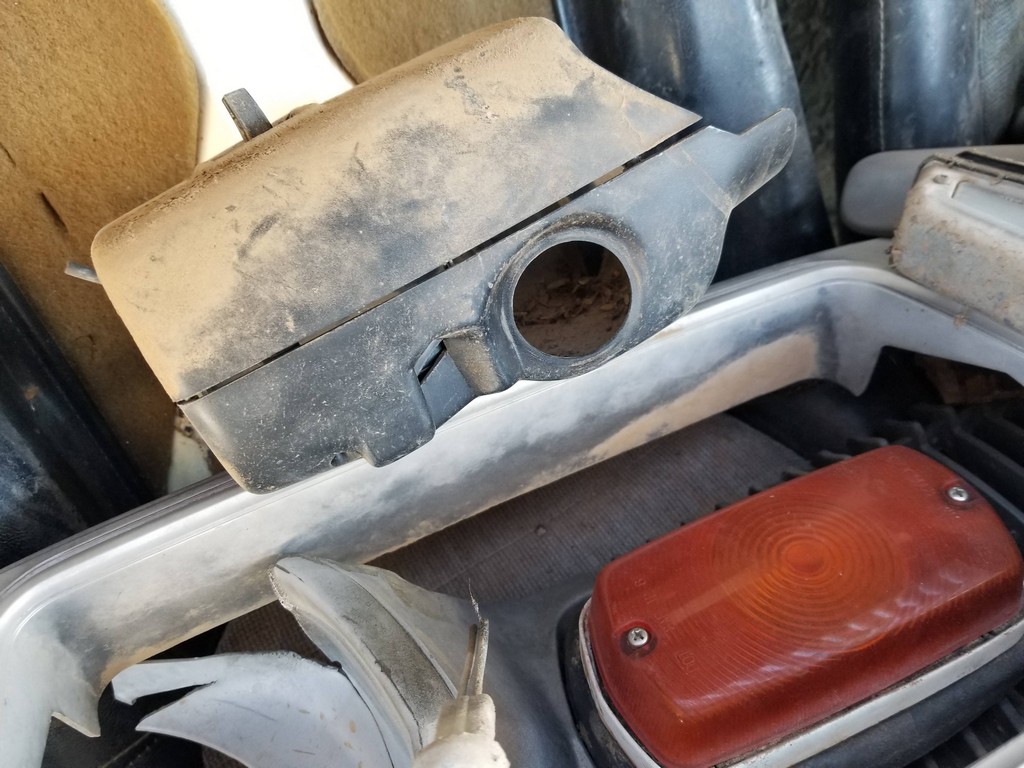
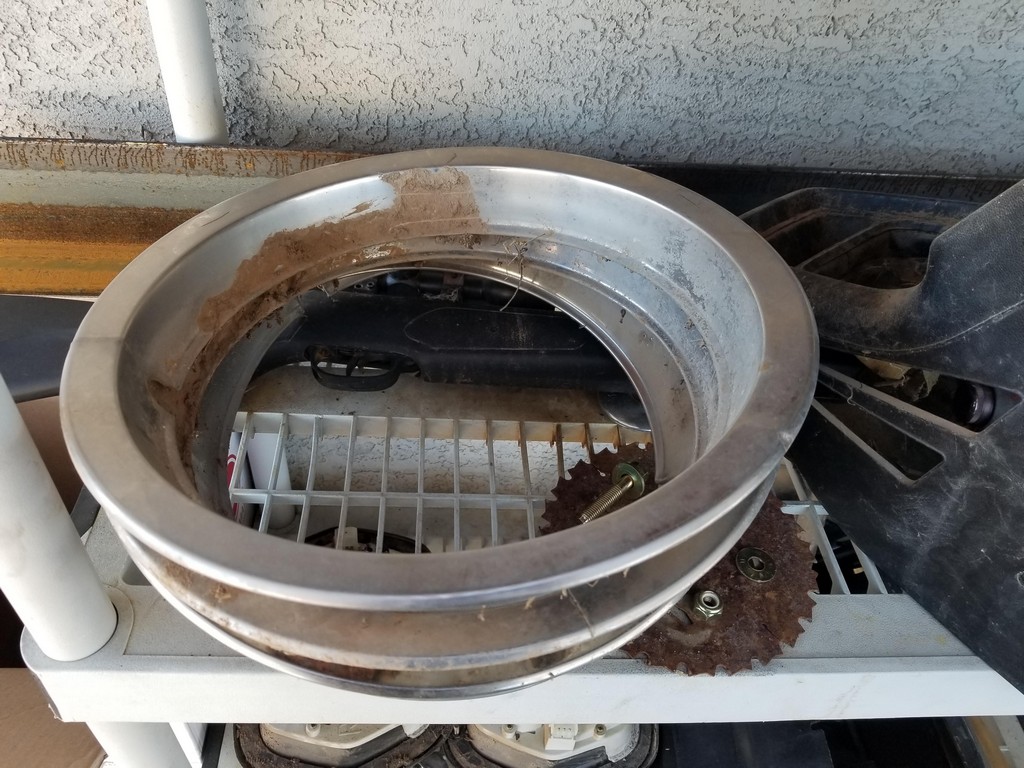
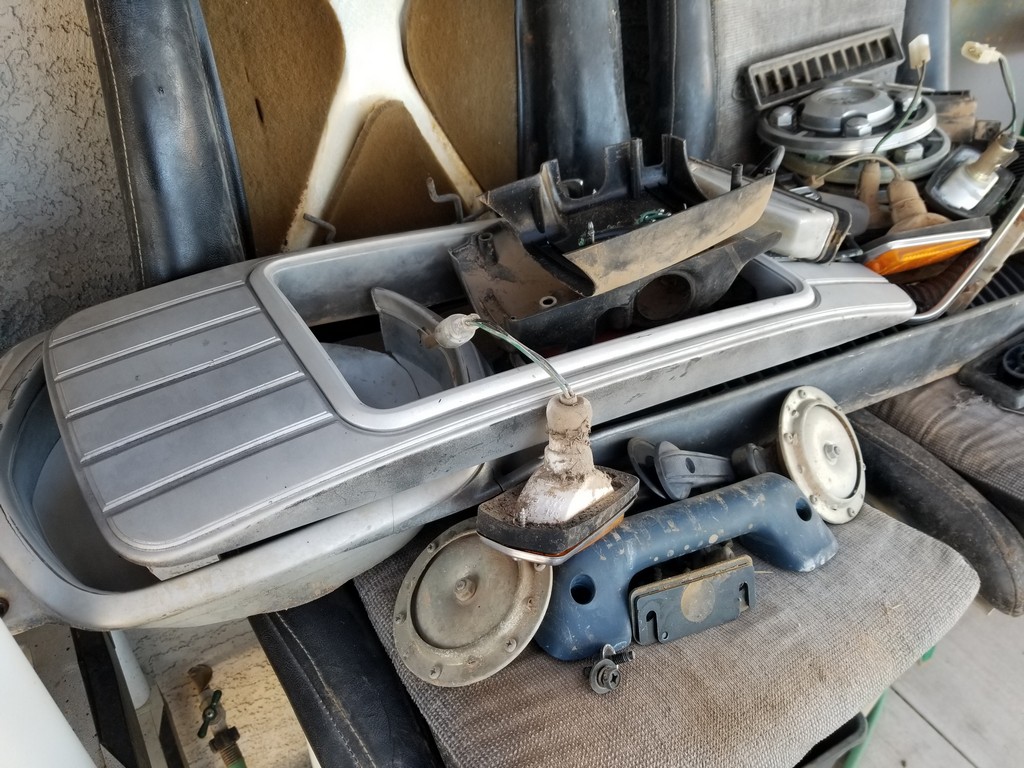
Now is a great time to mention that inside the F10 was packed EASILY another nearly-complete F10. Seriously, the number of spare parts shoved inside this car for the trip to AZ was astounding, and left only enough space for a small pilot. Floorboards to headliner, packed. There were even parts stuffed under the seats and up under the dash. 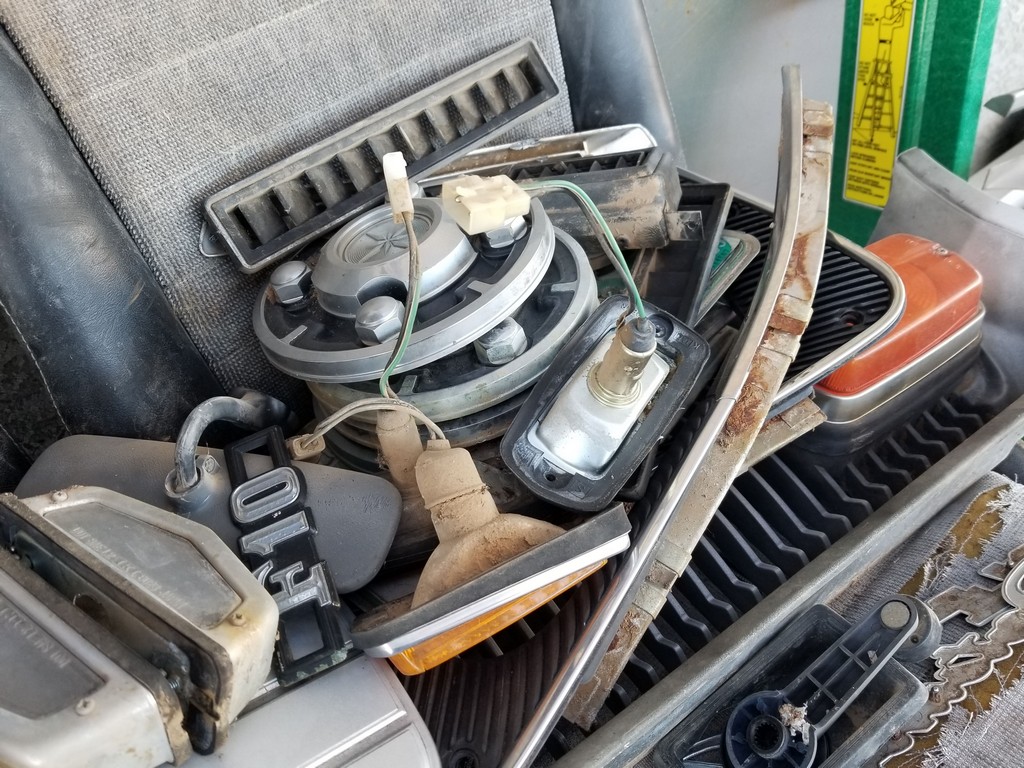
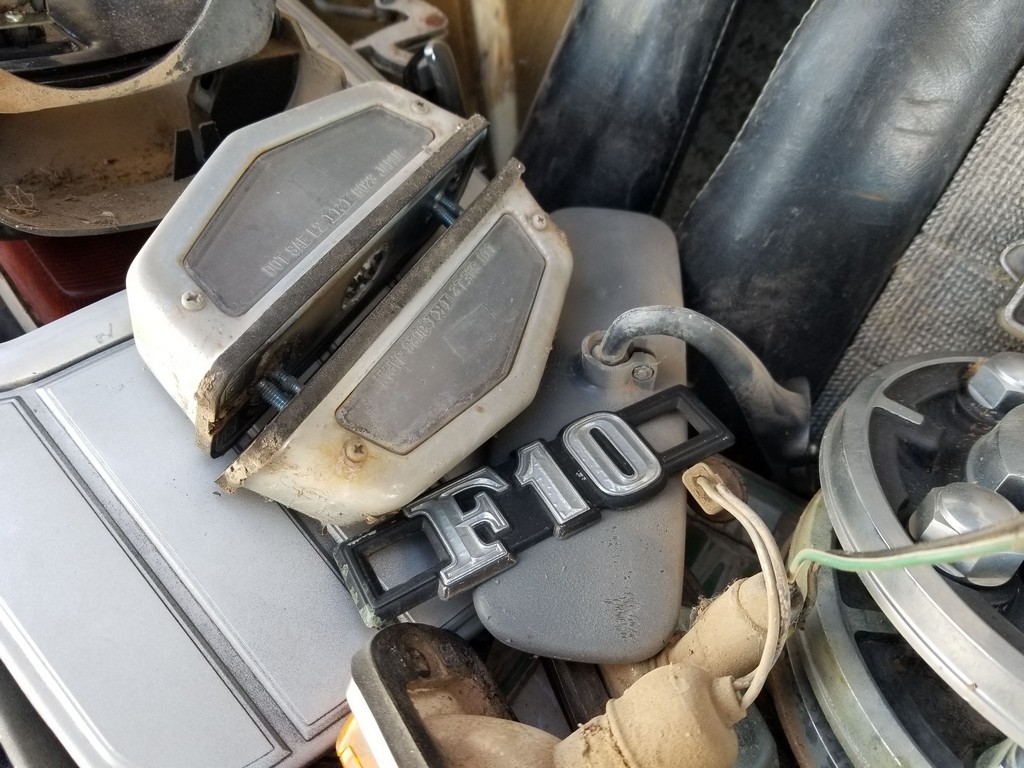
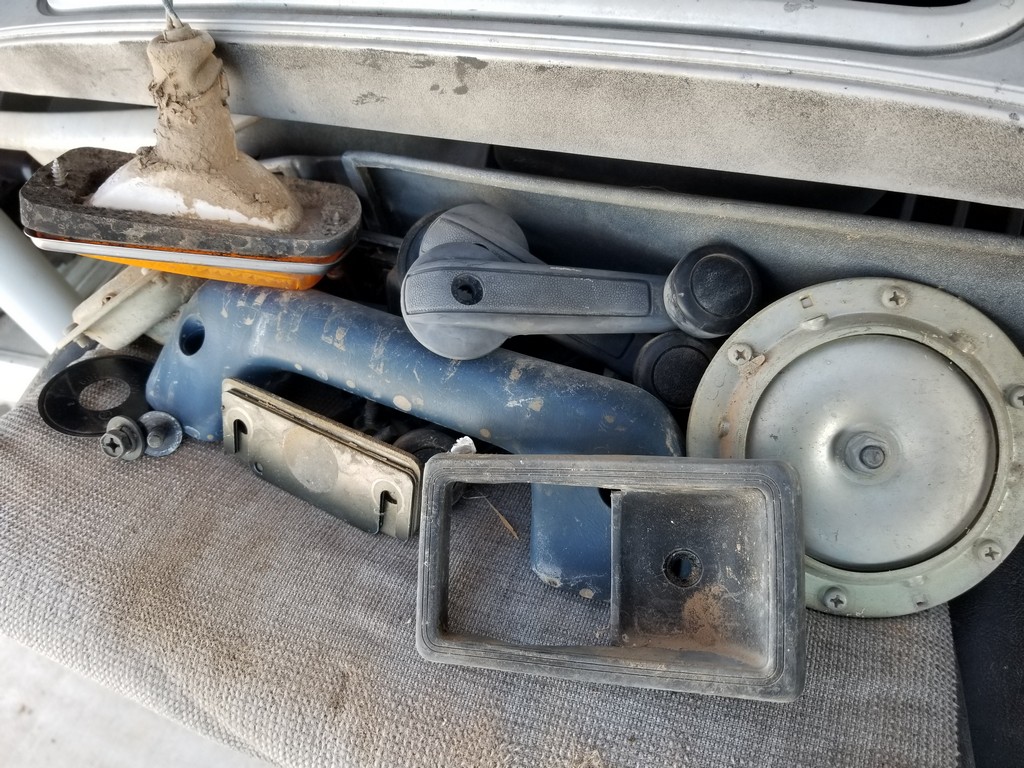
As if that weren’t enough, somehow Ross procured ANOTHER derelict F10 for spare parts. That one got immediately stripped of anything remotely useful, and was unceremoniously shipped off to the crusher.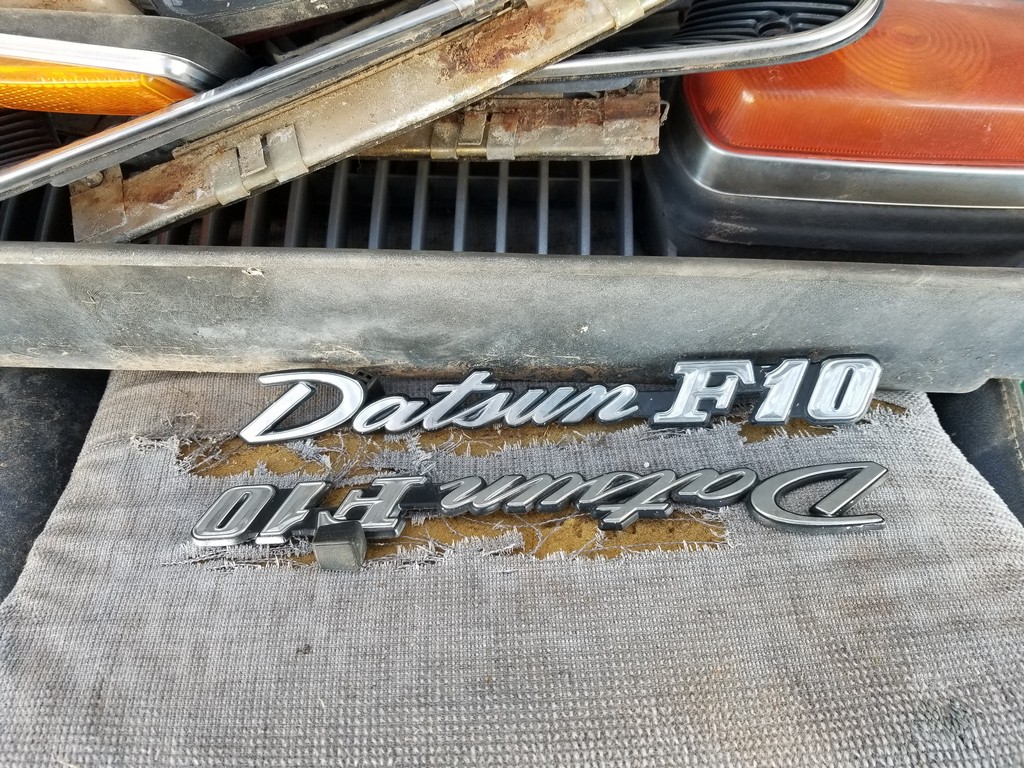
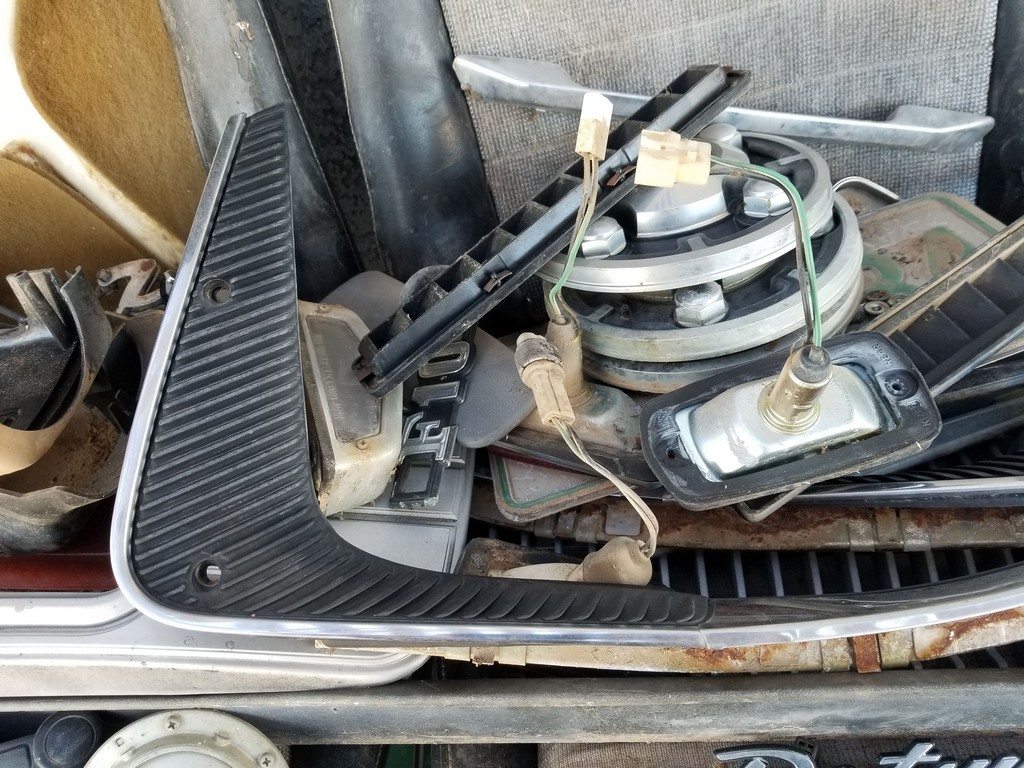
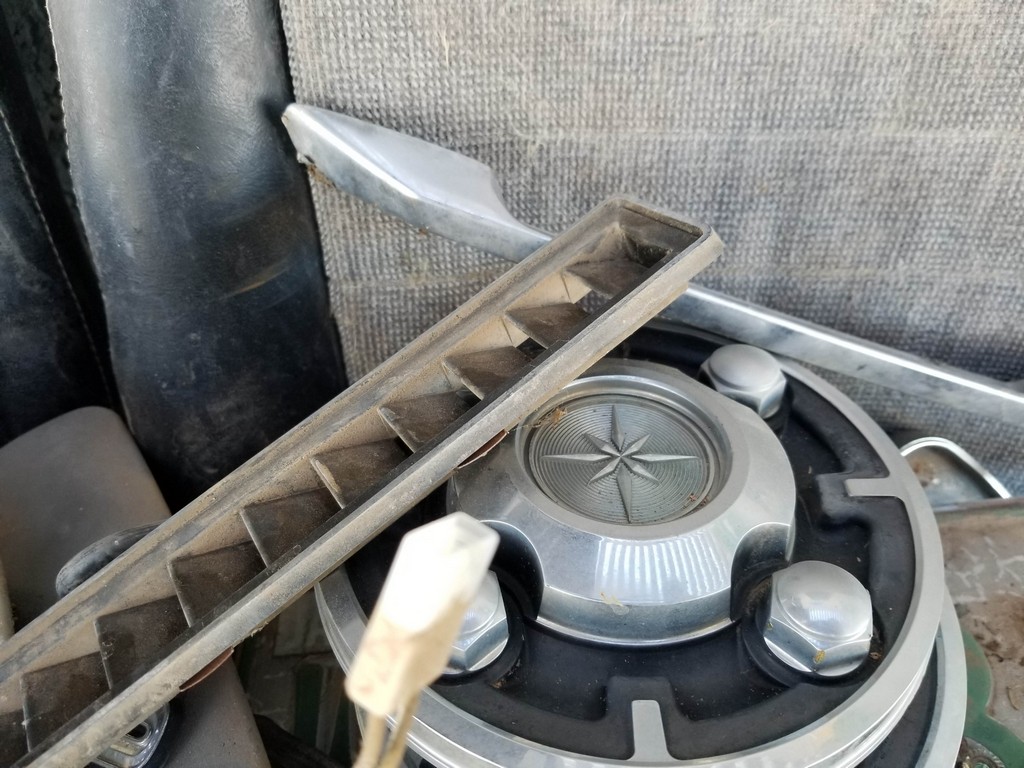
Not long after Arnelle’s arrival, Ross enlisted me to “go through her.” In Canadian-speak, this really means, “Work on my car, because I’m busy doing snowbird stuff.” My initial resistance was overcome by promises of coffee, occasional lunches, and eternal gratitude.
With that began a three-week journey down into a rabbit hole of mid-70’s Japanese malaise. The interior of the car was emptied, parts sorted and catalogued, anything needing attention was documented, a plan of attack was formulated, and a very mild “rolling resto” was started.
Within hours, the depths of Datsun’s cost-cutting were slowly revealed. Sure, this car had manual windows, a single-speaker AM radio and no climate control, that’s to be expected. But this was TRUE minimalism: No sound deadening under the carpet – not even the fuzzy recycled shredded mattress pads that Nissan has used for decades. Nope, nothing. Atop the spare tire? A thin layer of carpet. No fiberboard, no panel. Carpet. The plastic panels that make up the rear interior? Easily the thinnest plastic I’ve seen in a car interior. Not exaggerating: Holding it up to the light, you can see through it. So, as you can imagine, this project would require caution, care, and a delicate touch (none of which are words commonly associated with yours truly). 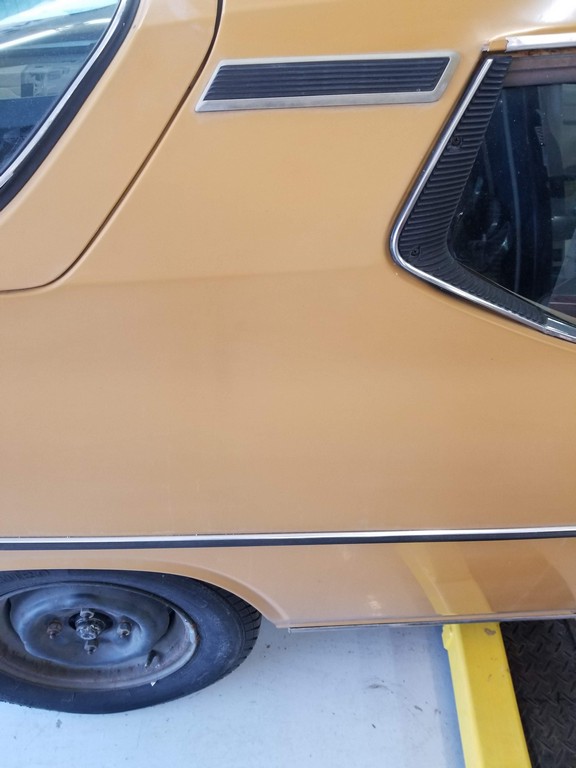
Since this one wouldn’t be getting repainted, there was no reason to do a full-scale disassembly. The first order of business was to assess the body and determine if there was any hidden rust or secrets that might make this a fool’s errand. Fortunately, there were no bugaboos to be found aside from a few dents. An original-paint car is always, always, always more appealing (value and appearance-wise) than a respray, so the goal here was to retain as much of the original paint as possible. The few dents that were accessible were worked back into straightness, and the one big nasty one on the driver side will be left to a professional. Believe it or not, the rear side windows on the F10 actually roll down, so the window mechanism and associated bracing precluded too much behind-the-scenes massaging of the metal. A good paintless dent repair person can straighten the metal, and a good painter can blend in to match the original paint.
A full day of light cutting and buffing on the paint followed. A digital paint thickness gauge is a must-have when working with old Datsun paint, as it tells you if there’s enough to cut aggressively. This car would be getting a gentle touch, as the factory paint was thin and poorly-applied, another cost-saving measure for sure. At the end of the day, the butterscotch color was a little richer and the majority of the car was a little bit glossier than it was.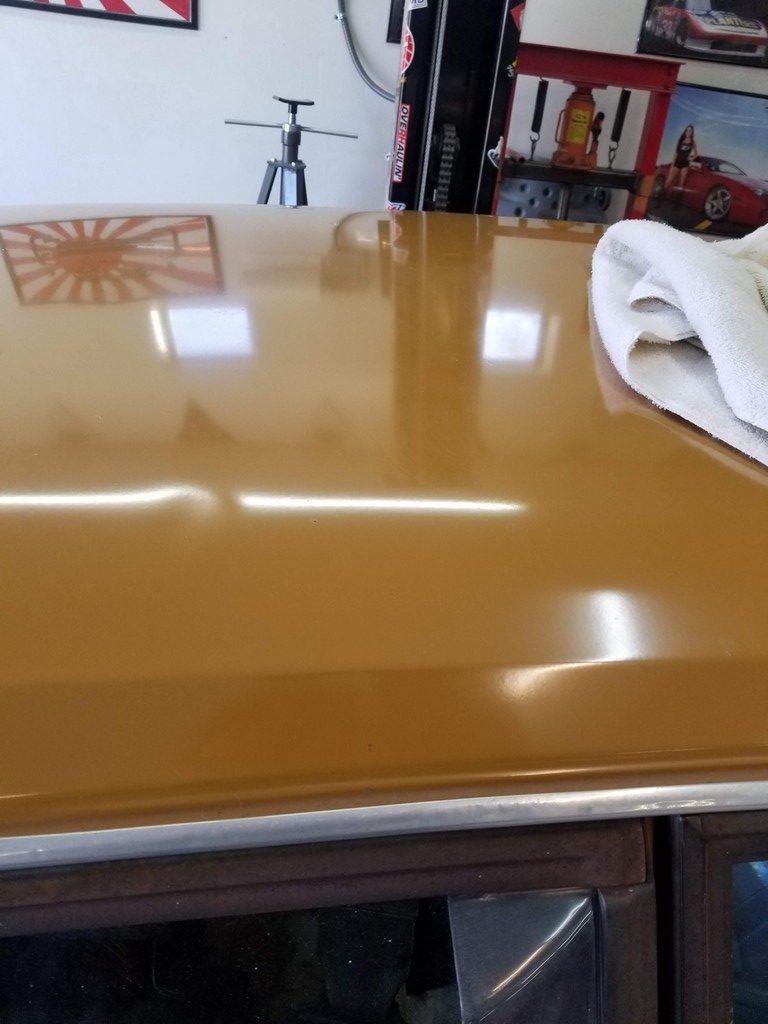
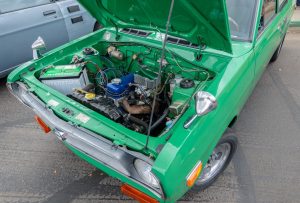
Inspecting the little car on the lift, there wasn’t much needed in the way of mechanical refurbishment. All fluids were changed, the tension rod bushings were swapped out, a fresh set of plugs and a cursory tune-up would suffice here. Thankfully, the little A-series engine in the F10 is a tried-and-true design that just keeps plugging along with minimal care.
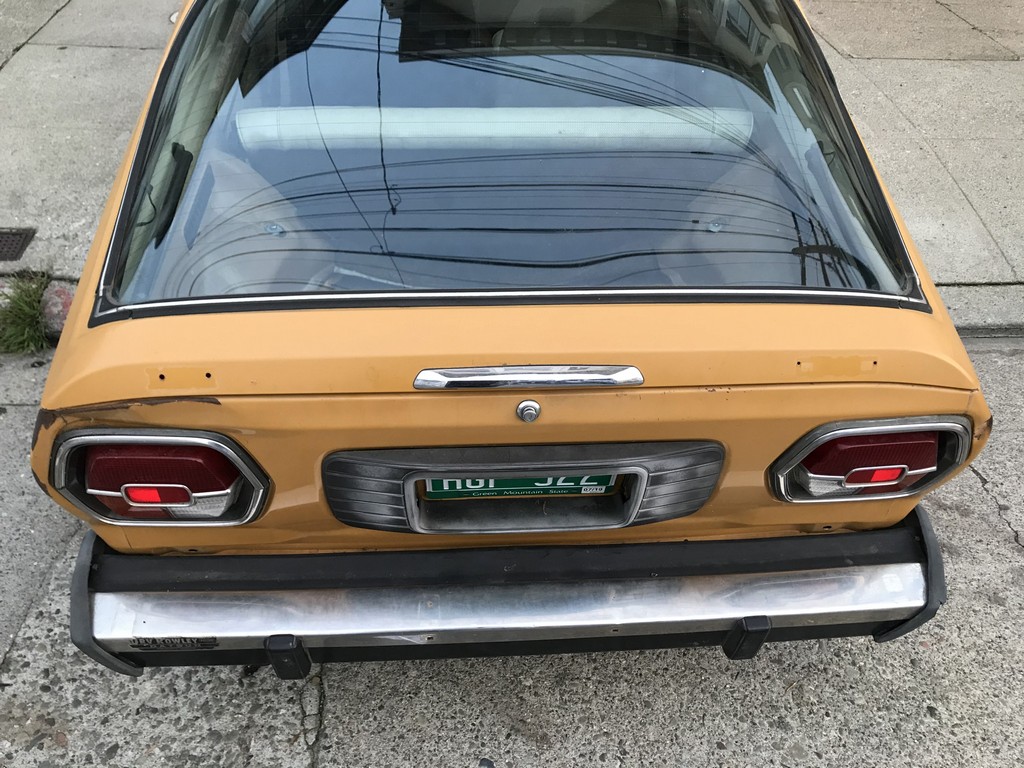
Next step was to do something about the wretched 5mph bumpers. In the early days of Federal Motor Vehicle Safety Standards (FMVSS), due to rapidly increasing repair costs, the 5 mile bumper was mandated in 1974. The rule basically required that no damage to the car’s lights, safety equipment and engine could result from an angled 5mph impact. Considering the lack of understanding of energy dissipation and crash absorption that existed in 1976, it was no surprise that big park-bench bumpers were slapped on in a hurried attempt to comply with the new regulations.
Well, in America, we prefer freedom, and those 5mph bumpers represent the oppression of an overreaching government mandate. Therefore, off they go, to be replaced by a set of European bumpers that were procured by the prior owner. Not only do they shave 110 unnecessary pounds off the overall weight of the car, but the appearance is actually improved. 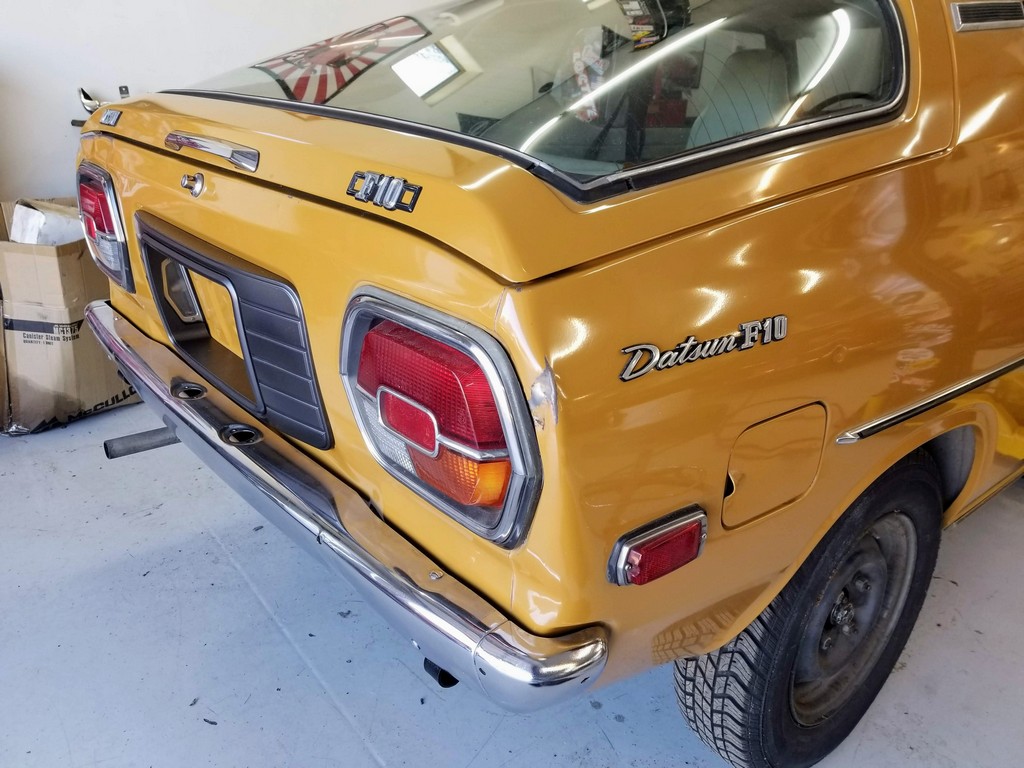
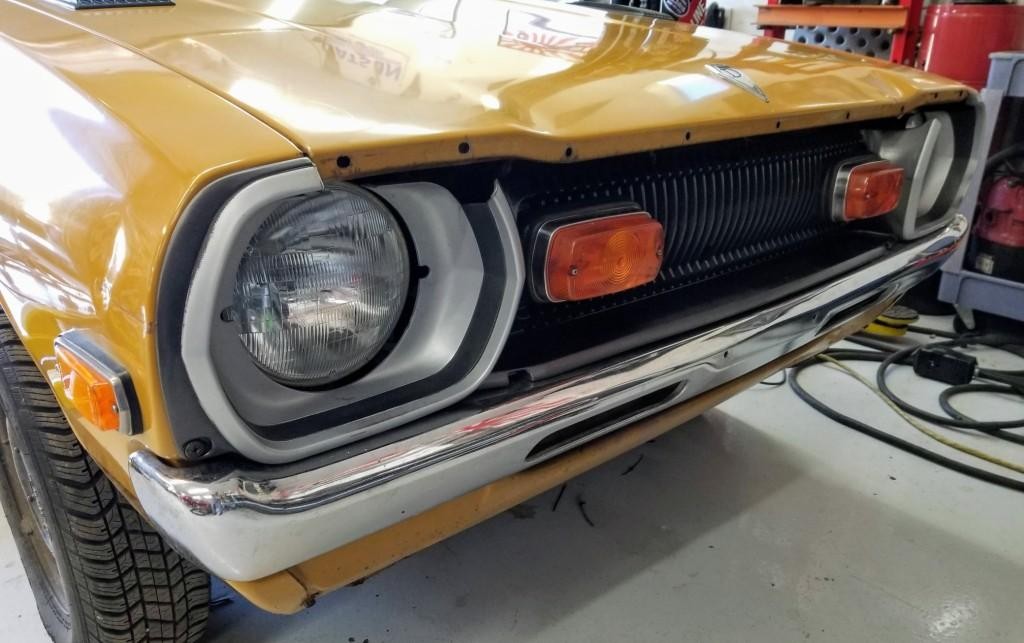
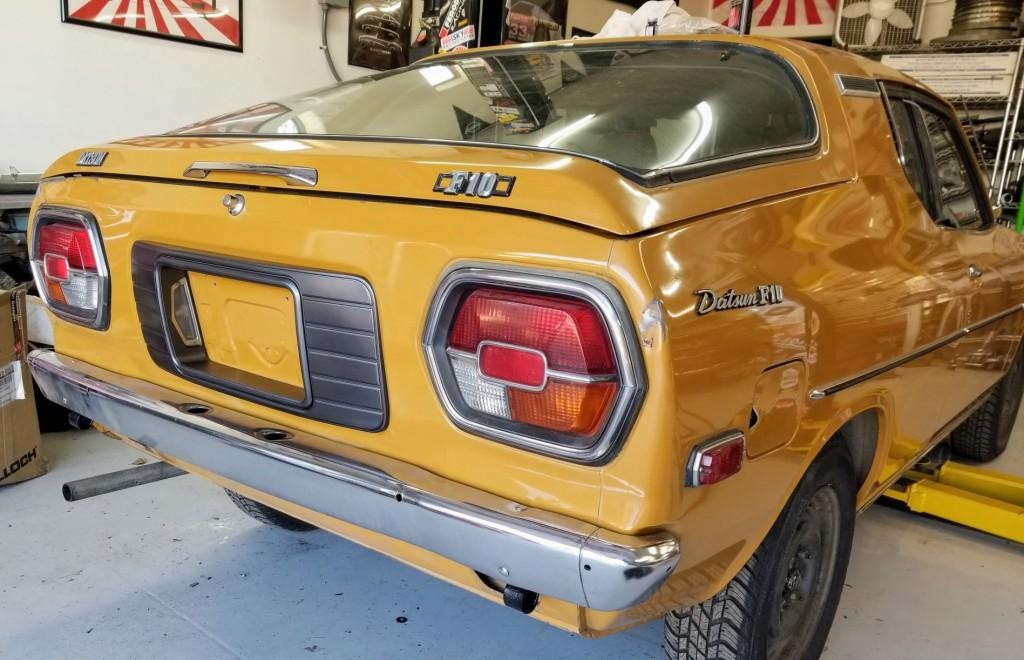
The grille and rear tail panels needed some refurbishing, and with three grilles to choose from, I was able to assemble the best parts from each, restore the lenses, refinish the plastic, and repair some mounting tabs. Interestingly, the plastic cover on the rear valance encloses the same chrome license plate lights that are seen on the European Datsun Cherry model. Again, more cost-cutting.
The four steel wheels were loaded up in my coarse media blaster to be stripped of their original finish and re-primered and re-painted While most of the wheel would be covered by stainless trim rings and hubcaps, it’s still nice to have everything clean and uniform before reassembly.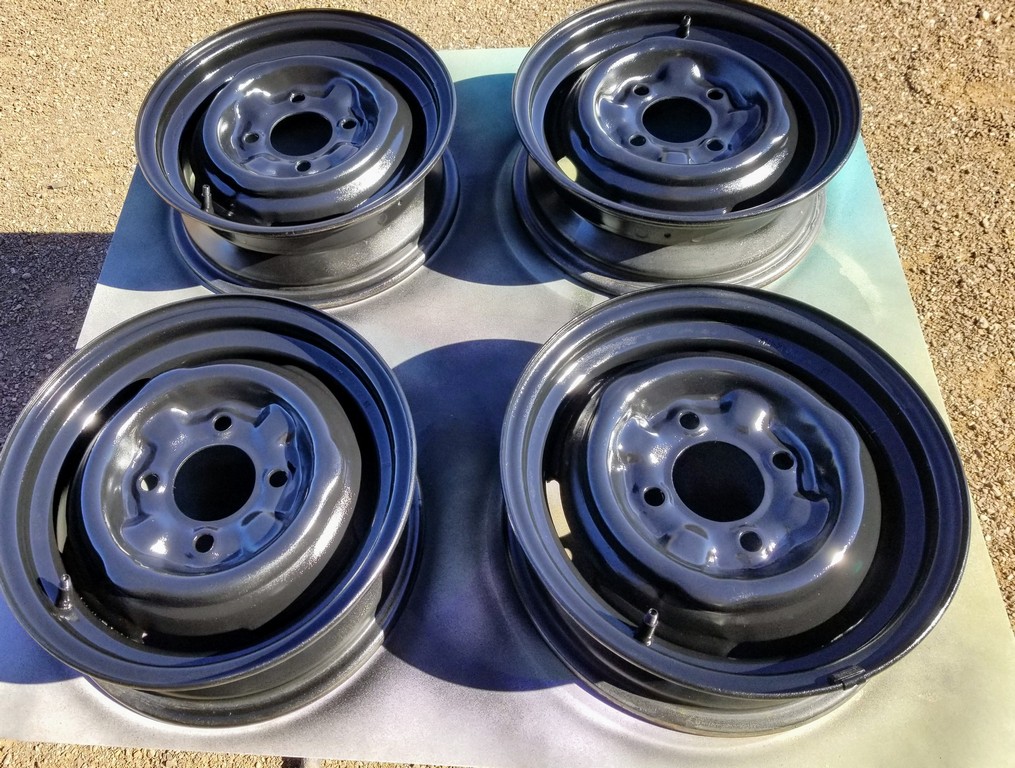
Moving on to the interior, it was time to address the rear cargo area. Removing all of the seats and carpet took exactly 30 minutes, and the space under the spare tire was as pristine as when the car was built. 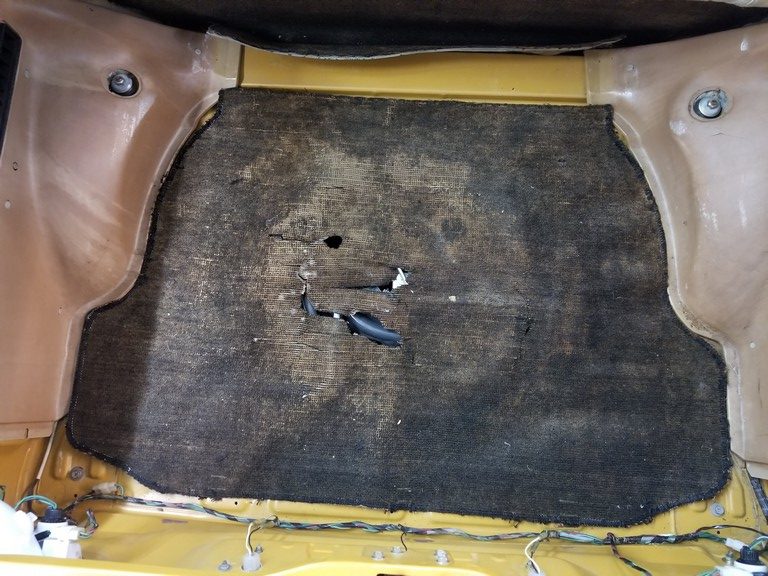
With that established, the spare tire was checked, inflated, cleaned and returned to its space. 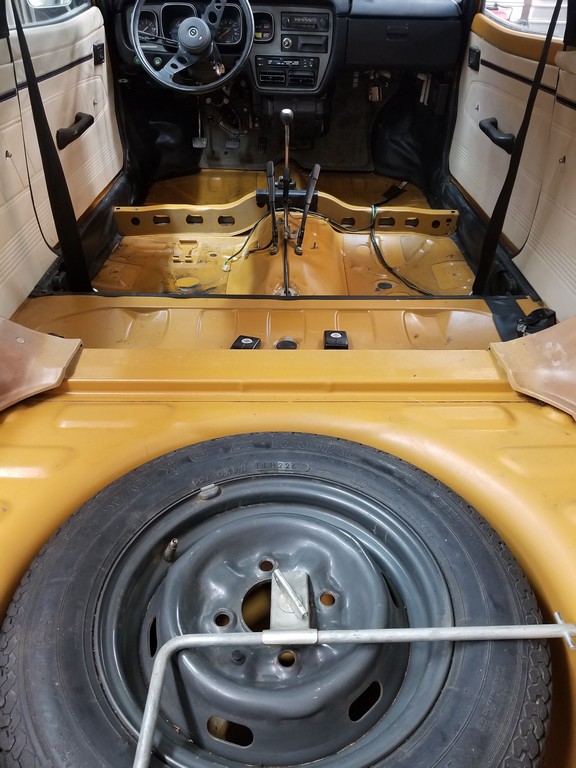
A pattern was made and a period-correct fiberboard panel was made to cover the spare tire, and carpeted with Datsun-style loop carpeting. 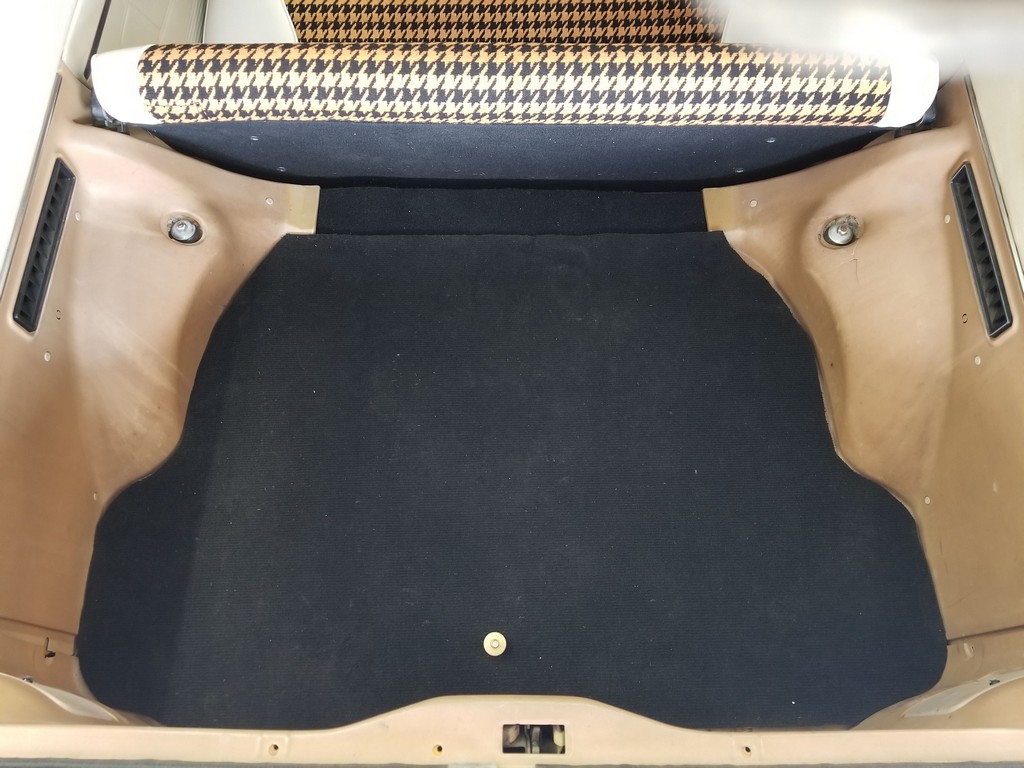
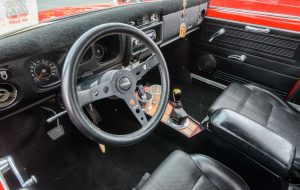
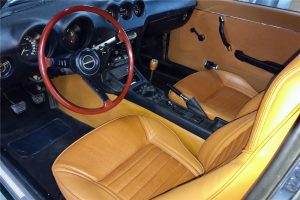
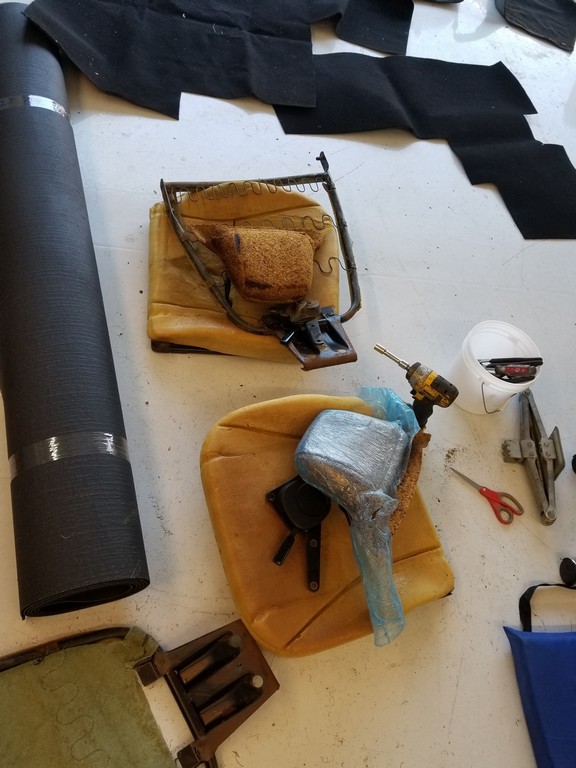
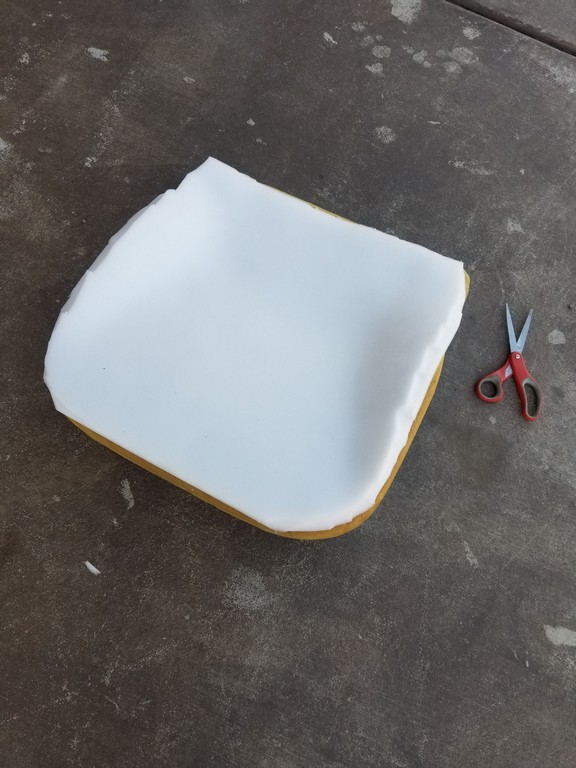
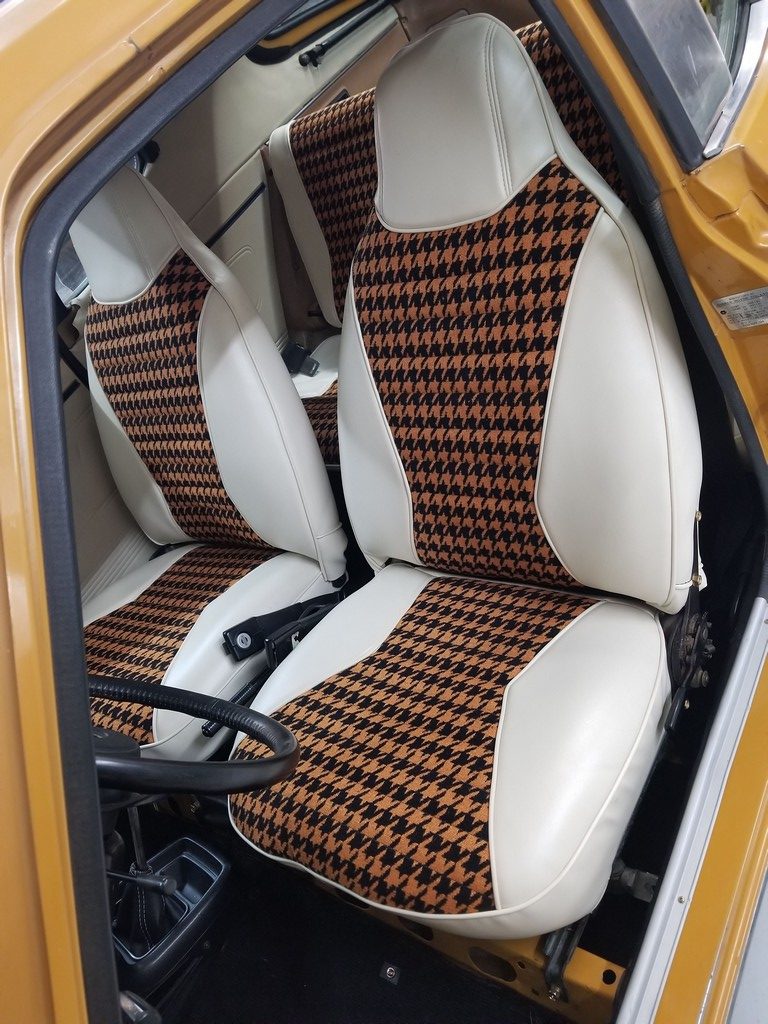
Now, on to the hardest (but most rewarding and fun) part of this refurbishment: Somewhere along this car’s lifetime, a set of replacement seat covers were custom-made, and found neatly bagged among the spare parts. Since the front seats were well-worn and in poor condition, now was a great time to redo all the seating surfaces. The front and rear seat frames were stripped of all upholstery, horsehair and foam, fully cleaned and repainted gloss black. A foam kit for a 240Z was modified to match the contours of the F10 seats, and the new covers were installed. 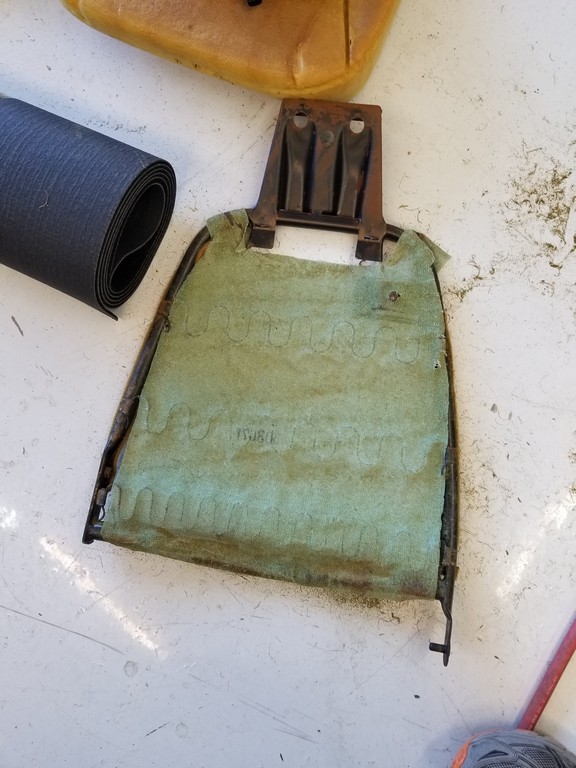
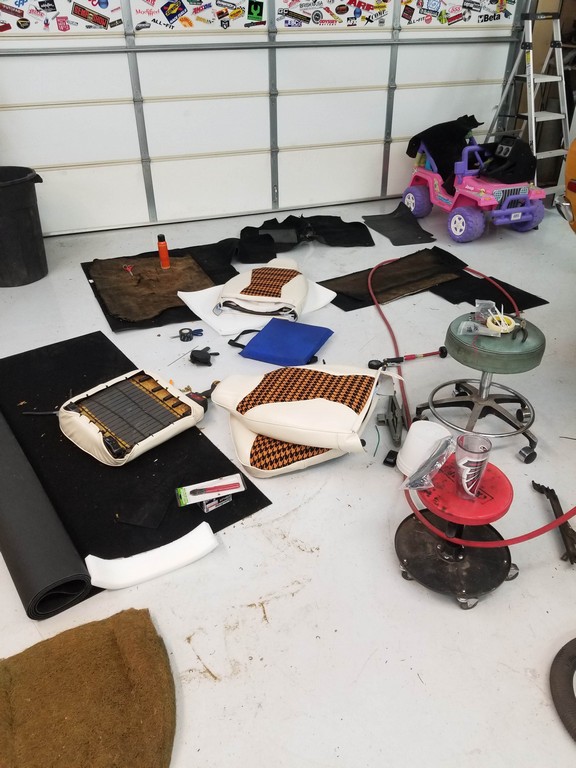
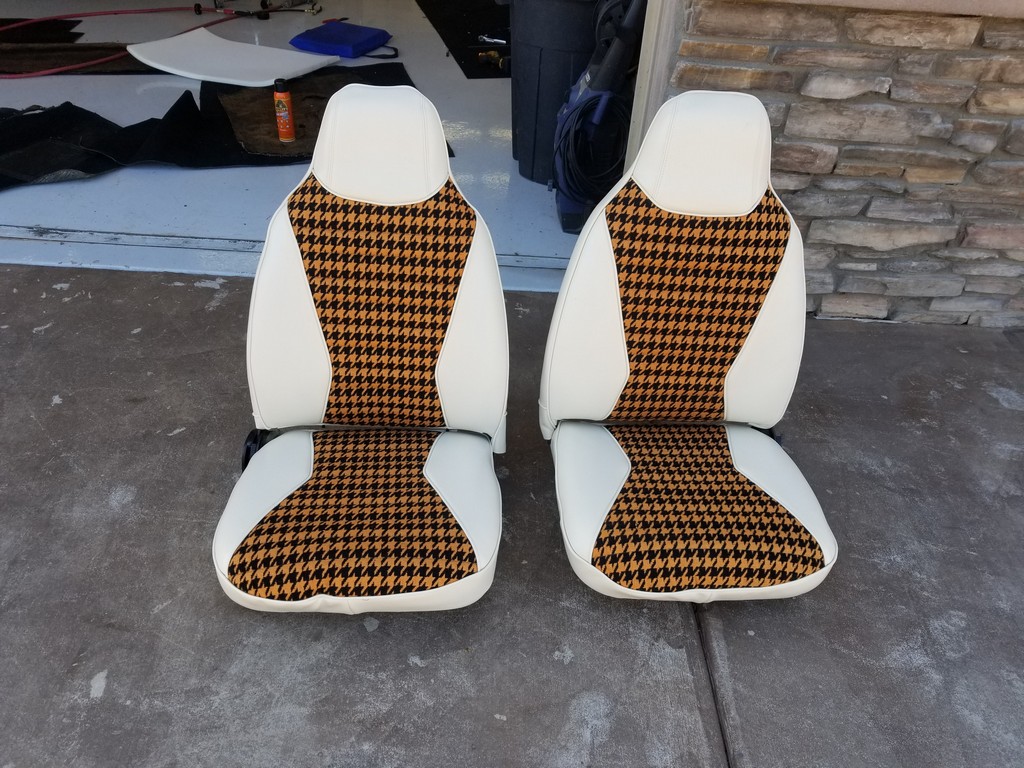
To call these covers unique or eye-catching would be doing them a disservice. White marine-grade vinyl with butterscotch and black houndstooth-patterned inserts is simply not something you see every day. However, it totally works in this car! Once the seats were completed, the tracks were cleaned, lubricated and reinstalled, and my attention turned to the rest of the interior.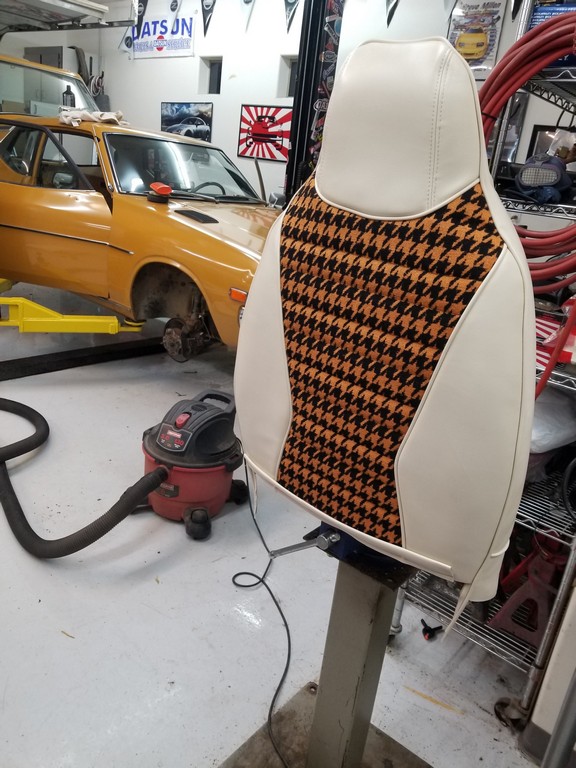
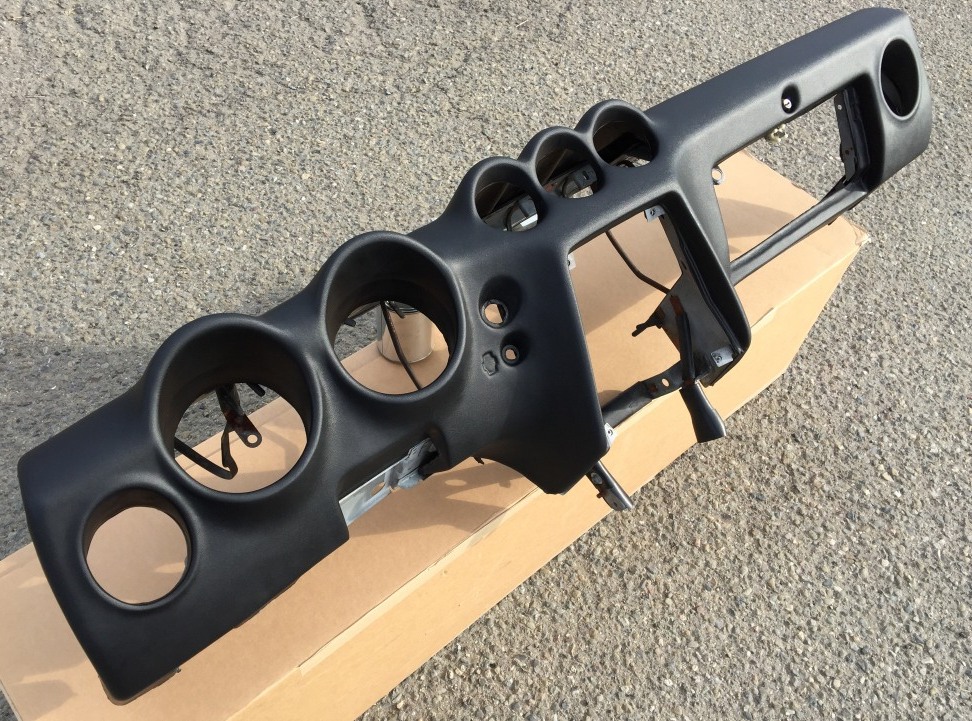
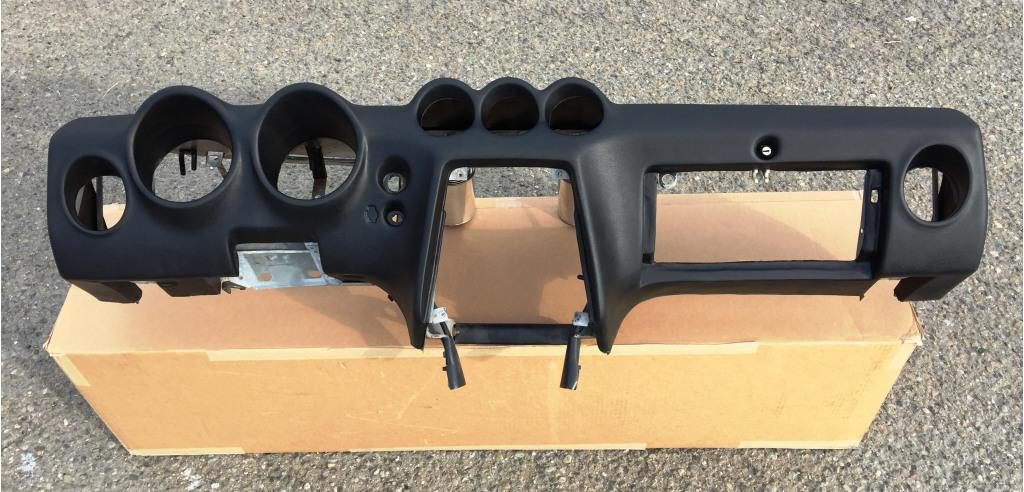
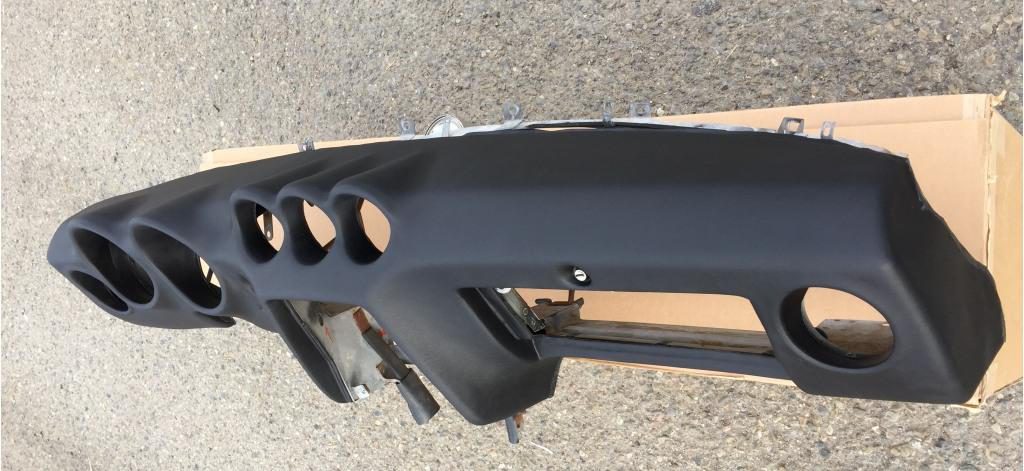
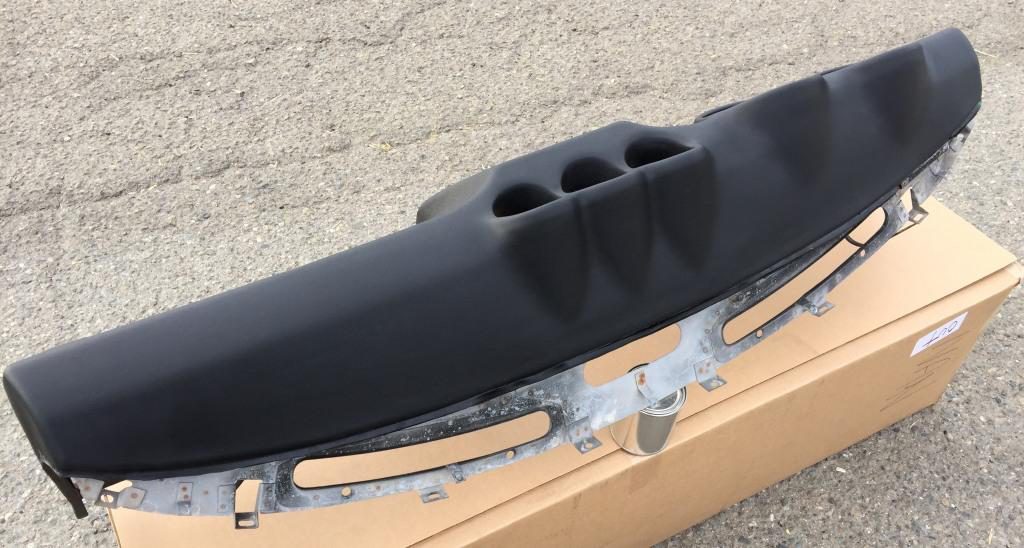
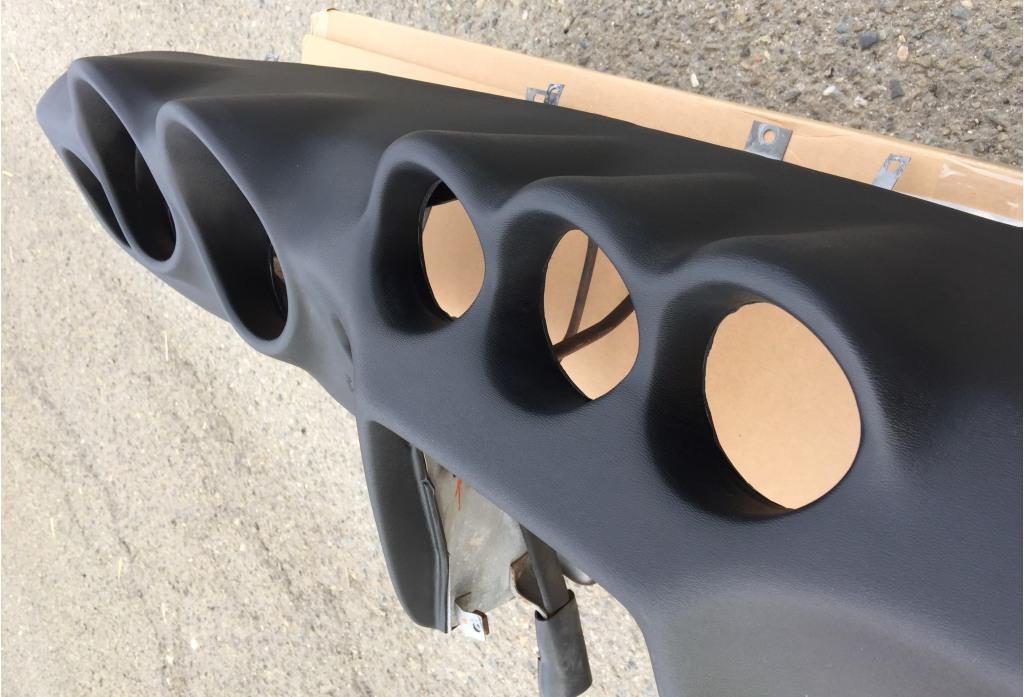
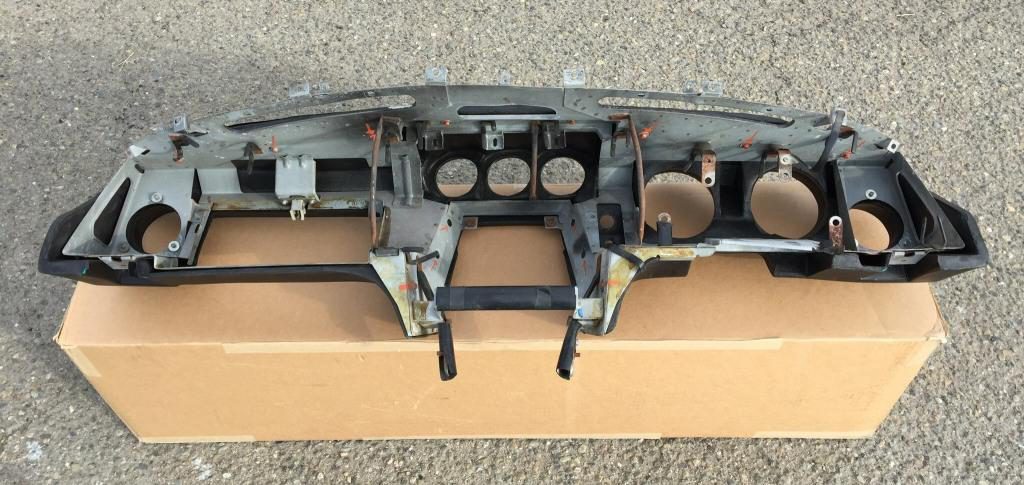
Since a carpet kit isn’t exactly an off-the-shelf available replacement item for a ’76 F10, and this one was in decent condition, I steam-cleaned it and re-dyed it black. While the carpet was out, the floor got scrubbed and a light coat of exterior wax, and I prepared for removing the cracked dash. 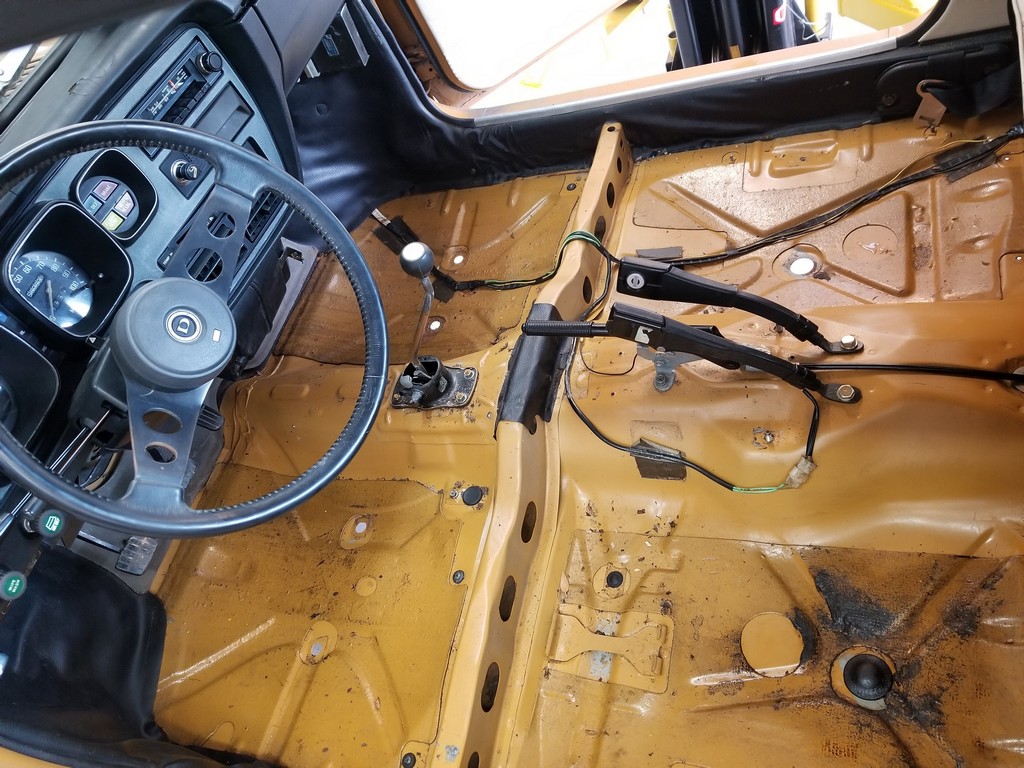
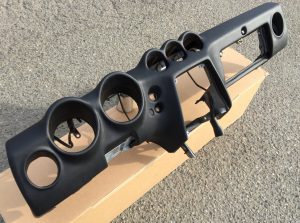
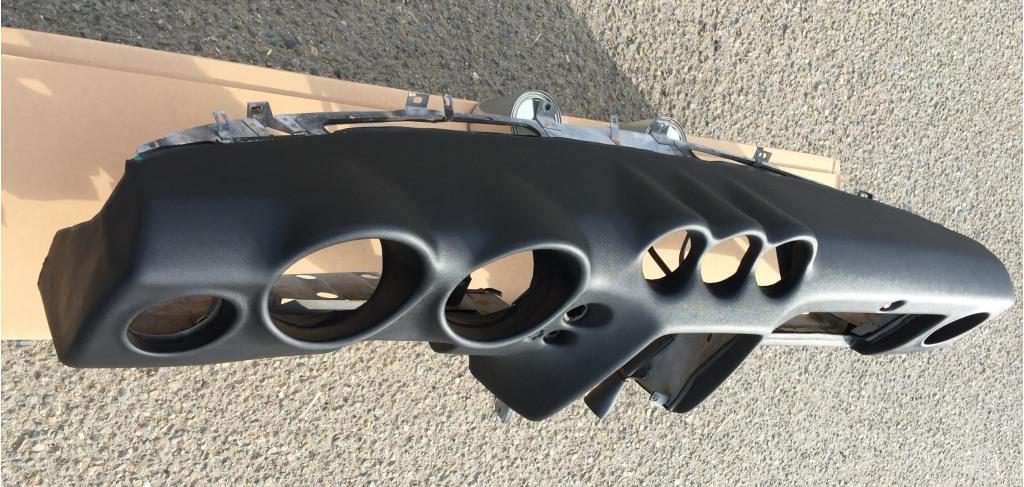
Four bolts. Four bolts secure the dashboard in place, and the entire assembly weighs less than a 13″ steel wheel. The good news is that Nissan’s cost-cutting measures made the dash removal and repair a fairly simple (albeit time-consuming) job. If I could fold my old 6′ 1″ frame into the footwell for a couple hours at a time, it would have gone more smoothly. 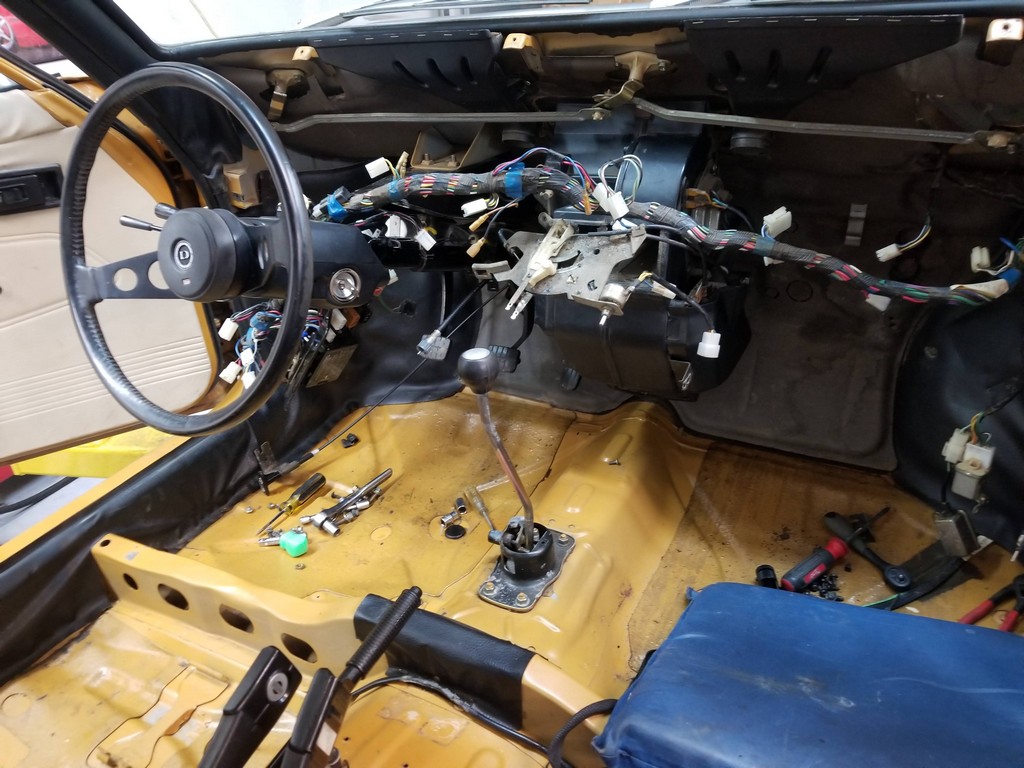
The door sill plates went on a date with my glass bead blaster, followed by a coat of semi-gloss clear from Eastwood. 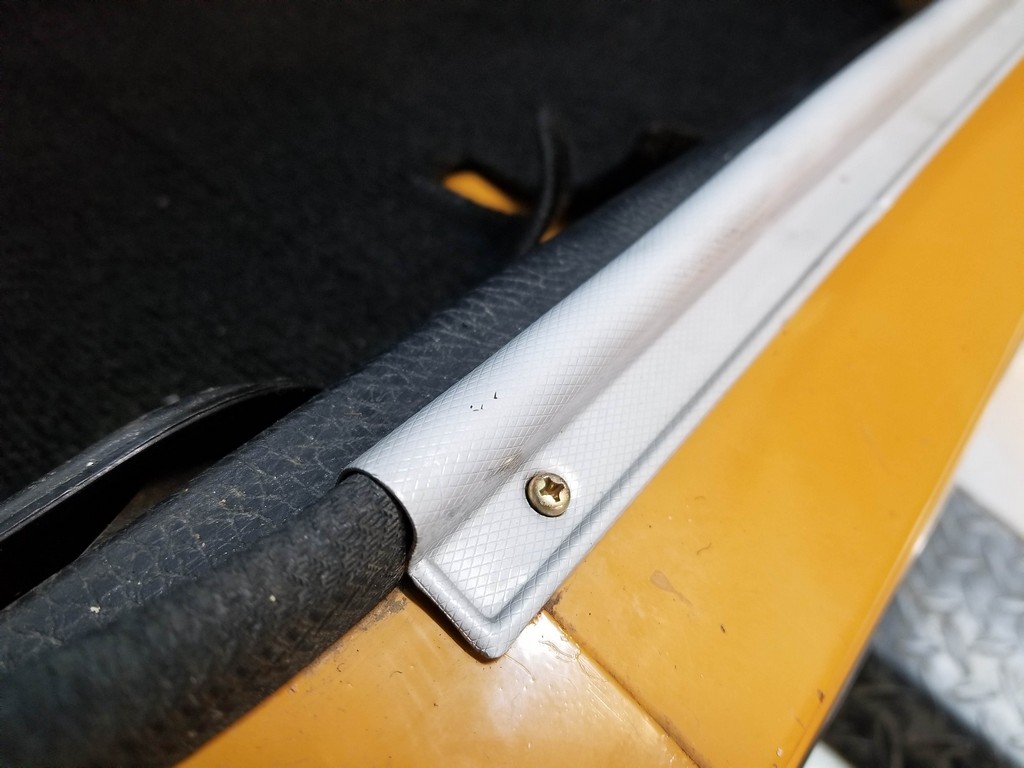
Now for the fun! Reassembly time goes by so much faster – all the fasteners are new and freshly-plated, all the parts are clean, and the excitement of seeing it come together means fewer coffee / snack breaks. 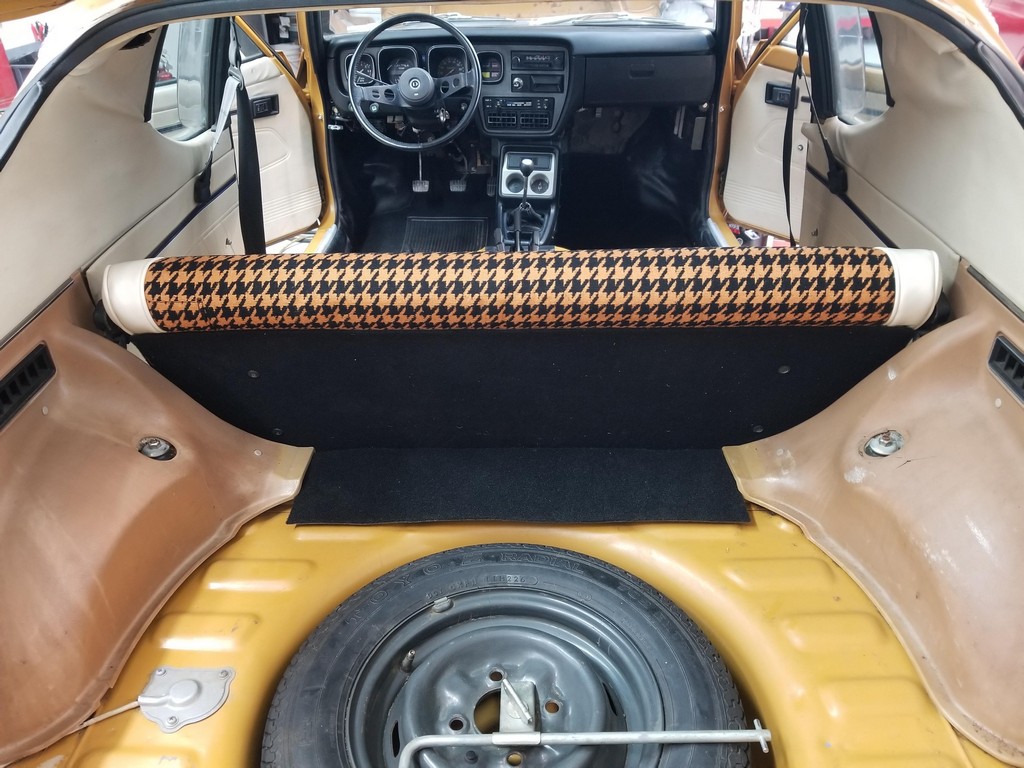
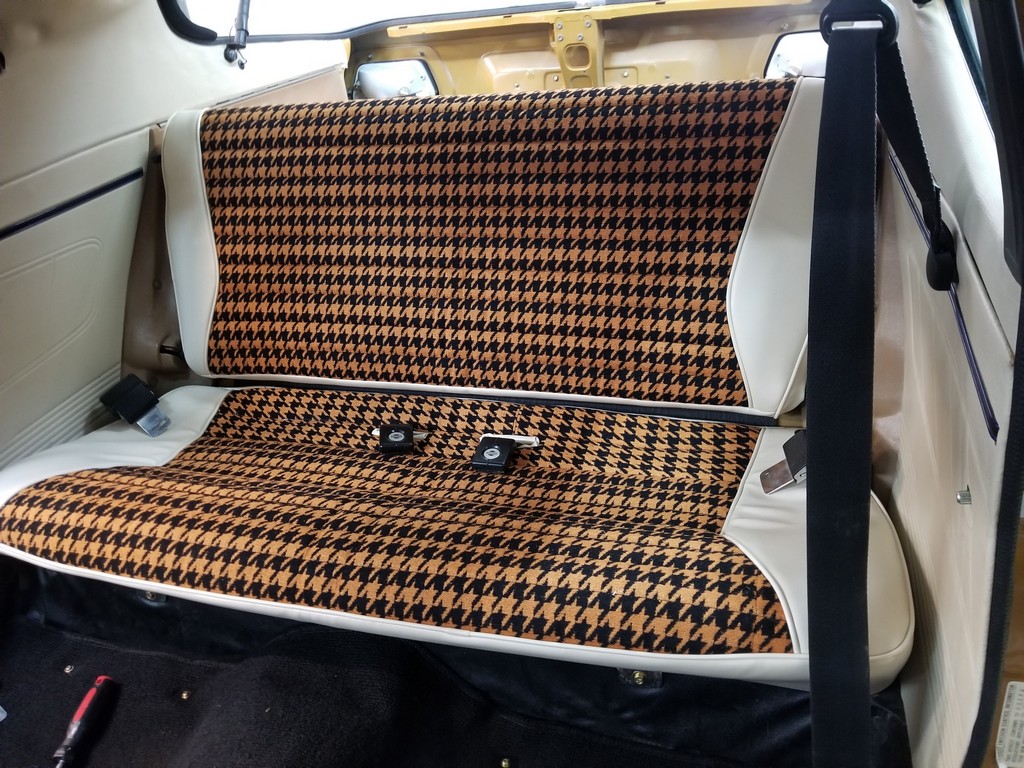
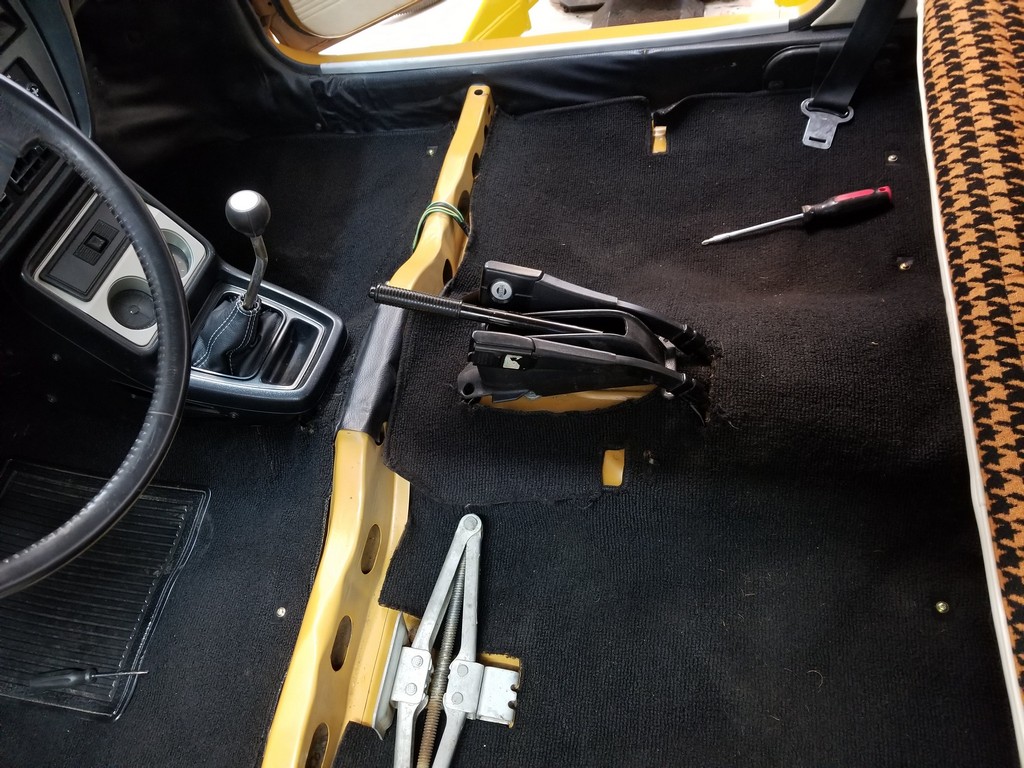
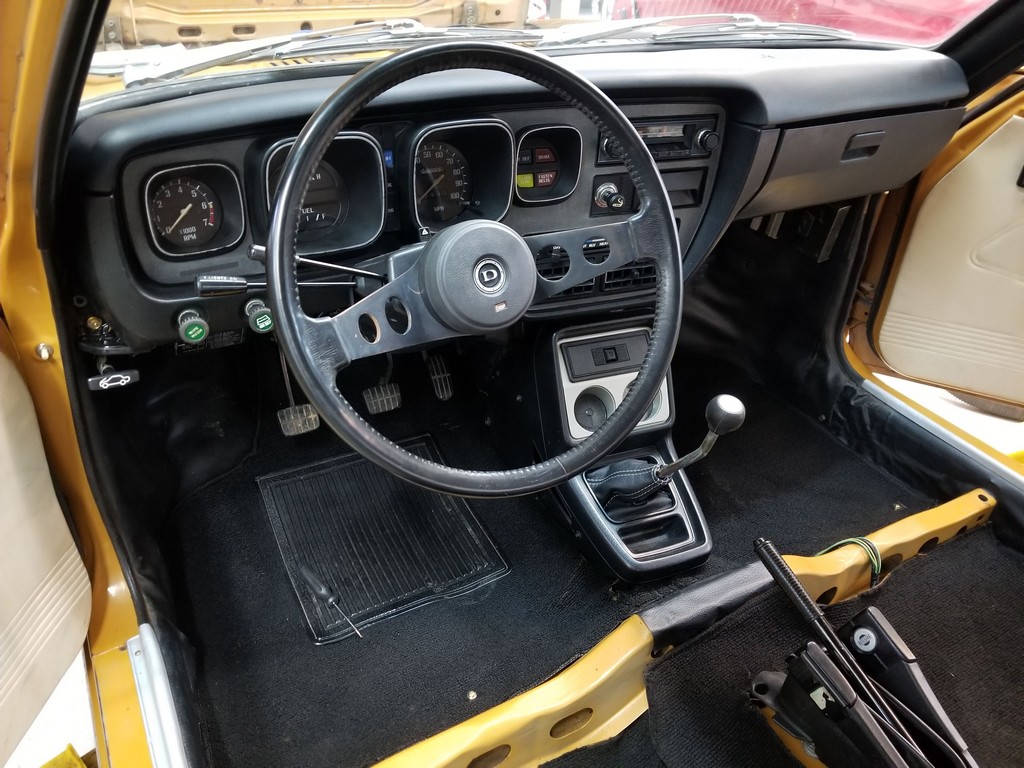
With the carpet and seats installed, the otherwise-clean interior panels looked a little dingy. Mr. Clean Magic Eraser is one of my favorite products to clean light-colored vinyl and plastic, and didn’t disappoint in this case. 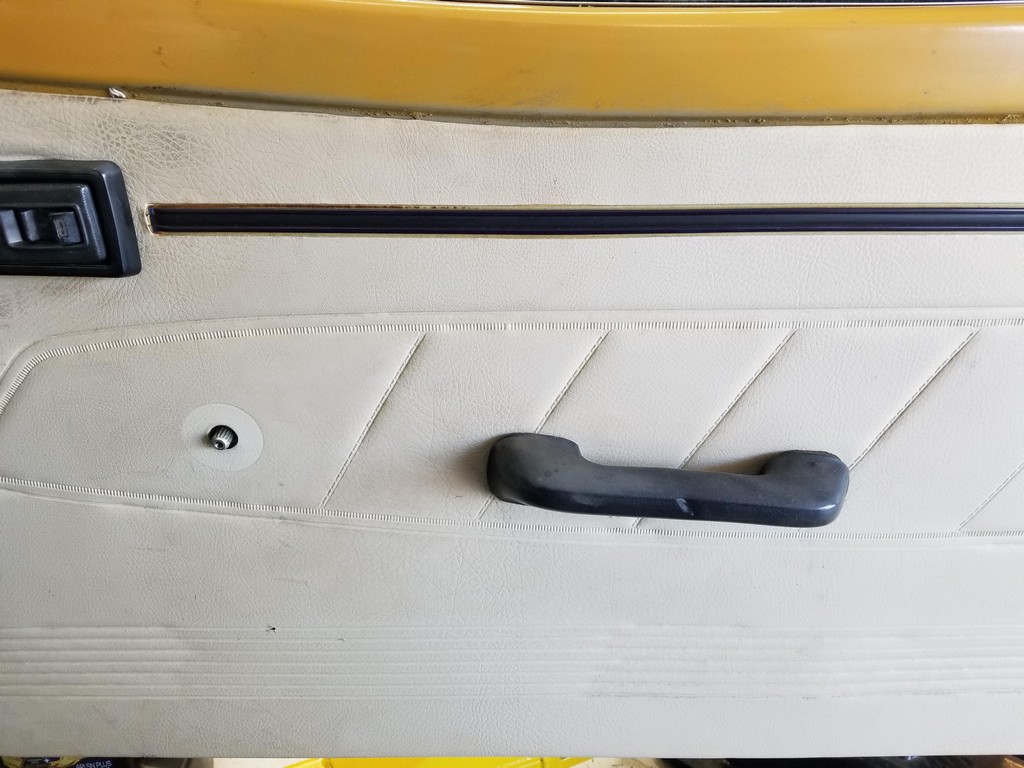
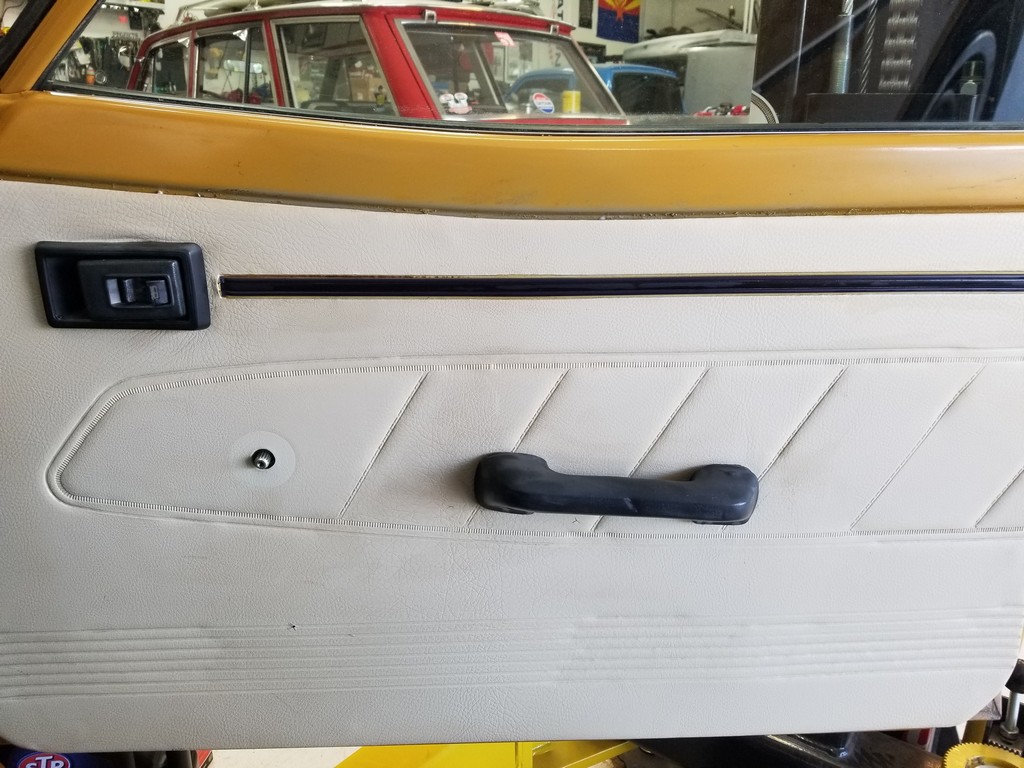
As I put this article together, I realized that the very last step didn’t get pictures, and if you’re sharp, you’ve already noticed what’s missing. The plastic trim on the leading edge of the hood. Now, this was probably one of Nissan’s worst design decisions. A delicate, flimsy plastic trim piece, made of black material with painted silver accents, exposed to 60mph road debris. What could go wrong? Further, the attachment design was simply asinine, and clearly didn’t last long. 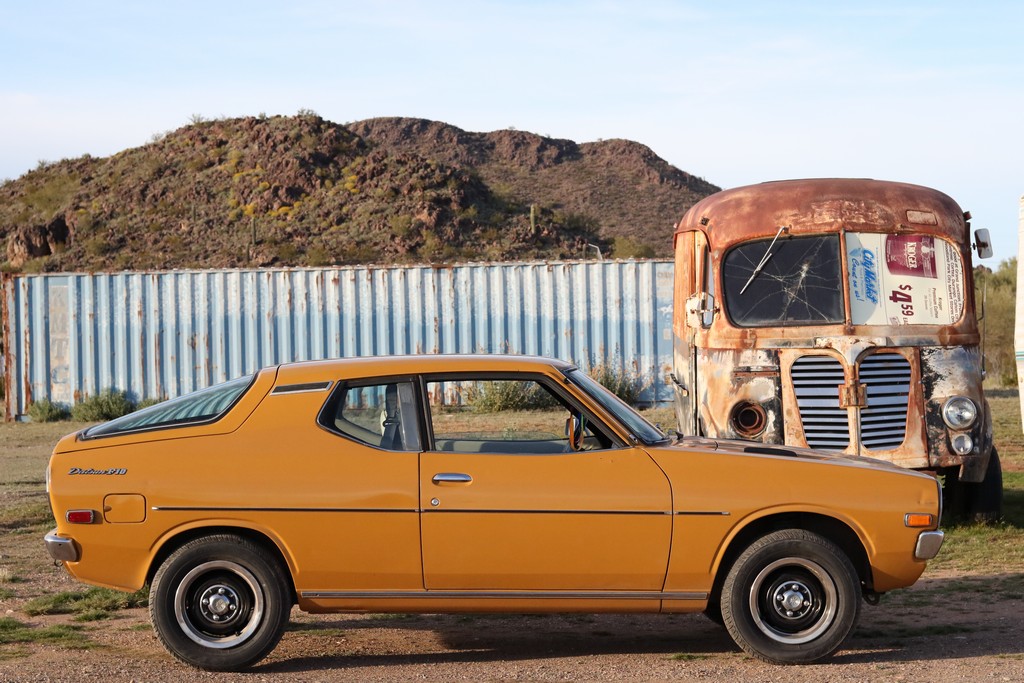
At any rate, it’s my job to fix things, not critique some long-retired engineer’s work, so here’s a side-story on how that happened: While at SEMA last year, I met the guys from Sanloz Group, distributors of the Koverbond Plastic and Fiberglass Repair System, and brought home a sample to test. Five 6 x 1.0 metric bolts should hold this piece in place nicely, so I modified the heads to fit inside the bevel of the trim piece. Then, I used the Koverbond kit to secure them to the plastic… This product is amazing, and basically allows you to ‘weld’ any material to plastic, and my five bolts are now permanently attached to the trim (which didn’t get photographed). 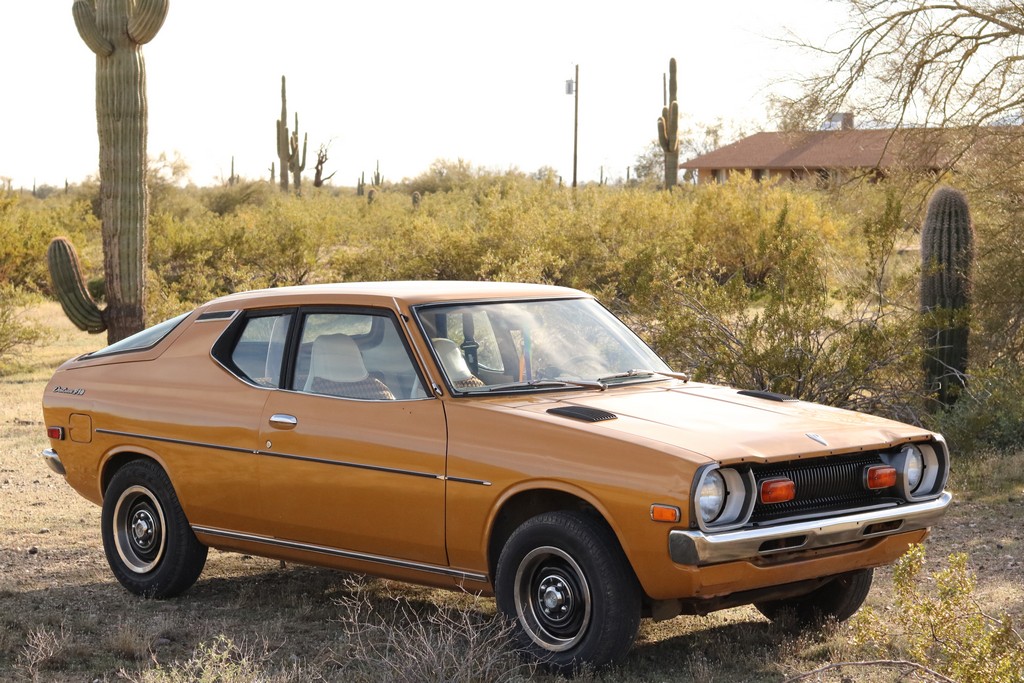
At any rate, this weird, wonky, mostly-unloved little survivor is now ready for a date with a skilled paintless dent repair practitioner, some careful paint blending (to retain originality), and possibly a new owner… If you’d like to put this one in your collection, and are a serious buyer, contact me at [email protected] and I’ll place you in touch with her current curator. 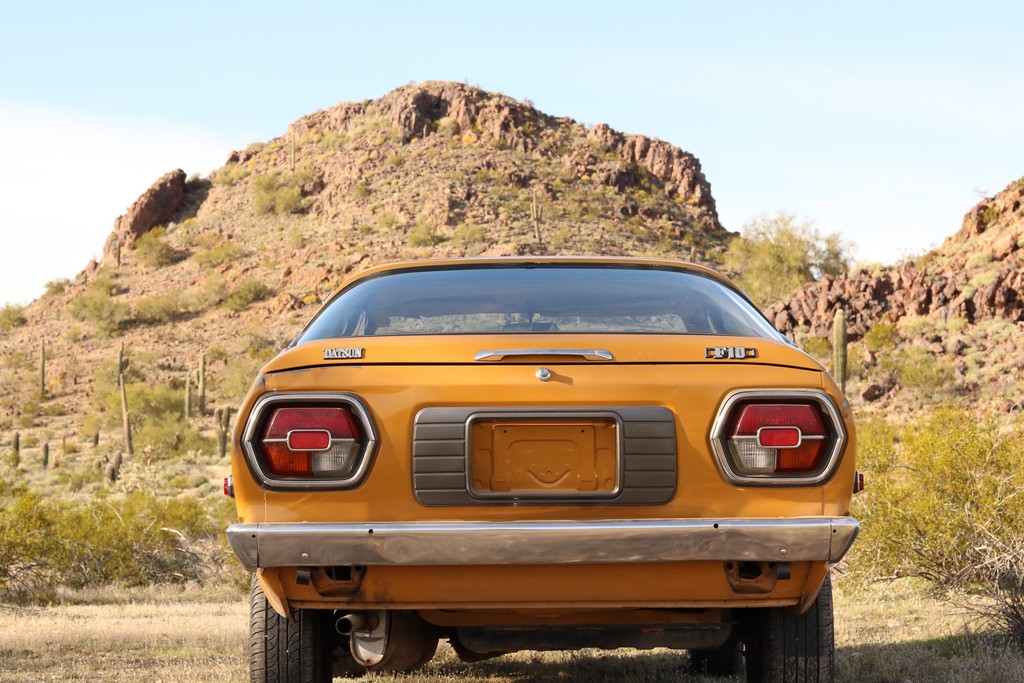
Thanks for joining me for this refurbishment, and pop in on the Datsun forums to tell us about YOUR rare Datsun projects!
[Special thanks to @toywagon for the great pics and Ross Parks for letting us be a part of this great project.]
