Every year, Becky (nissangirl74) and I take a couple days out of our crazy schedule, zip out to Scottsdale, and have a little ‘staycation’ amongst the happenings during auction week. Typically, we’ll wander through, check out the cars, scarf some food truck fare, bump into some local friends, and enjoy being together and outdoors in Arizona’s amazing January weather.
A bit of a disappointing showing this year for those of us in the vintage Datsun market, but the auction offerings ebb and flow each year. So, without further ado, let’s have a look at what was there, what we thought, and what the bidders had to say!
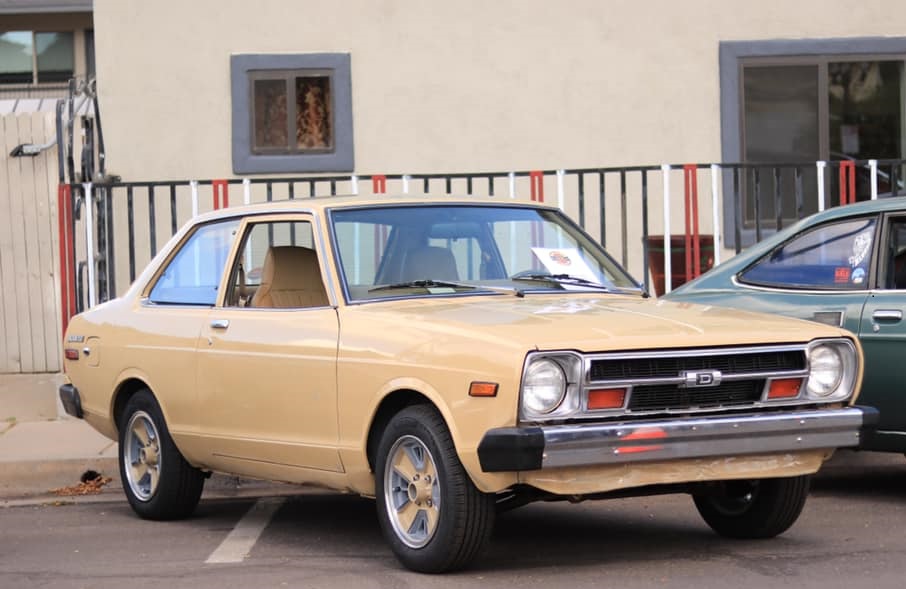
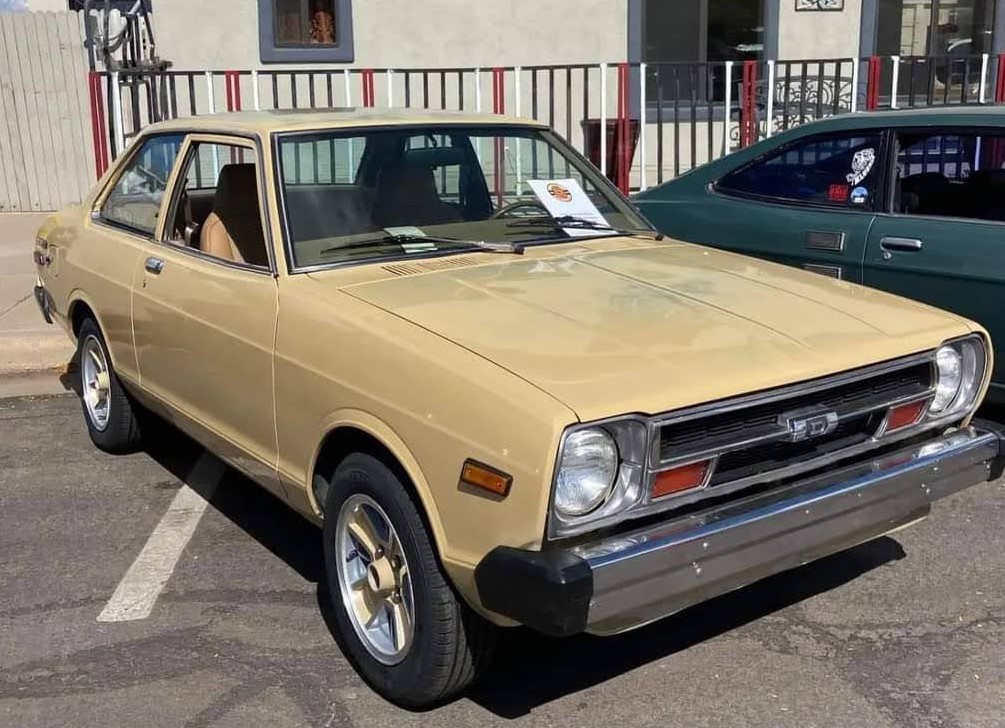
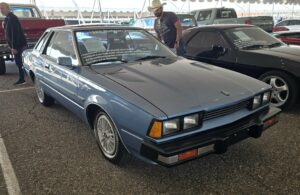
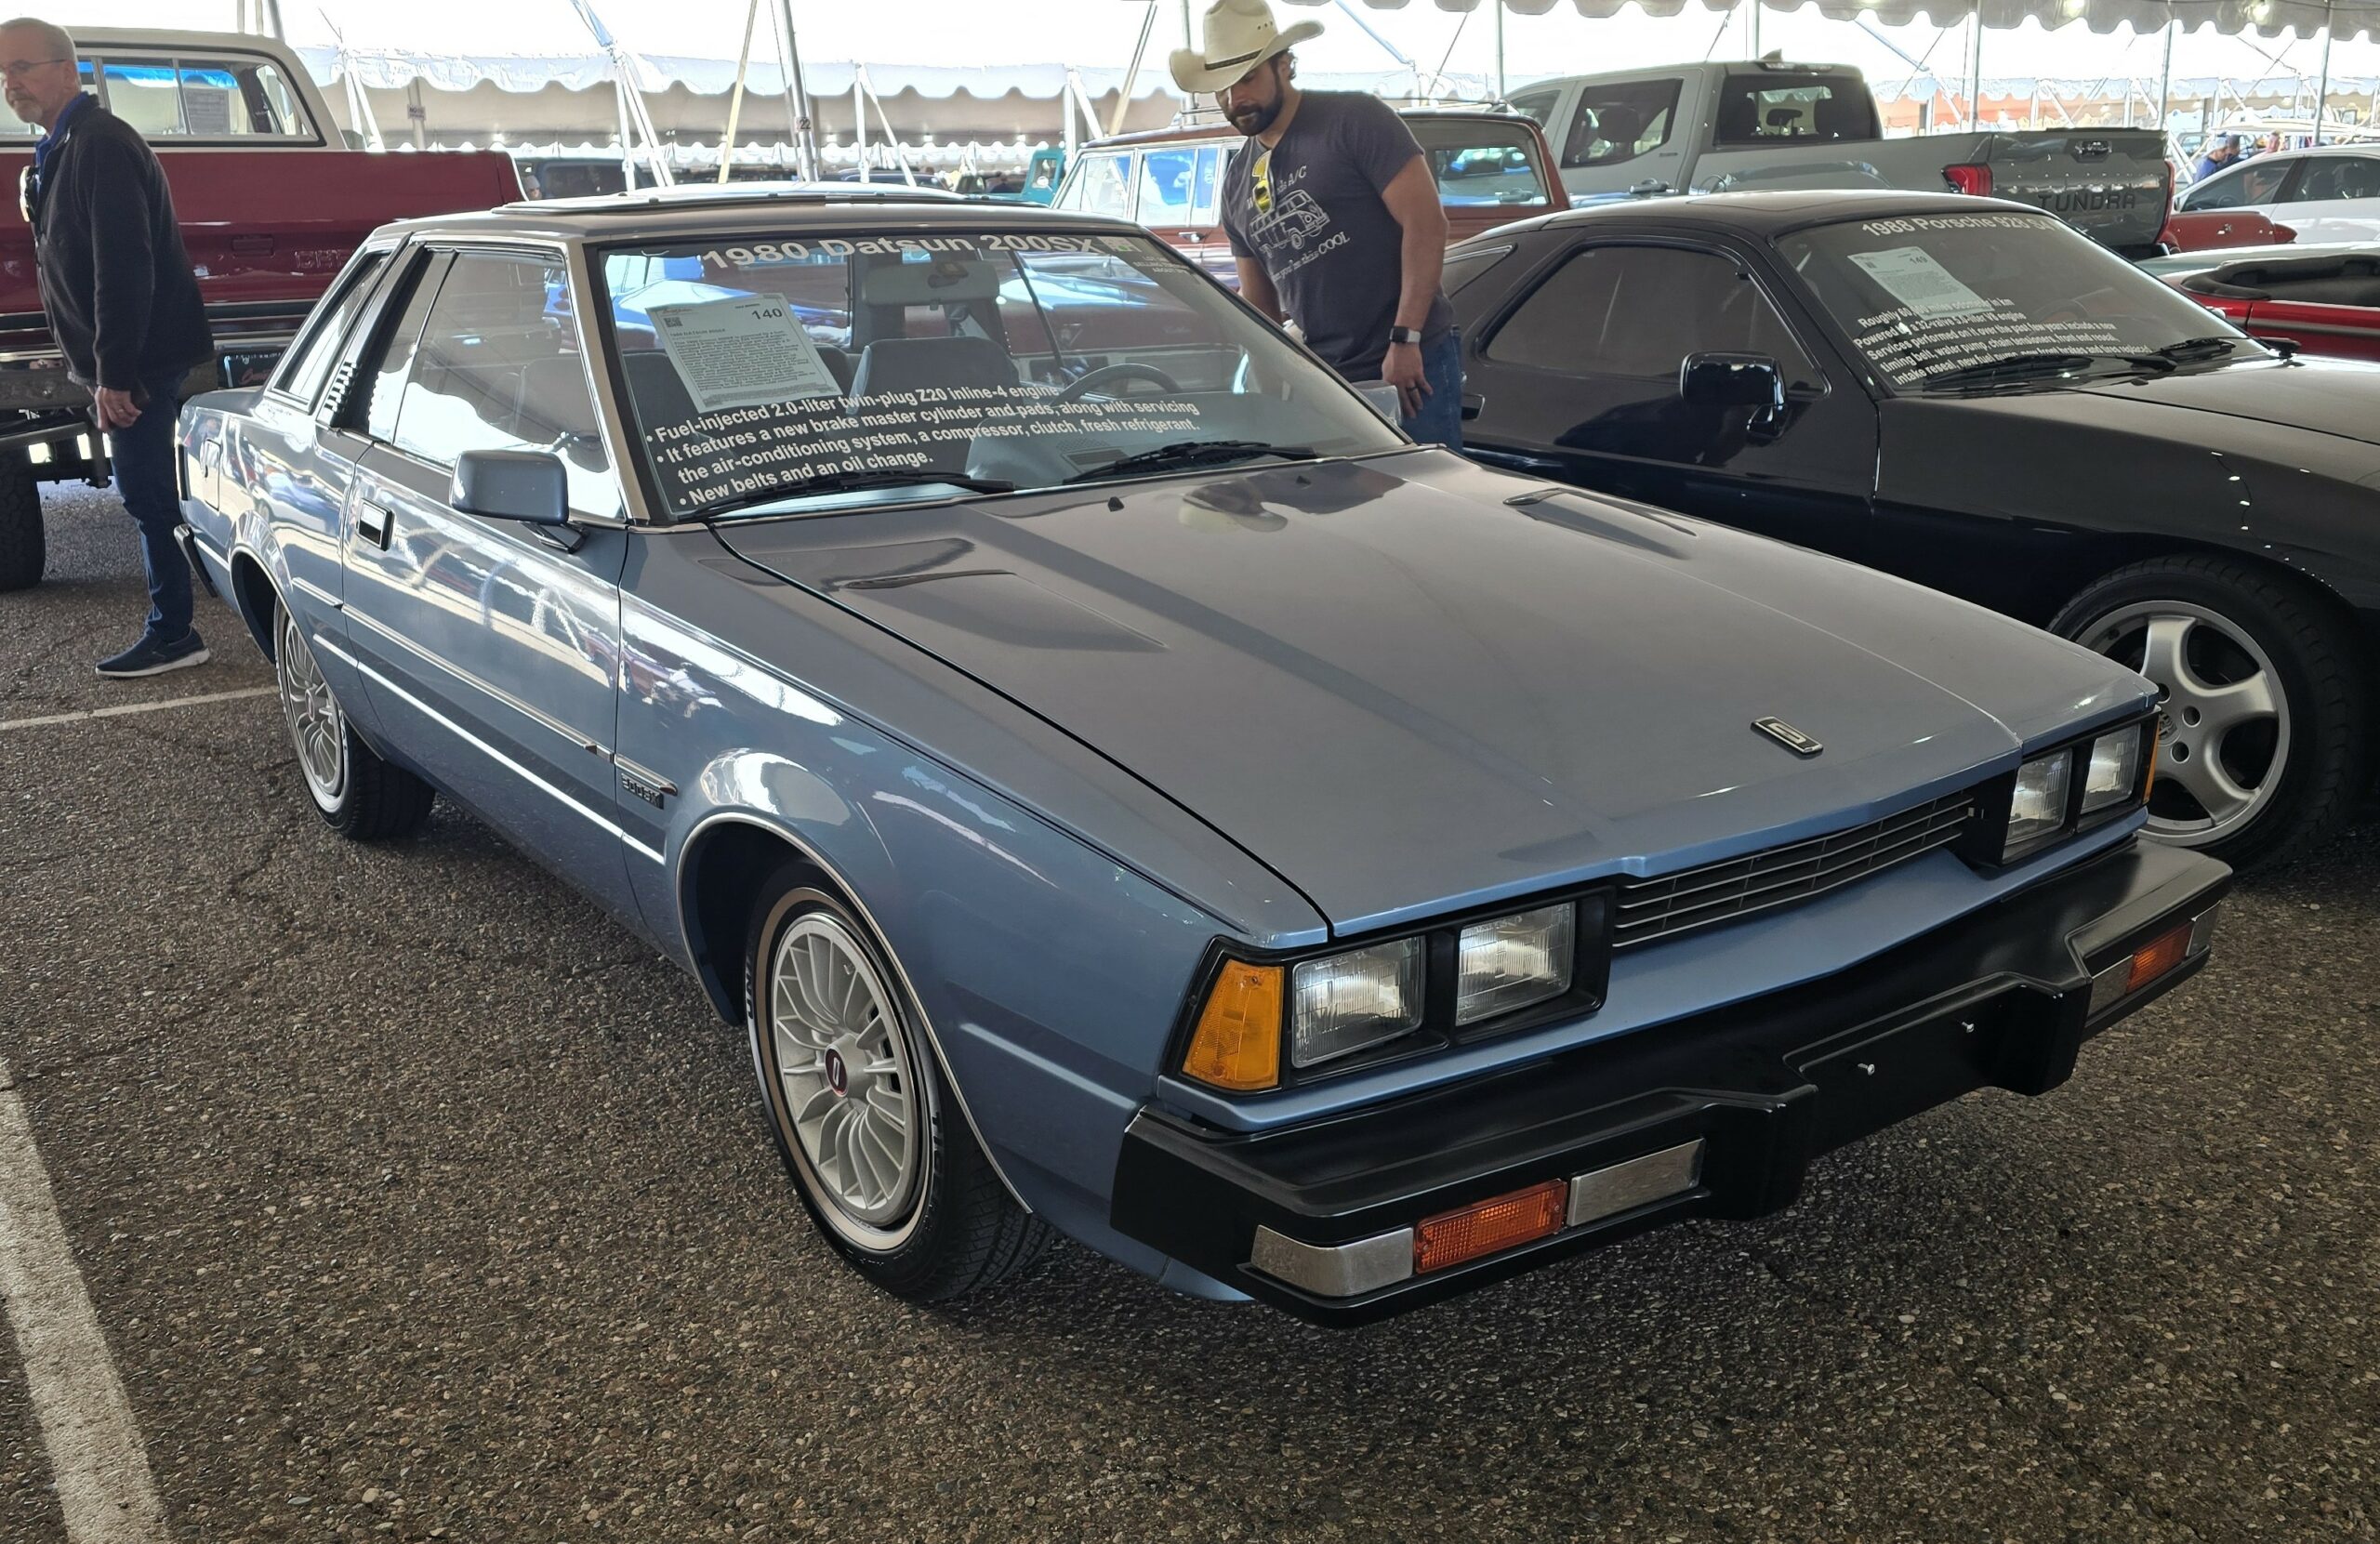
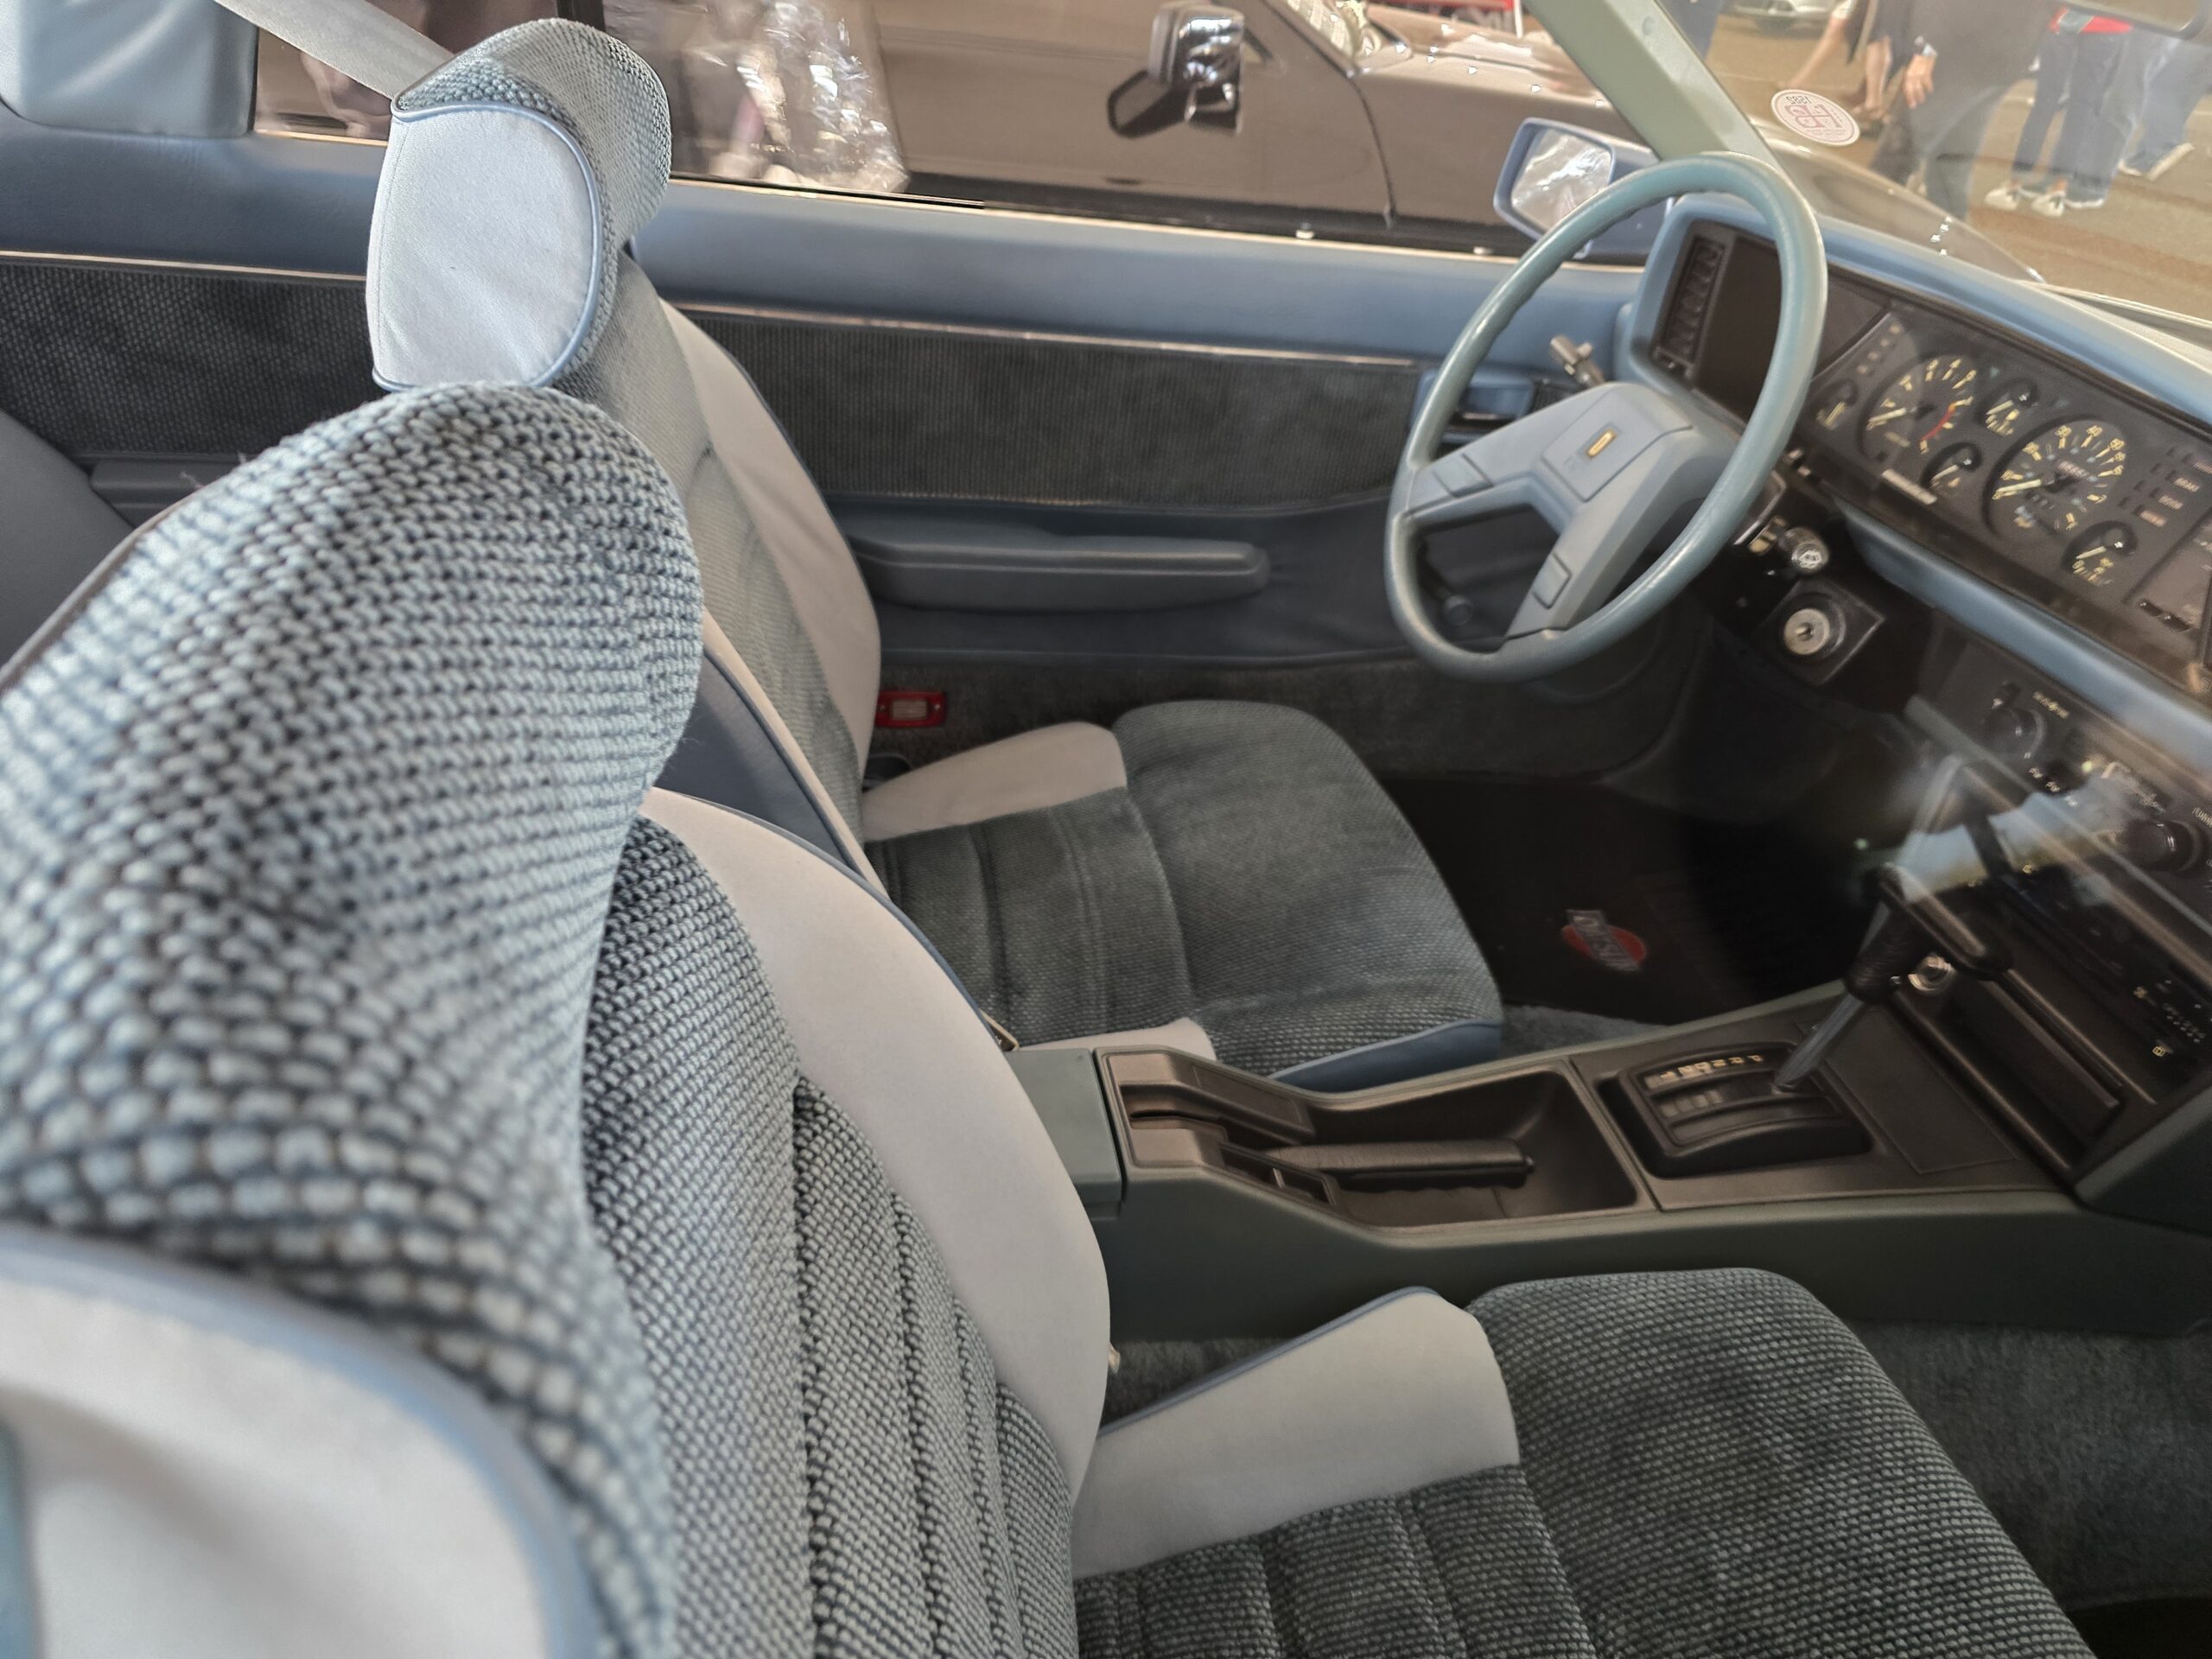
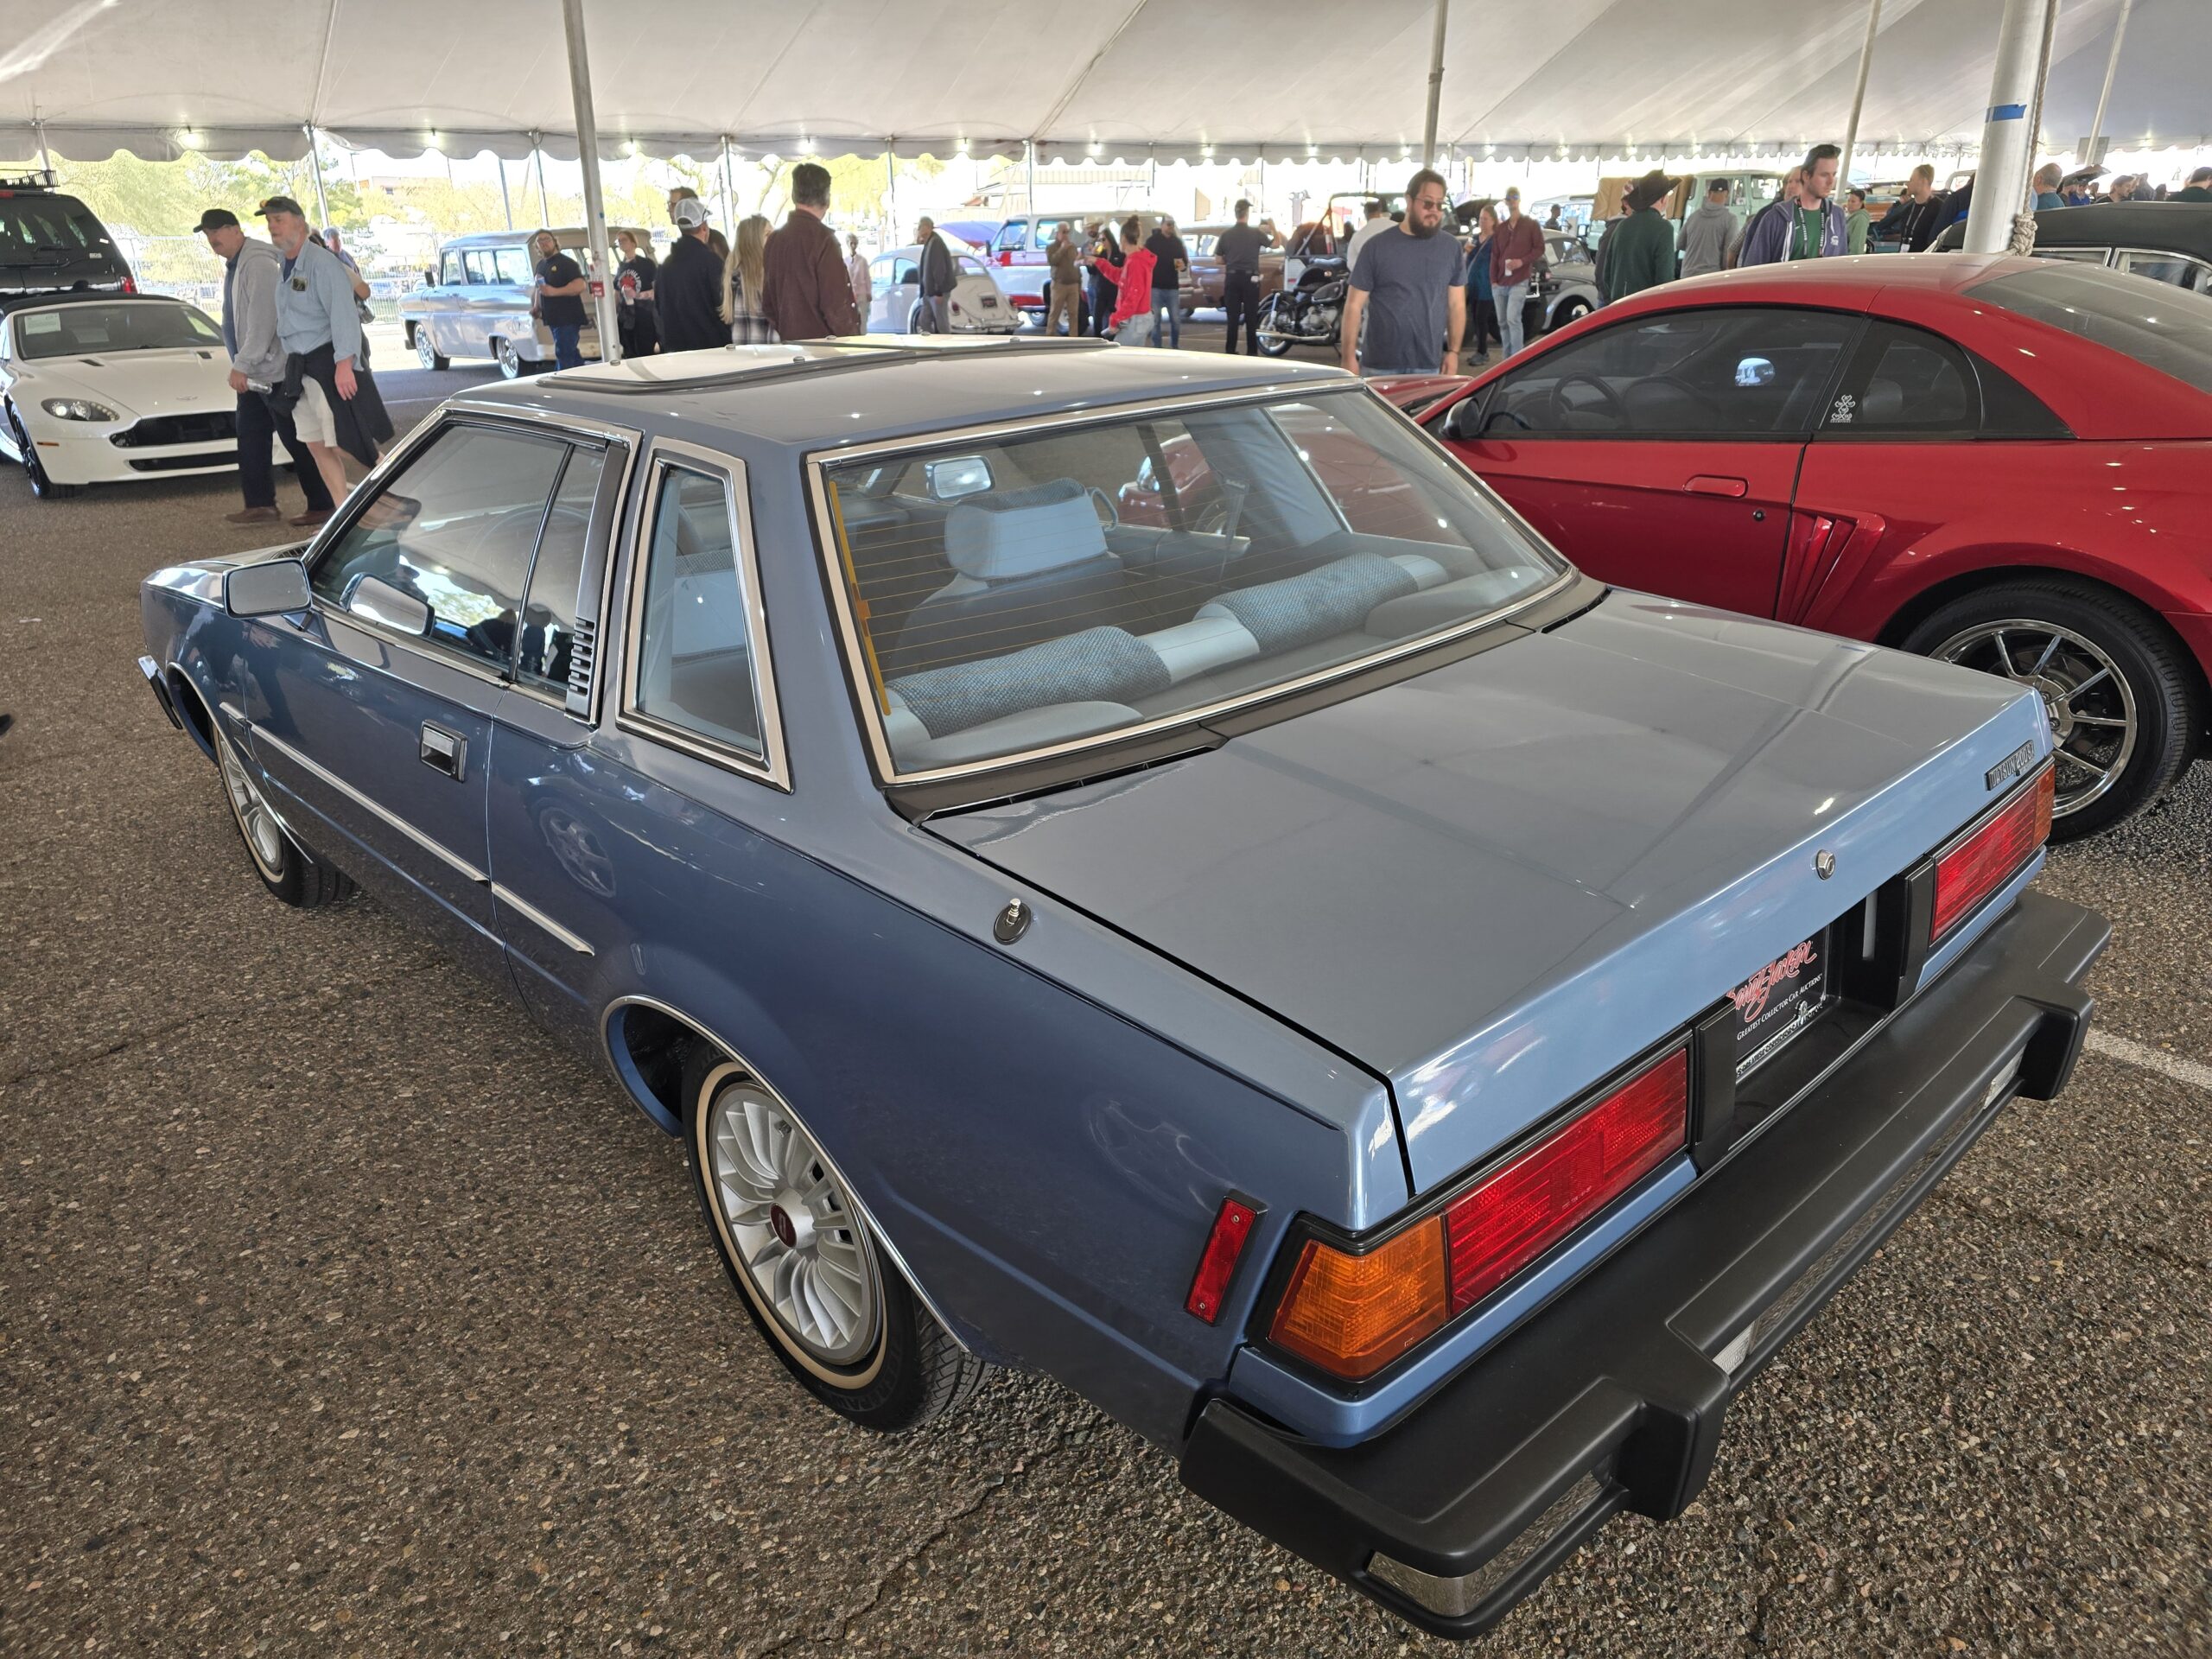
First up: 1980 Datsun 200SX. This one was damn tempting, but I remembered we have NO room at Datsun Ranch. Anyway, a total survivor car, absolute cream puff, and adorable in its own quirky way despite the automatic transmission. This one hammered at $11,000 which should make the buyer and seller both very happy. 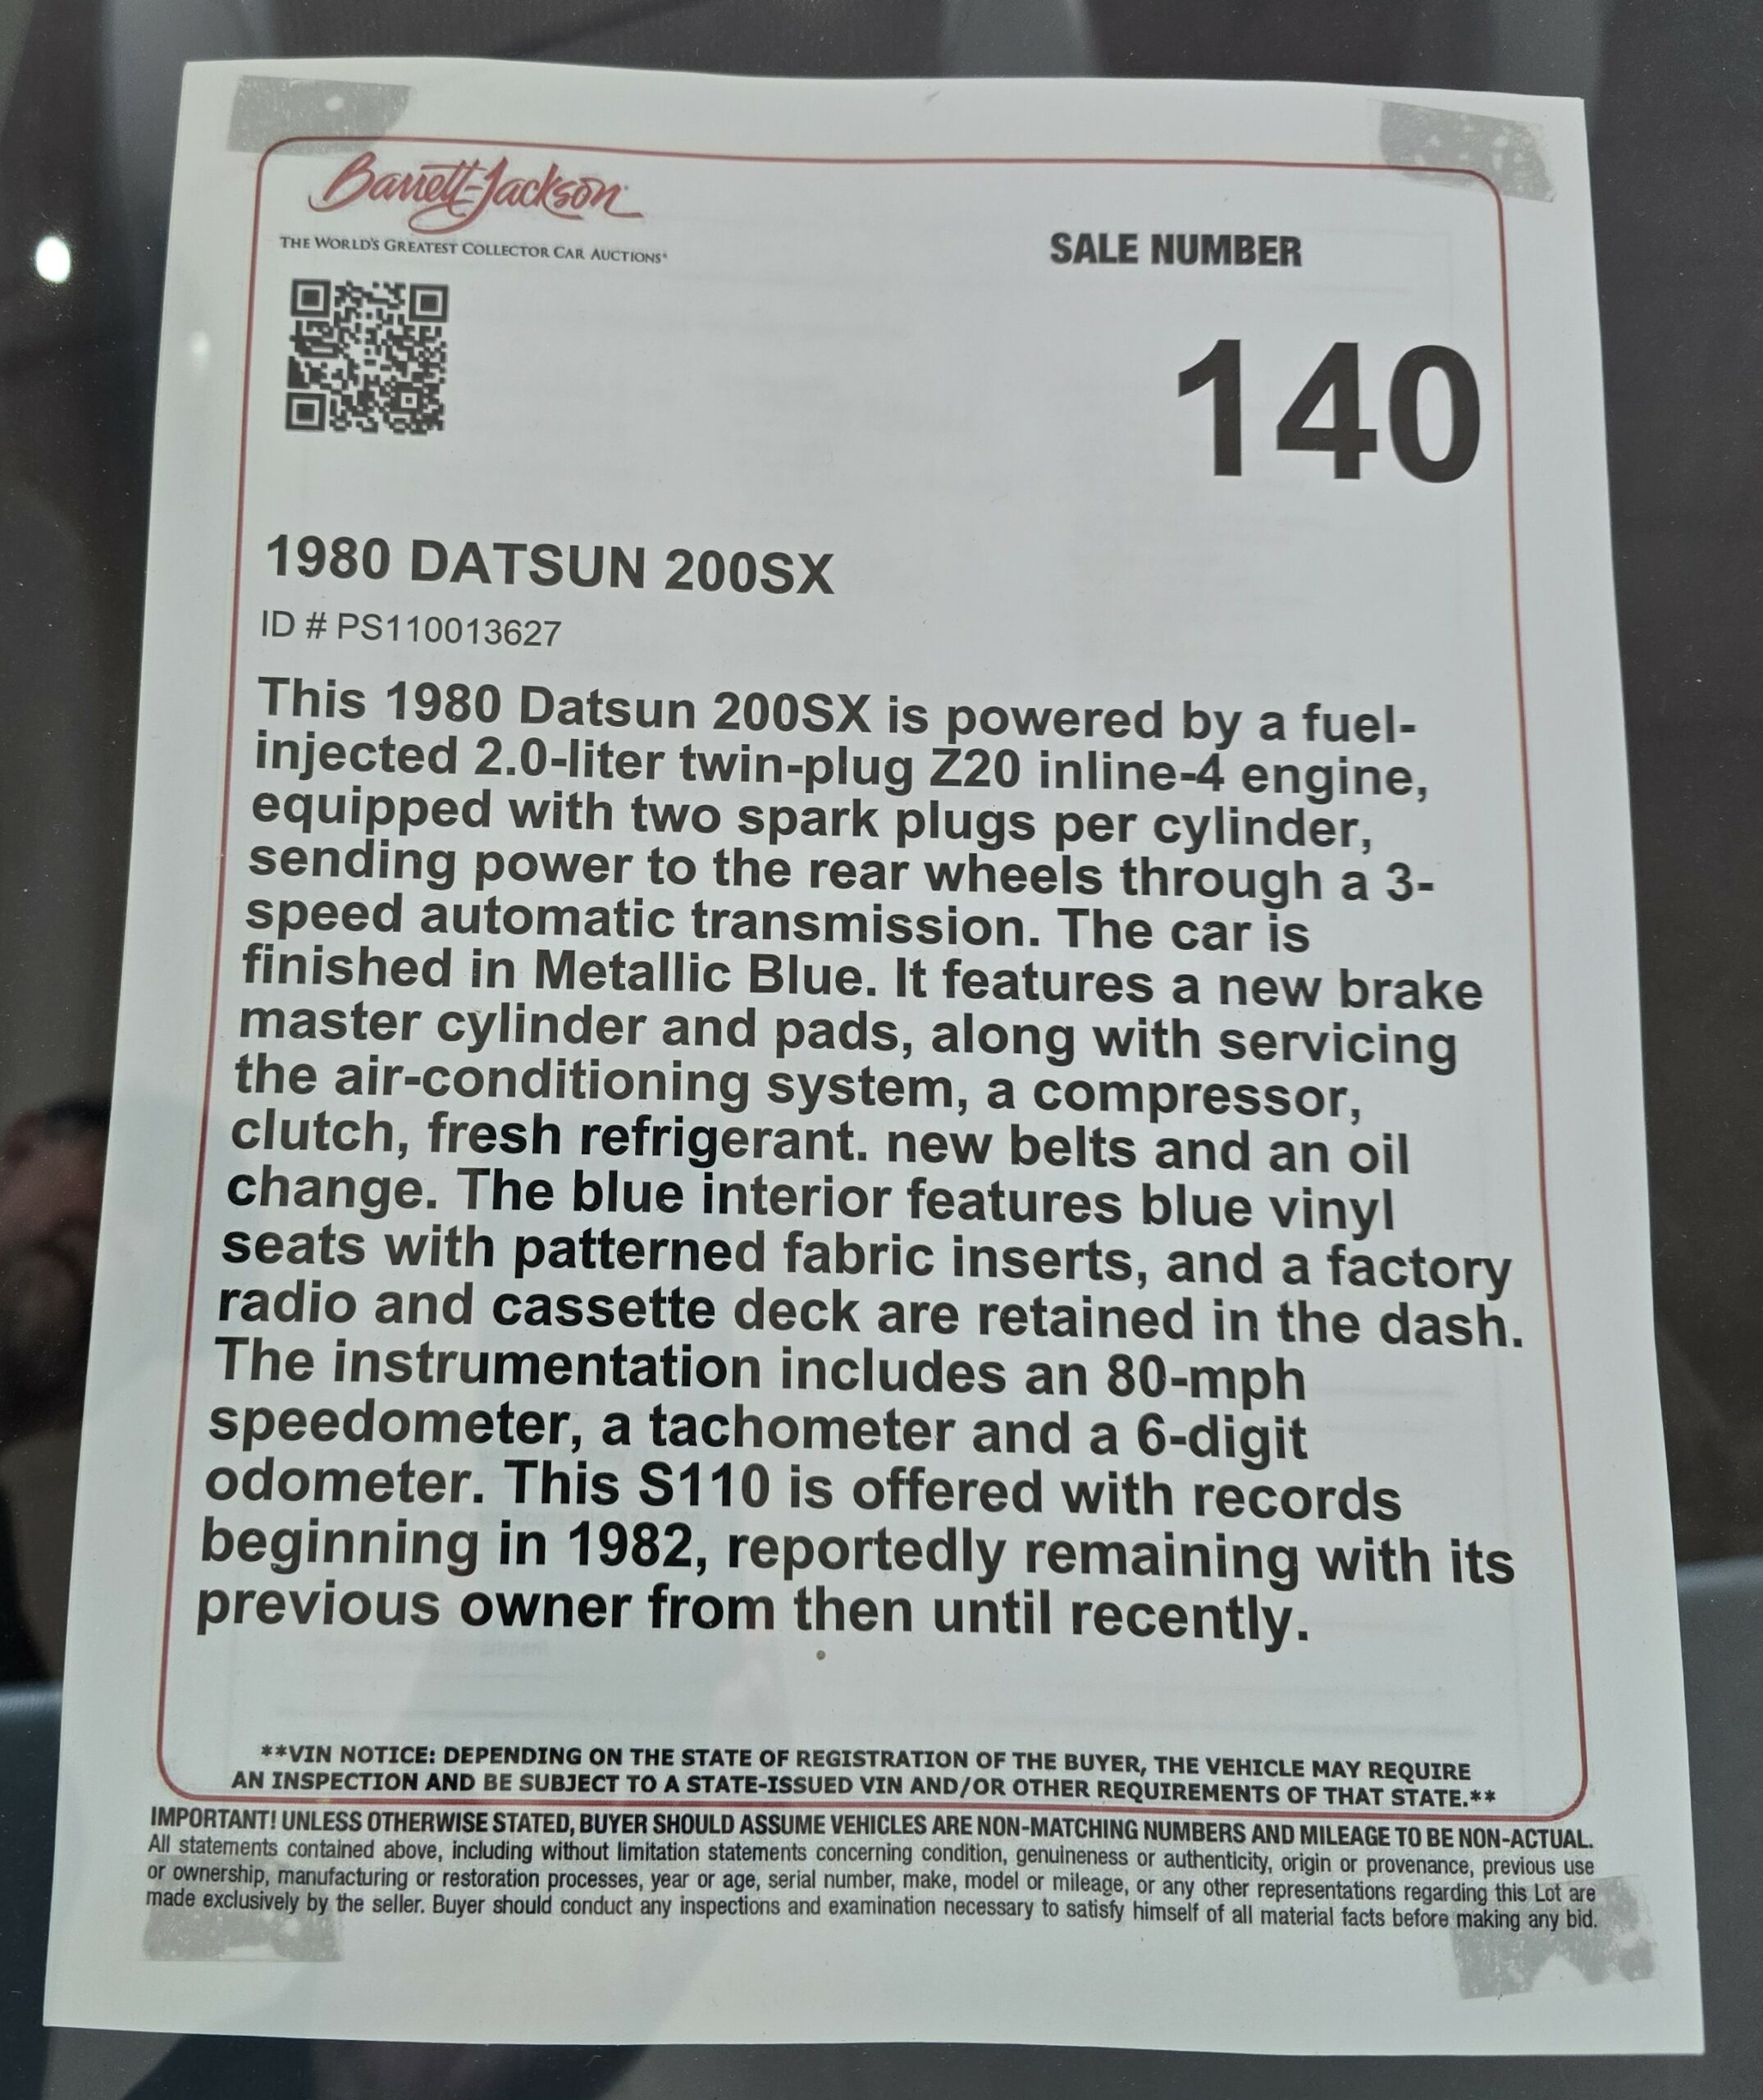
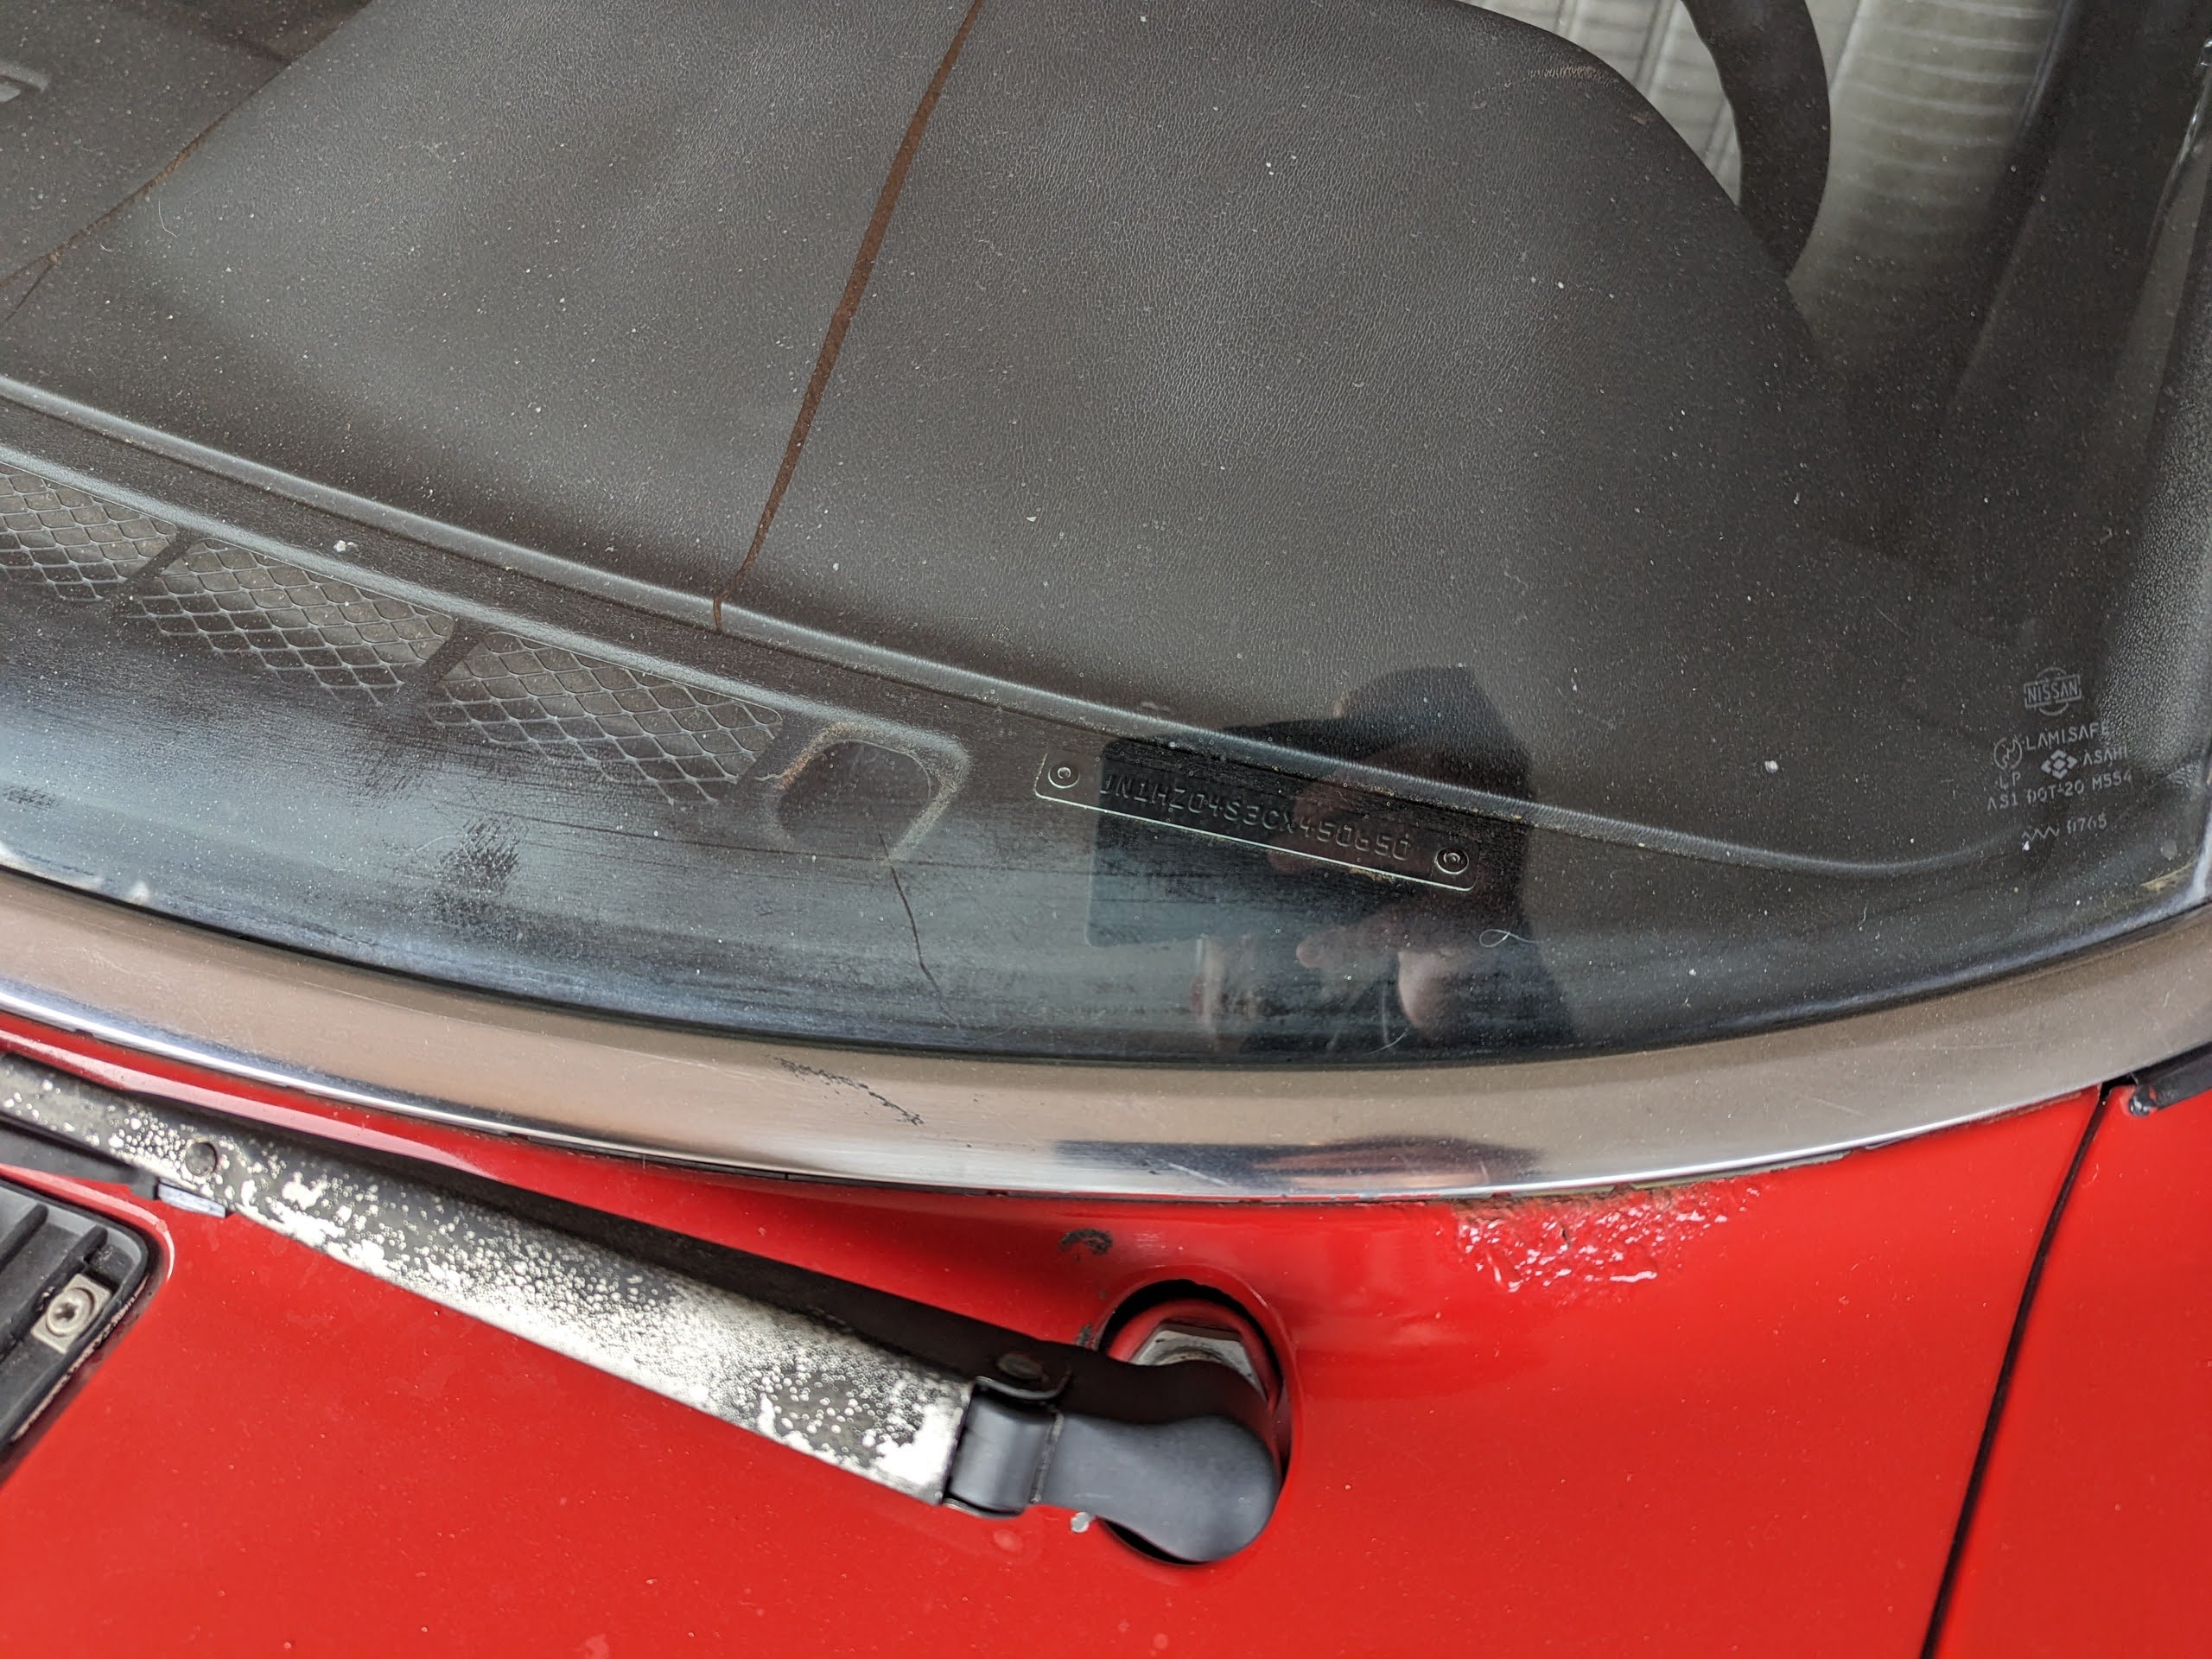
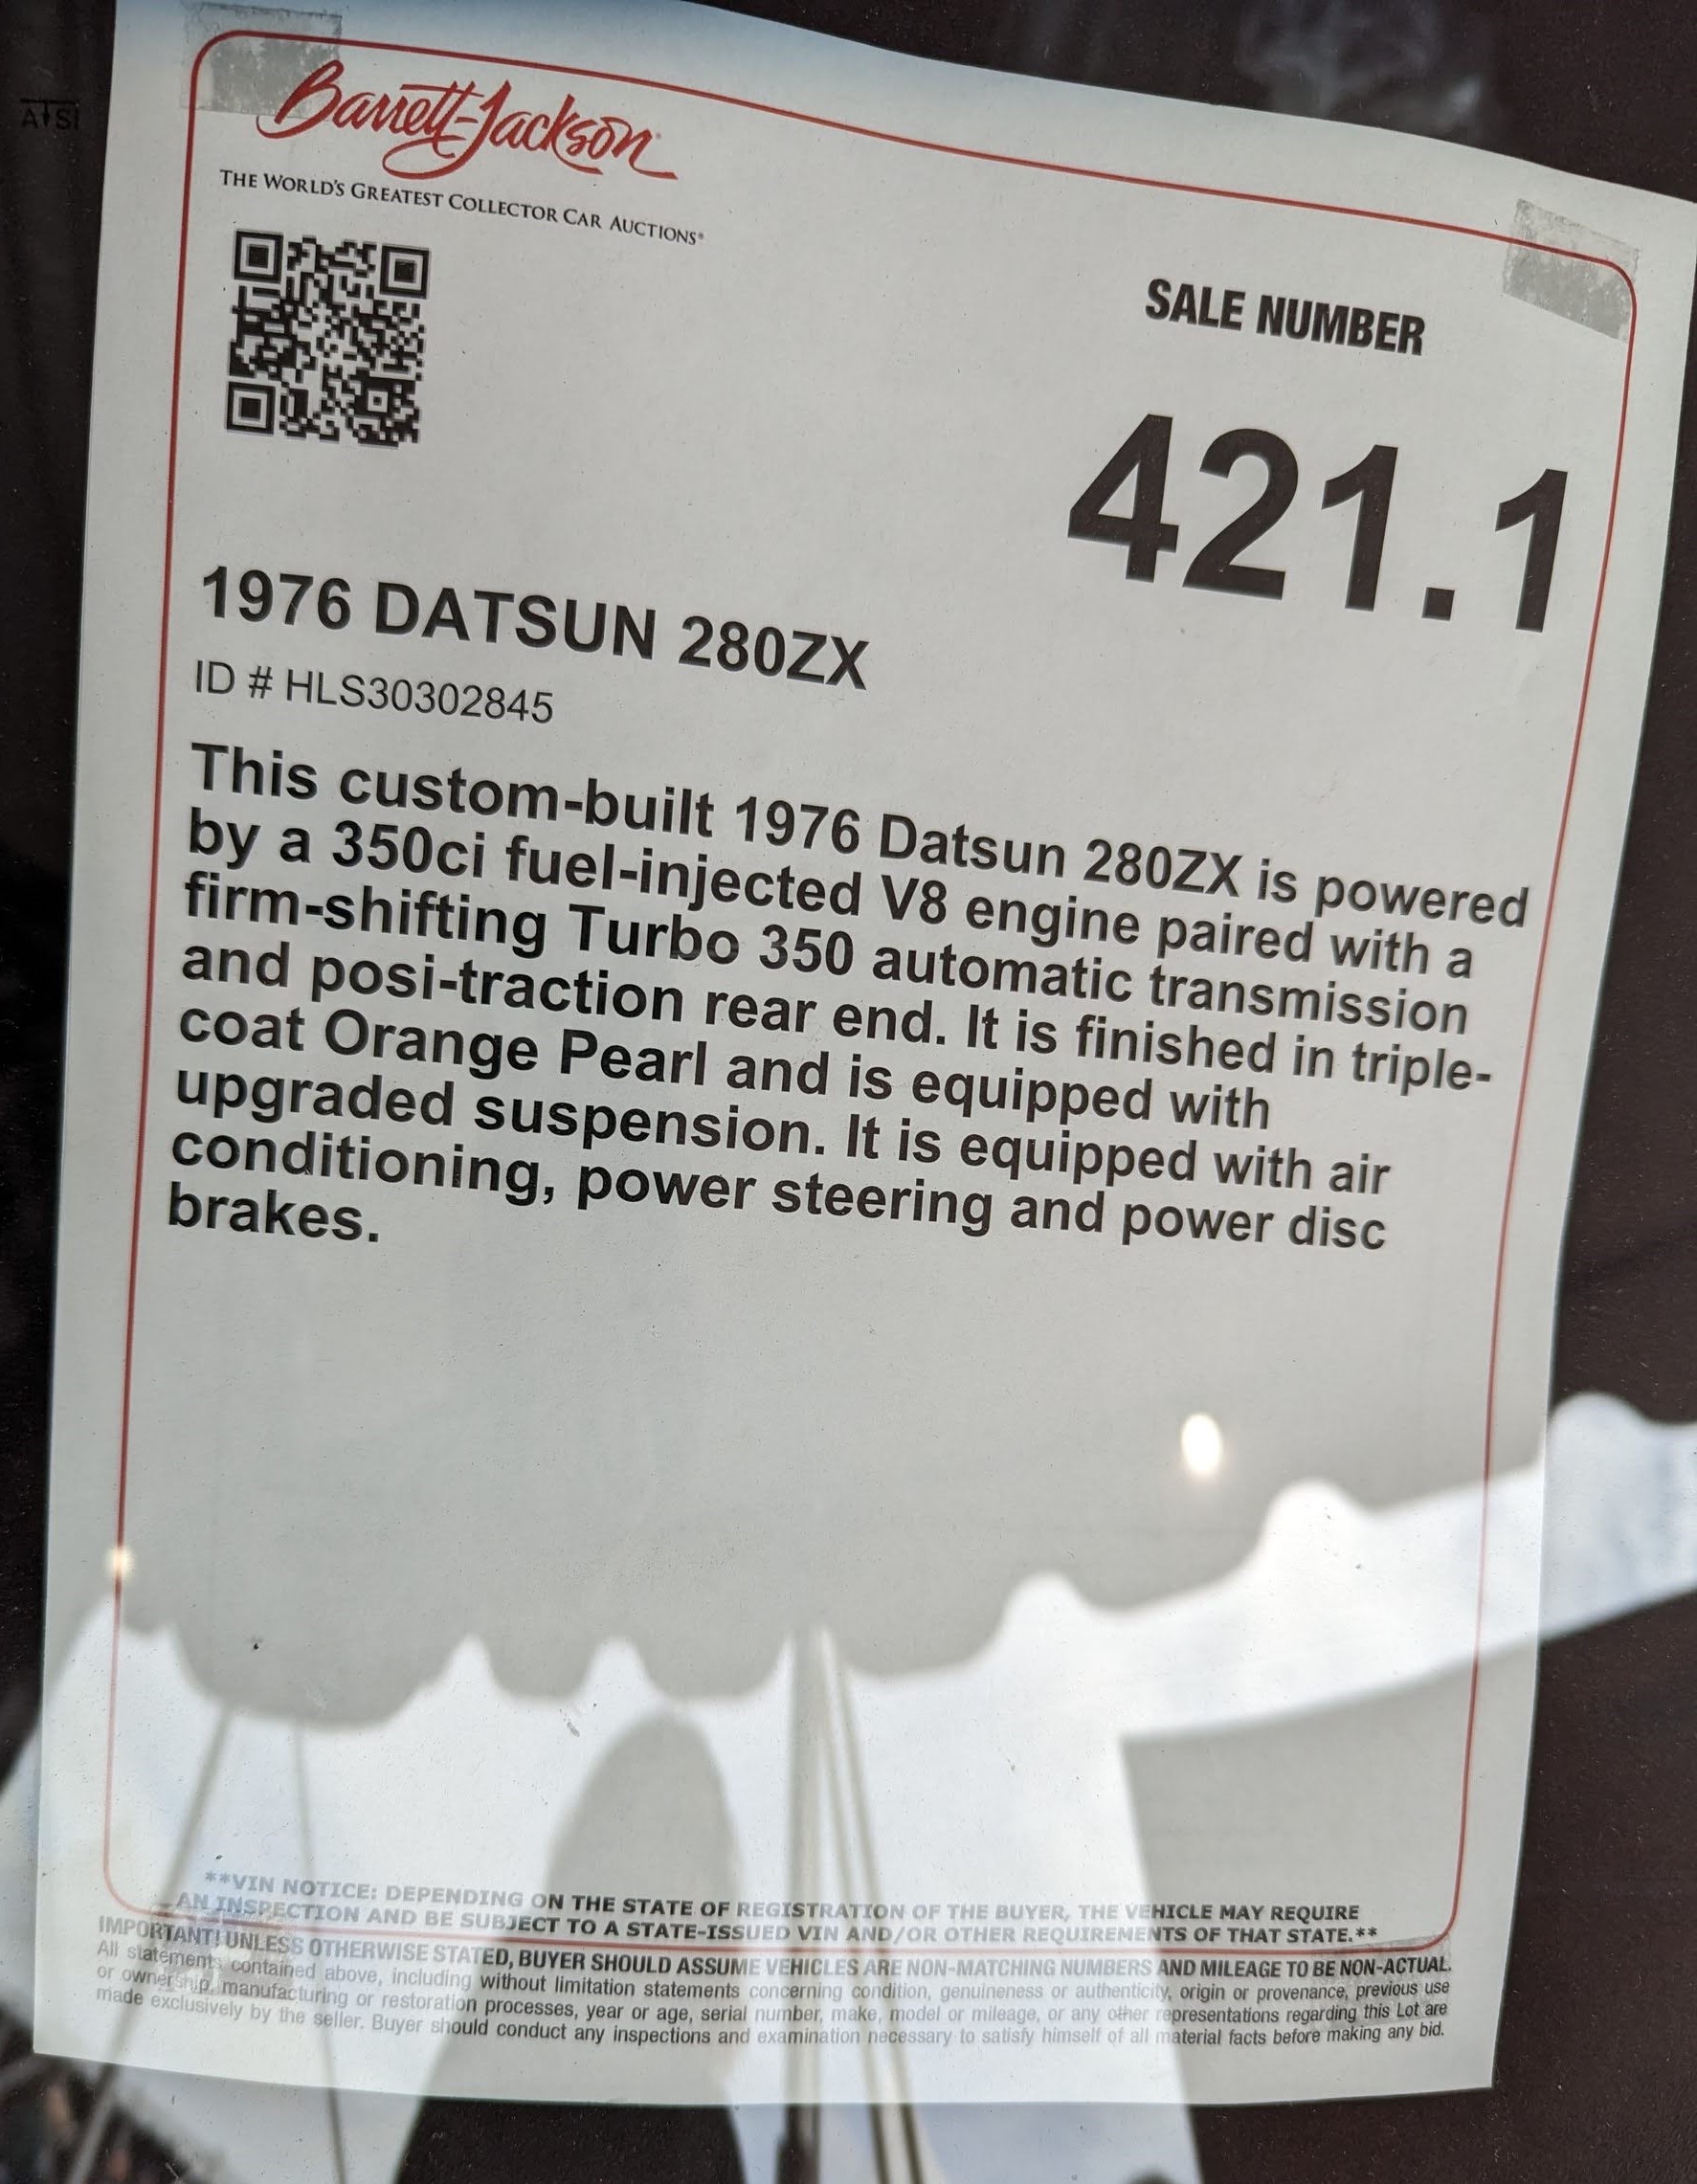
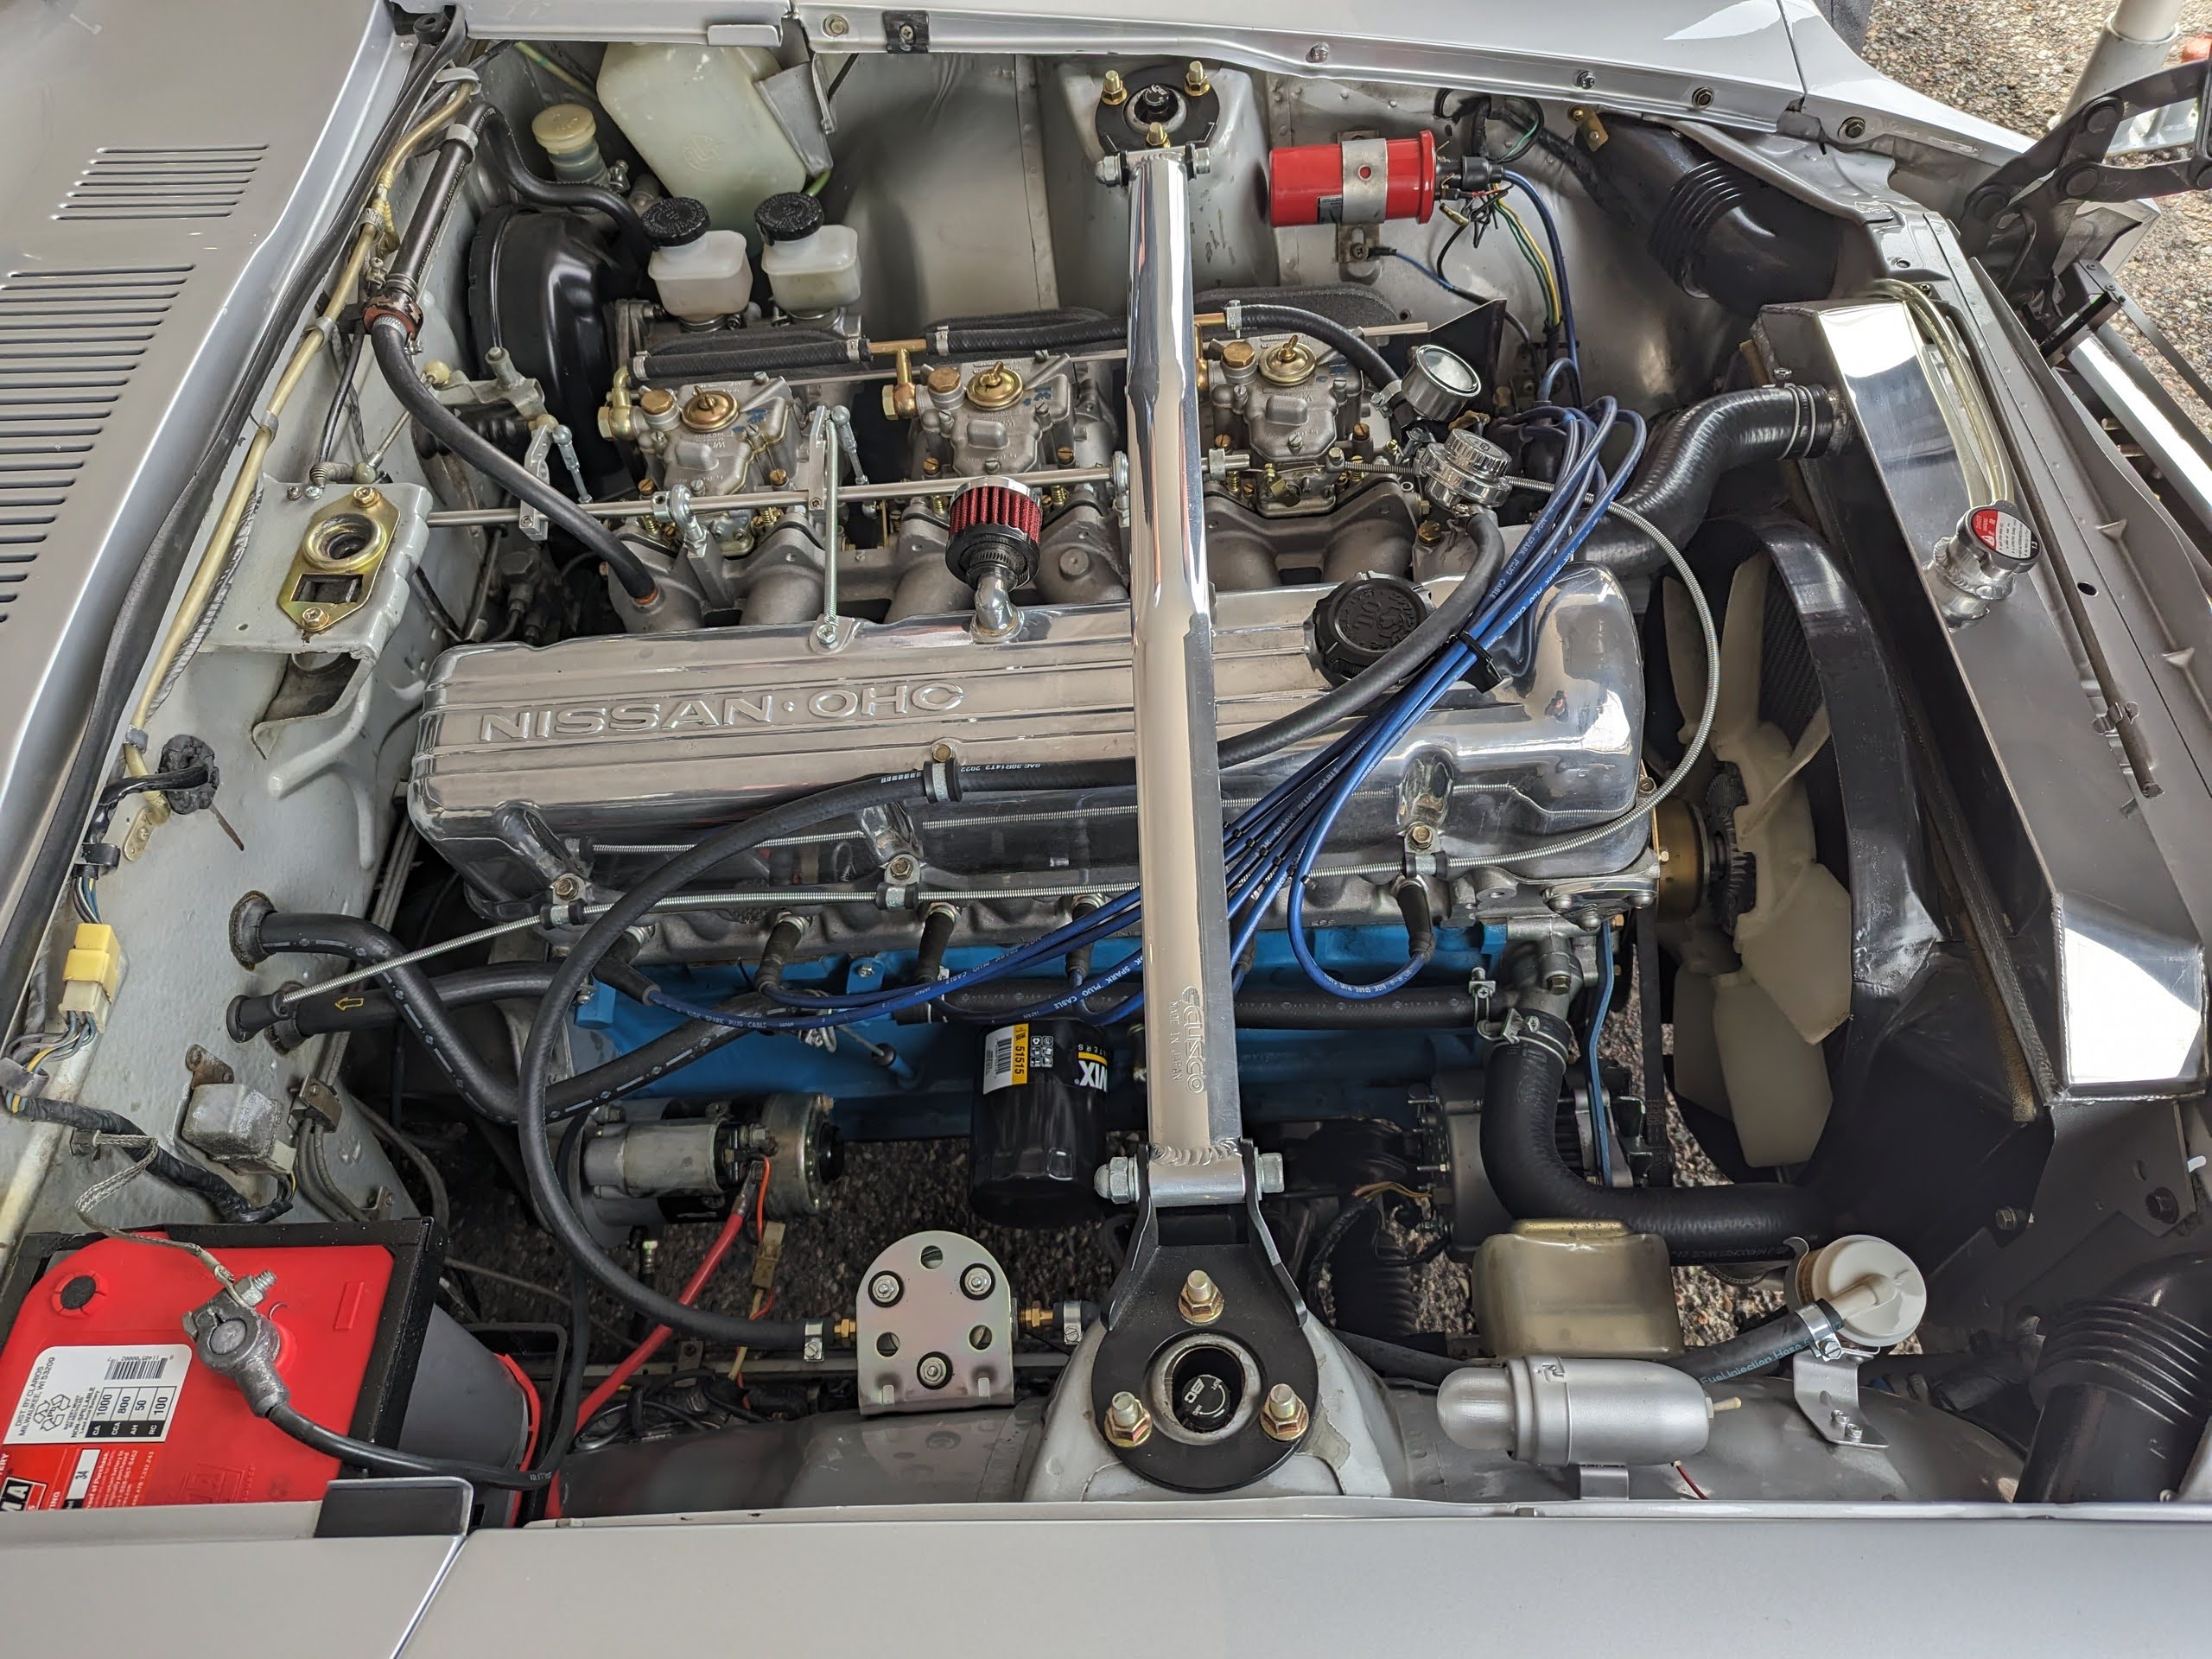
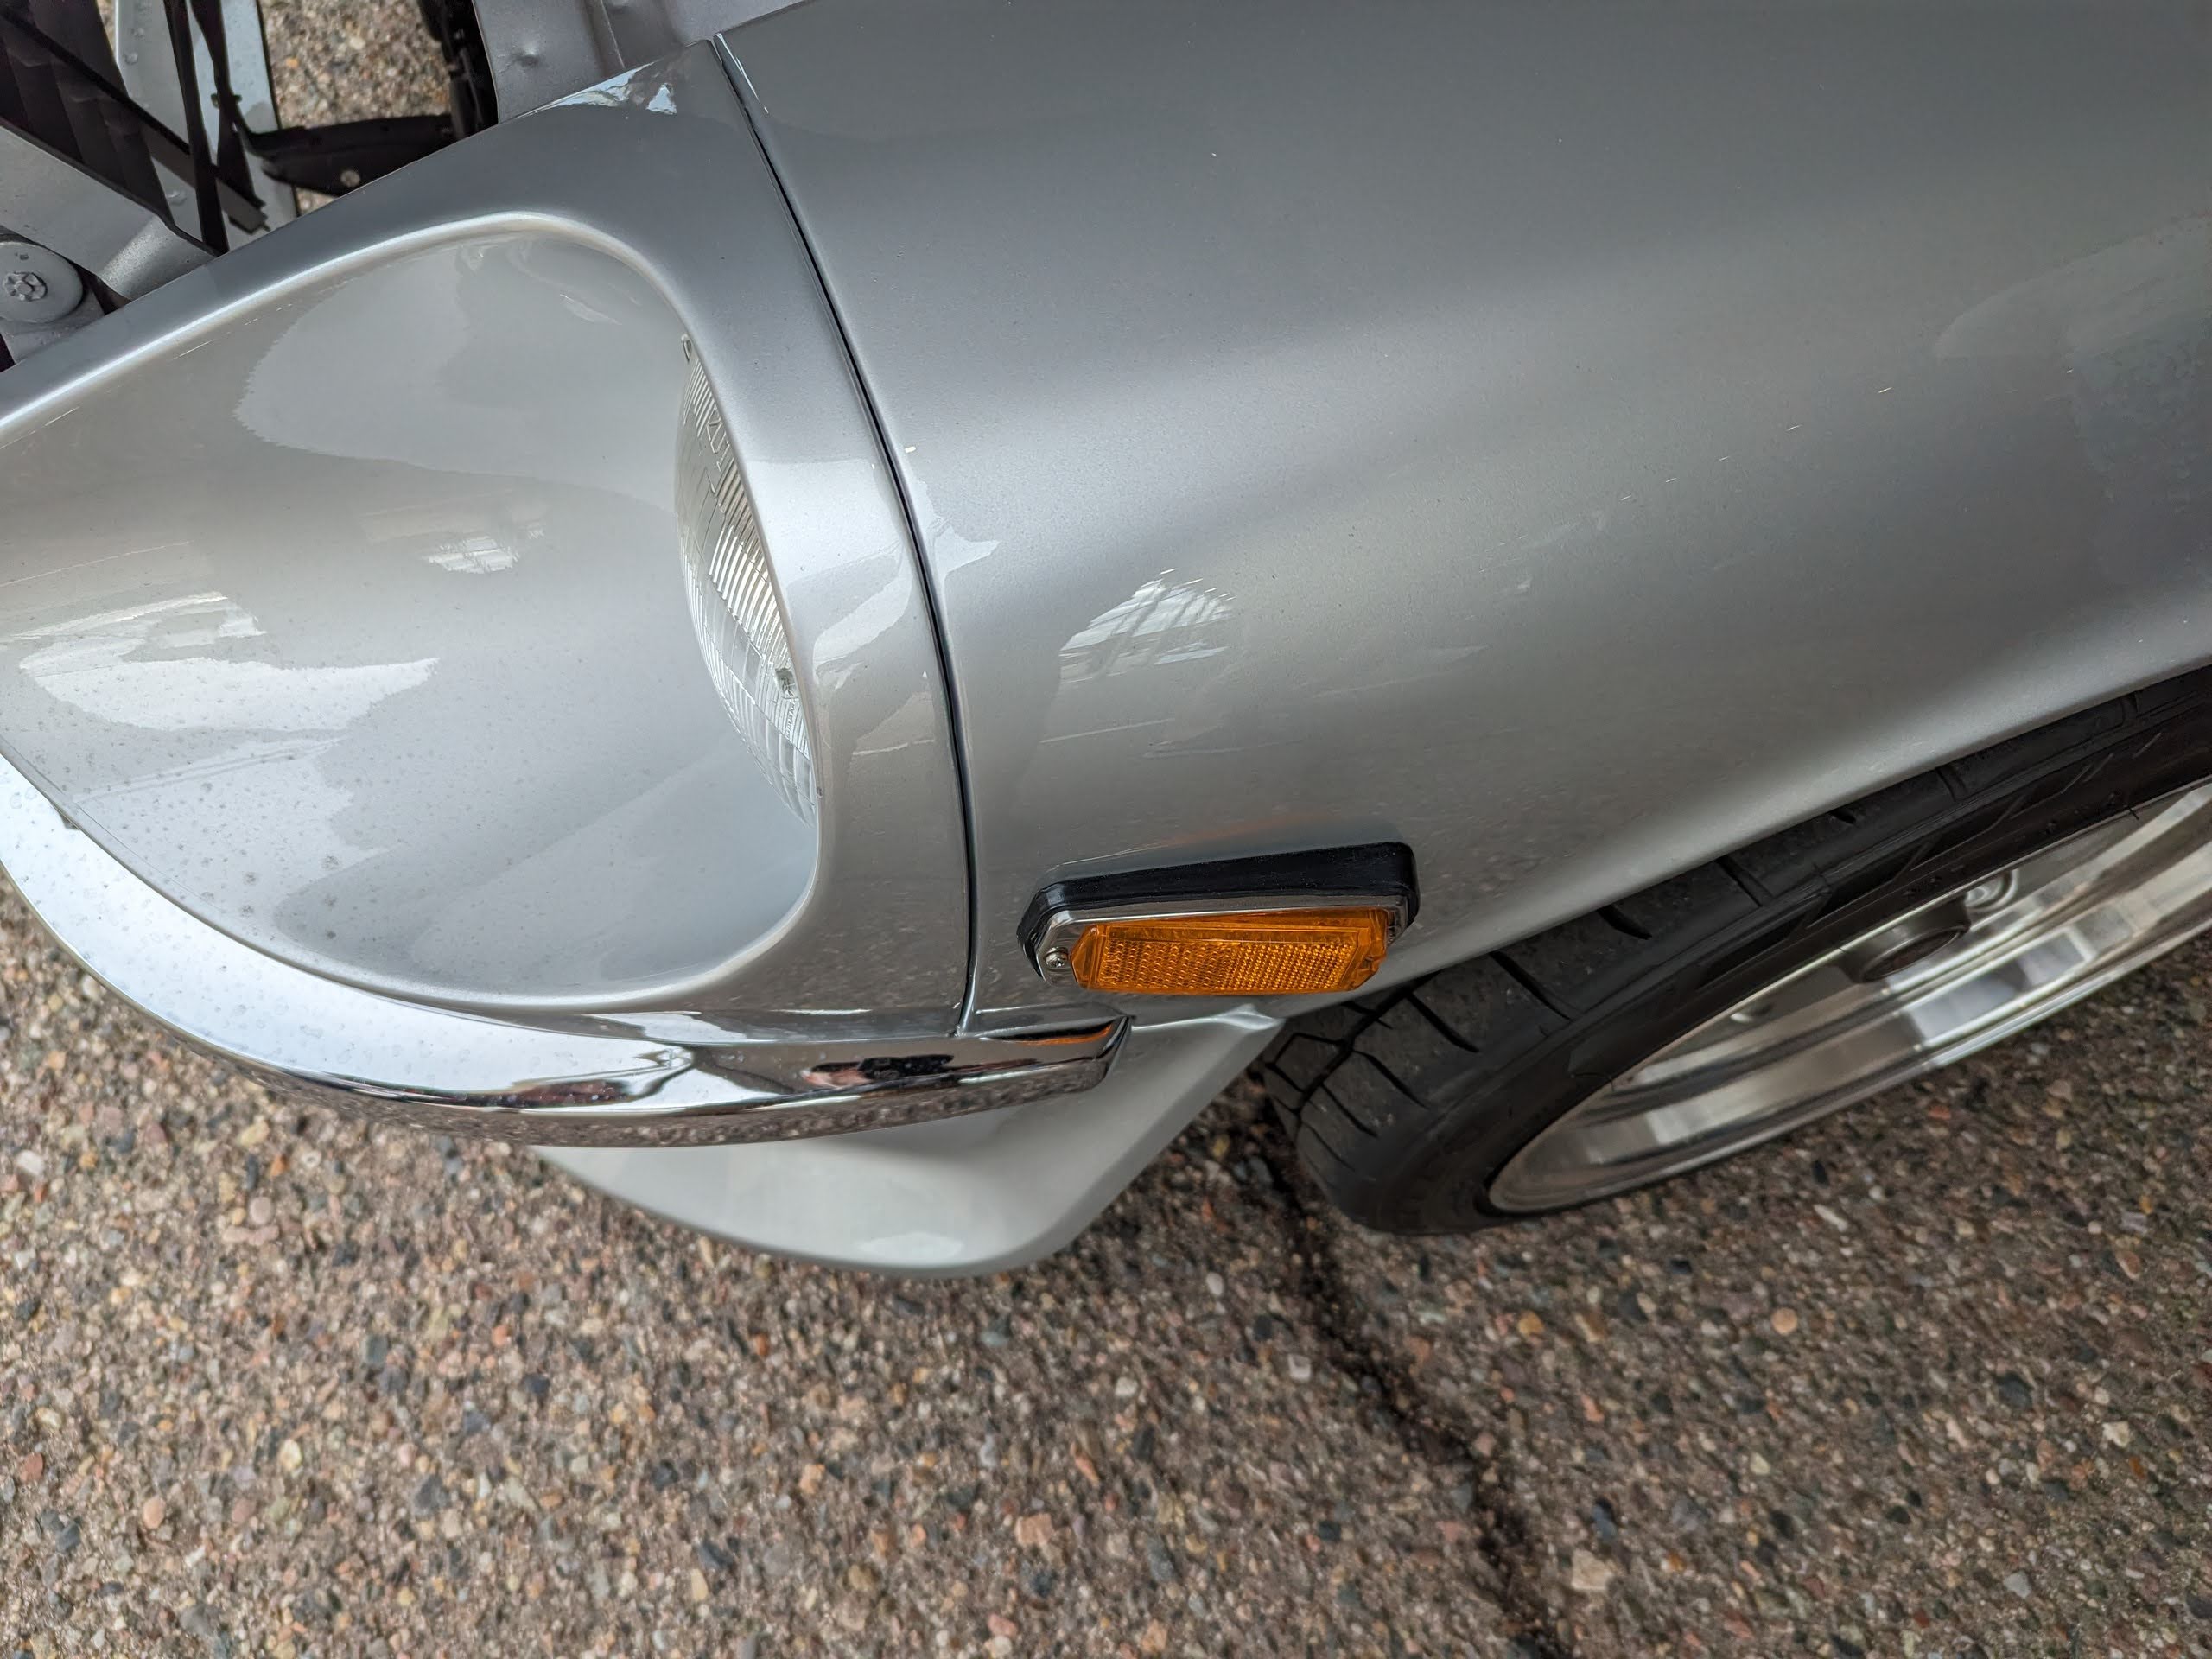
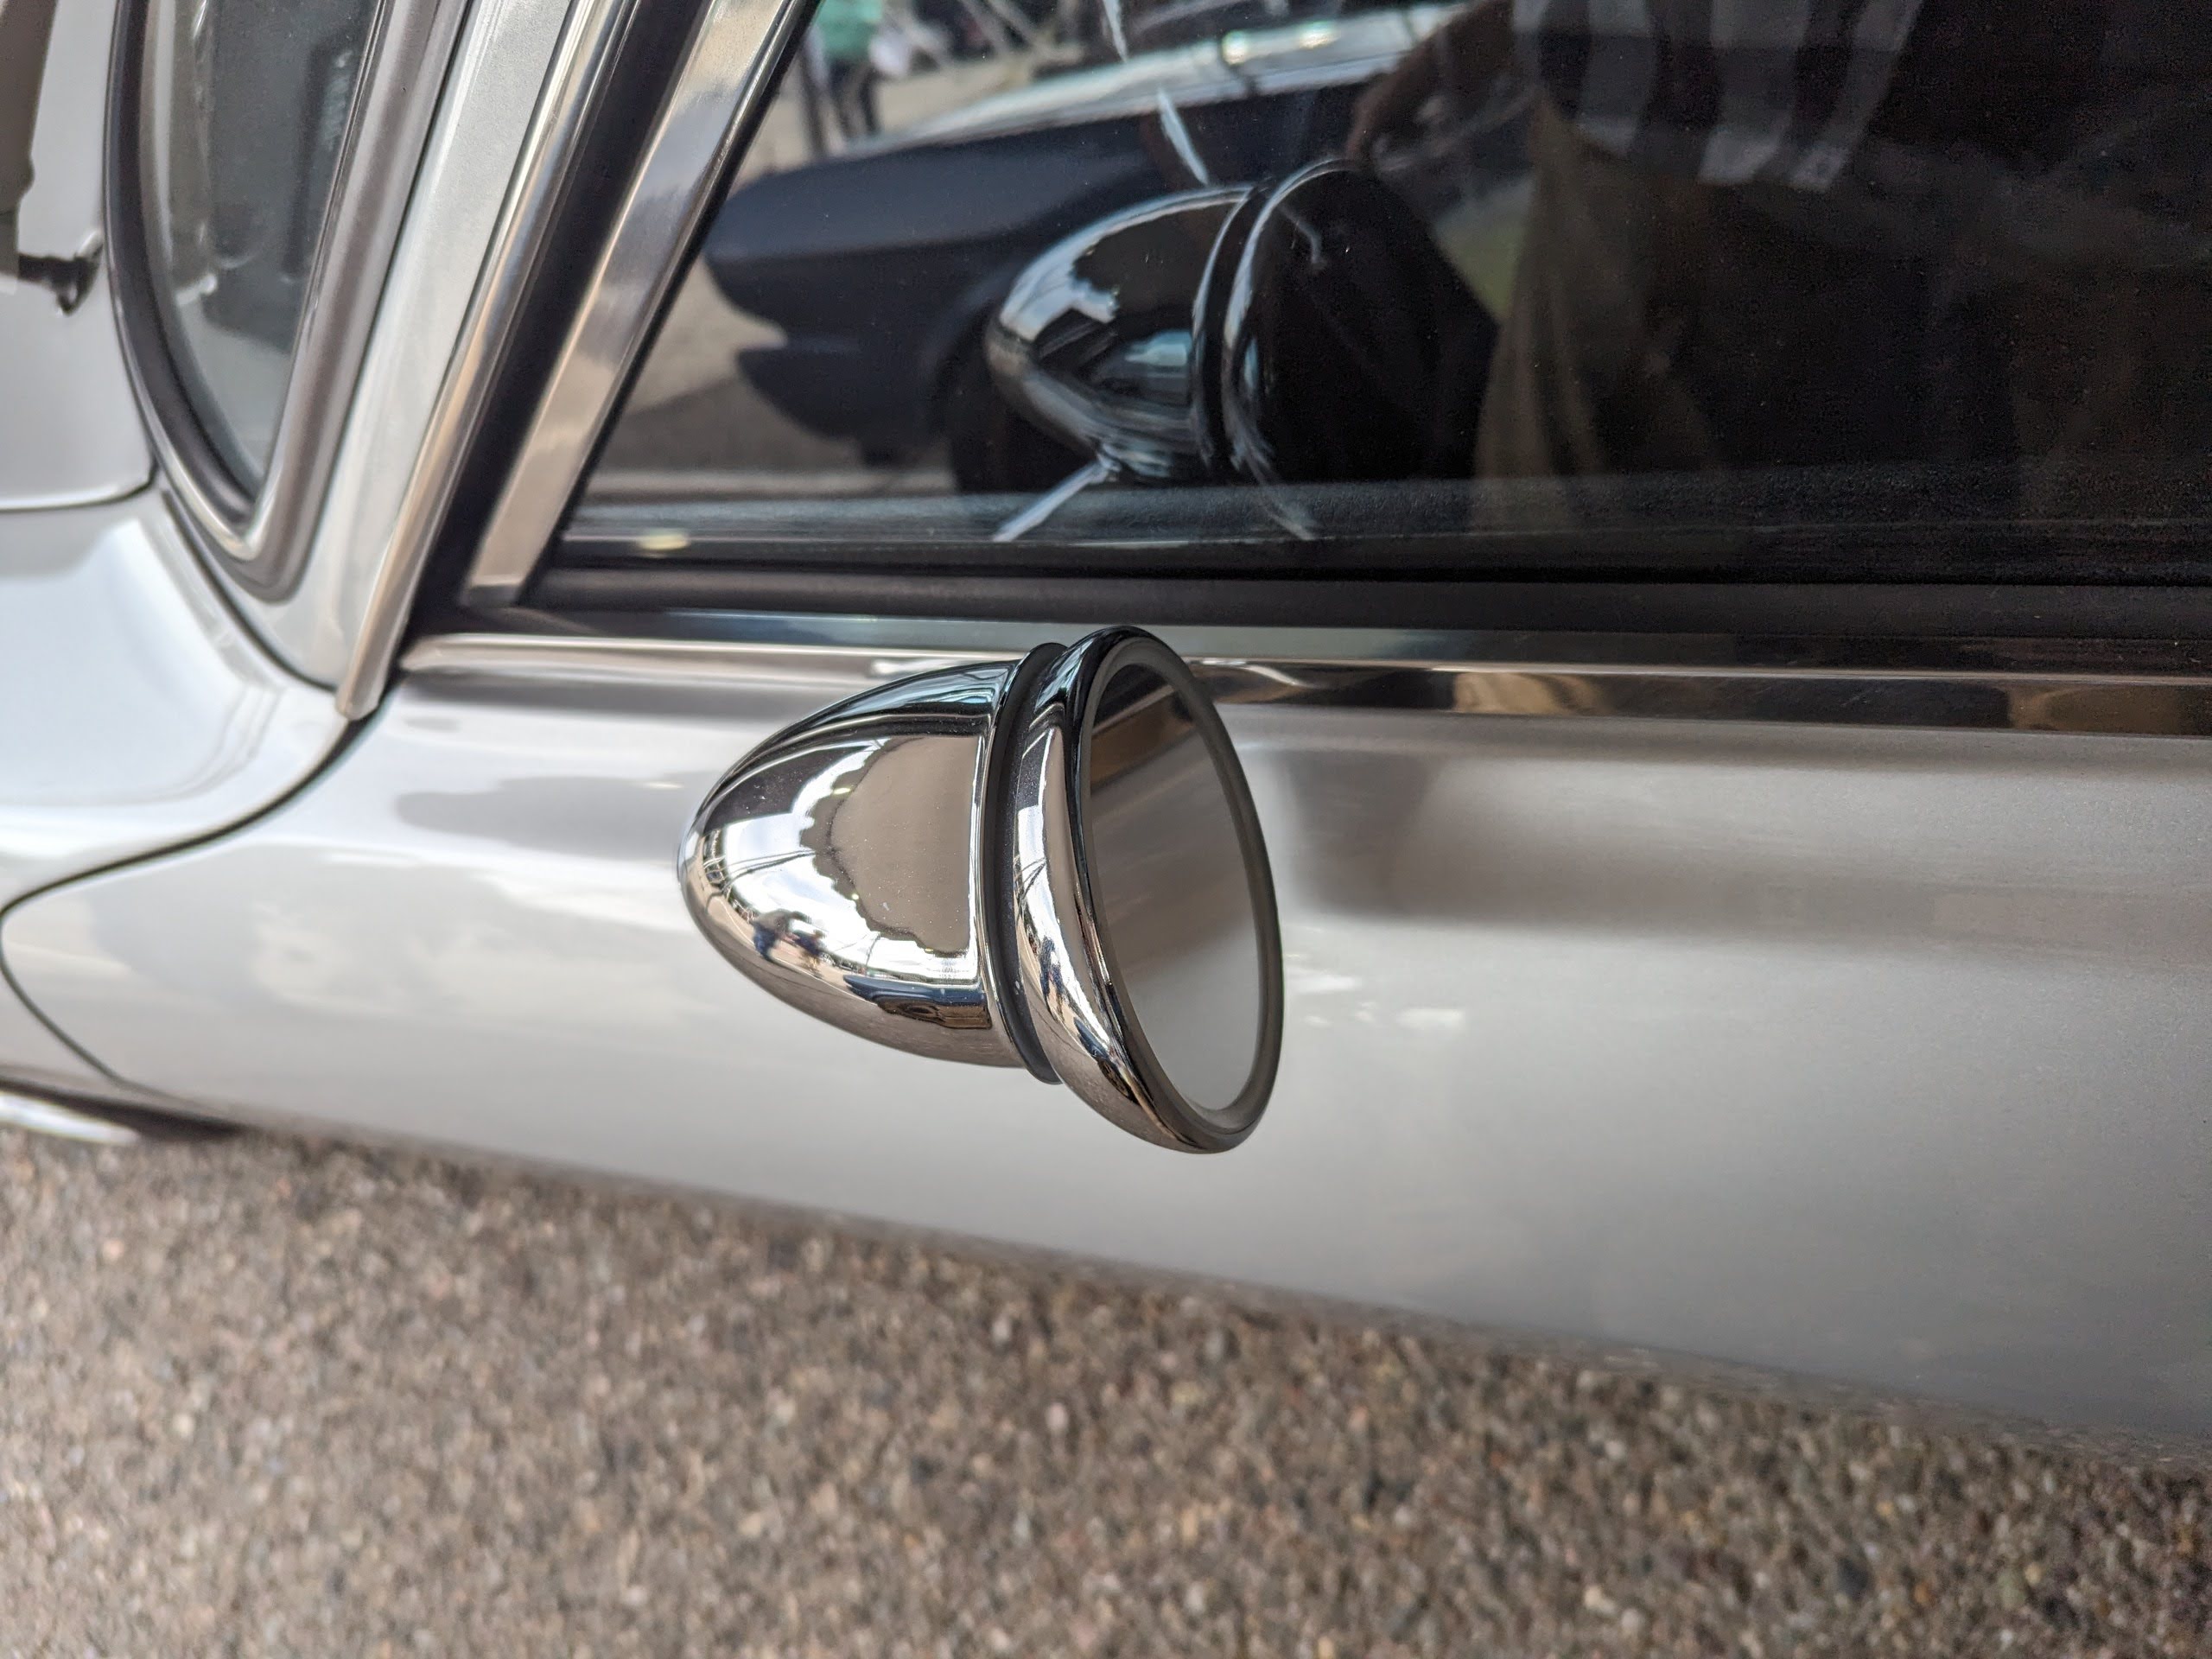
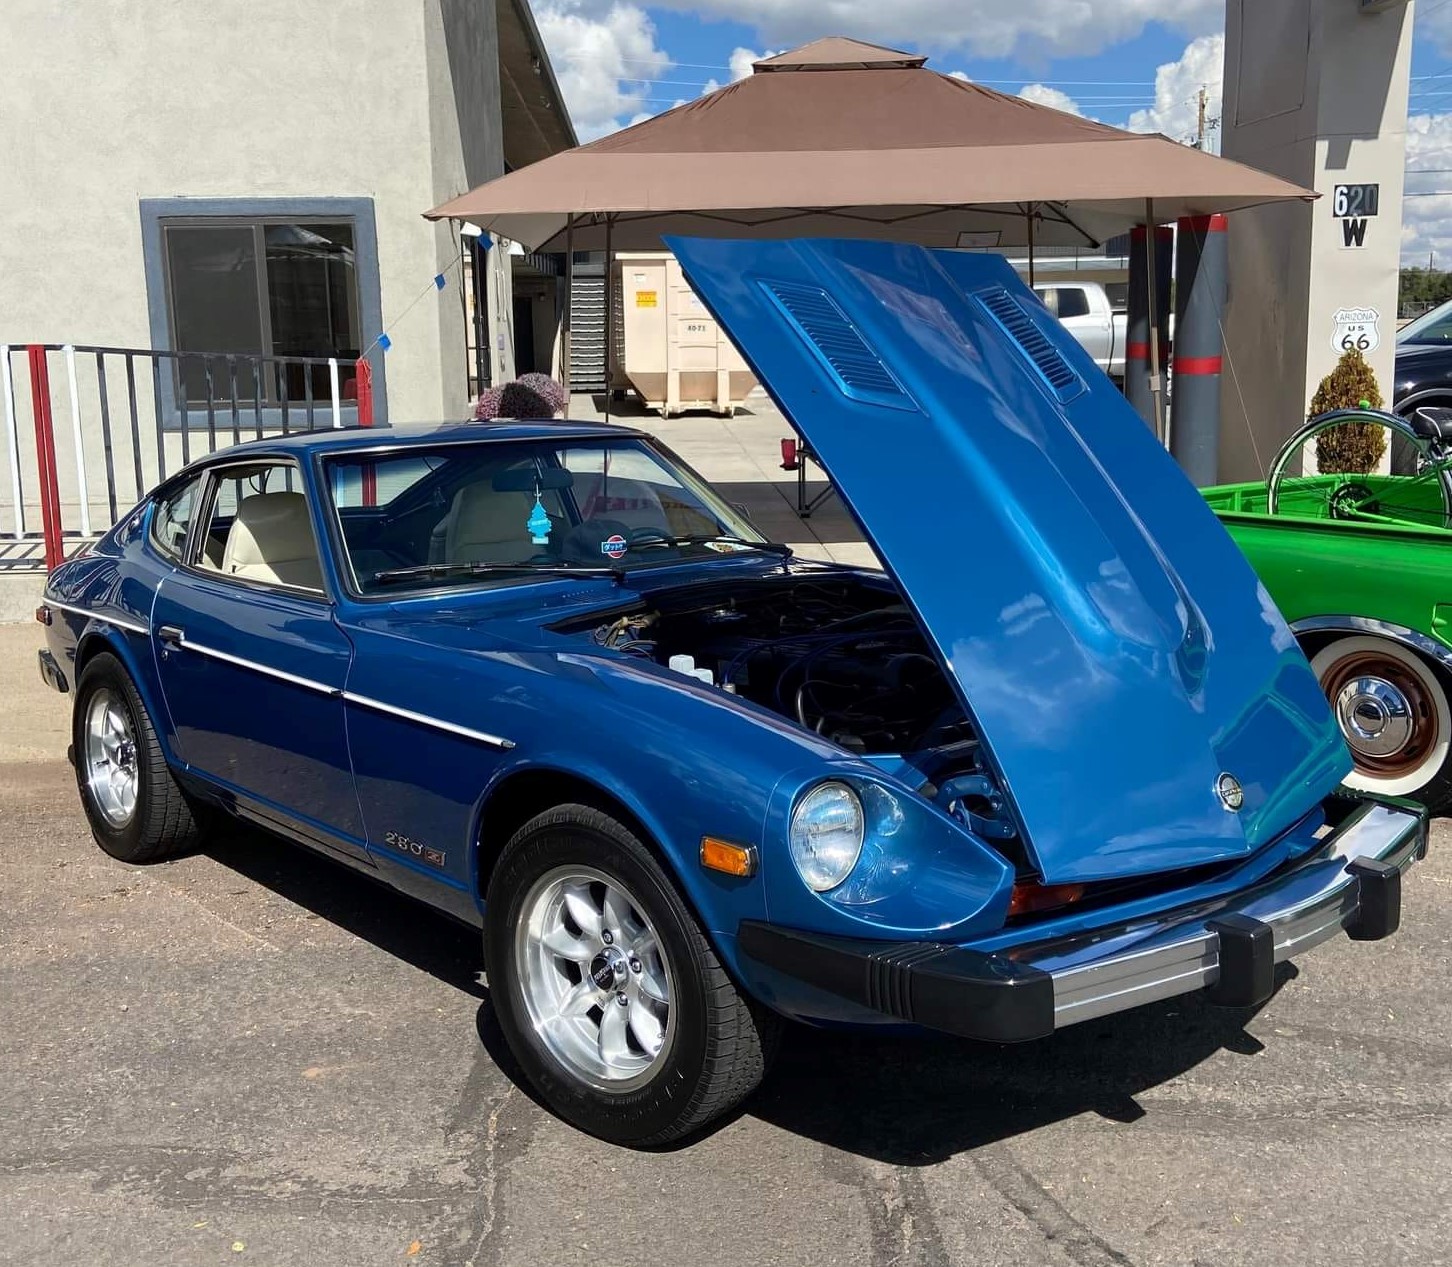
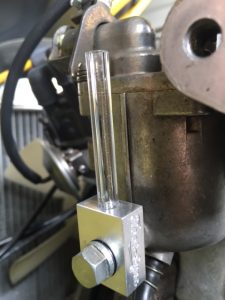
Next up: 1977 Datsun 280Z. At first glance, an interesting car, and I’m sure the bidders were impressed by its 30-foot presentation. Appeared to be a quickie build, with the original drivetrain, very little underhood work, horrid panel gaps, a dash cap, ebay wheels, and some questionable mods. As a restorer and collector, little details go a long way, and when they’re missed, it’s painfully obvious. This one had a glaring example of “measure twice, drill once – and once you see it in the pics below, it really calls the rest of the build into question. Bidders don’t have our level of discernment, and this one hammered at a VERY optimistic $27,500.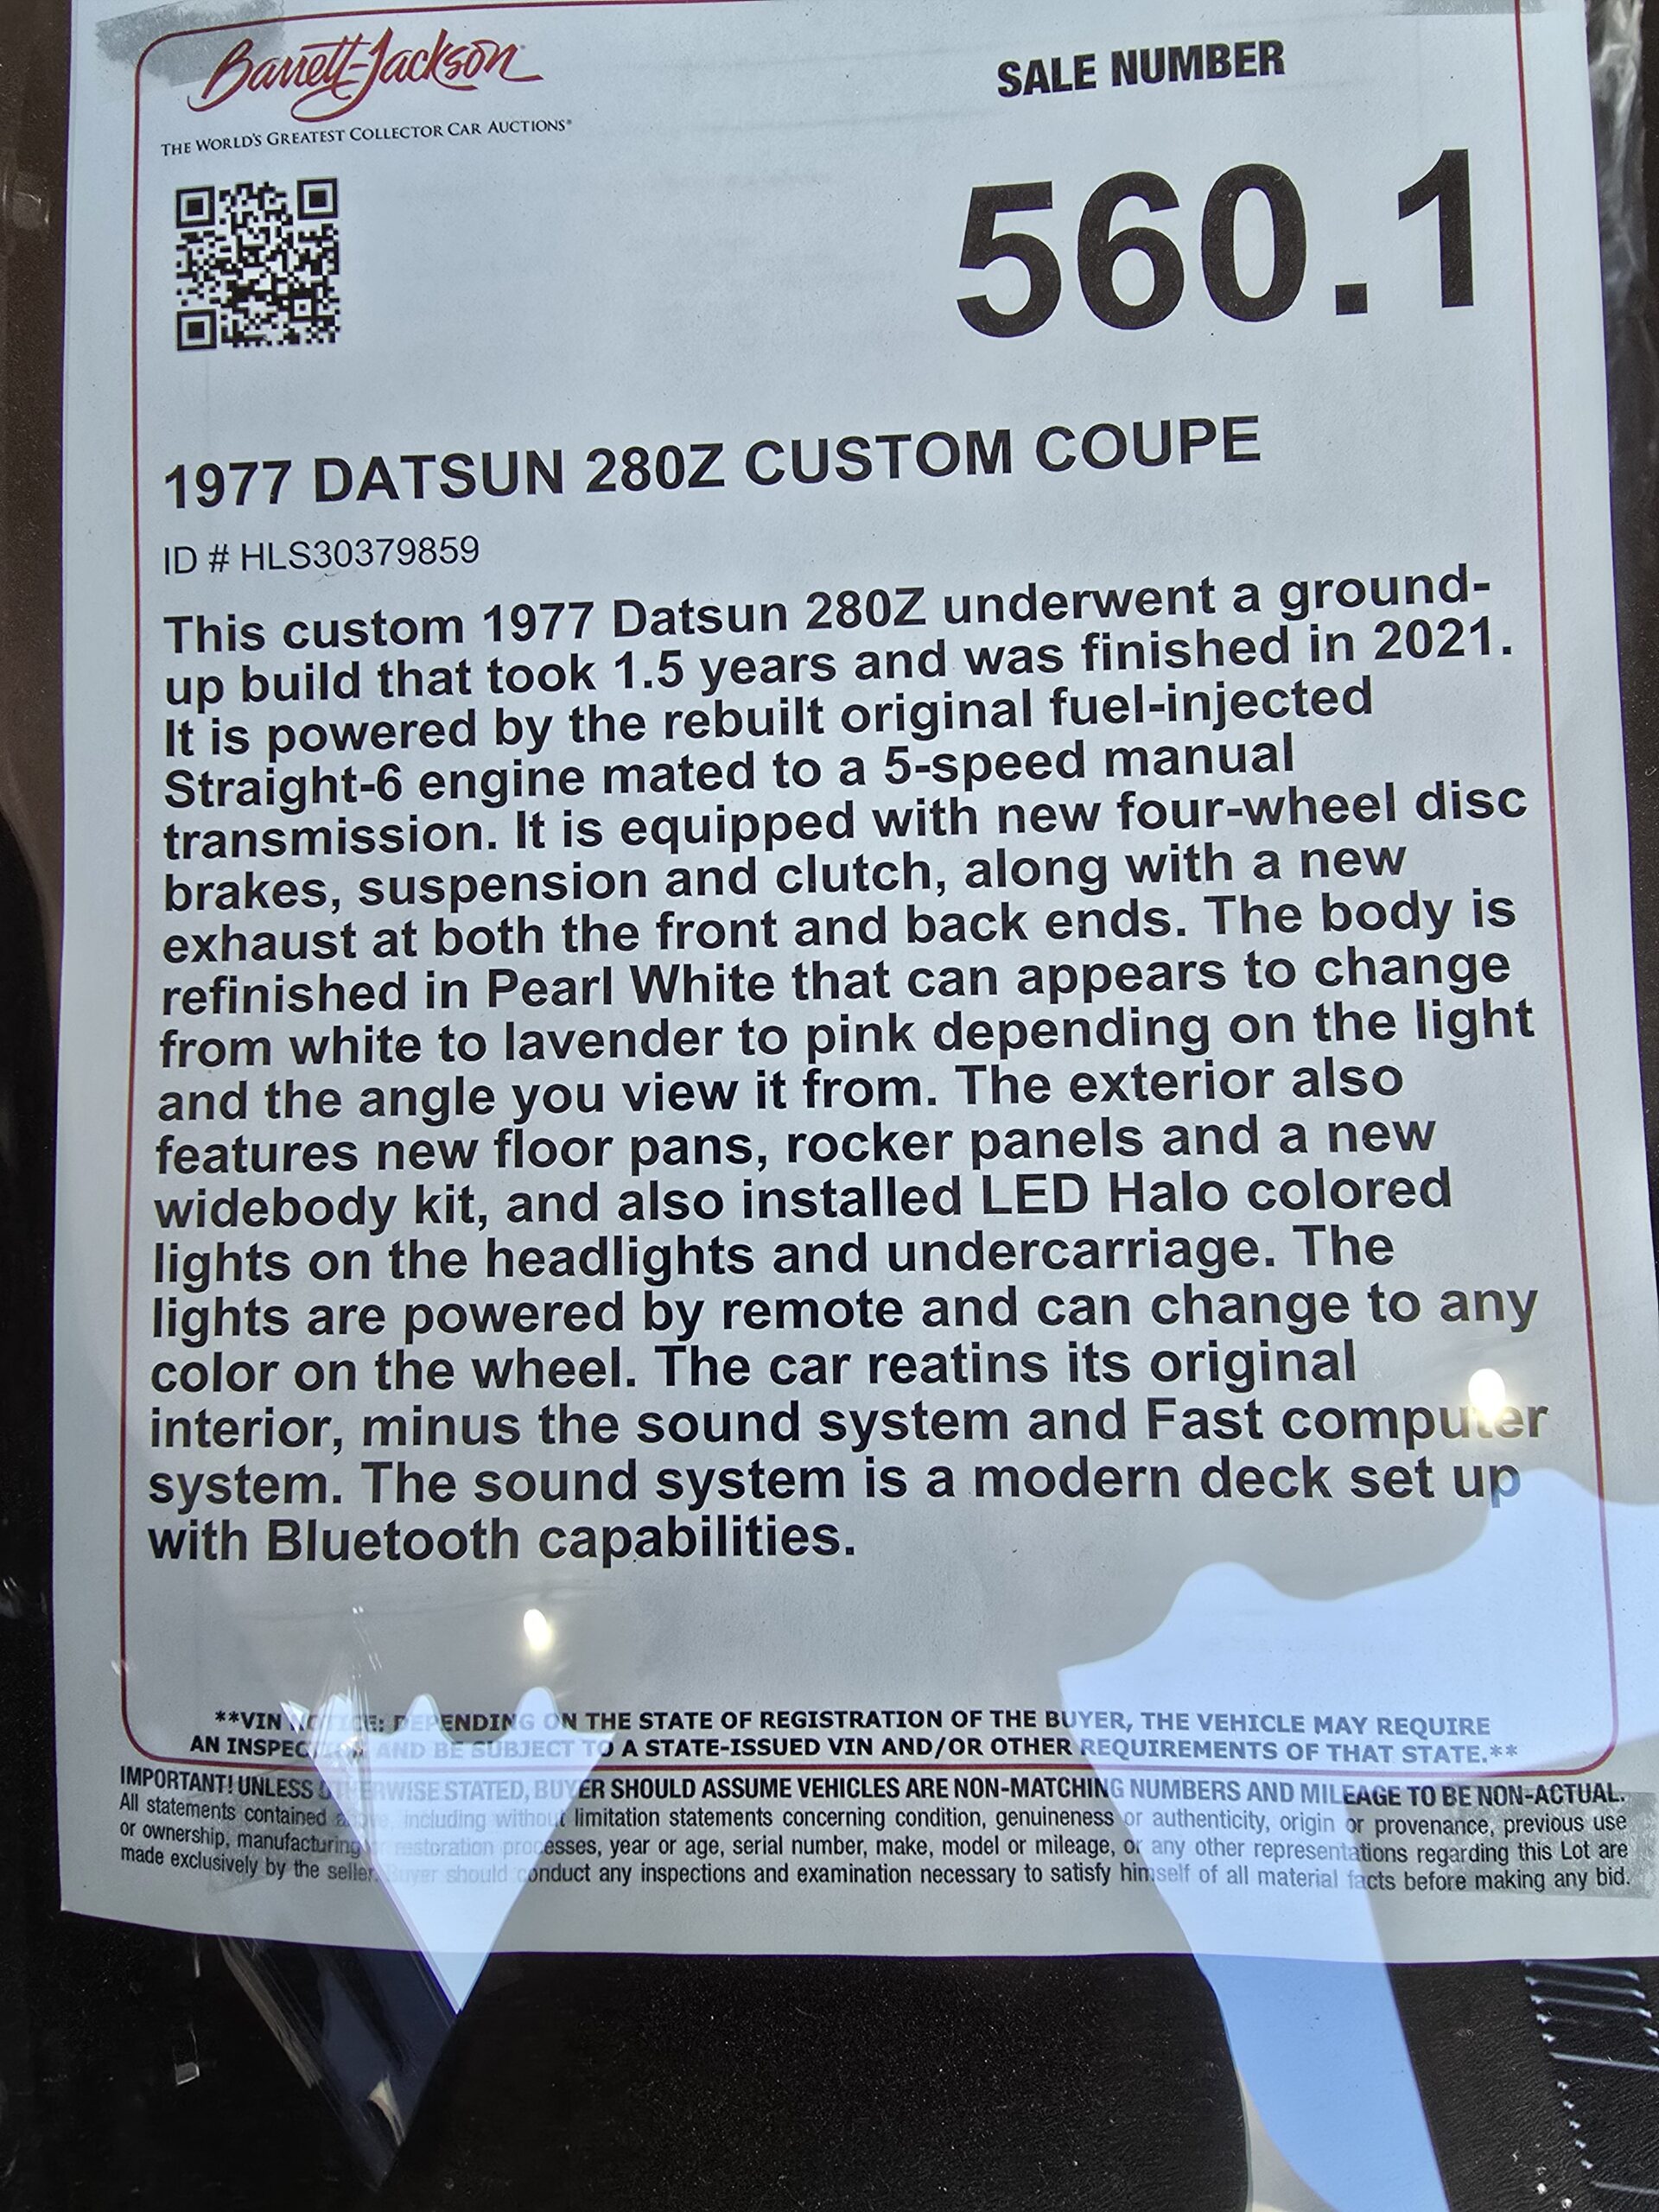
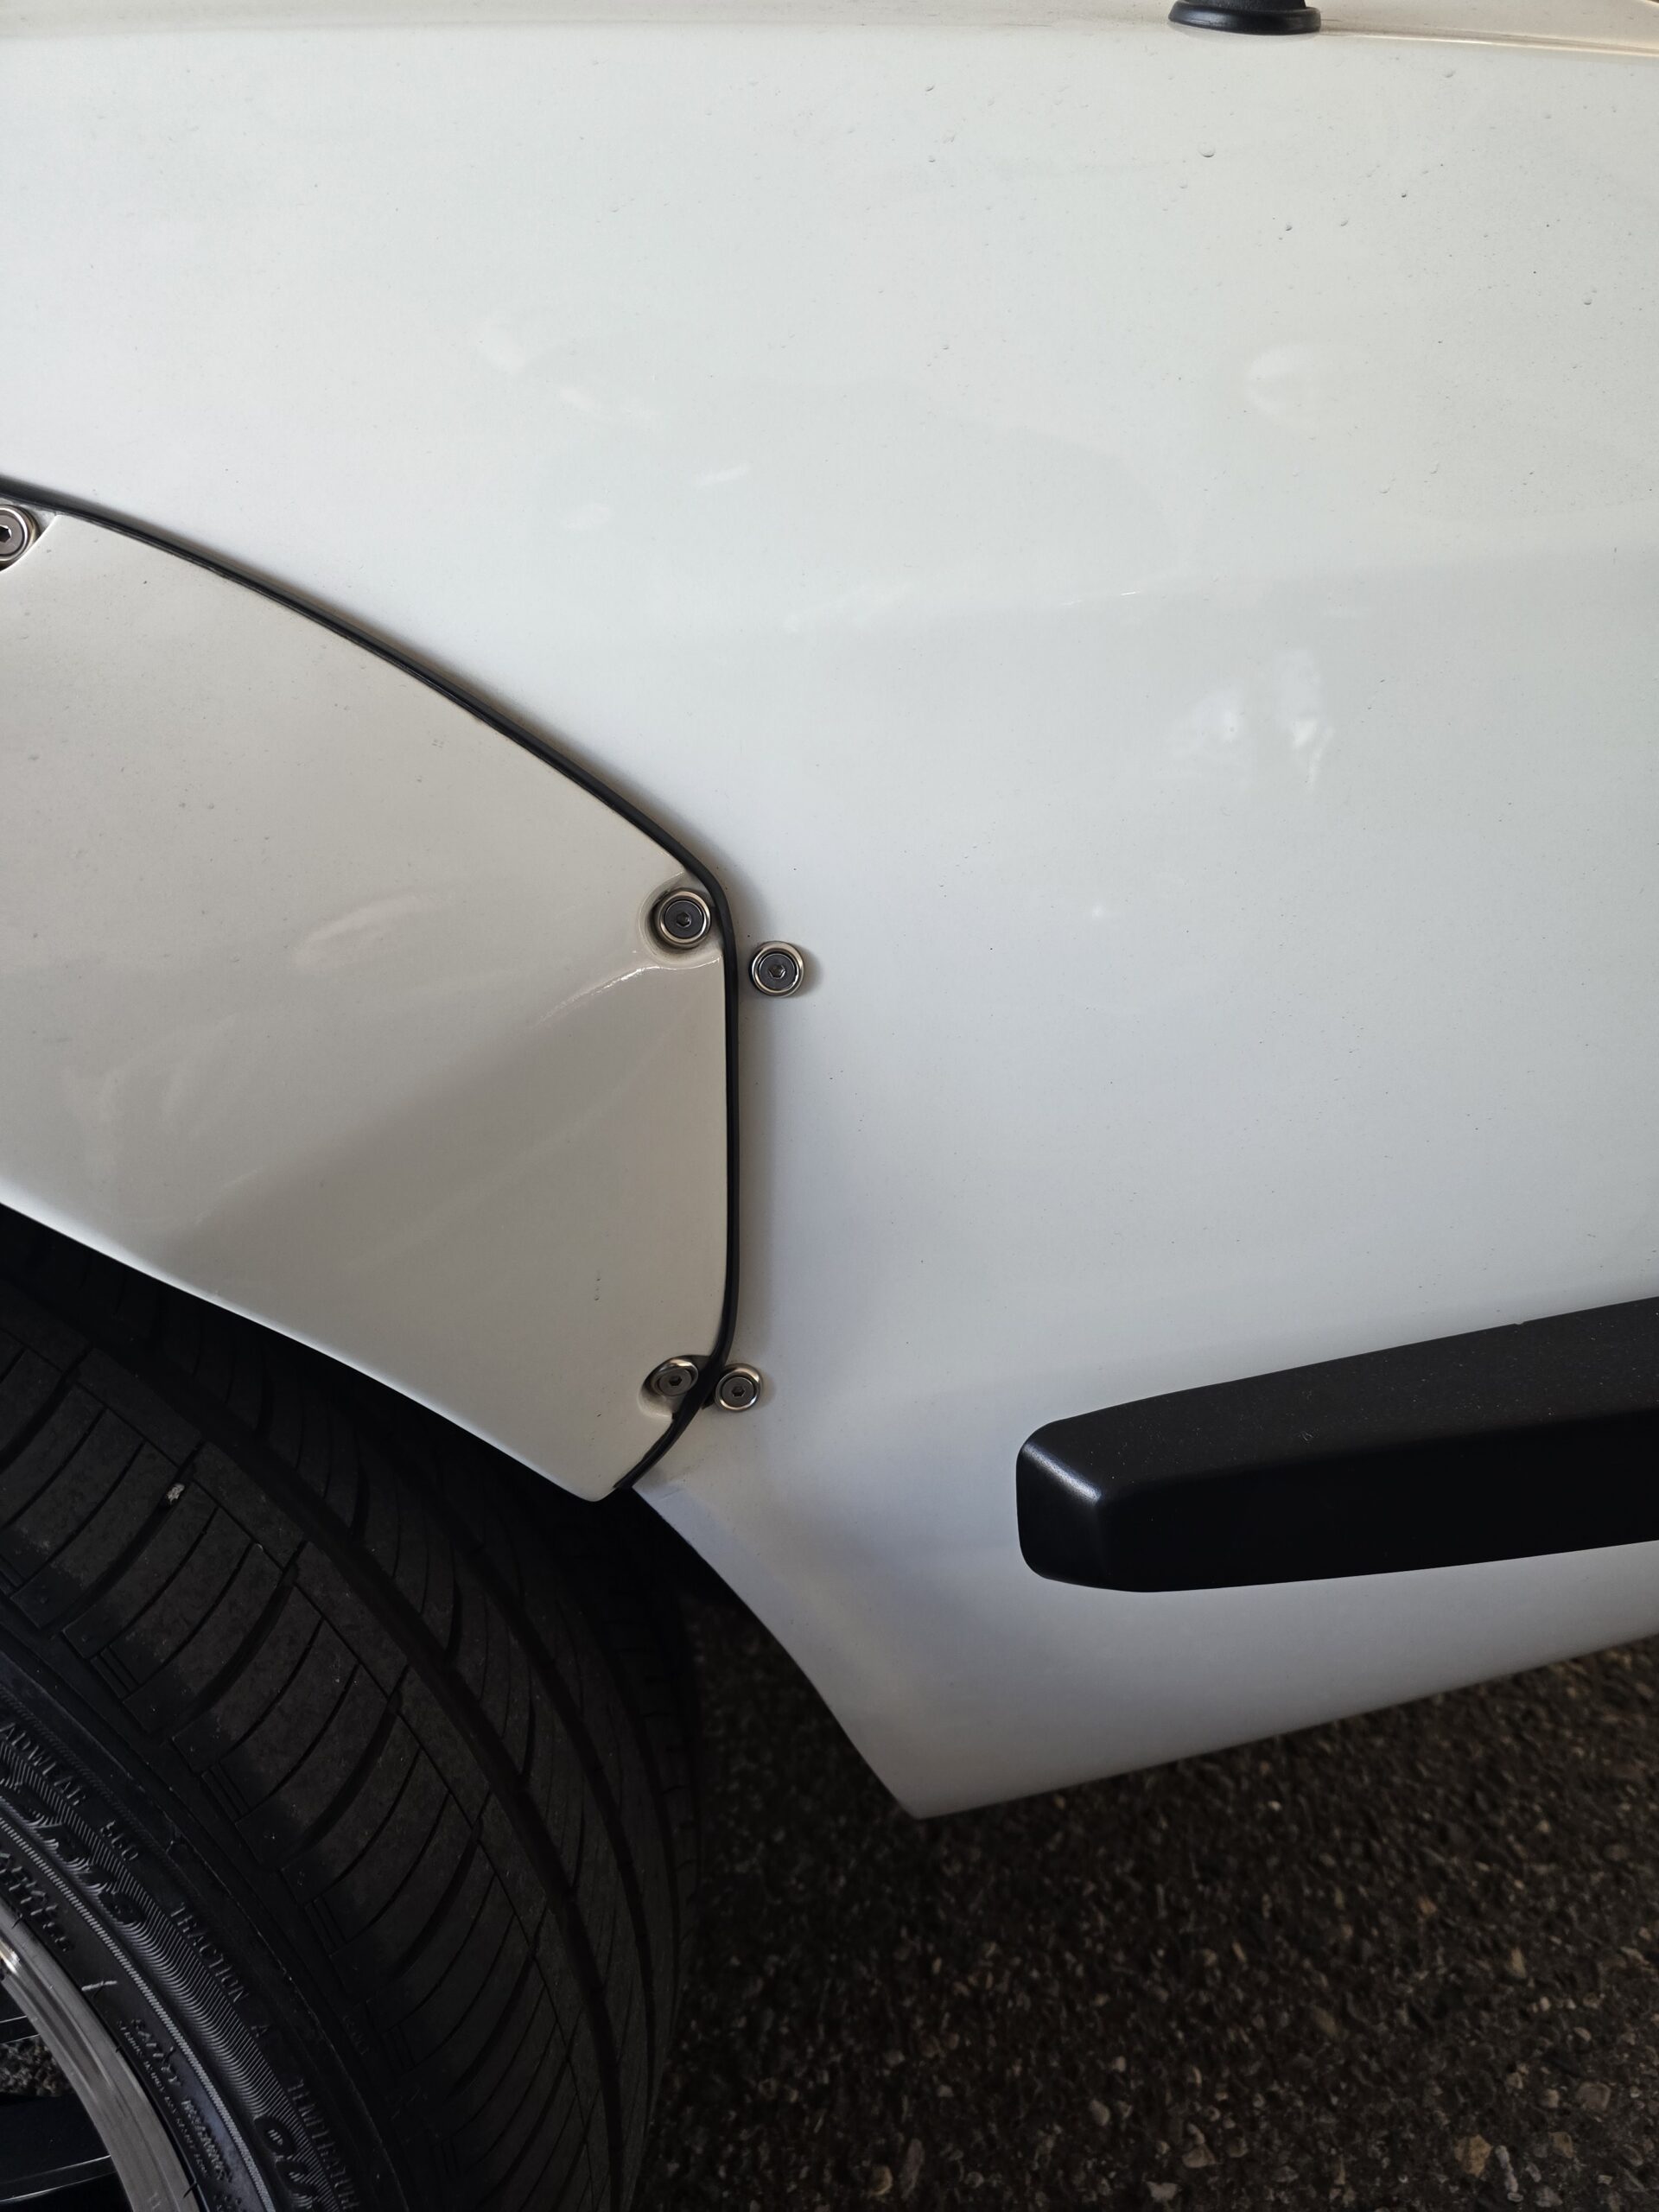


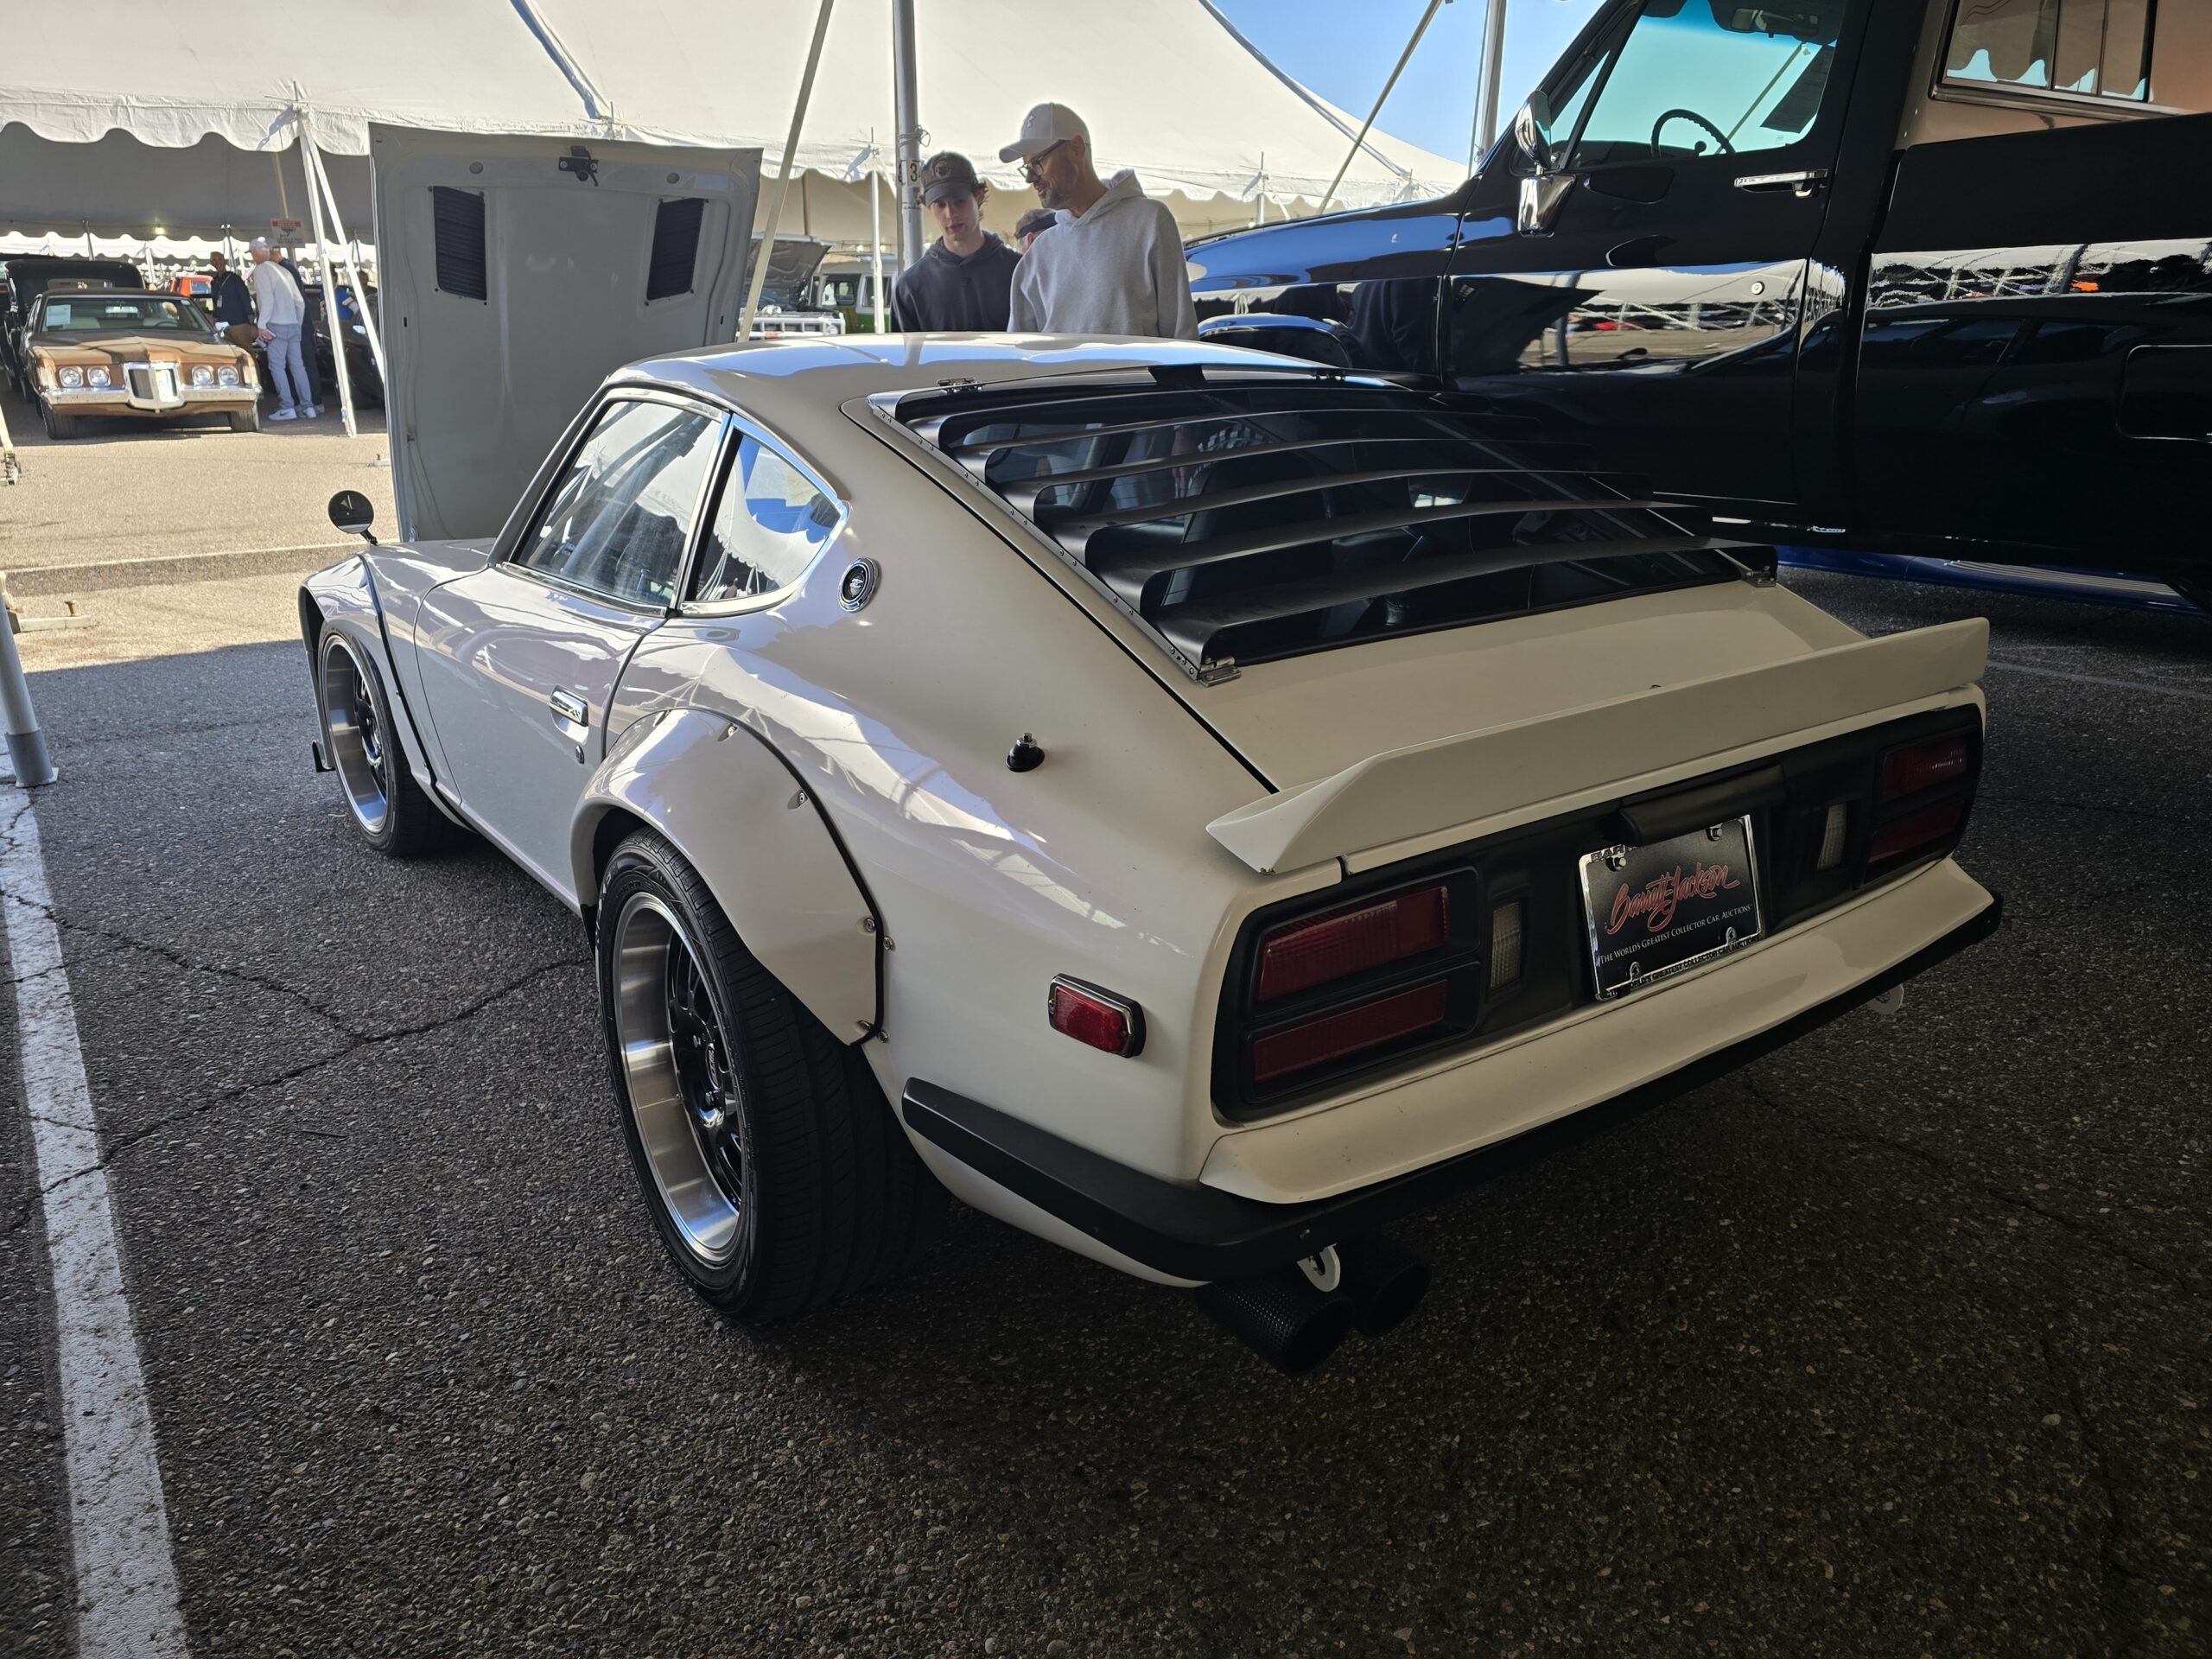
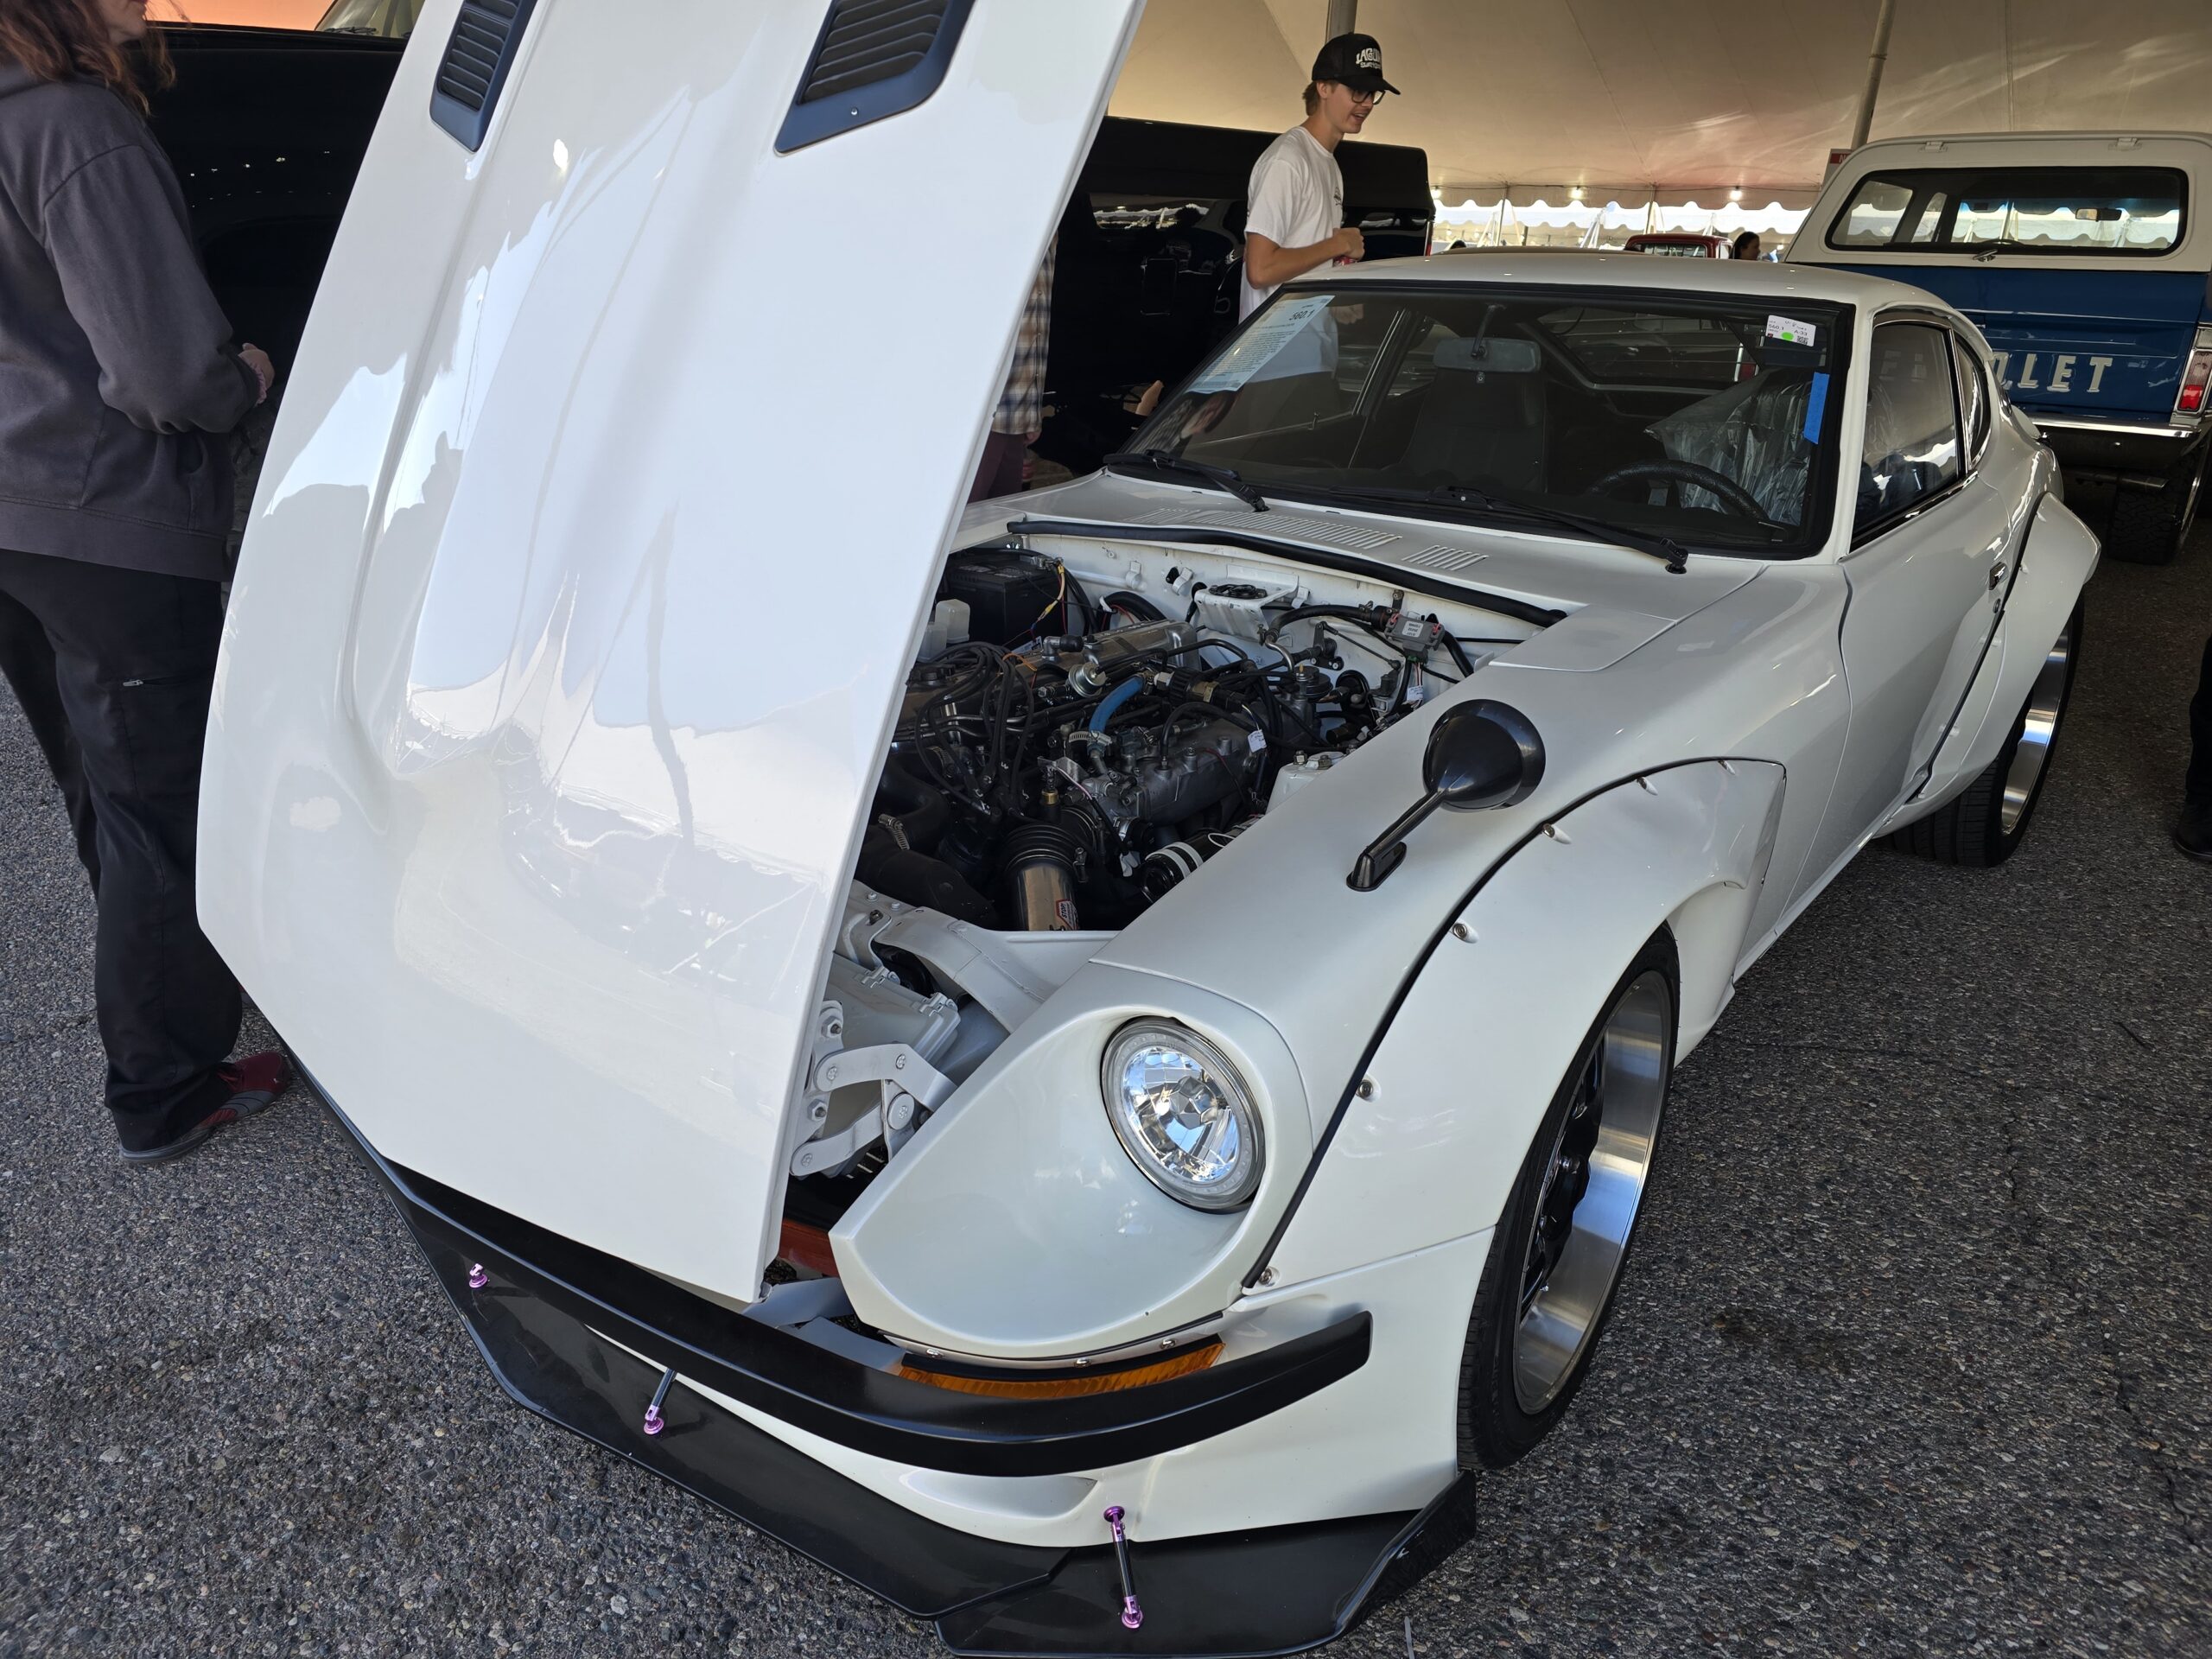
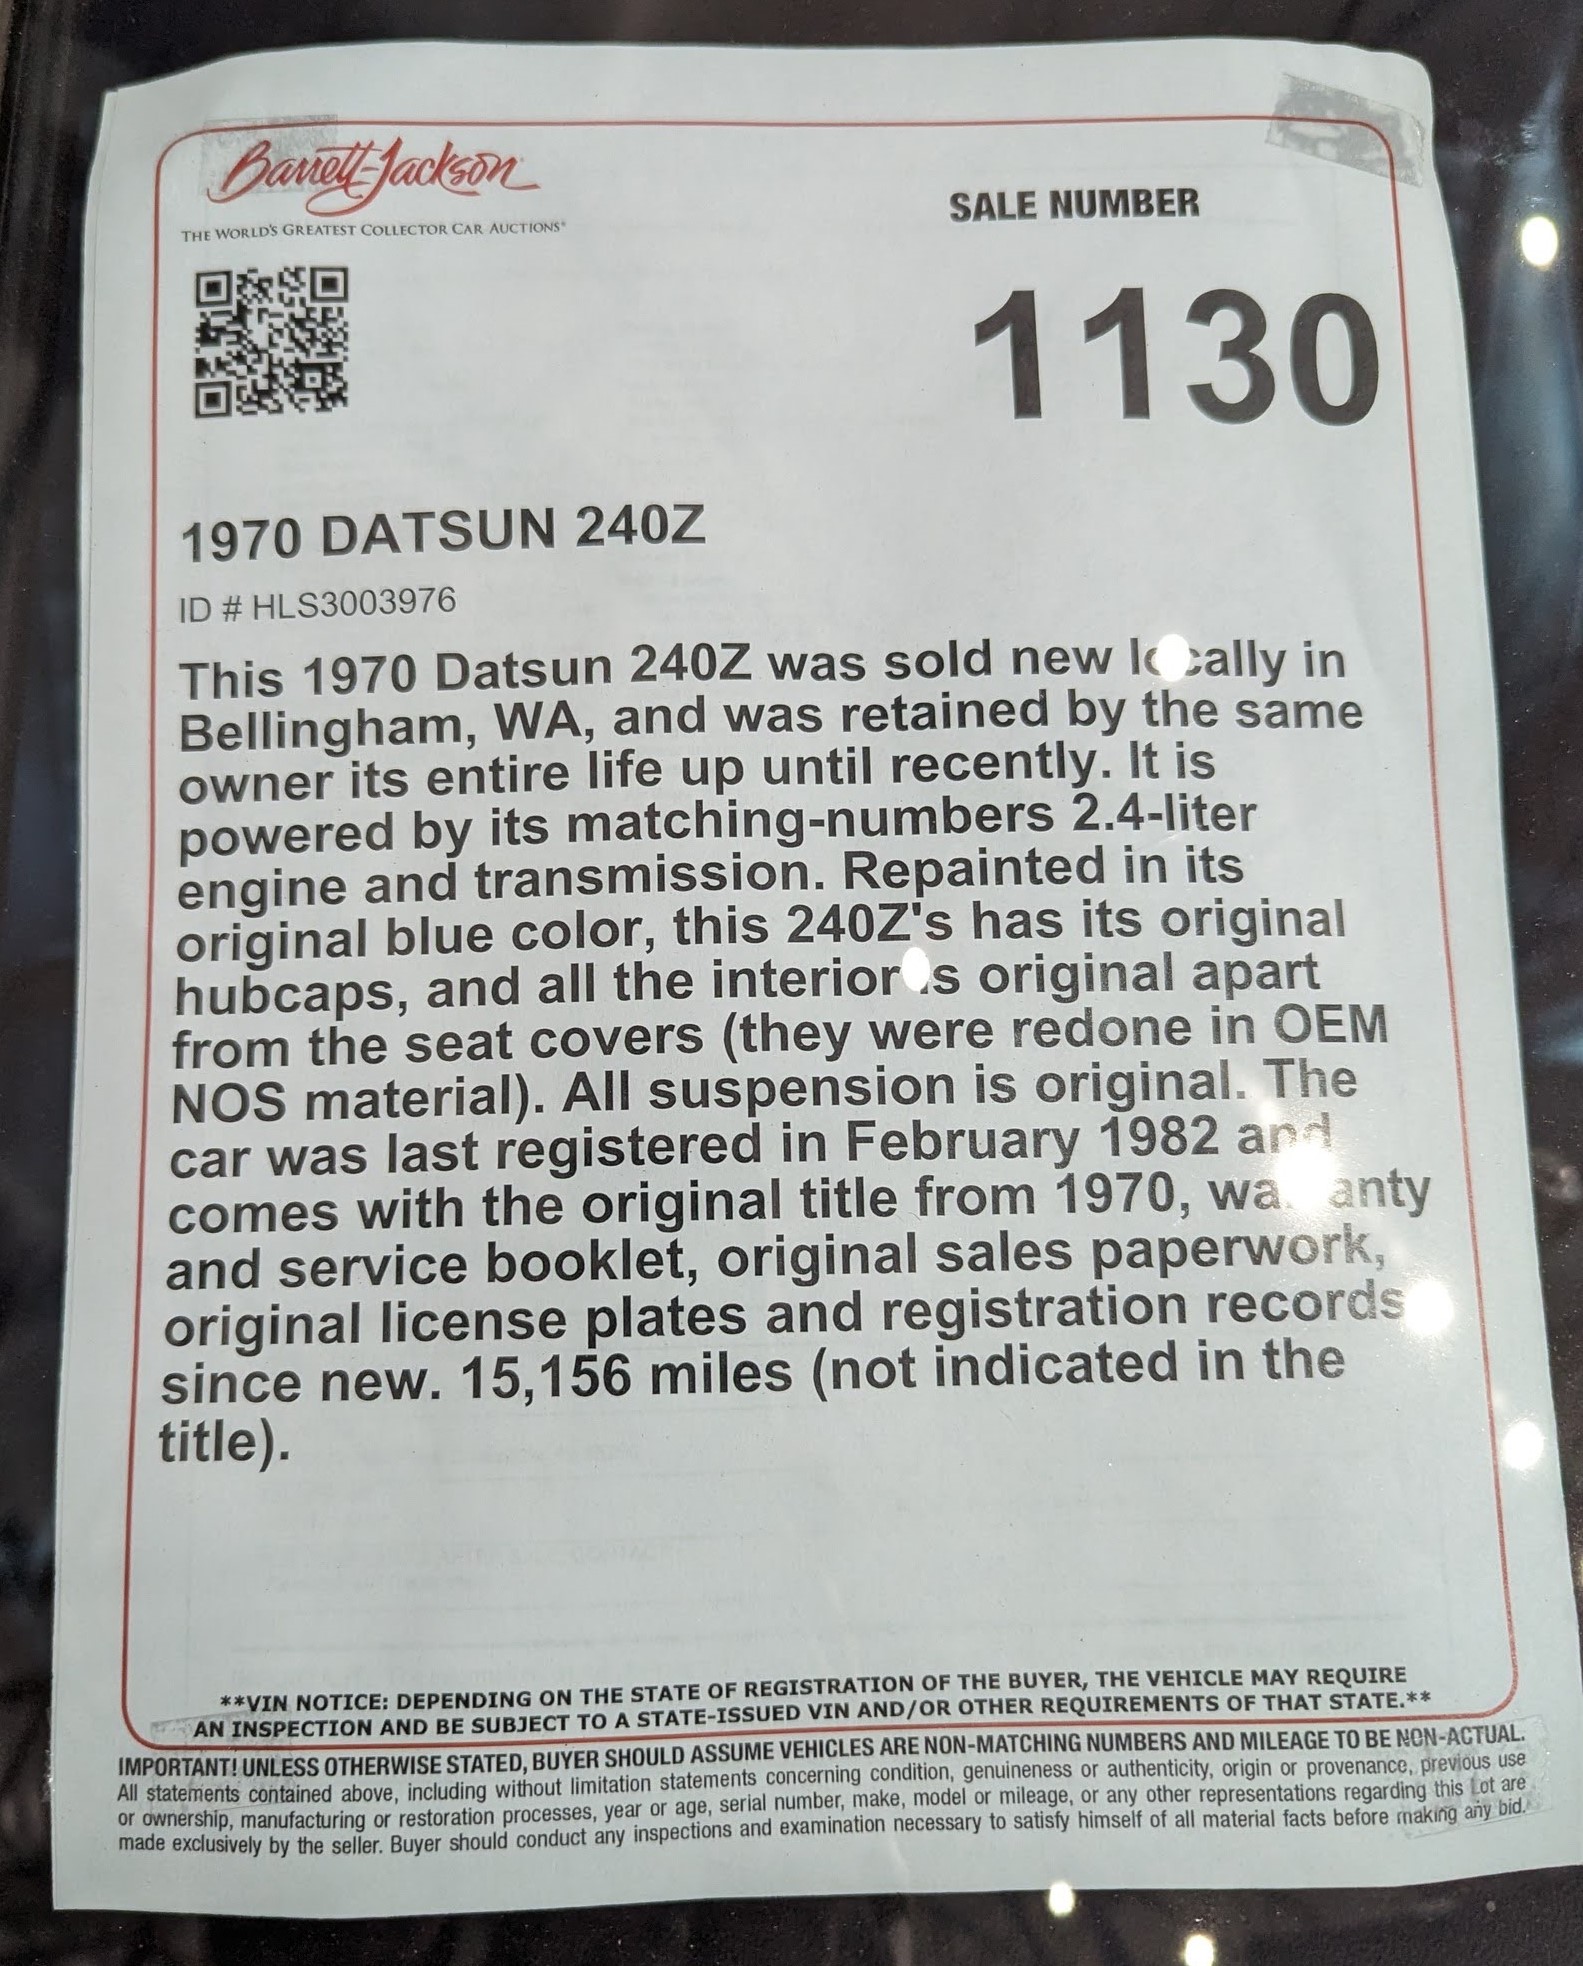
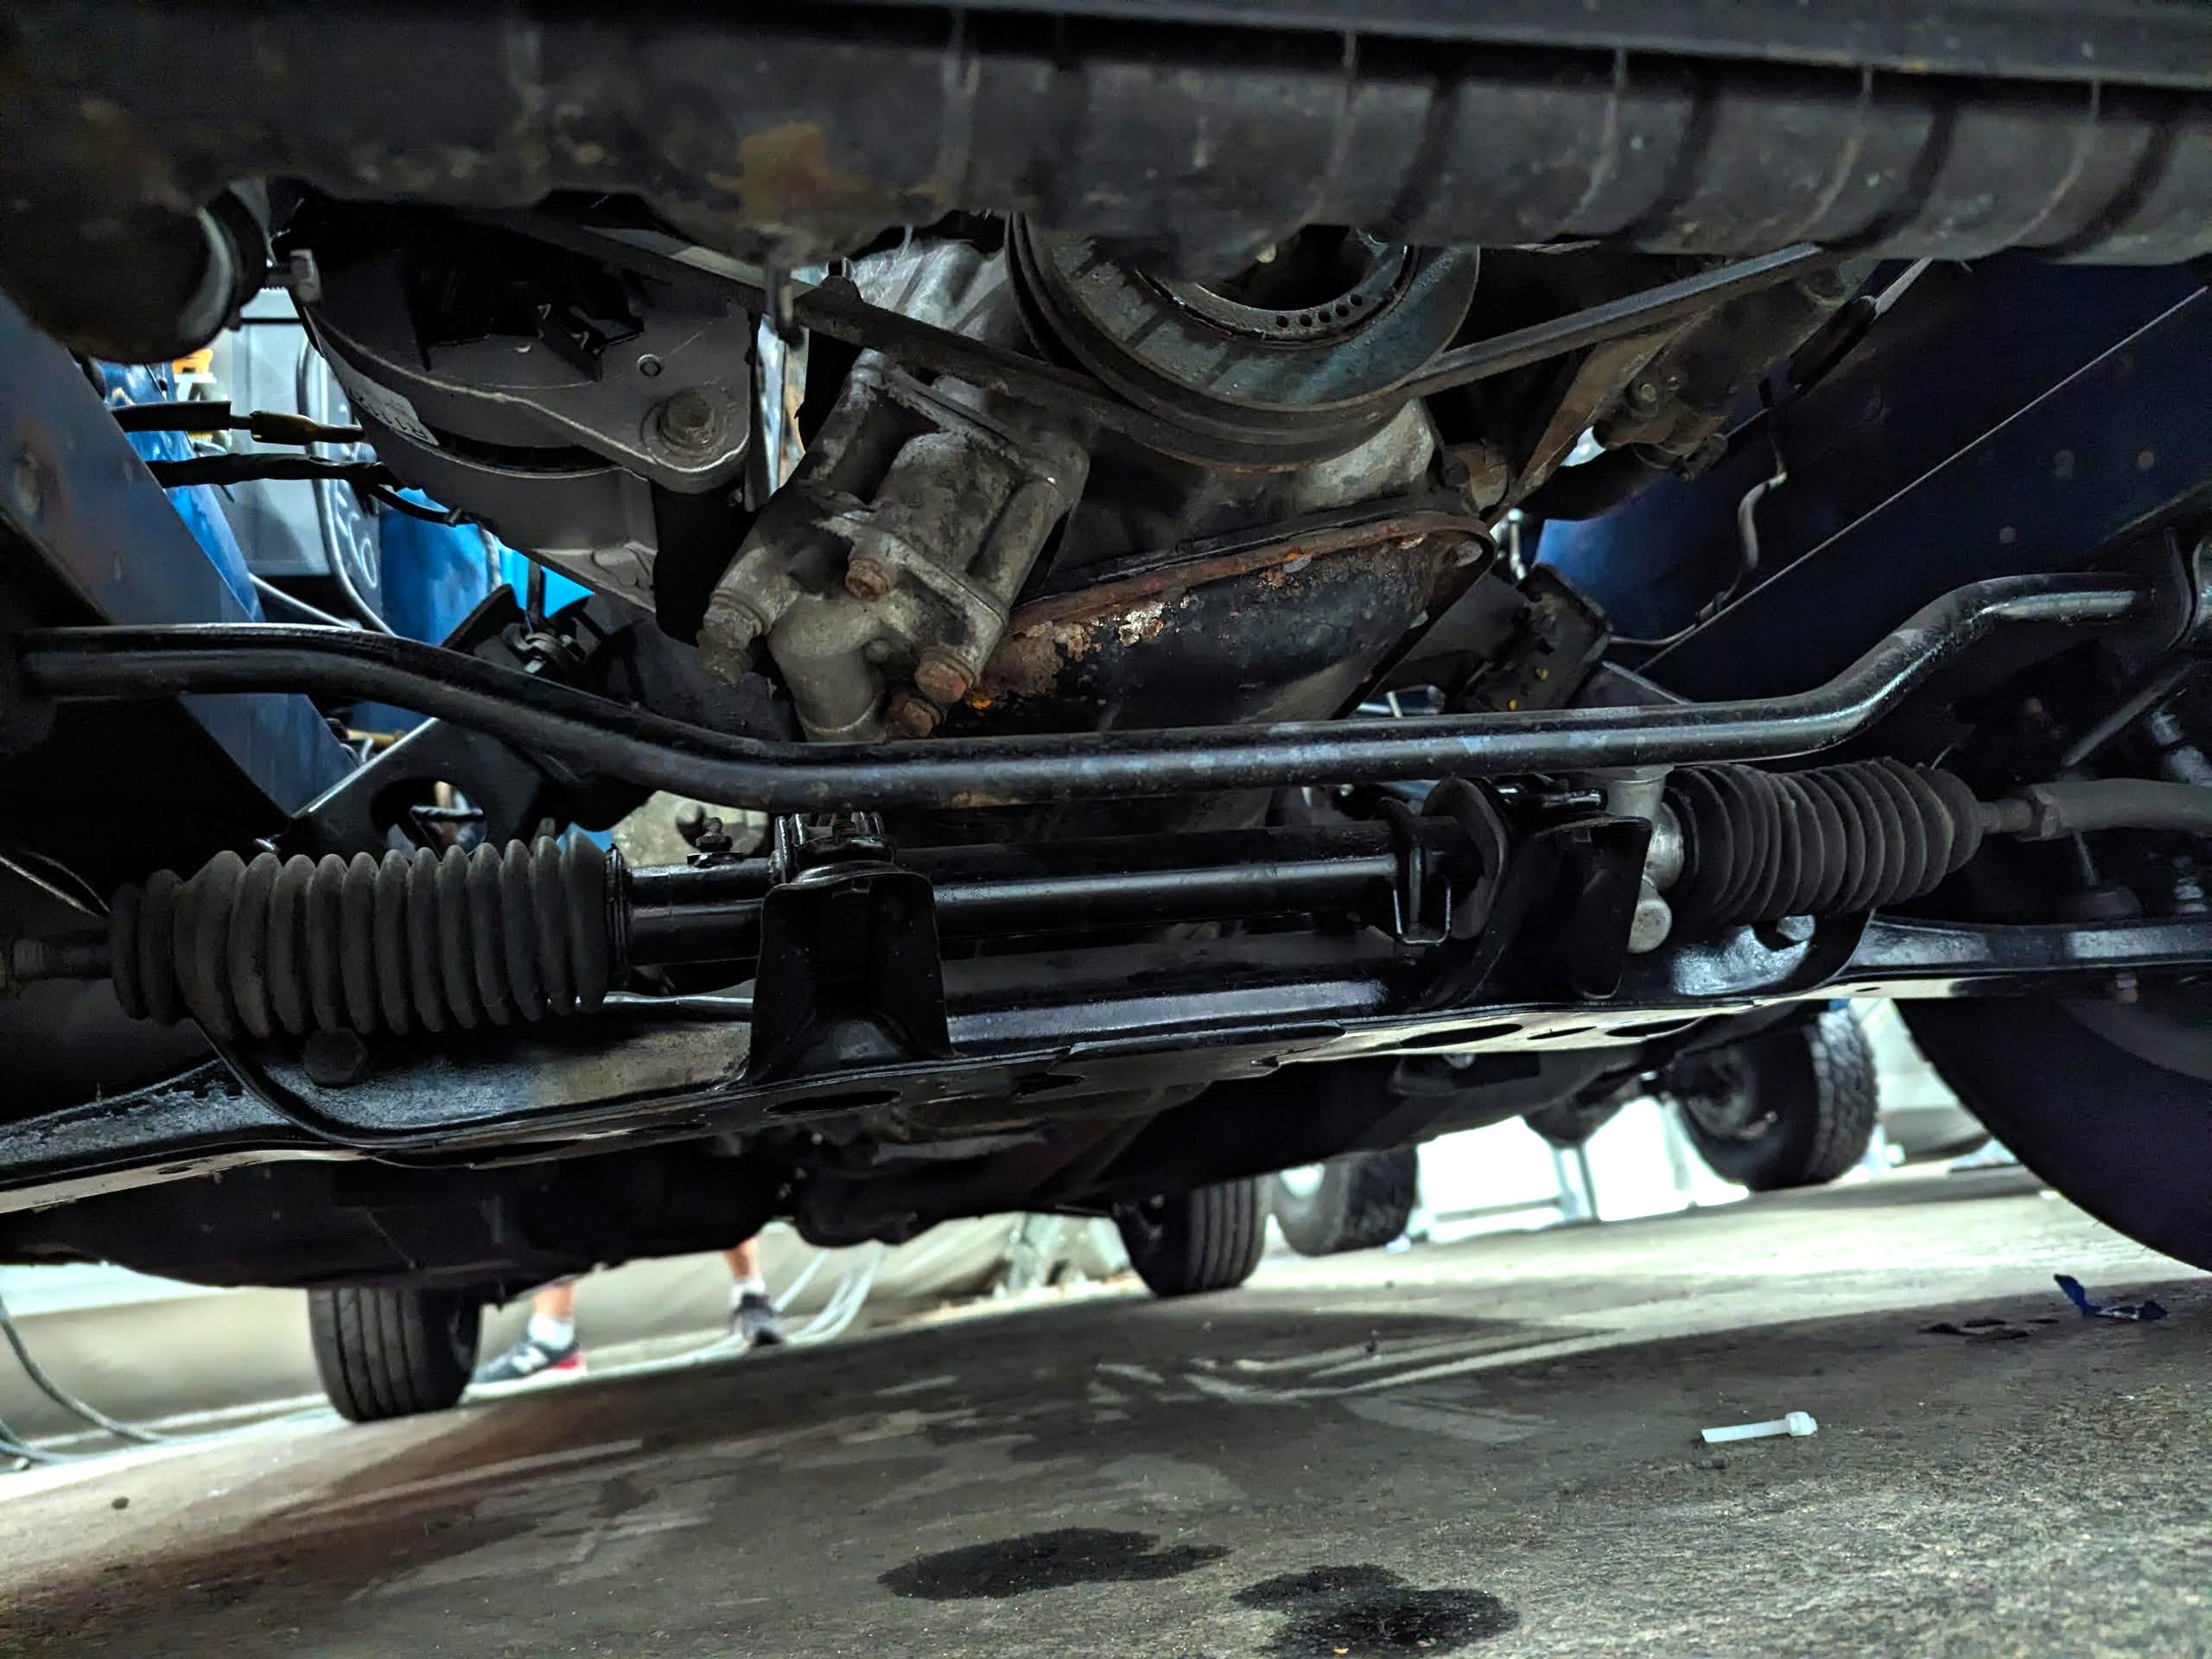
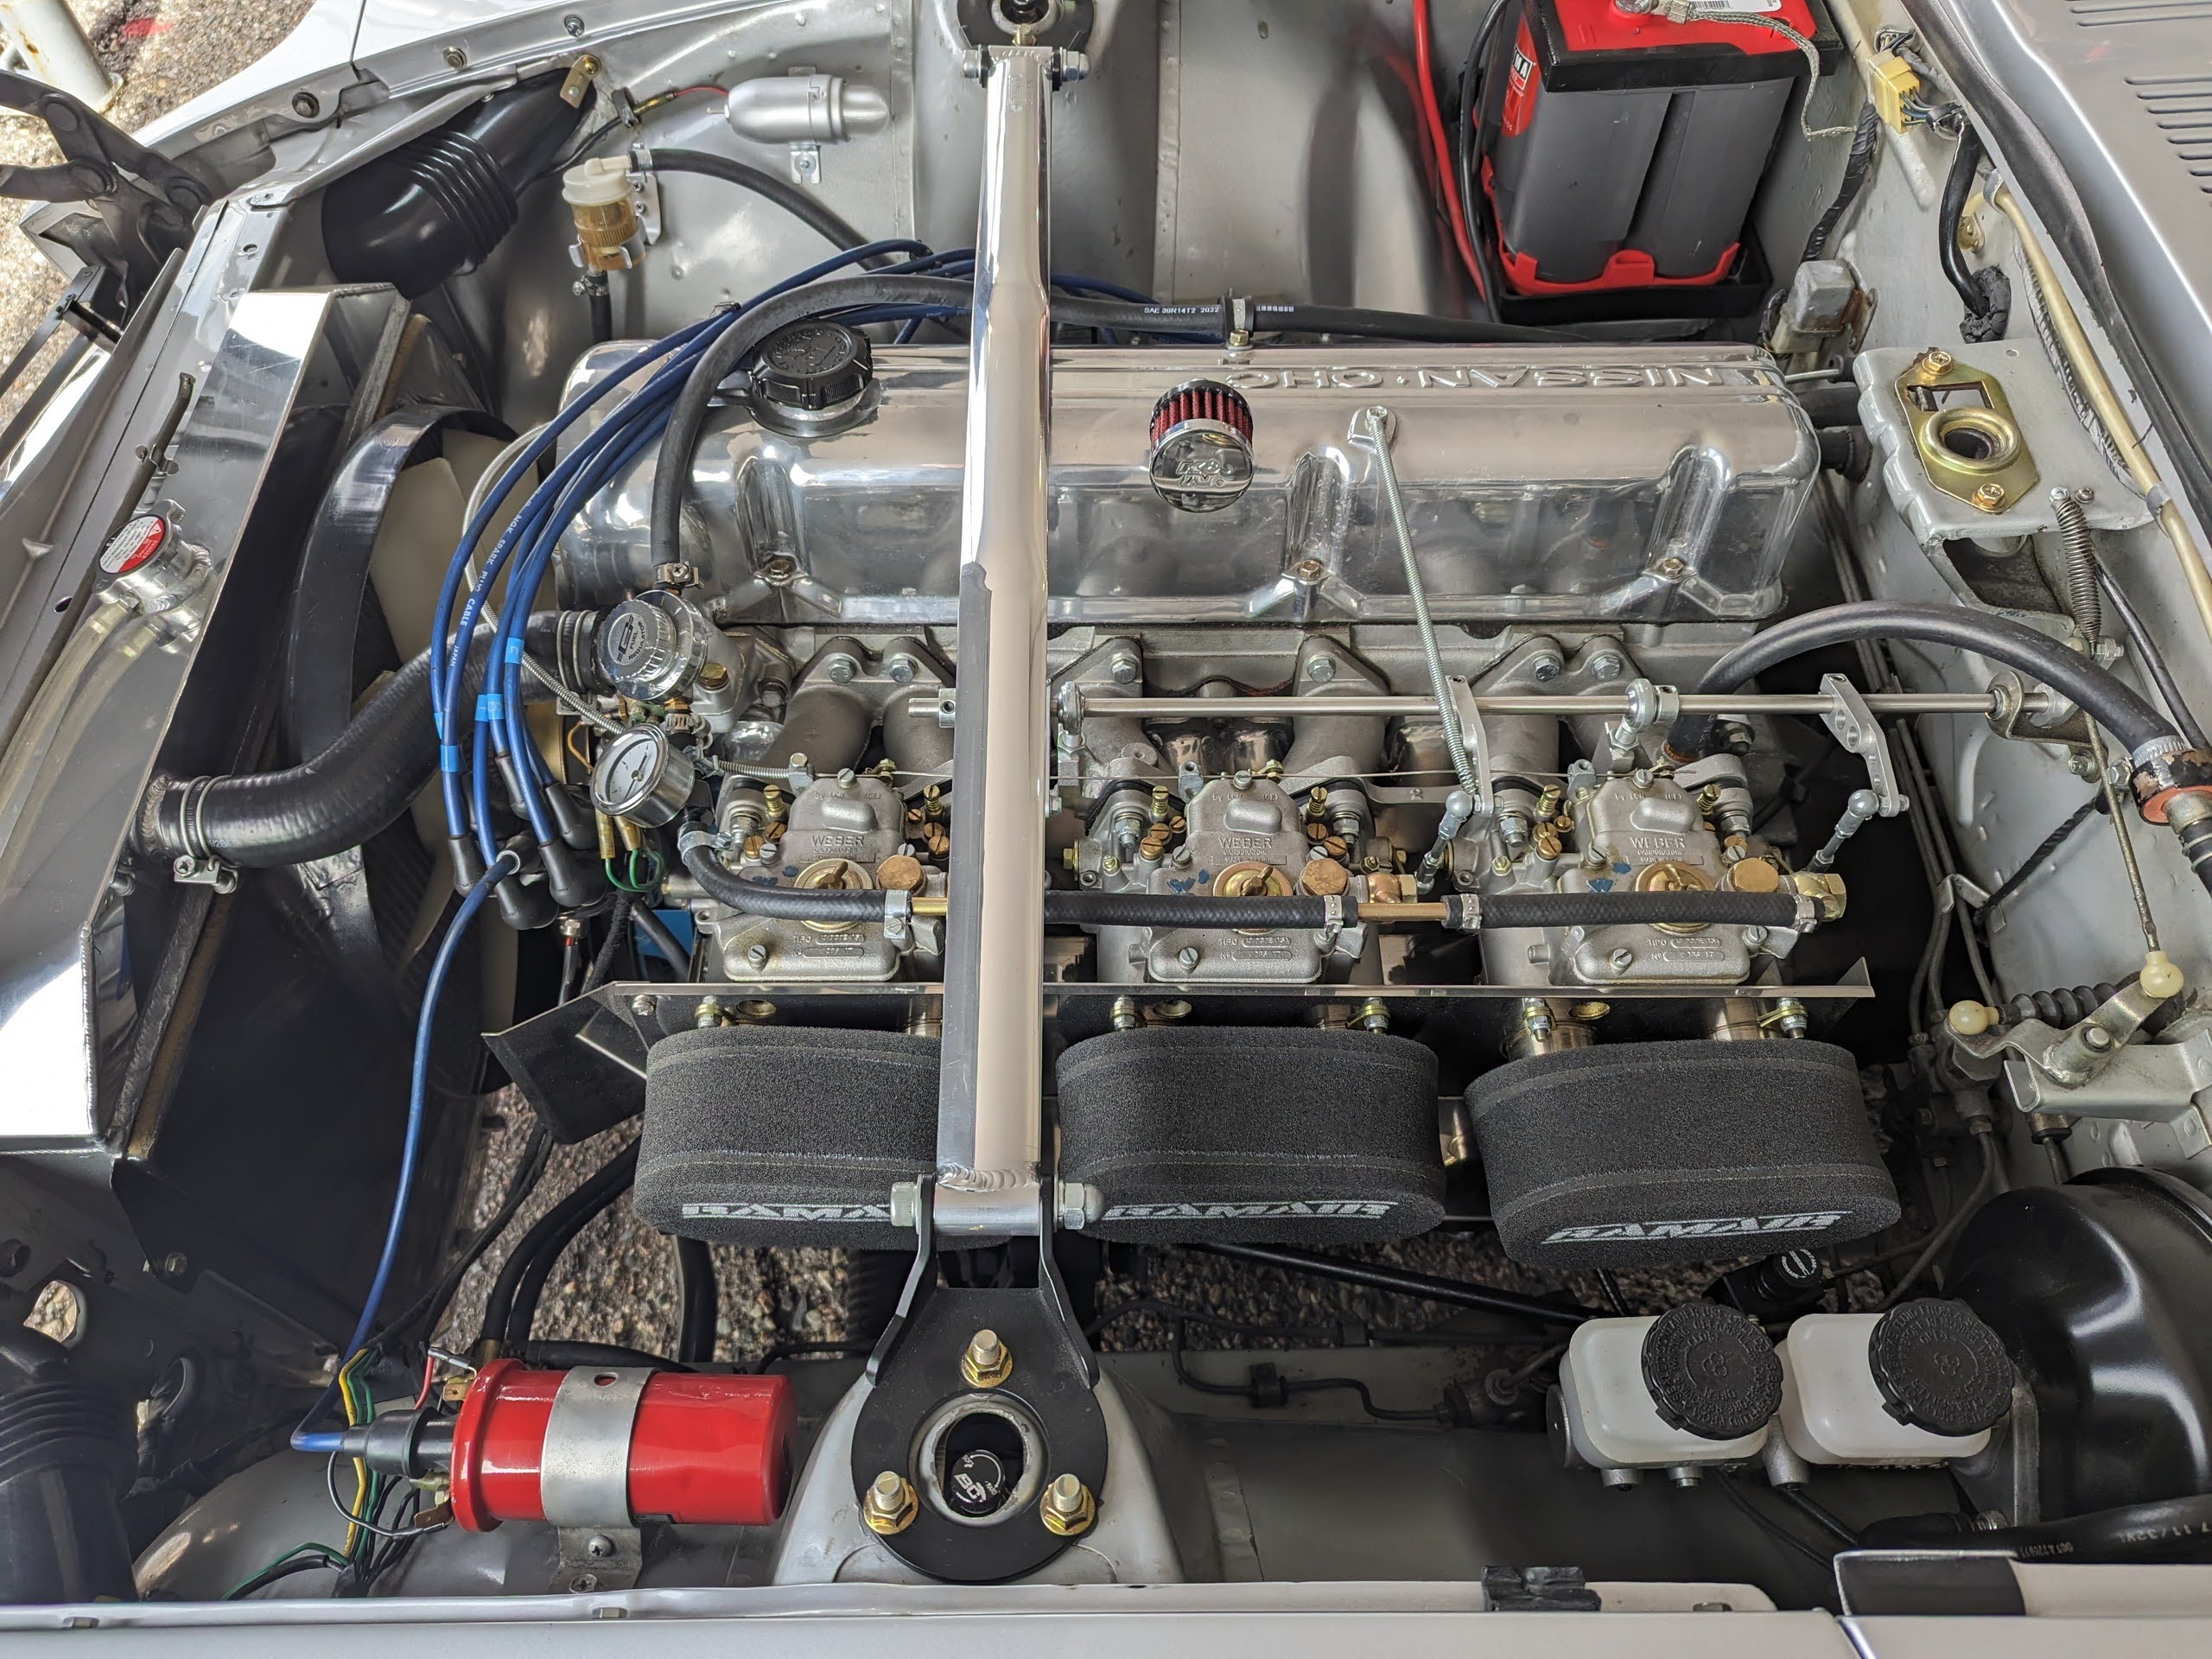
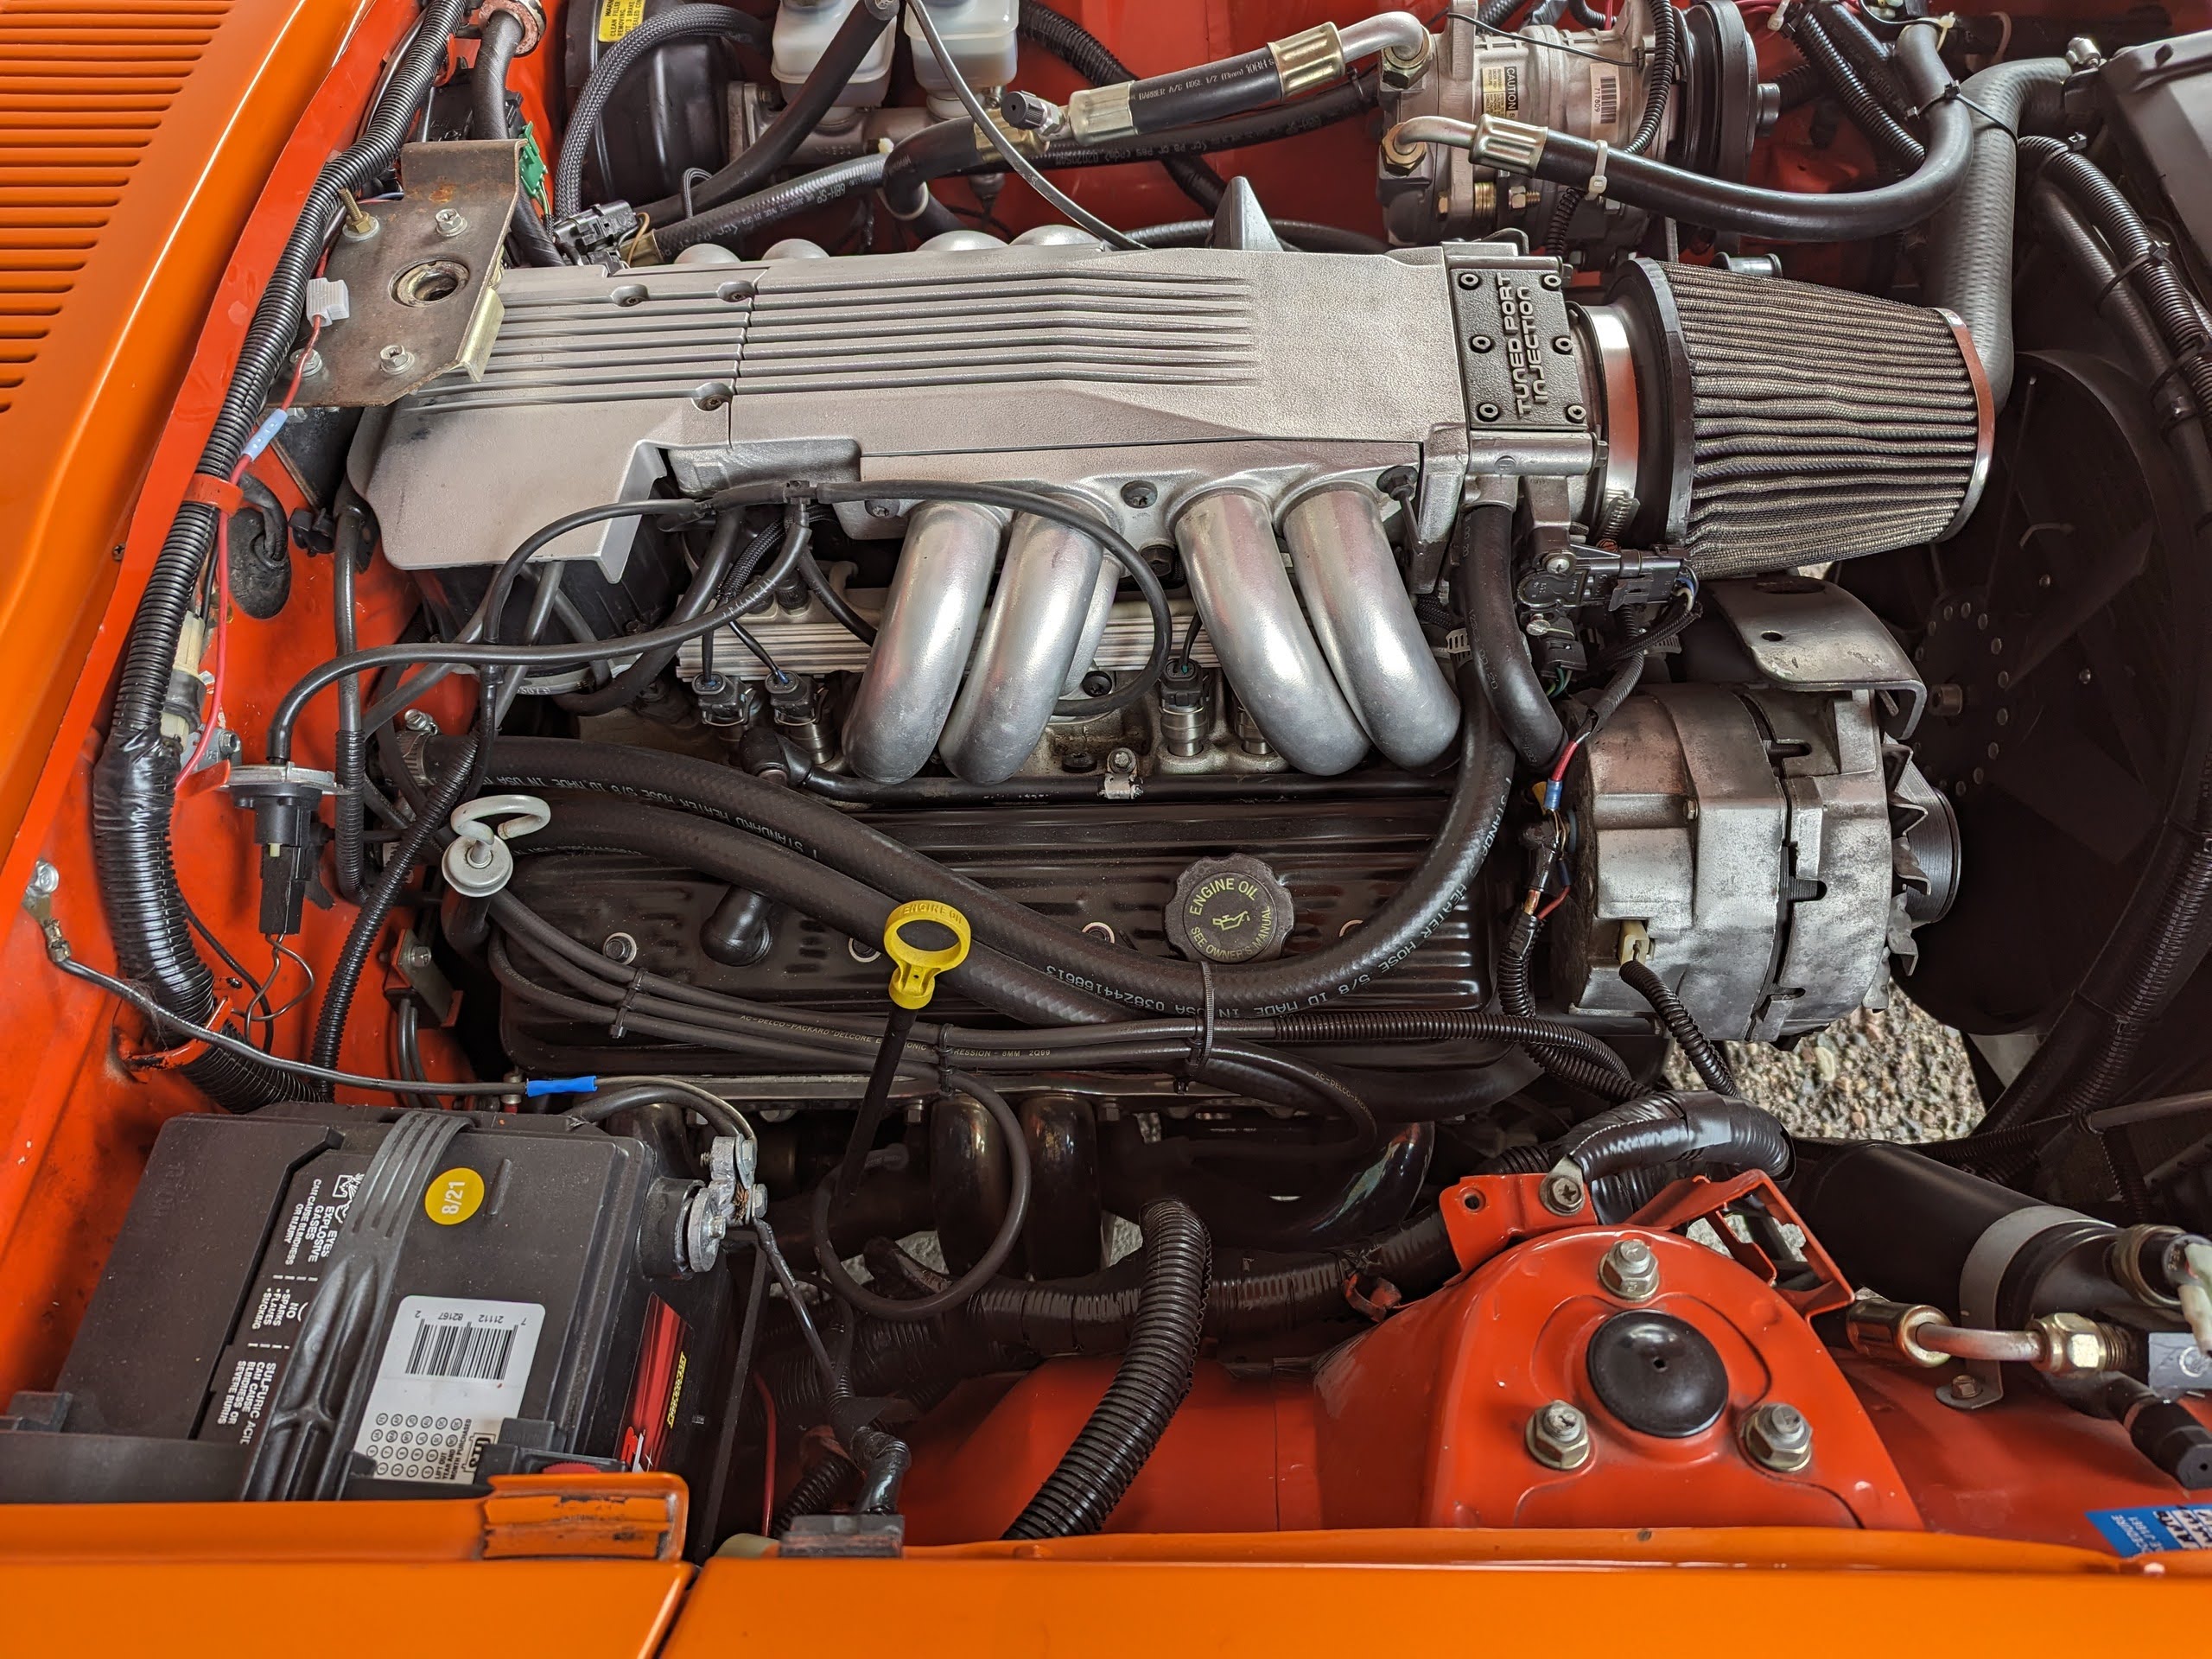
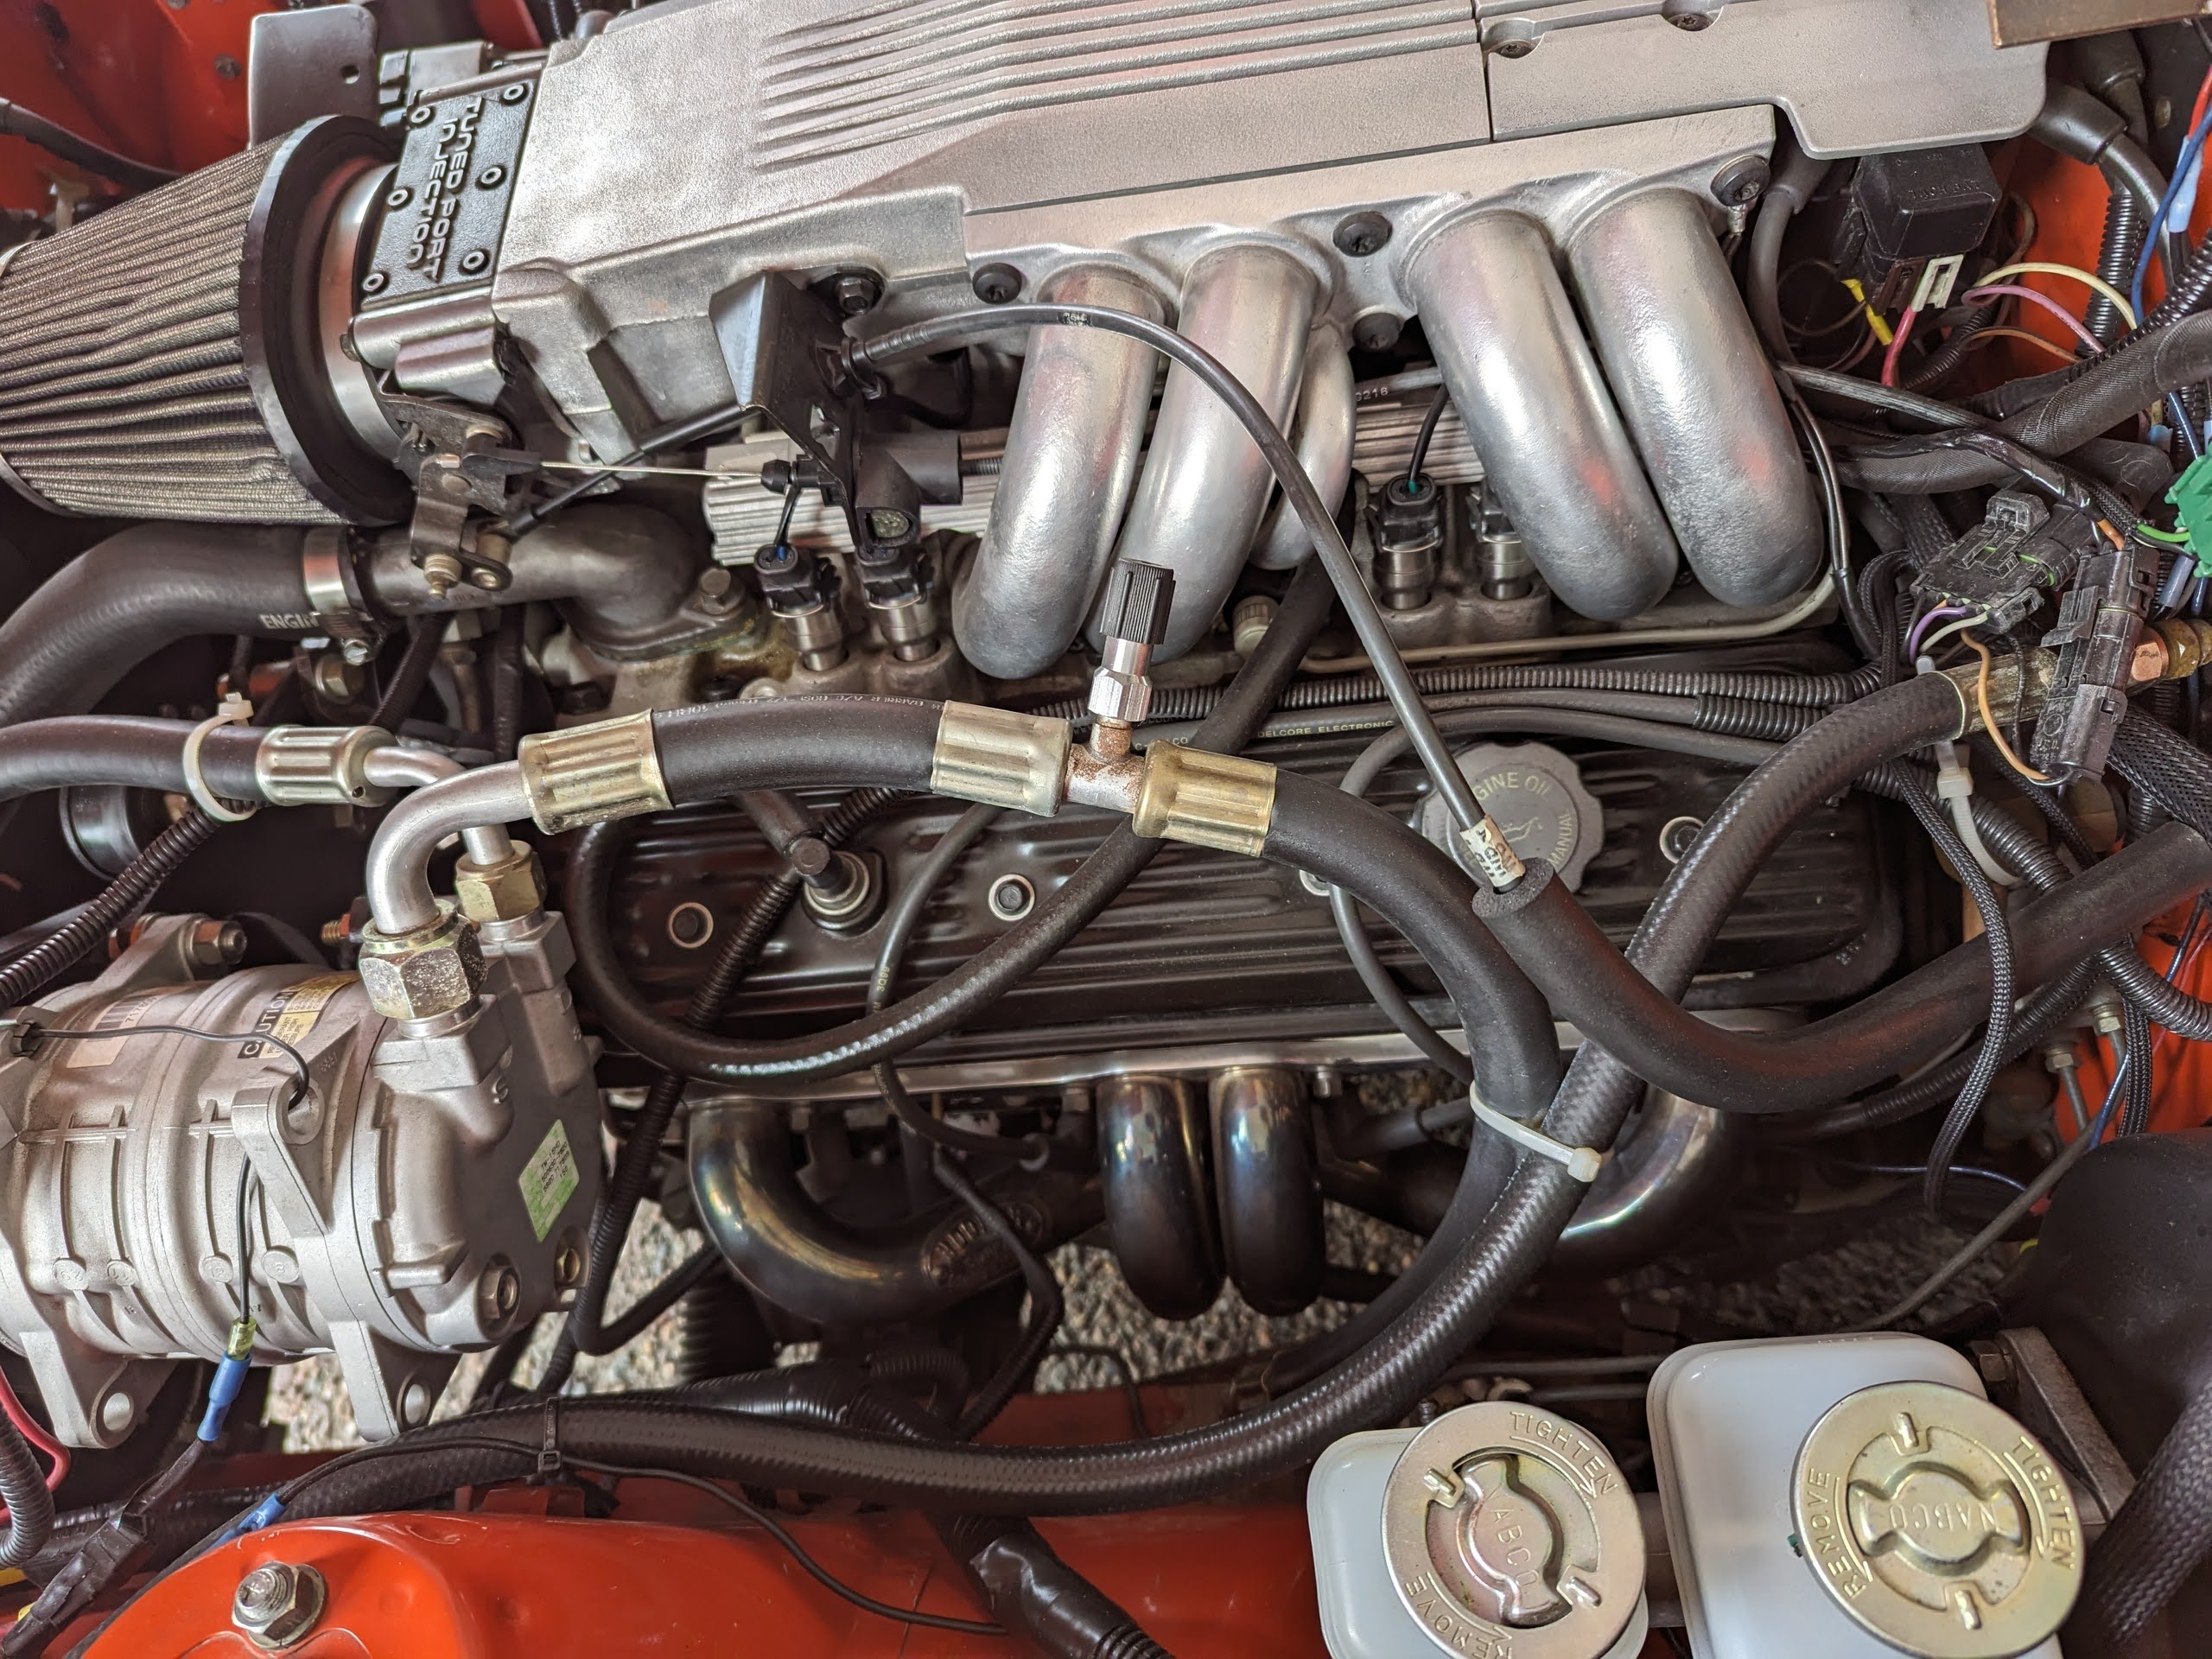
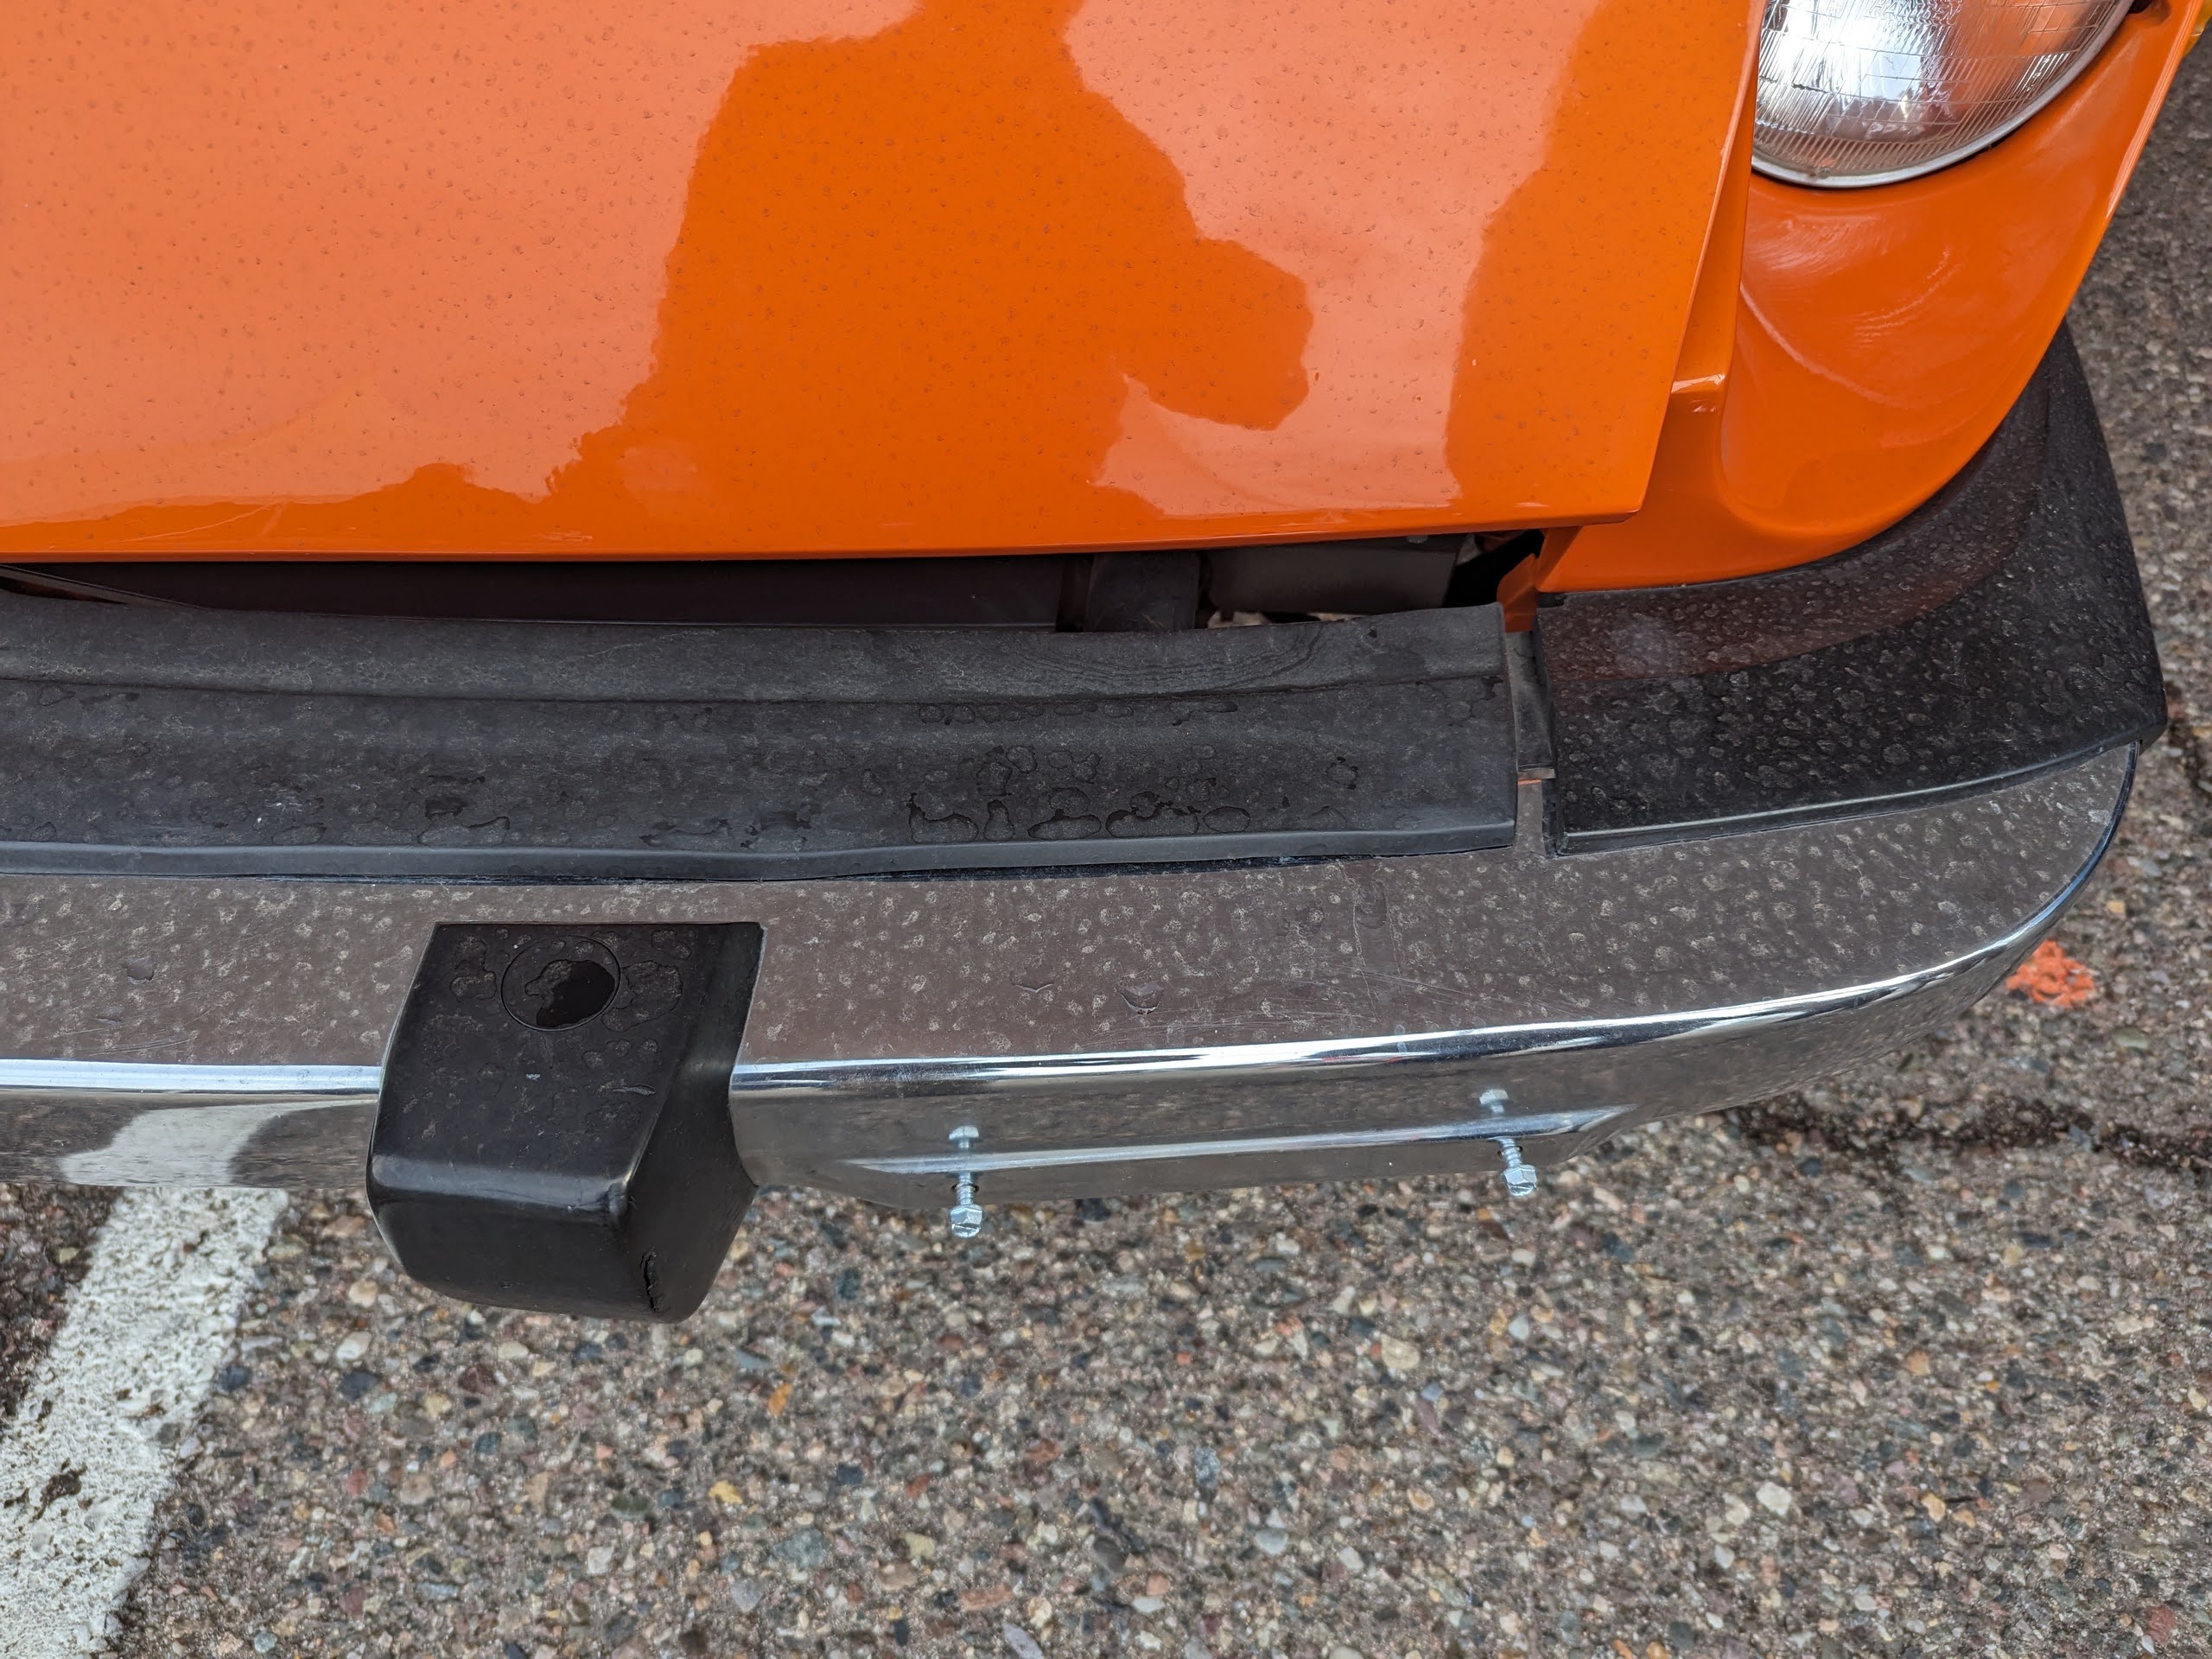
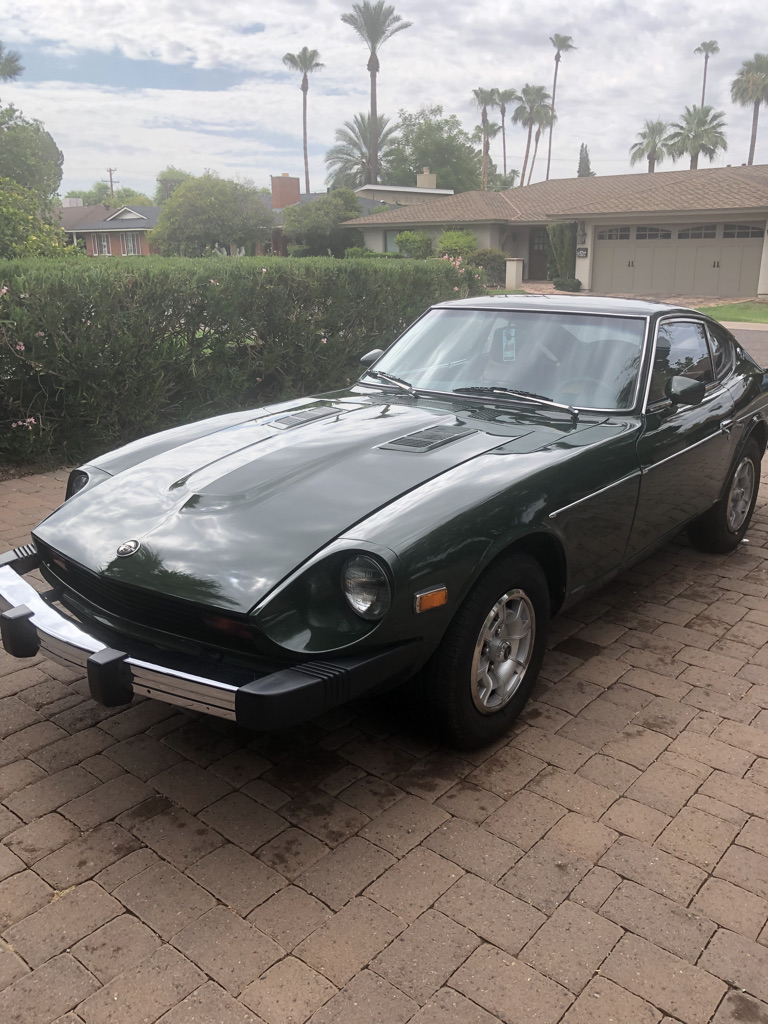
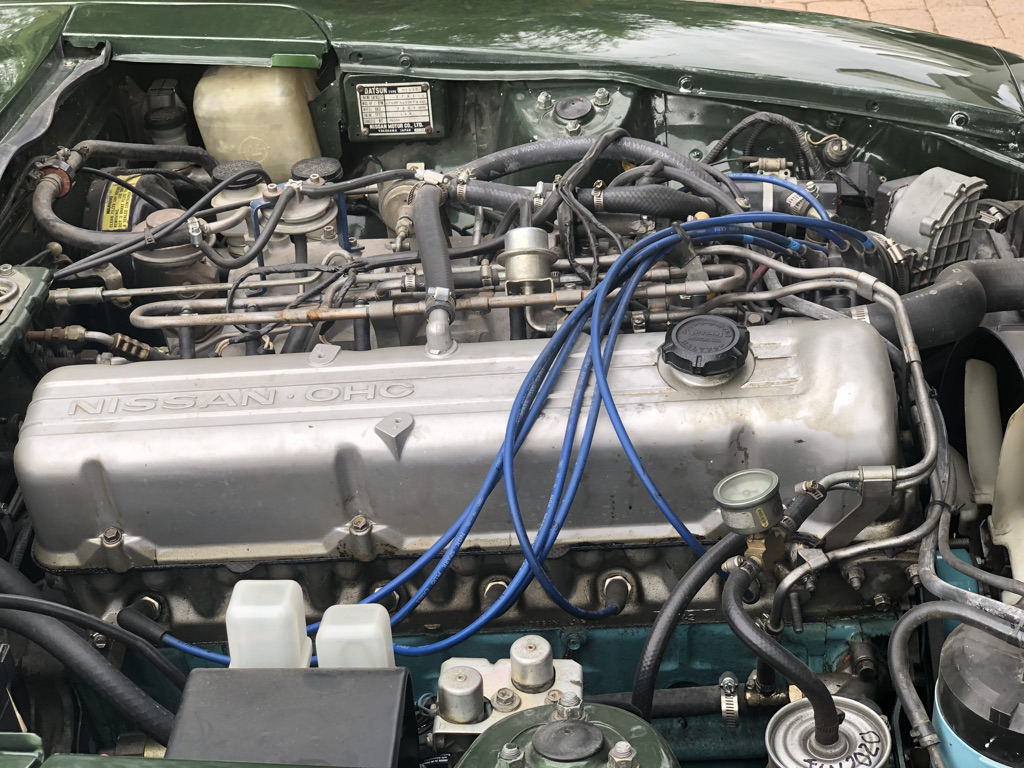
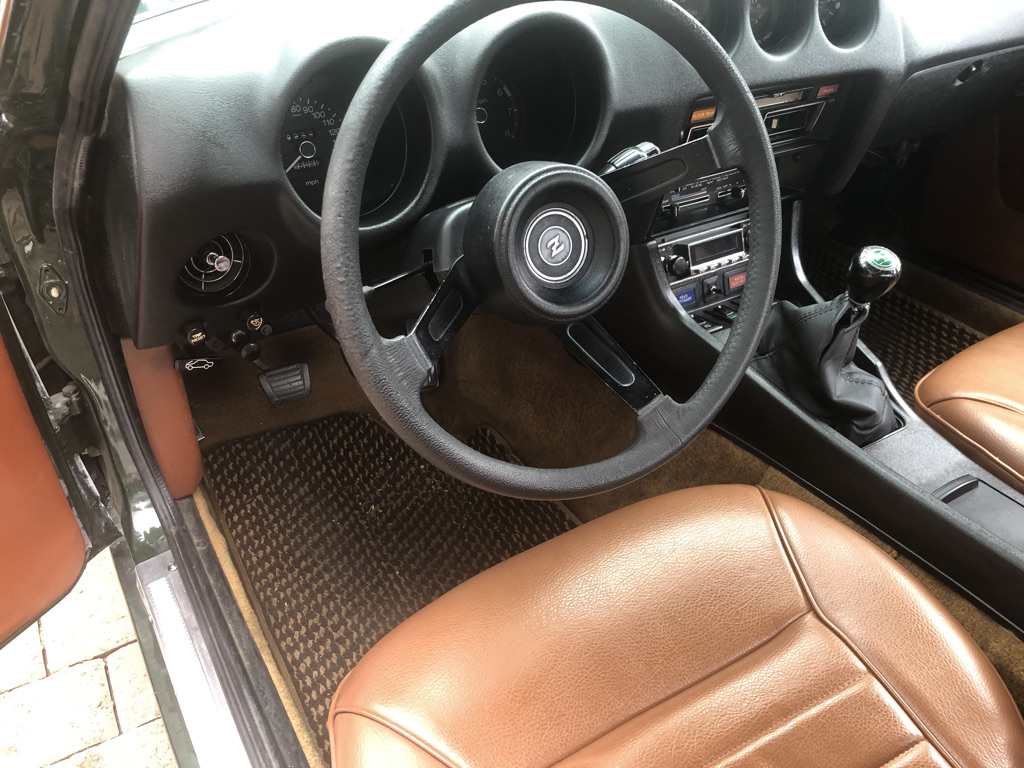
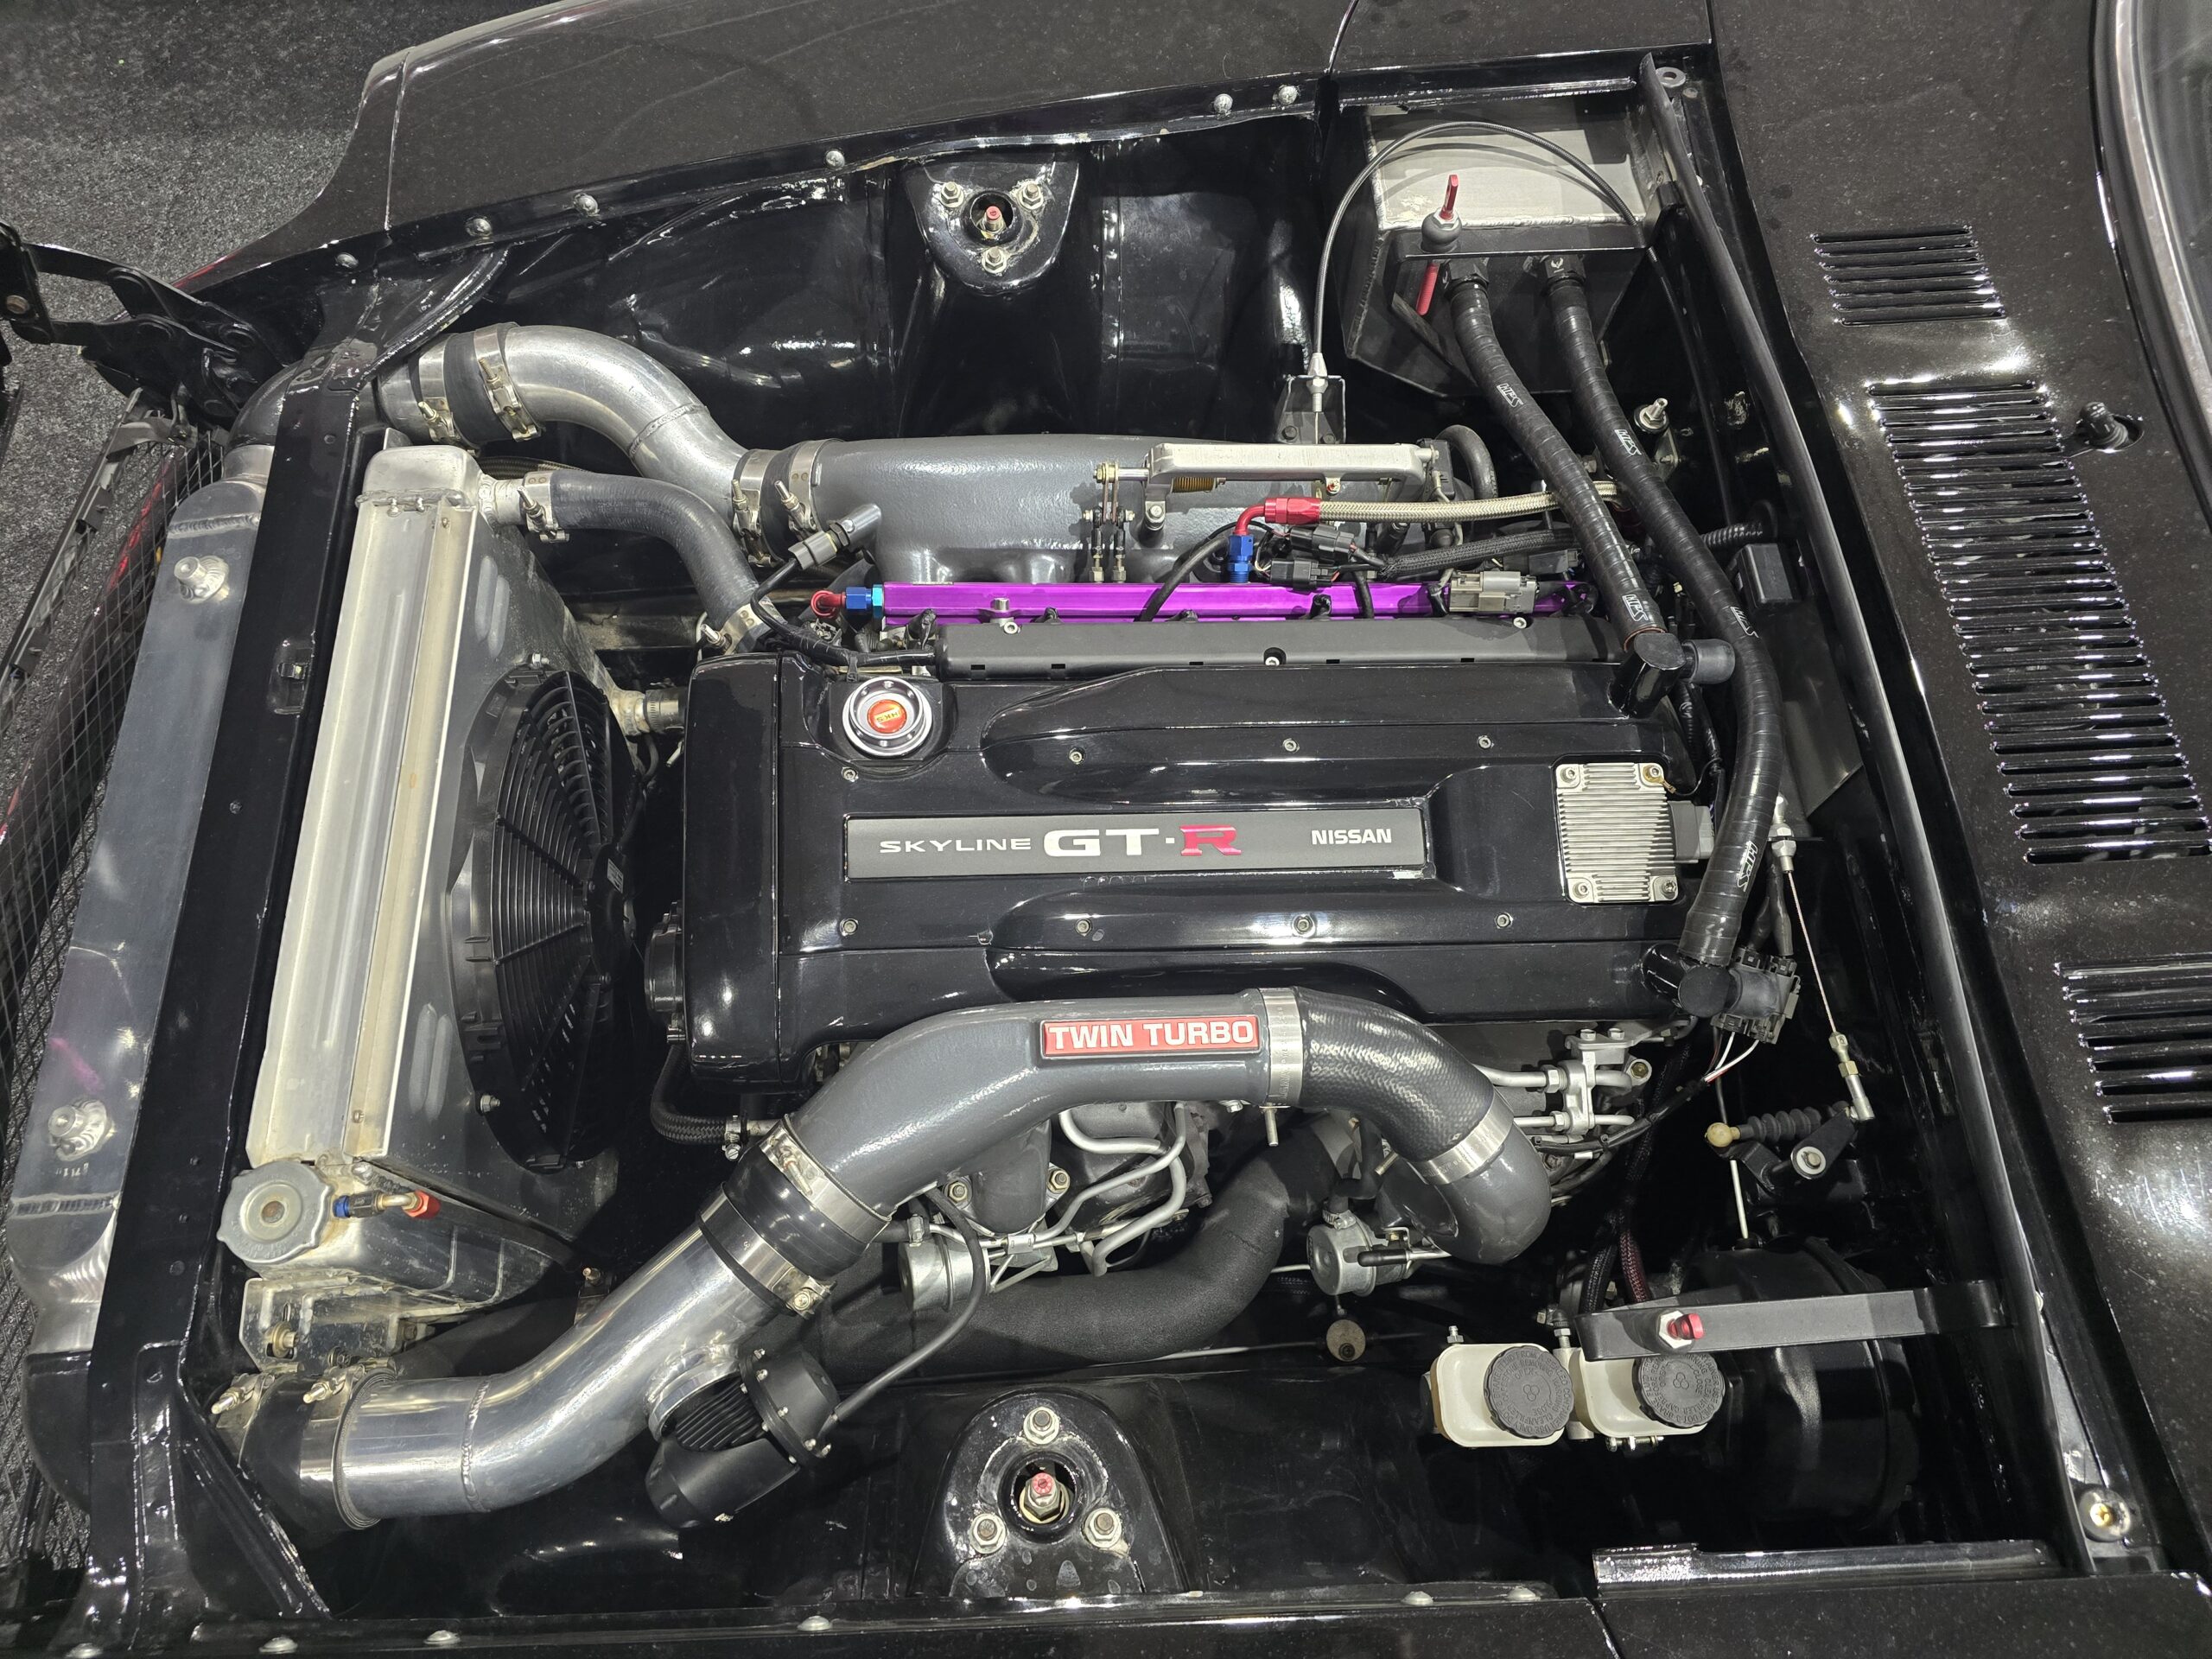
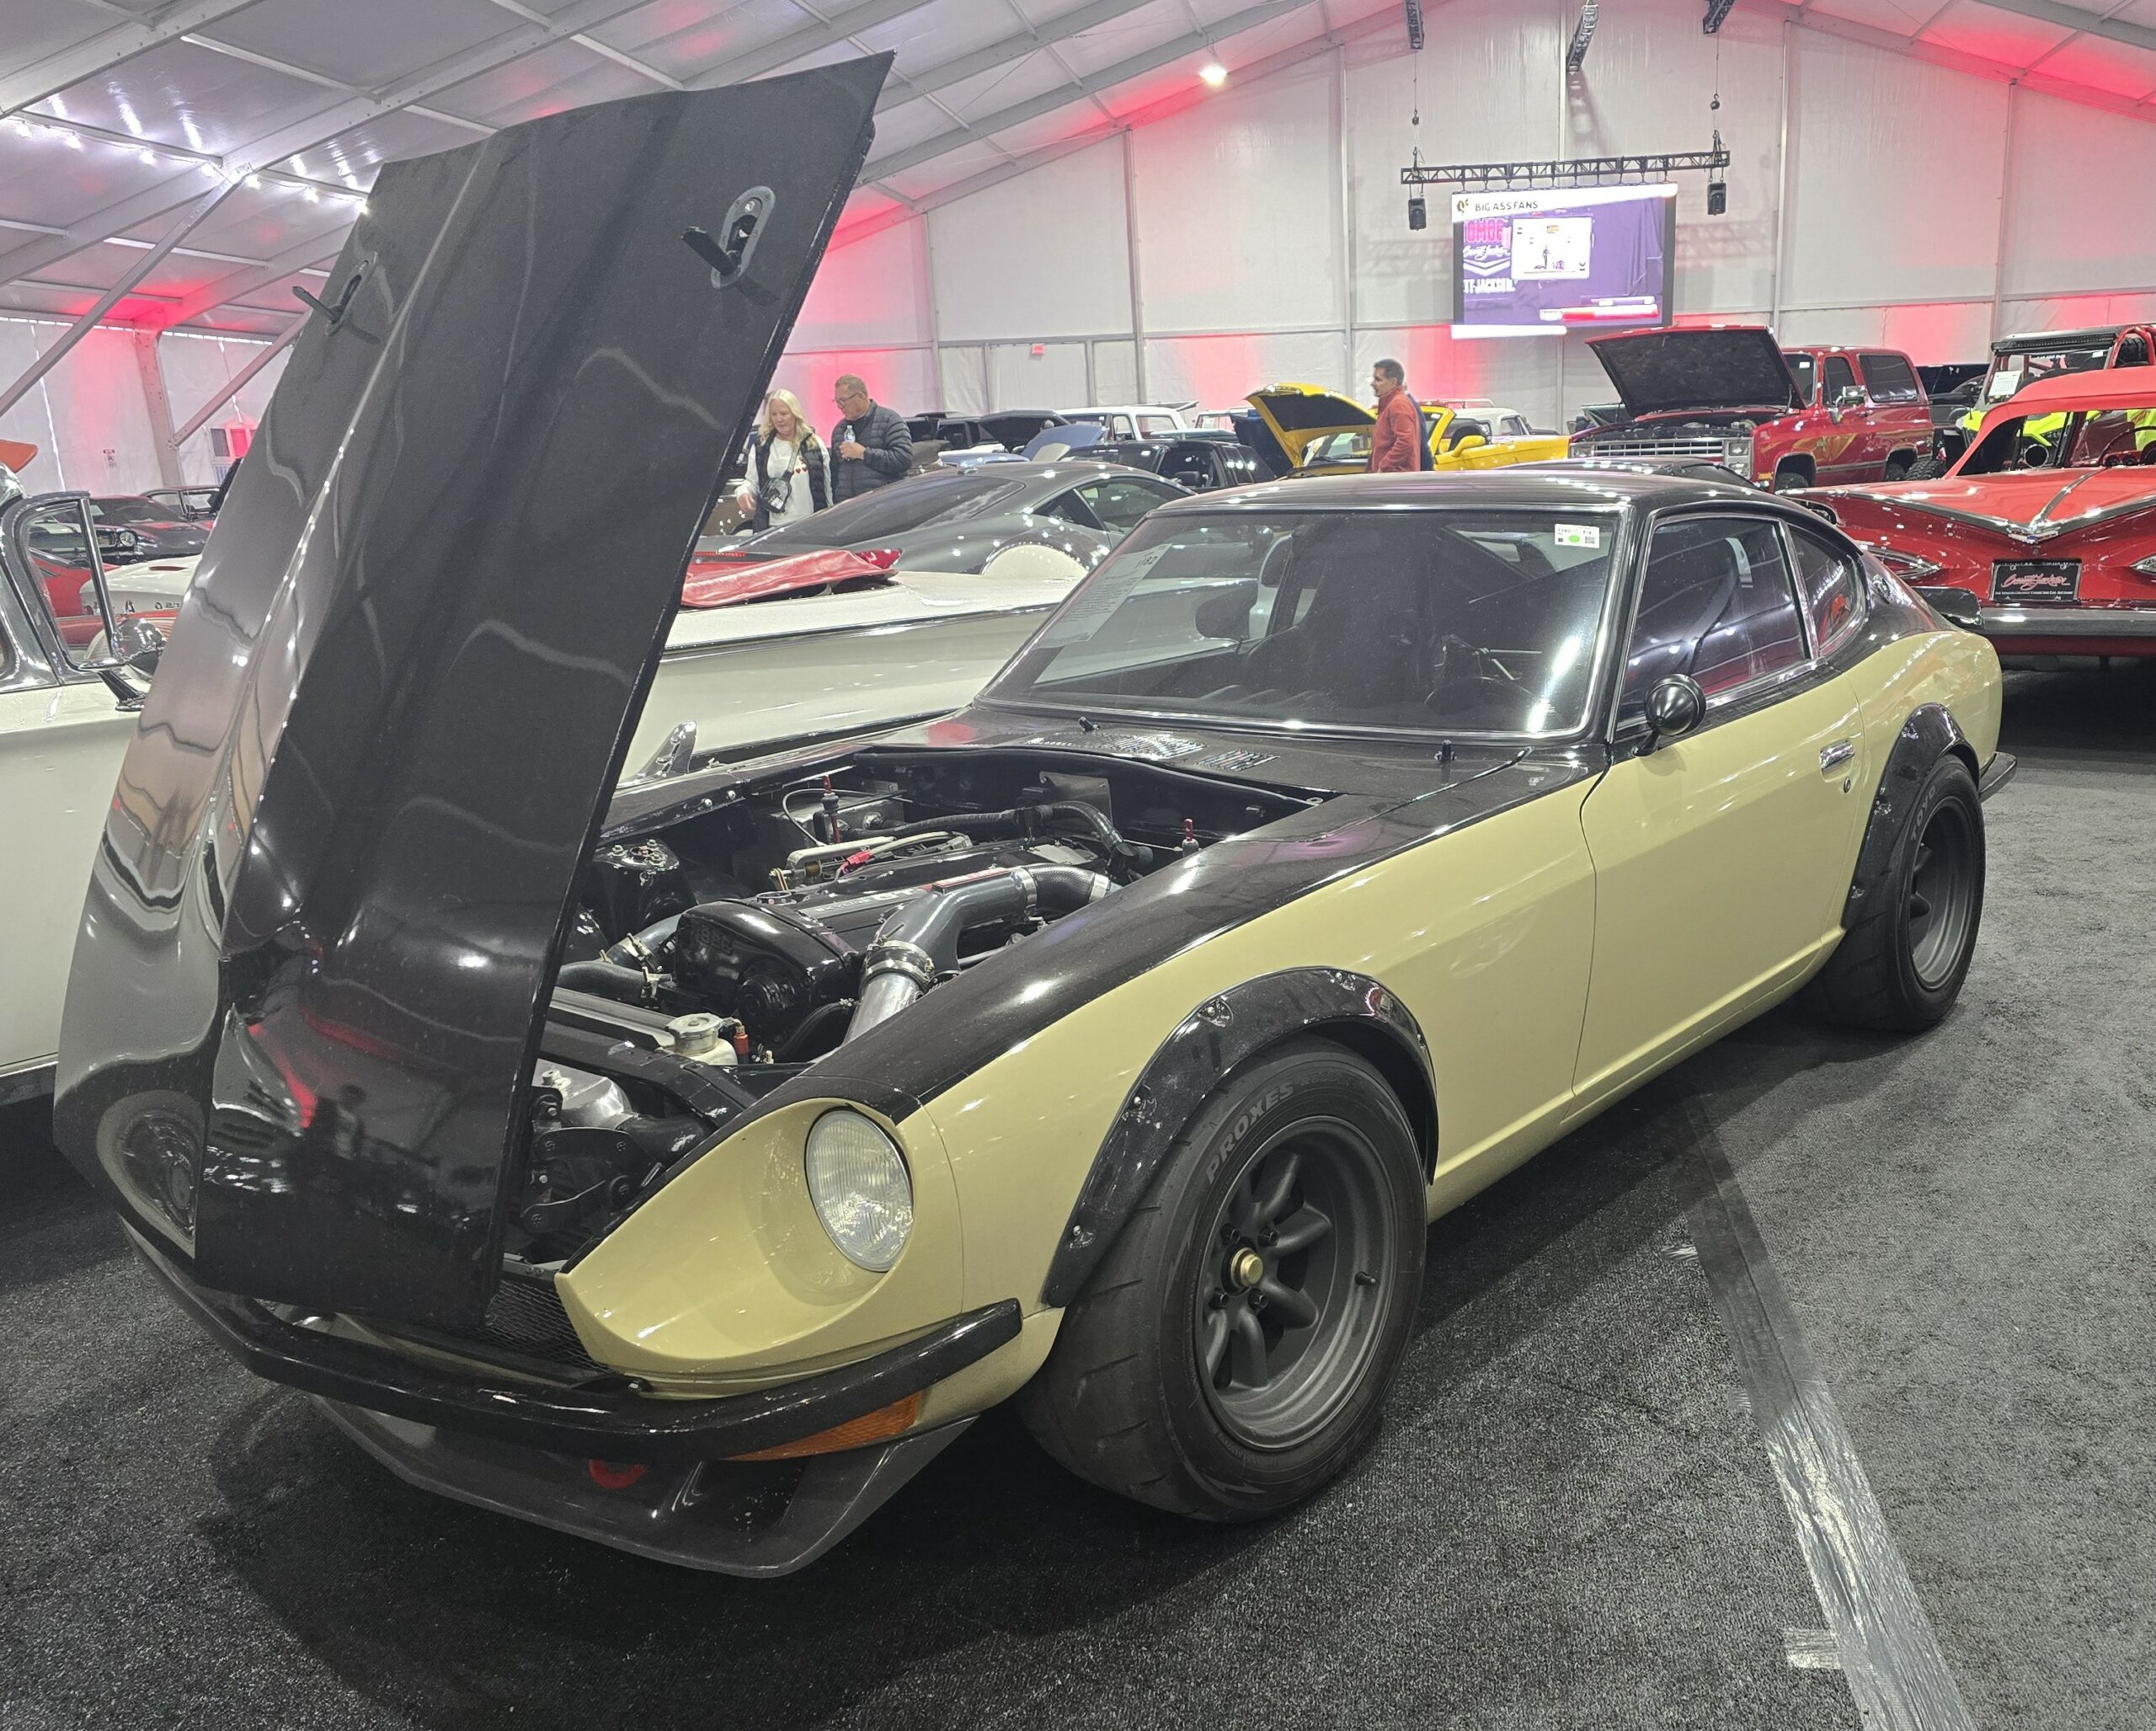
Last but not least in the Datsun category, a 1972 Datsun 240Z. There was a lot to unpack with this car… A RB26 swap resides under the hood, which ordinarily would get me all hot and bothered. Unfortunately, this one made me more bothered than hot. Zero attention to the engine bay – if you’re going to install an RB26, maybe take the time and effort to display it in an appropriate manner? No real suspension upgrades to handle all that power (except coilovers), and the paint was shoddy. A black pinstripe was used to mask the poorly-done break between the black and “beige” paint, and broken pieces of the original pressboard spare tire cover were tossed in the interior. This one might be a fun track car someday, but it’ll never win any beauty contests. Apparently, I’m in the minority, as this one hammered at an absurd $69,300.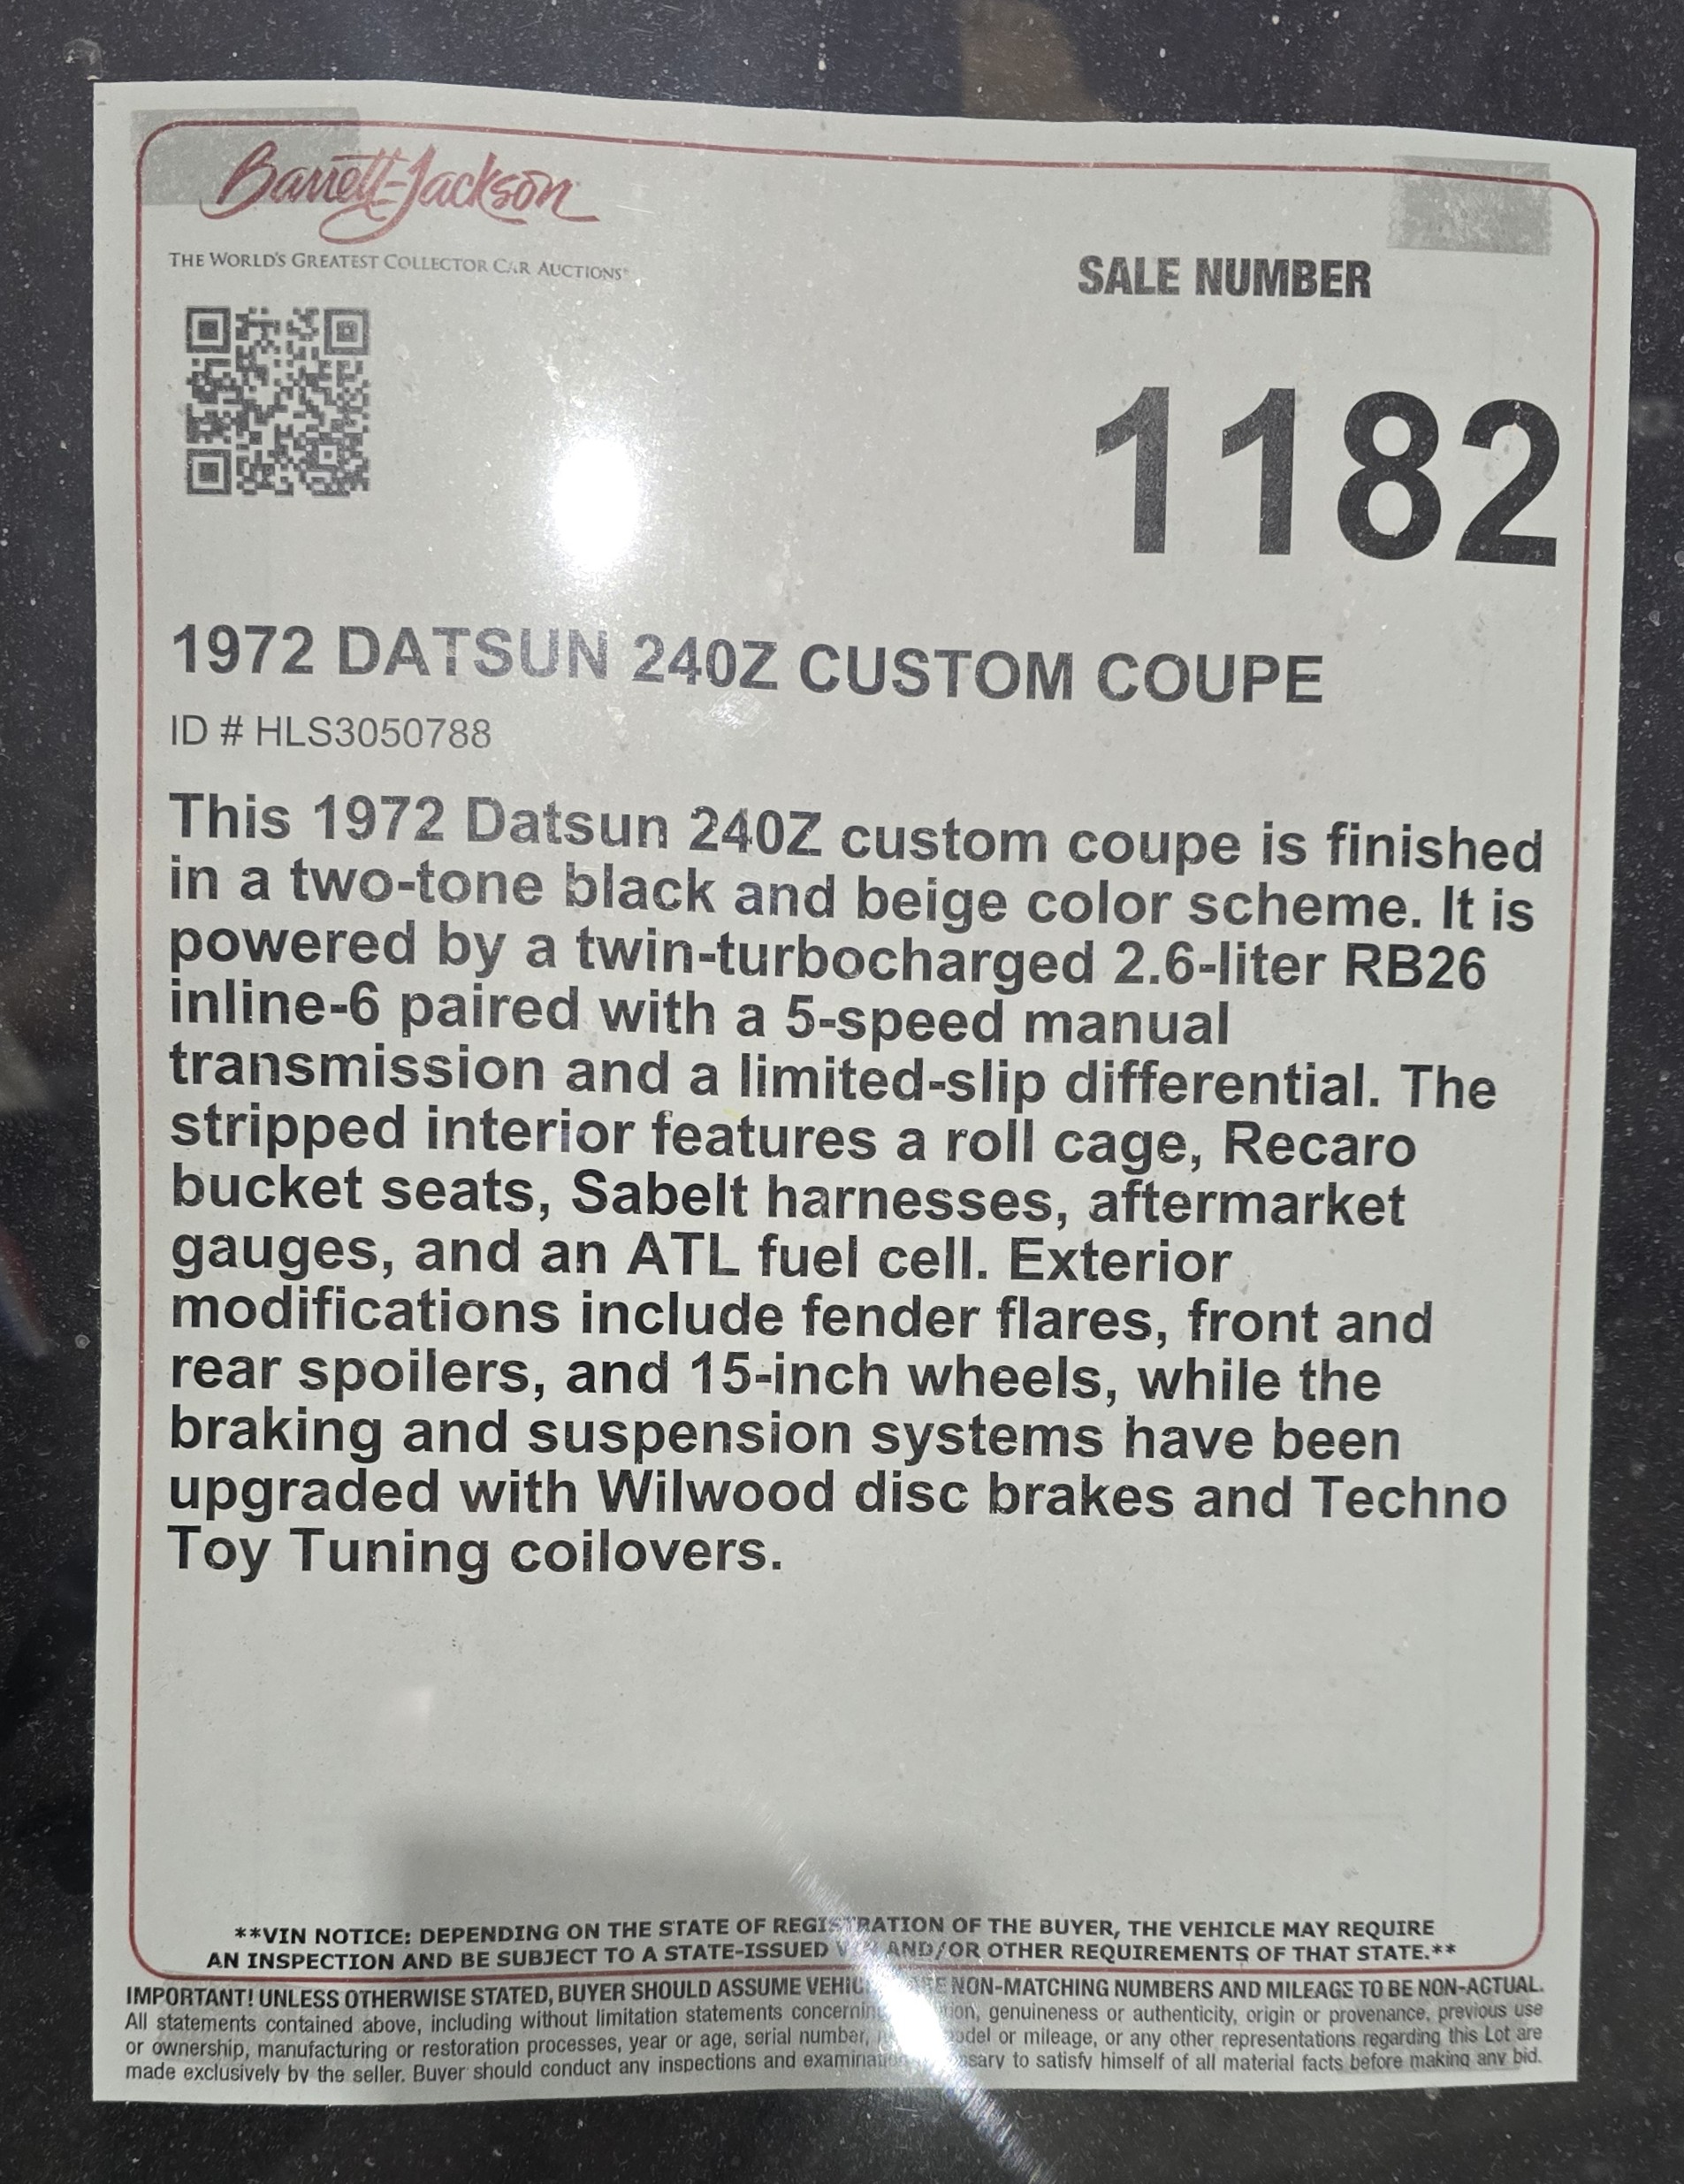
Thanks for joining us for this quick tour of the Datsuns at auction, and please check out our article on the Nissans at Barrett-Jackson 2025 as well!