By Andy Sola (Ozzie)
So, do you have an old Datsun?
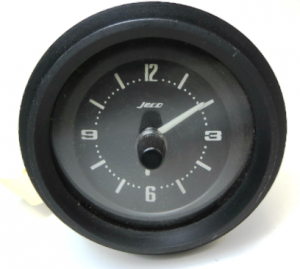
It’s likely that it has an analog dash clock made by Jeco (Japan). It’s also likely that your Jeco clock has stopped working. It seems to be a common problem with these older clocks, but there might be hope of saving it rather than trying to track down an expensive working replacement!
Things you will need to perform a successful resurrection of your Jeco:
– Screwdrivers
– Multimeter or test light
– WD40 or PB Blaster
All these photos are of the Jeco clock from my 1st-gen Celica, so may differ slightly in design and mounting location compared to yours, but the steps needed to get the clock running again should be similar.
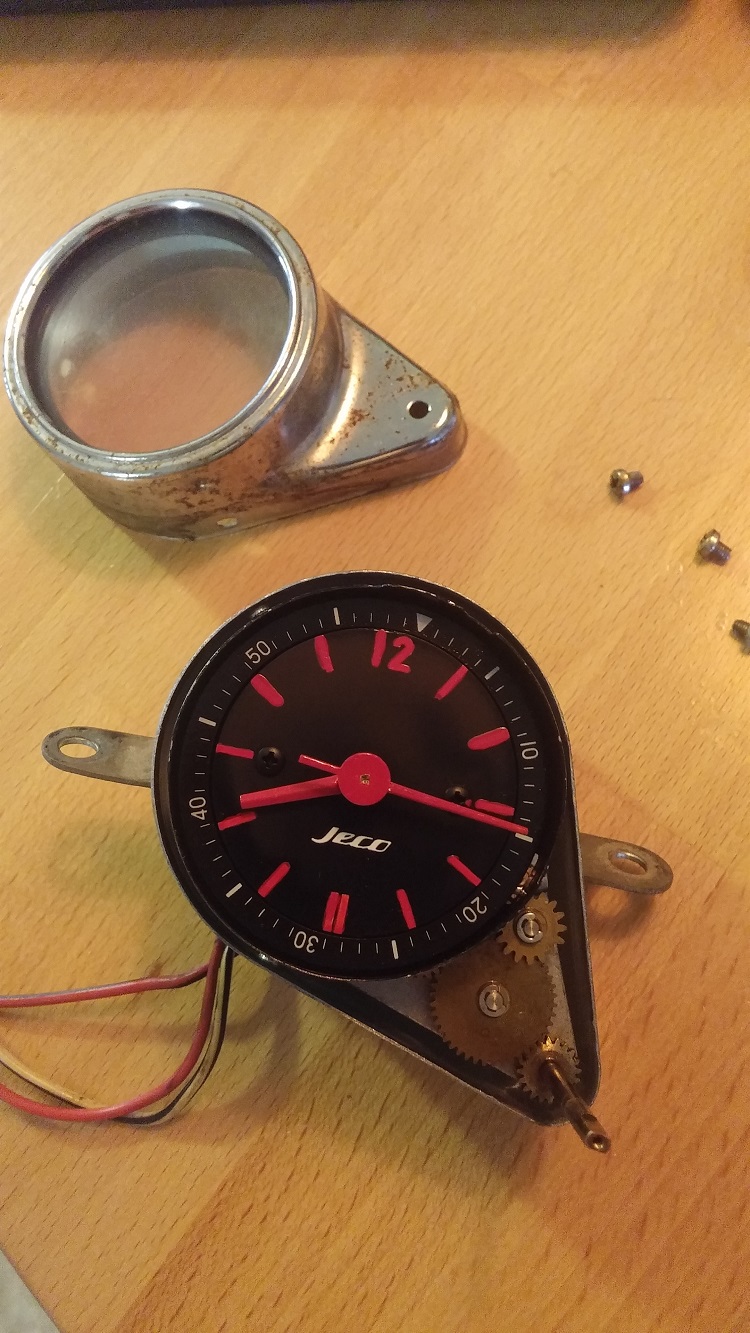
Here we have the clock, as mounted in the center console.
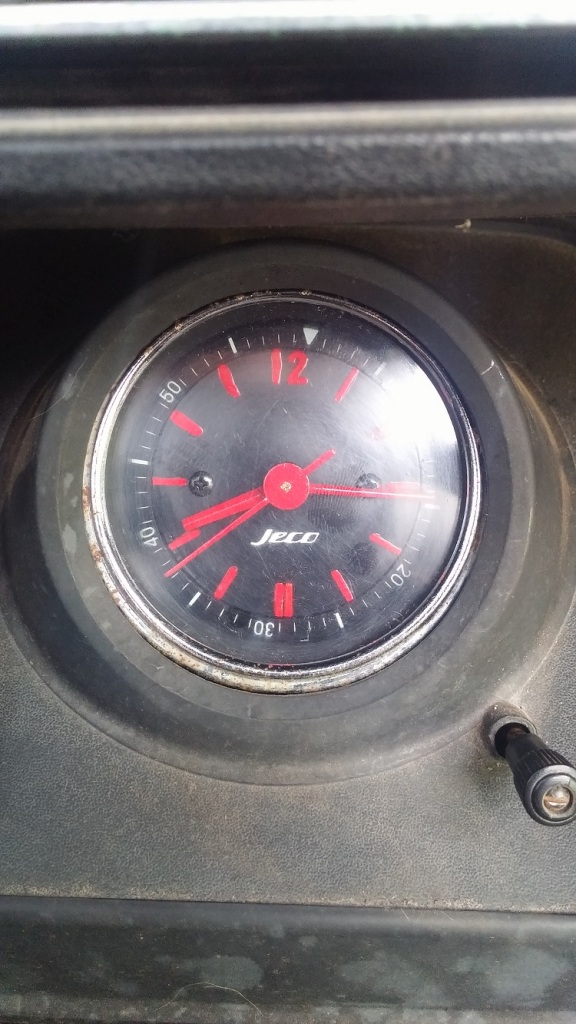
To remove this particular style, the adjustment knob (bottom right of picture) will need to come off before the clock can be removed from the console.
There are 2 screws holding the clock in place on the back. Undo these first so you can manipulate the clock out further into a position where you can grab the adjustment shaft (to prevent it from turning) while undoing the small screw that holds the adjustment knob in place.
Once you have the clock removed, you will be able to unplug it from the loom.
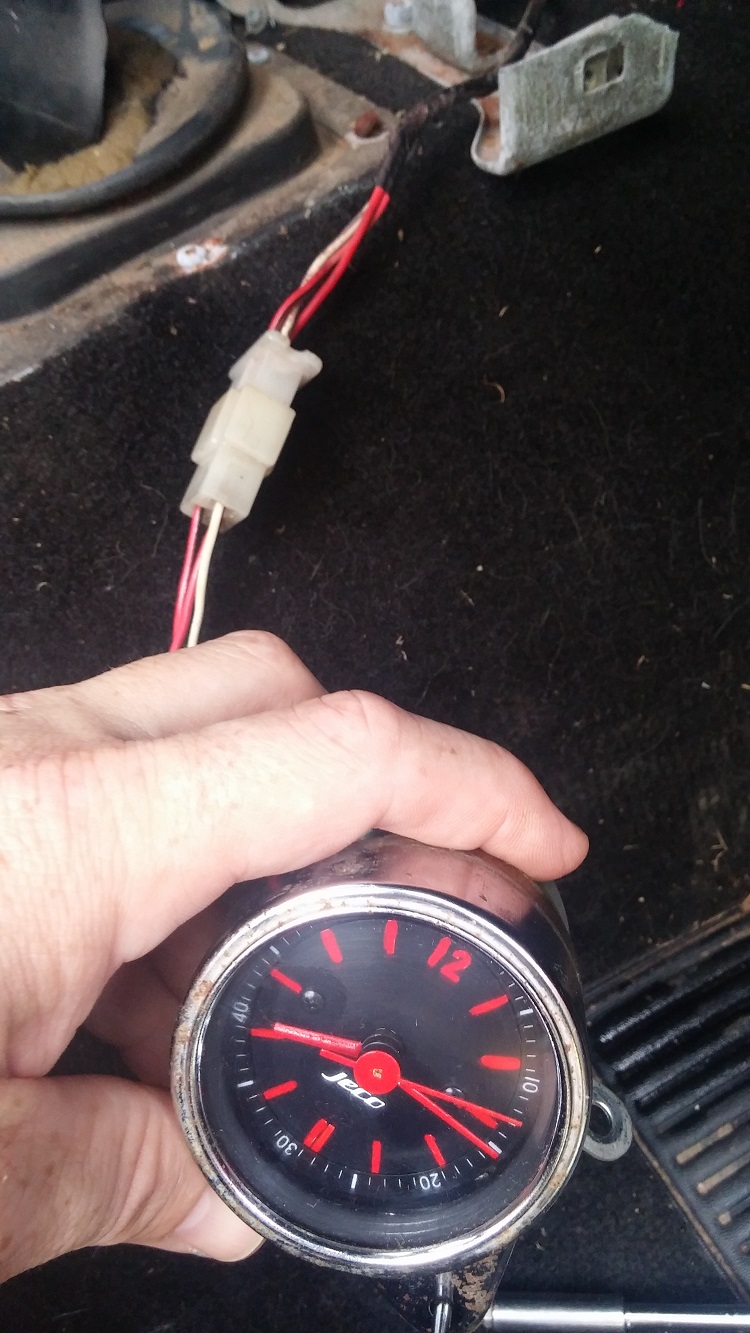
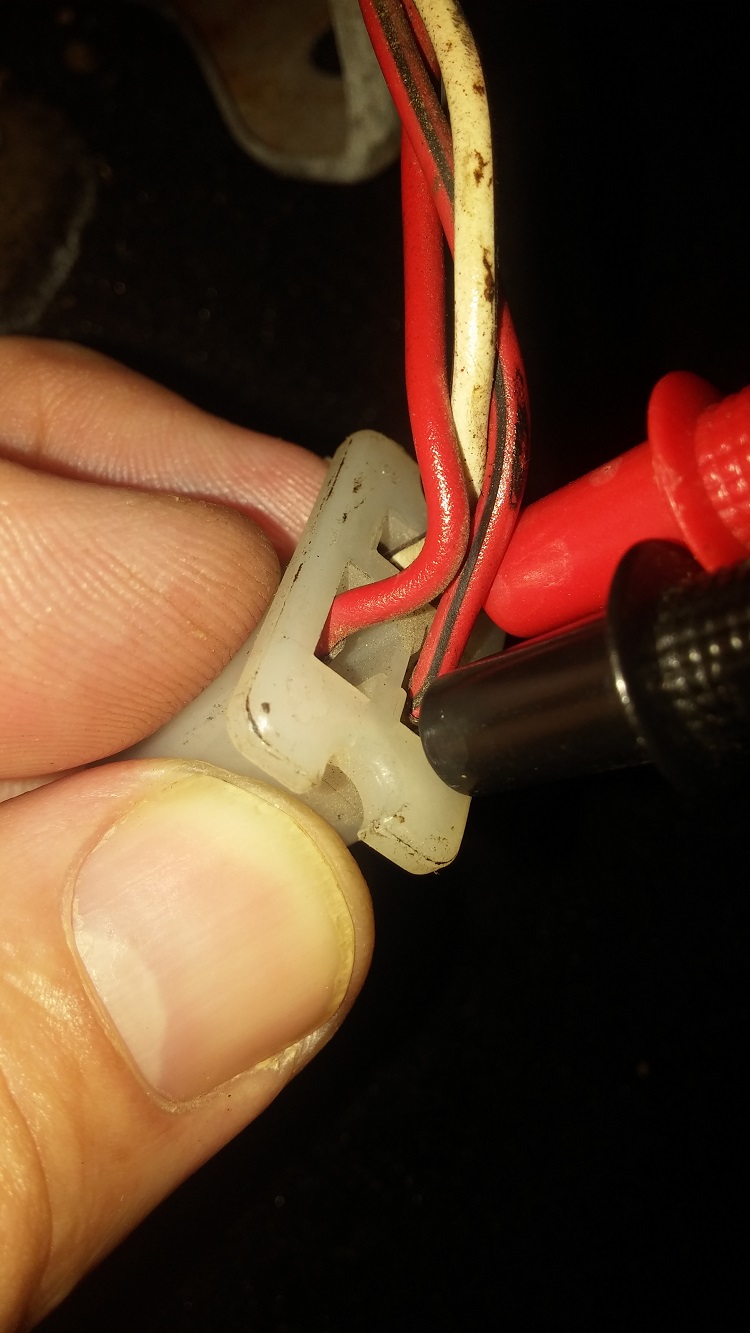
With the clock now unplugged, we will test the plug on the loom with our multimeter/test light to see if we are still getting power to the clock.
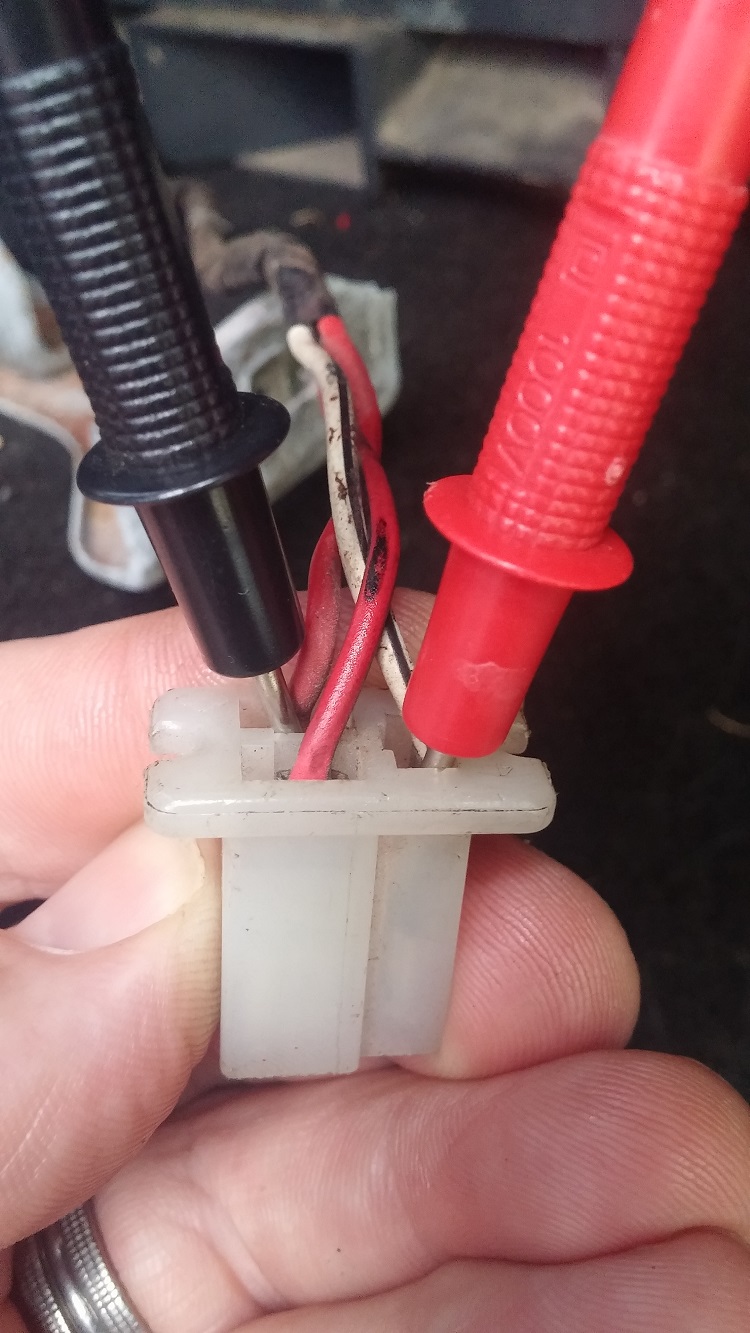
One wire will be the earth / ground (in my case, the singular horizontal pin across the top).
The other 2 pins (vertical) are a constant 12 volt supply to run the clock, and a switchable power source for the light.
With the ignition and lights off, You should be able to get a reading (or get the test light to come on) if the fuse is ok.
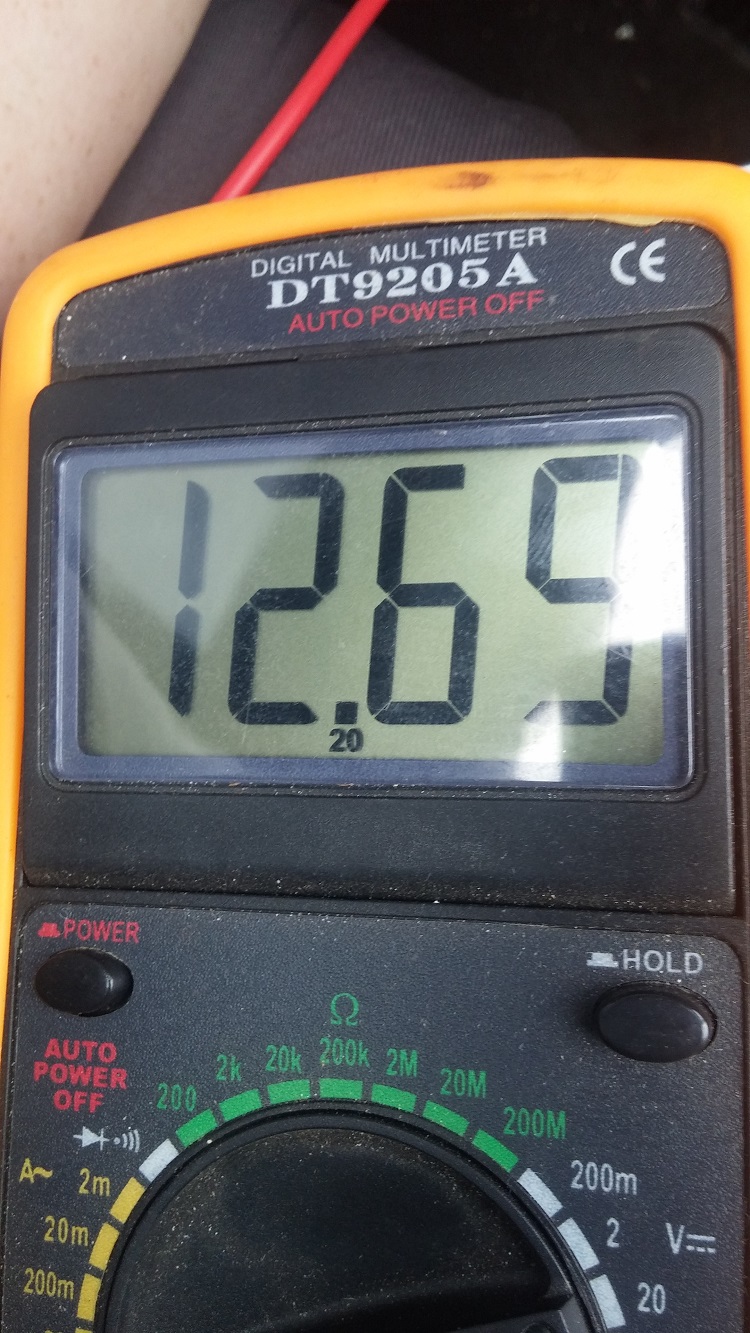
In this case, we are getting a reading of 12.69 volts. This is good, as we know that the wiring is still ok, and it is definitely a problem with the clock. If you aren’t getting a reading, then check your fuses and wiring for any issues before continuing.
If the light is also not working in your clock, move the probe to the other vertical pin.
At this stage, it should read zero (or your test light should not be illuminated). Turn your parking lights on, and hopefully you will now have a reading on the multimeter.
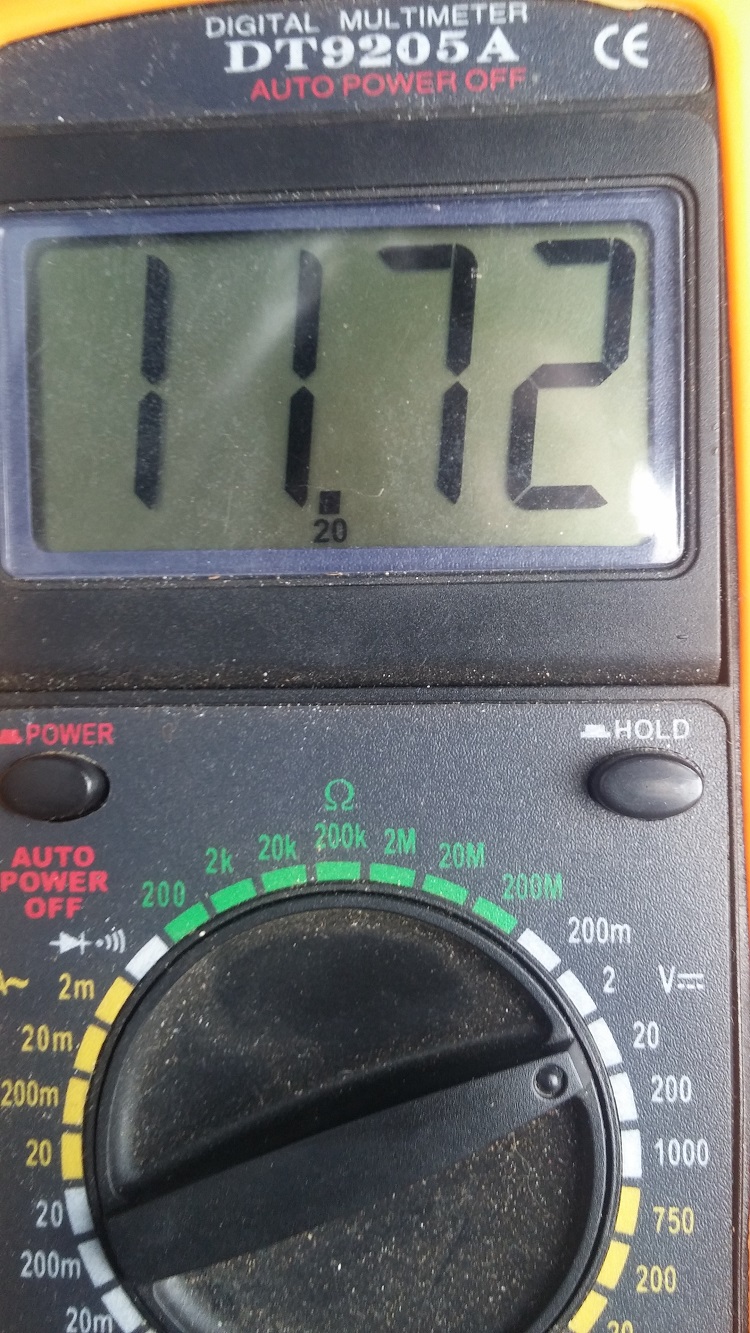
In this case, another successful test for the wiring. This indicates that bulb in my particular clock has blown.
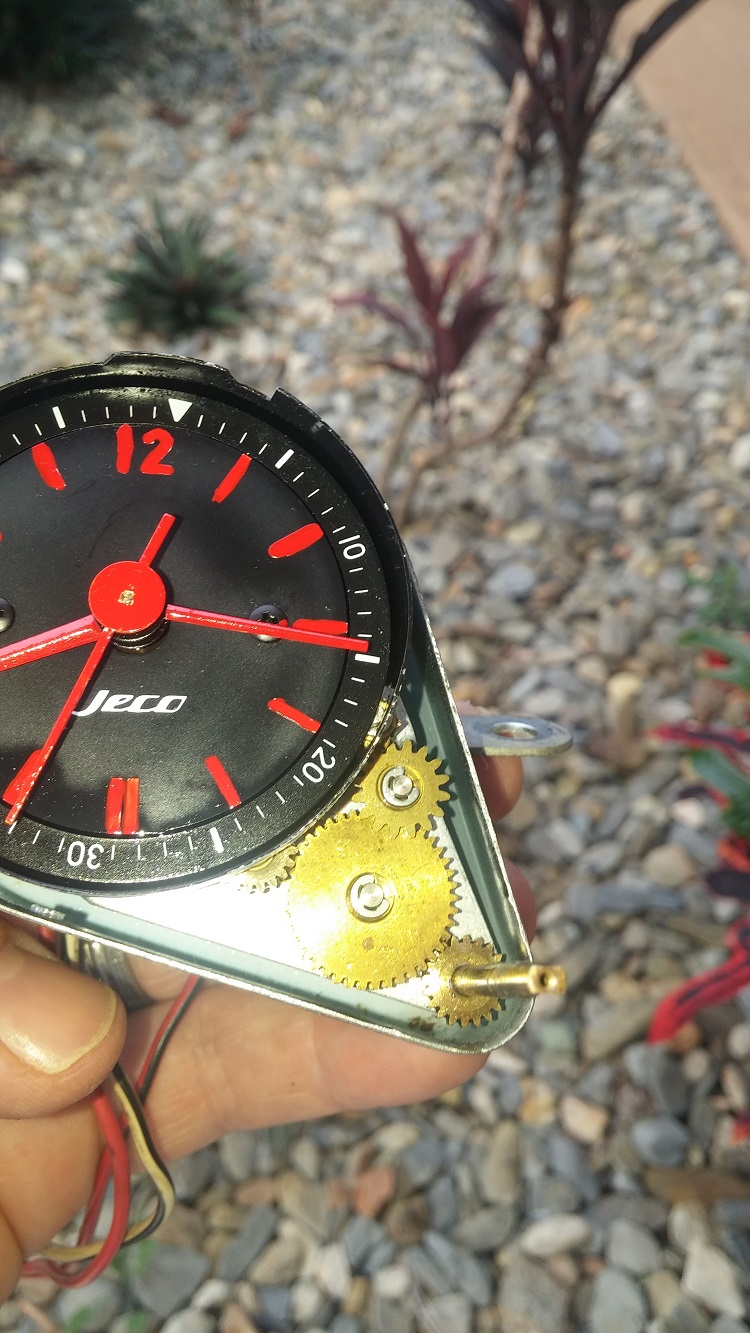
Now we move on to pulling the clock apart. There are 3 screws holding the 2 metal halves of the casing together (yours may have more or less)
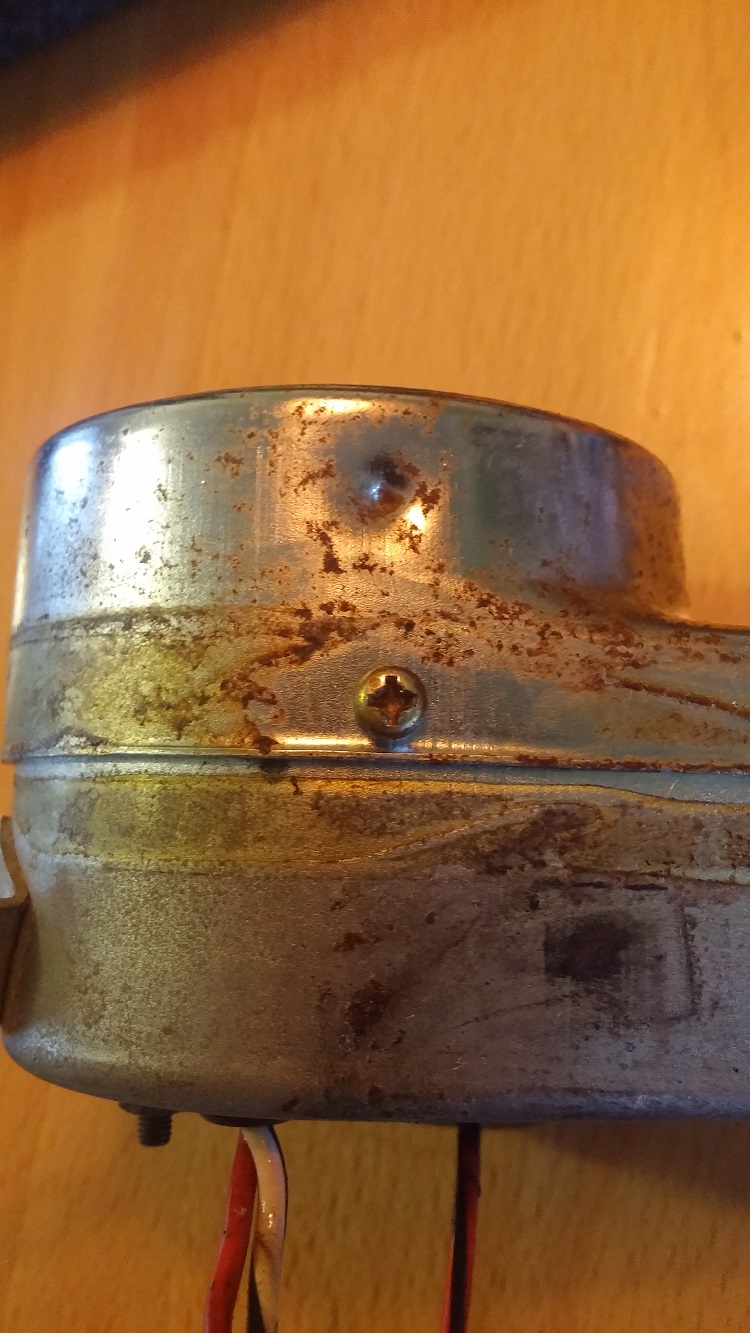
Undo these, and separate the case. Don’t worry about cogs and springs flying everywhere when pulling these apart, as this is only a protective case and isn’t responsible for holding any of the inner workings in place. Once it’s apart, it should look something like this
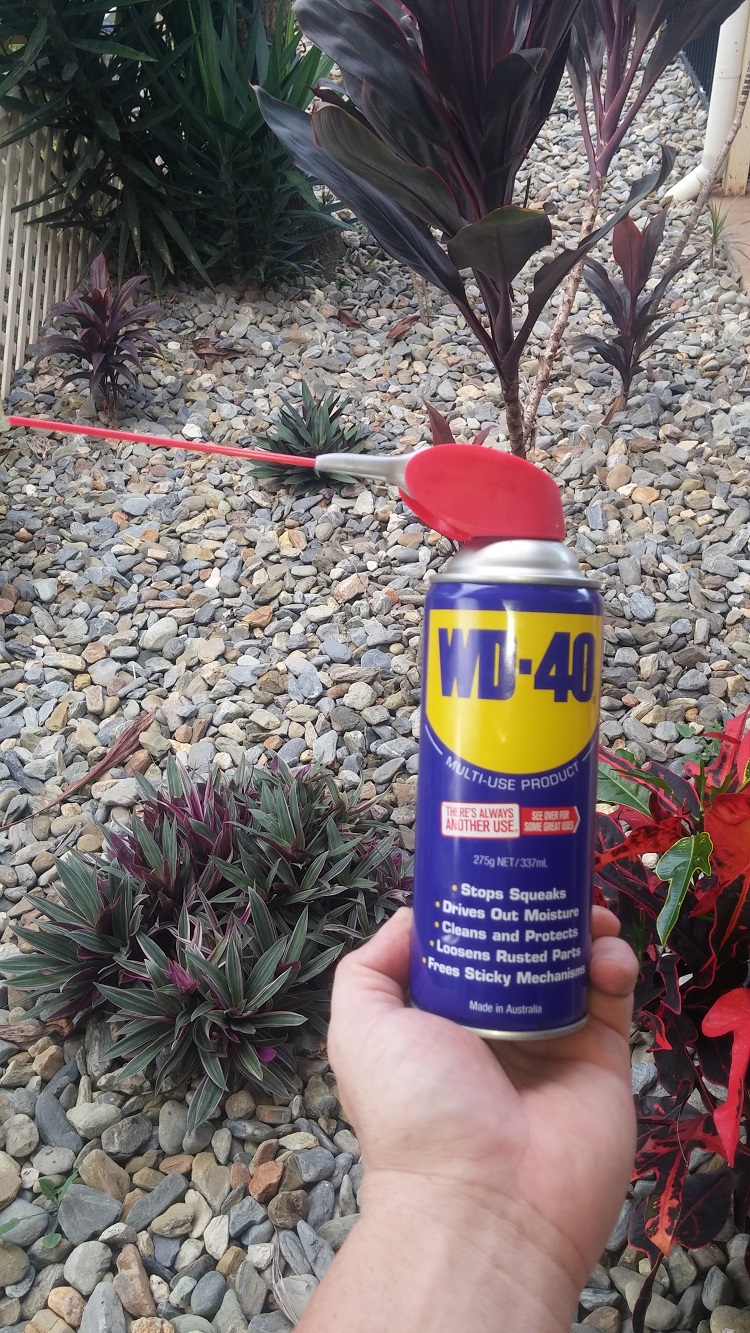
Now we move outside, and grab our WD40 or PB blaster. (make sure it has a nozzle, to get to the hard to reach places).
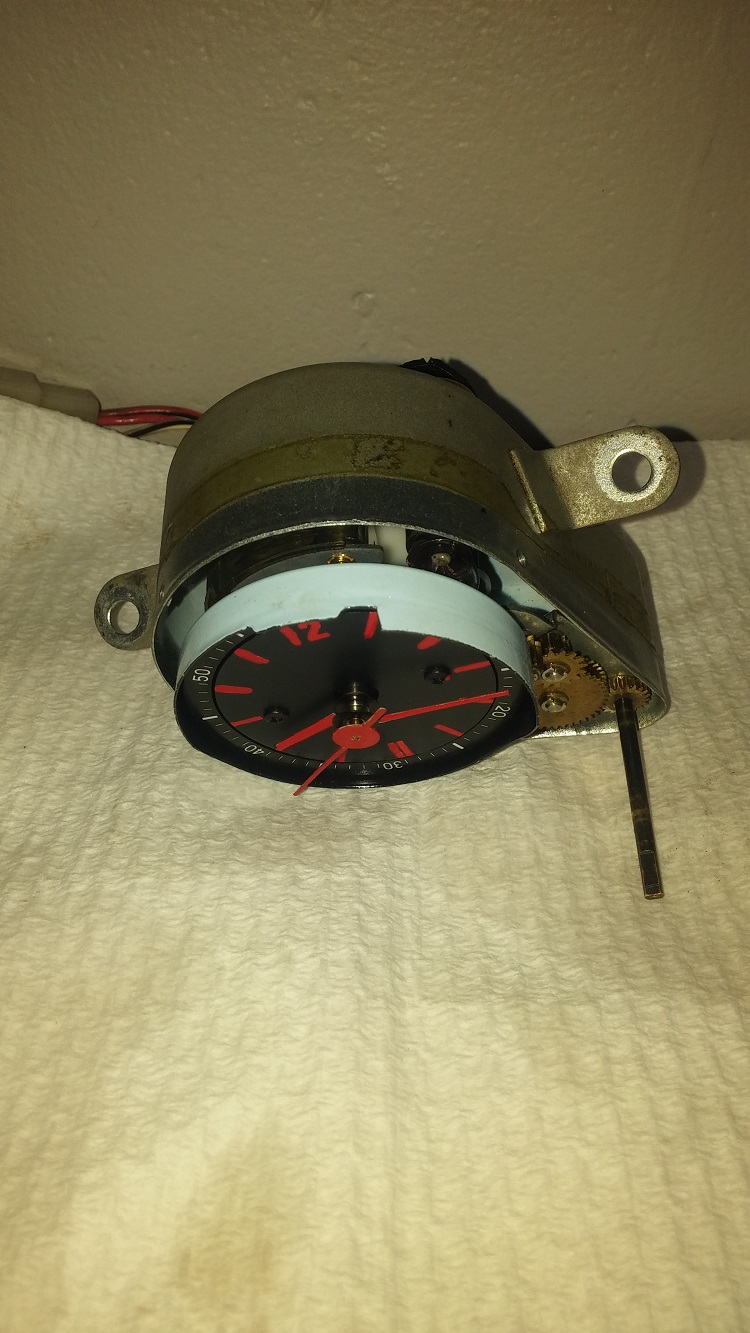
Now we simply SOAK the internals (don’t be shy), down below where the spring weight for the second hand is.
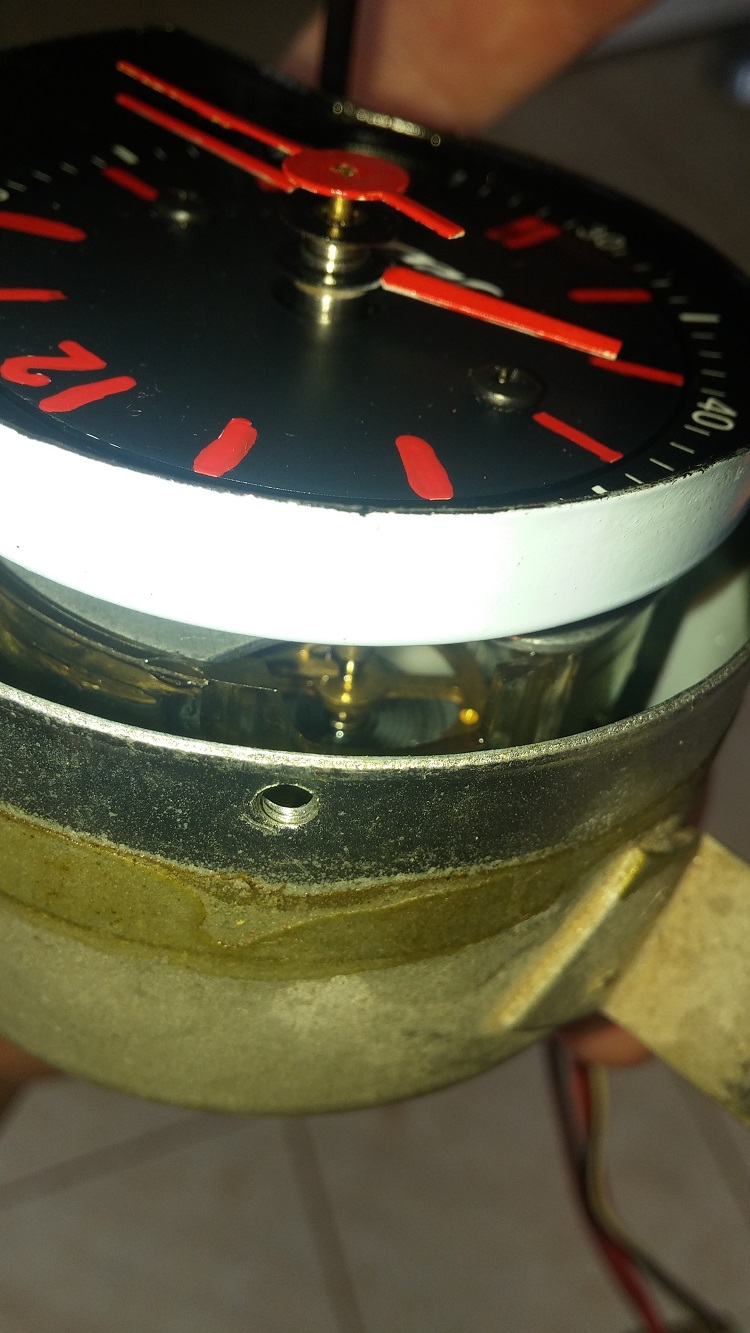
And also the drive gears closer to the underside of the face.
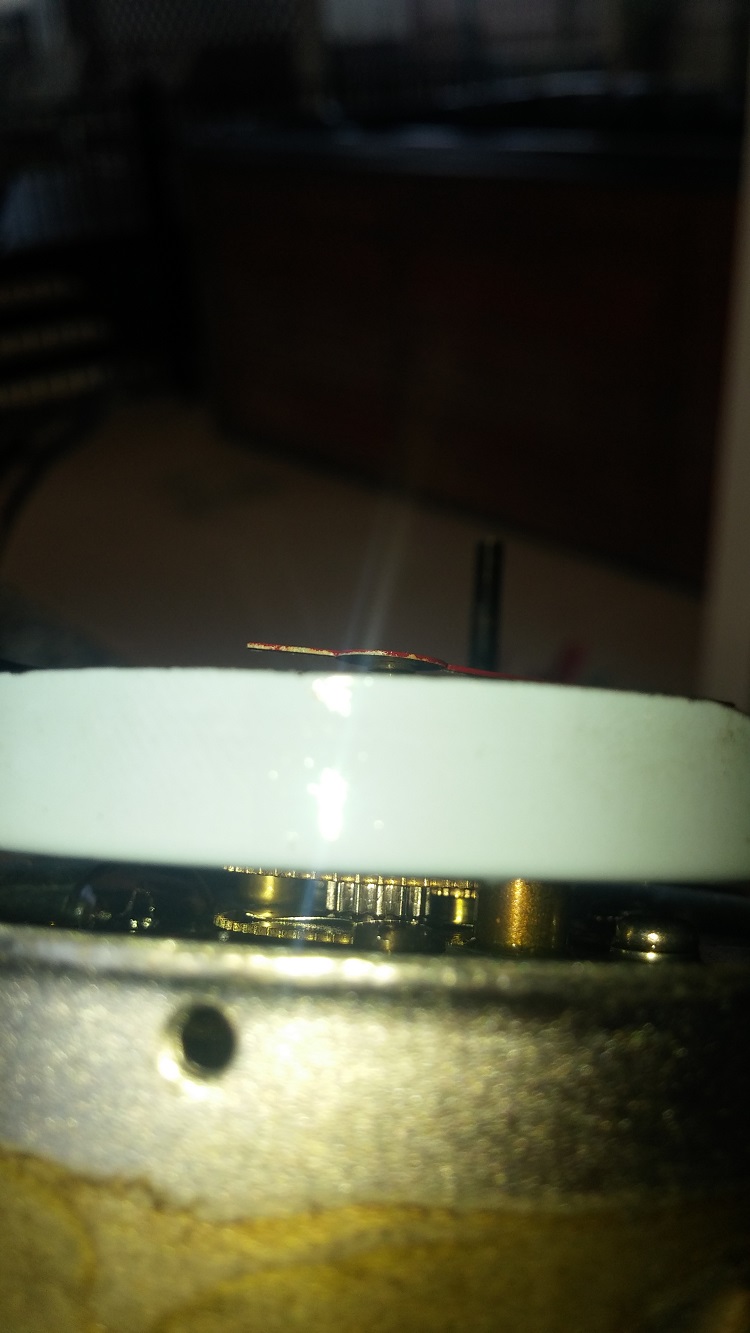
Spray the adjuster gears too.
And then use the adjuster shaft to turn the hands, as if setting the correct time. This will work the lubricant into all the gear faces and teeth, and help clean out the 40+ years of dust and gunk. Be careful when doing this as the casing isn’t there to support the shaft and you may be able to move it away from the other meshing gears.
Tip the clock up so that the excess fluid can run out, and test the spring weight movement by applying light pressure to the second hand to drive it around the clock (in the correct/clockwise direction).
If it appears to be moving quite freely, then place the clock on a paper towel or rag at an angle so that any leftover excess fluid can run out of the clock body. Leaving it for 30 minutes should be enough.
If it’s still not moving freely, spray the clock again and leave it to soak for a while. Hopefully the internals will be freed up enough that the motor can drive the gears again, and your clock will be alive once more.
Reassemble the clock case and plug the clock in to test it out before reassembling your dash/console!