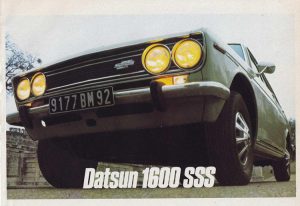
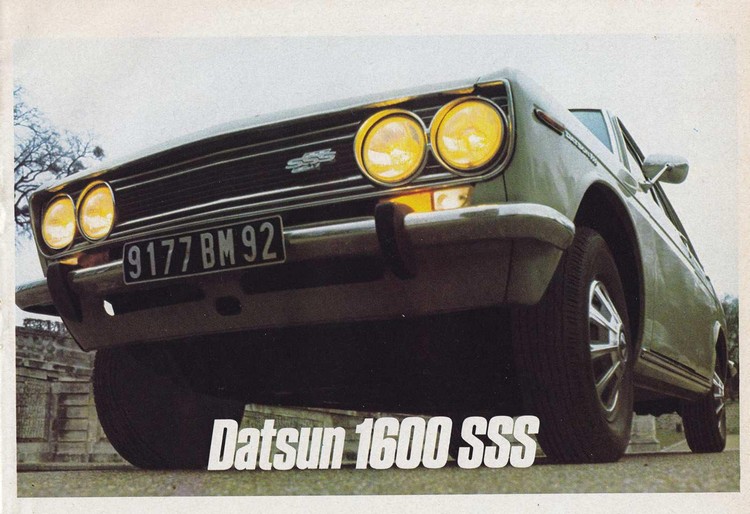
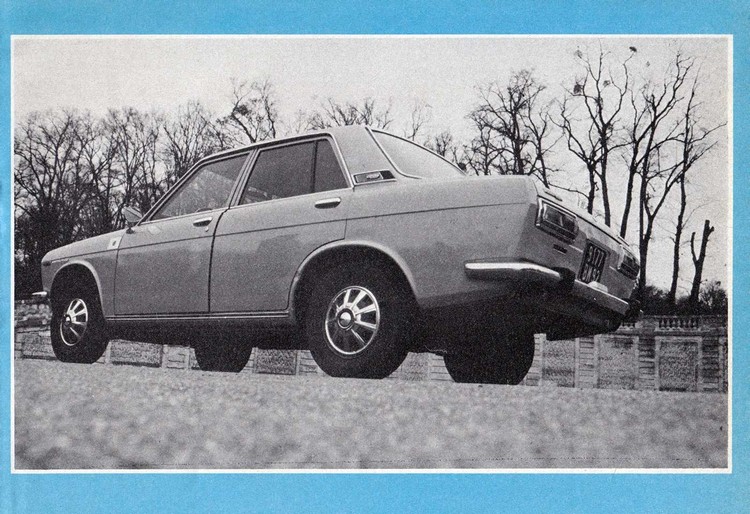
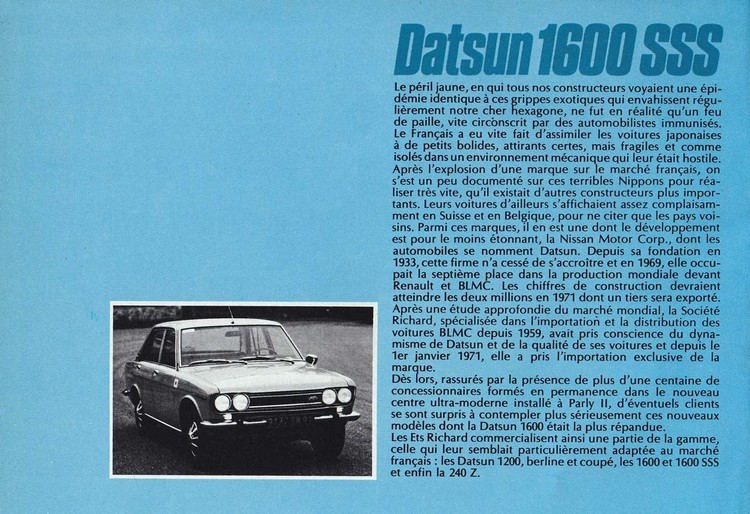
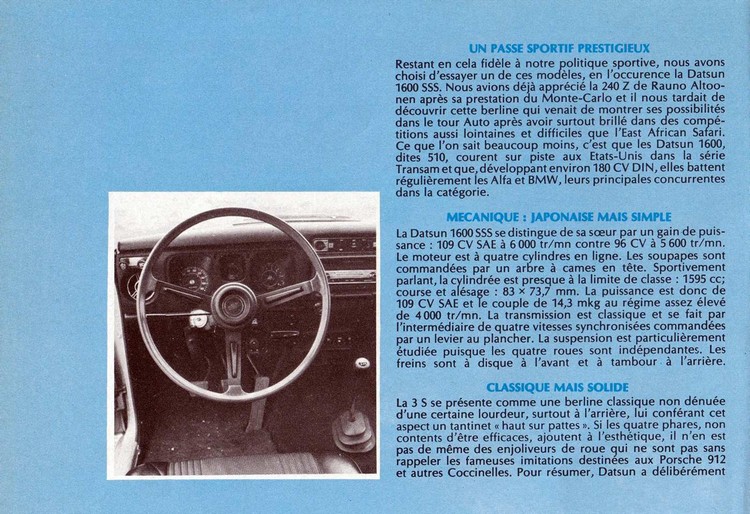
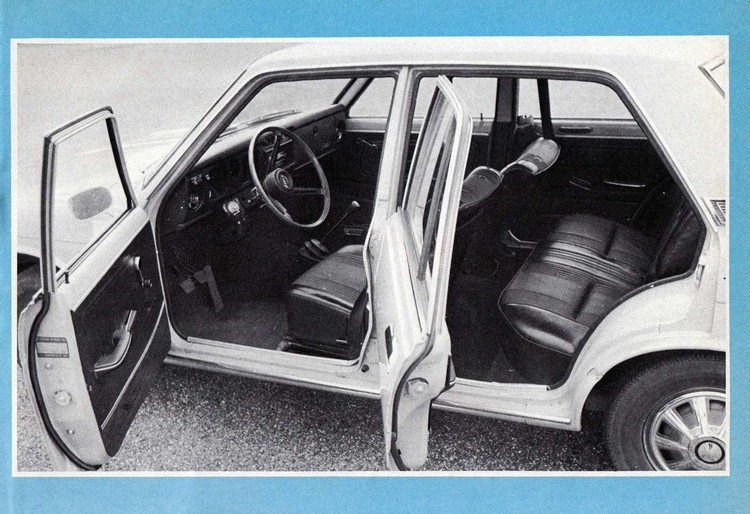
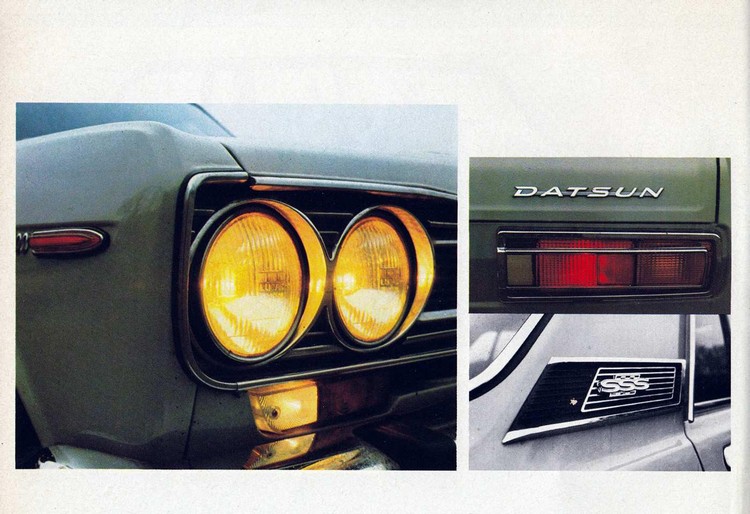
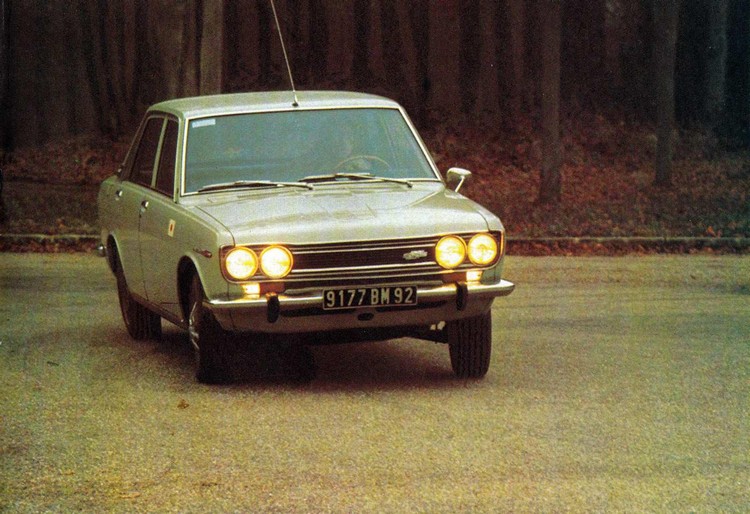
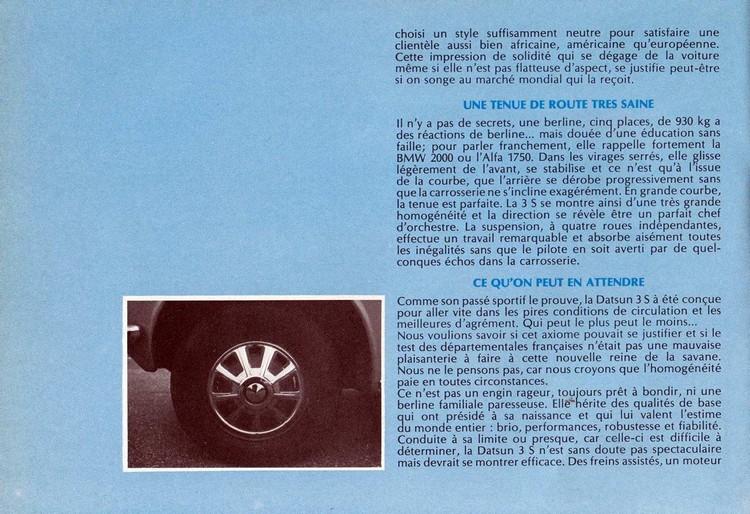
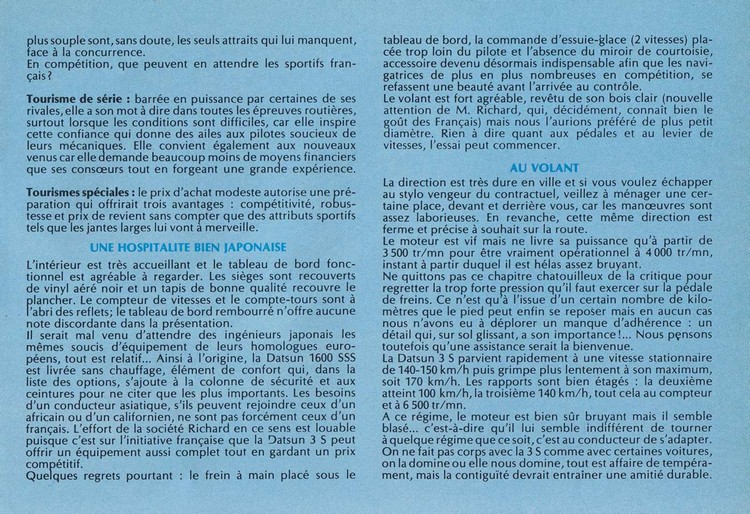
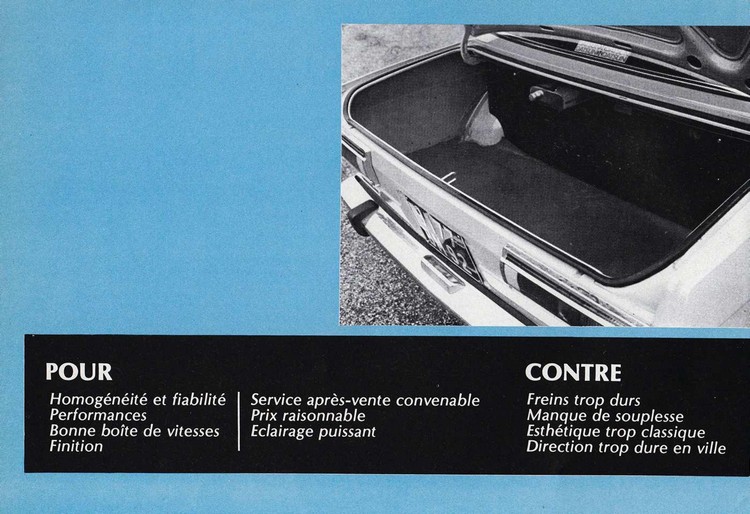
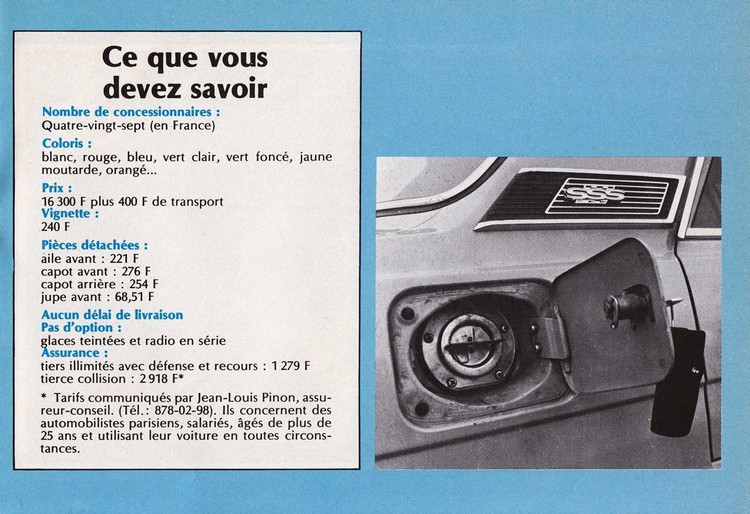
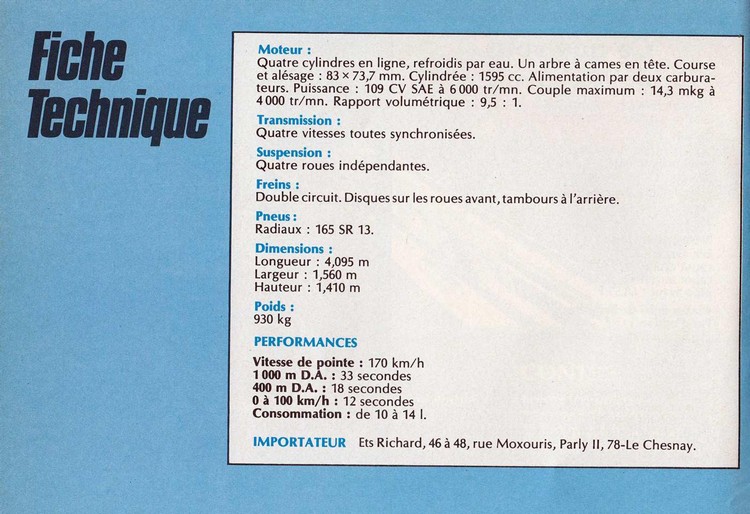
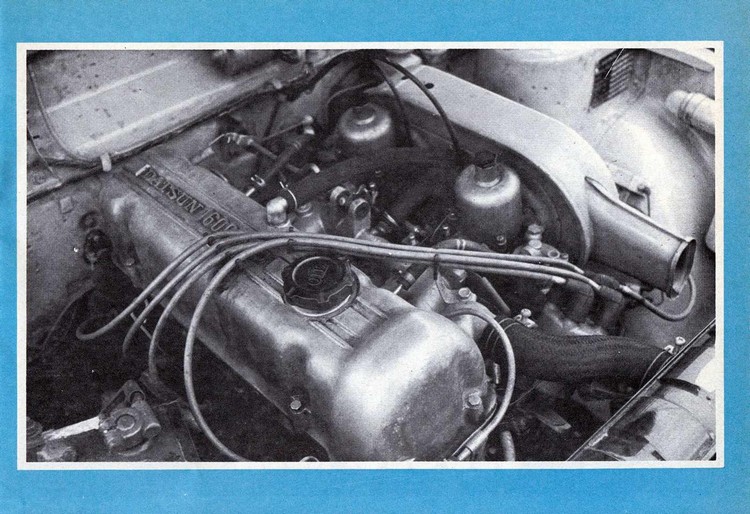
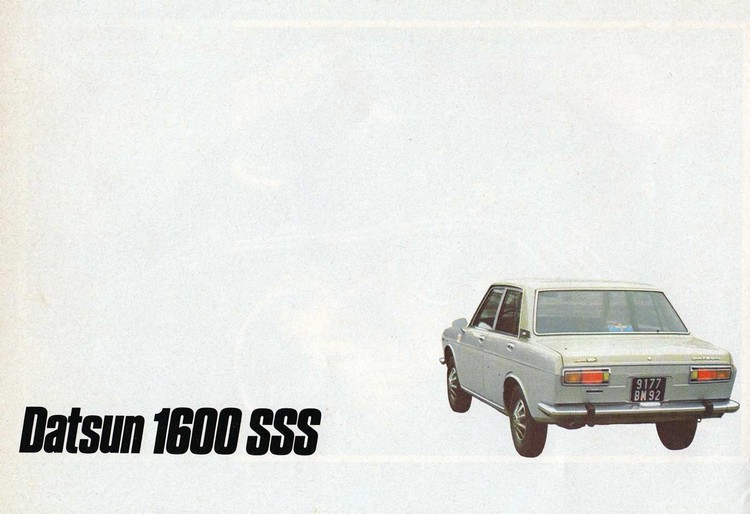
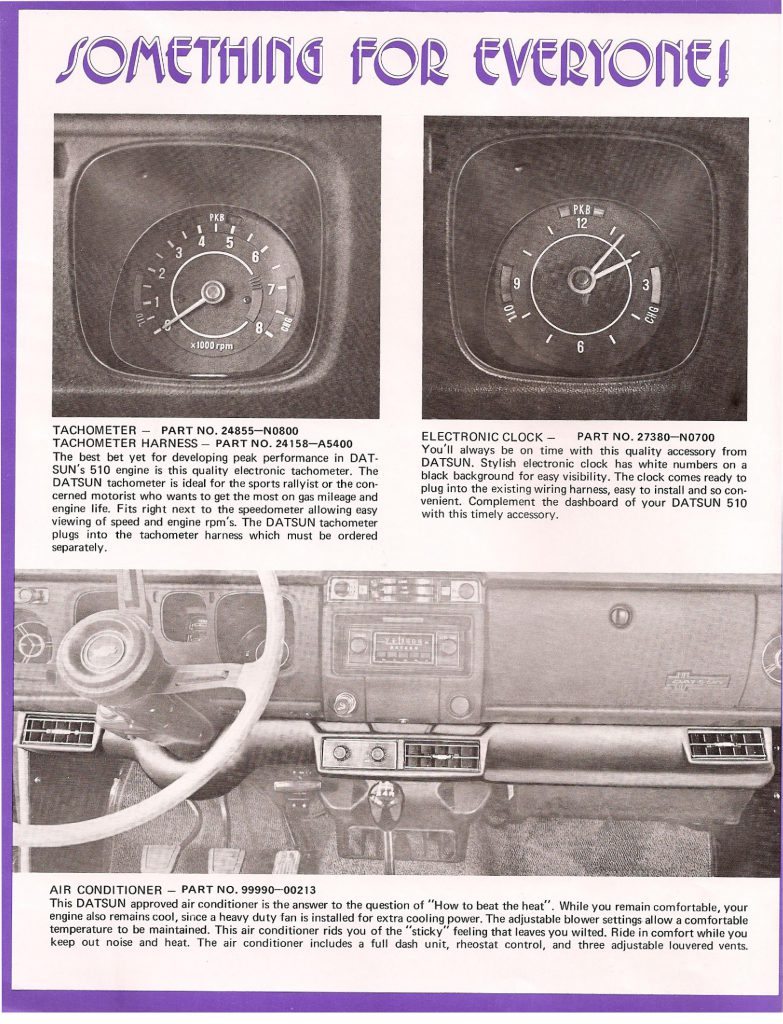
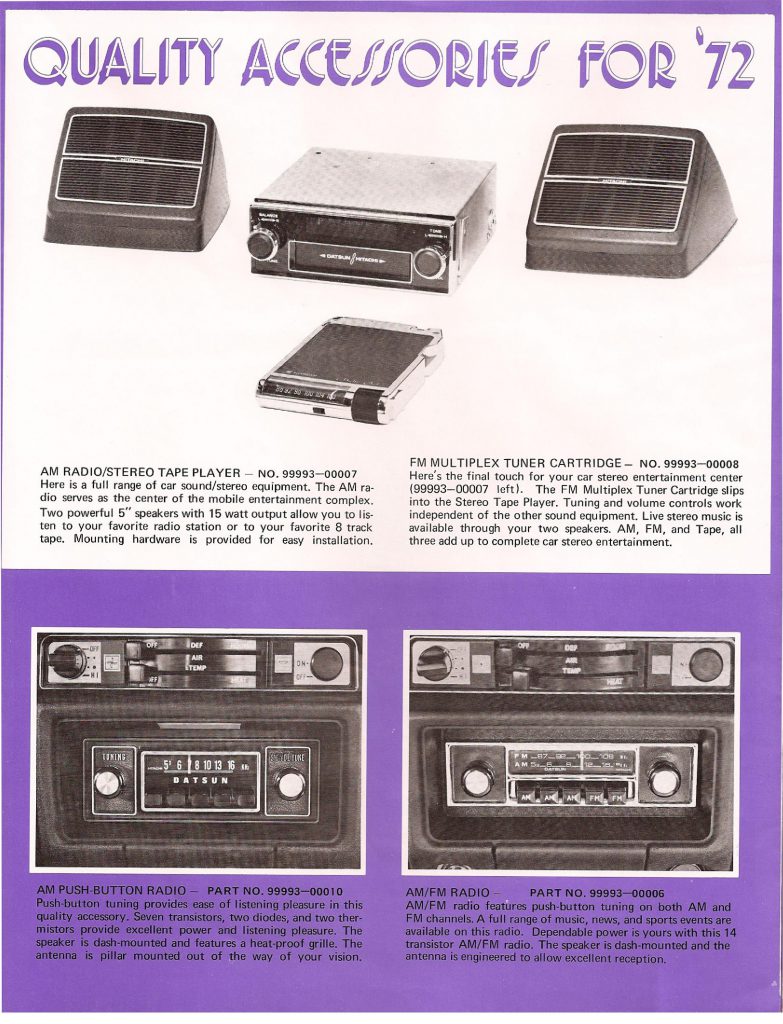
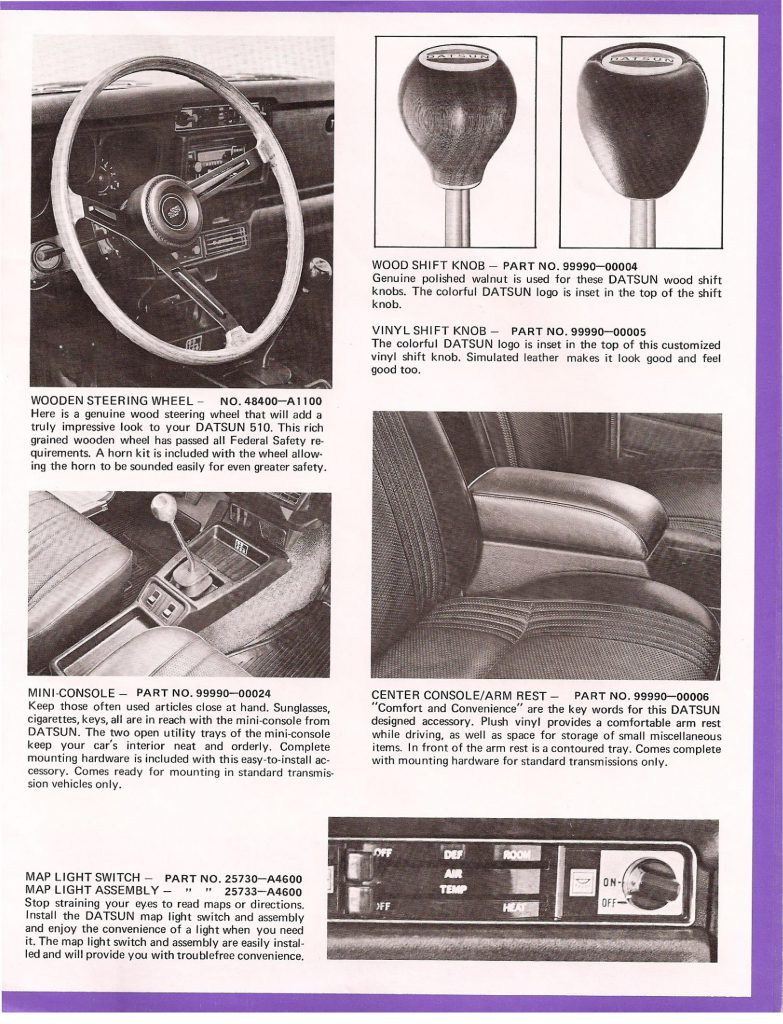
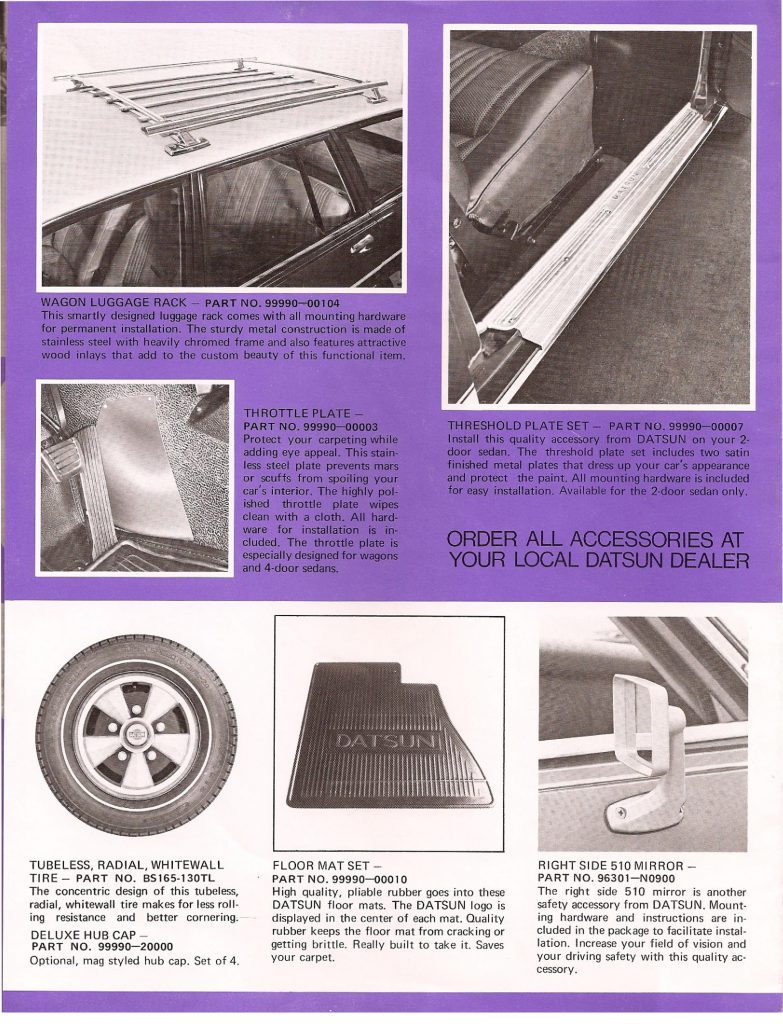
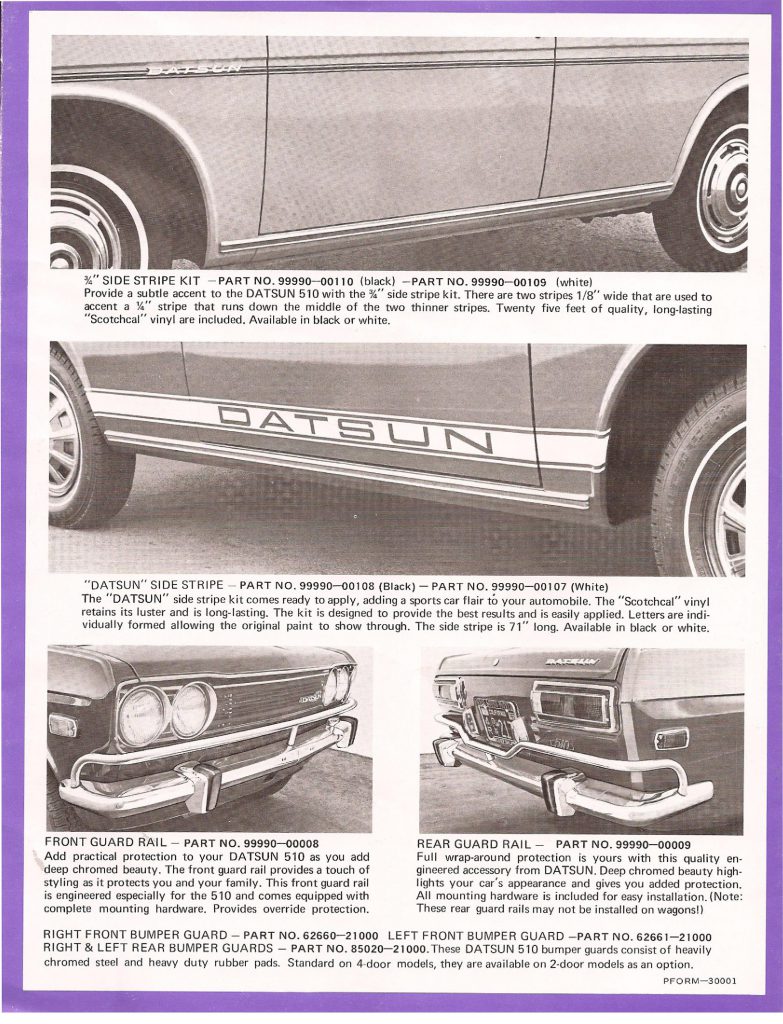
For all you 510 aficionados out there, here’s something you may have never seen – an original factory color brochure from Datsun for the French market. Note the subtle differences in the European-market car… and how about the poor quality photography, especially of the engine bay?
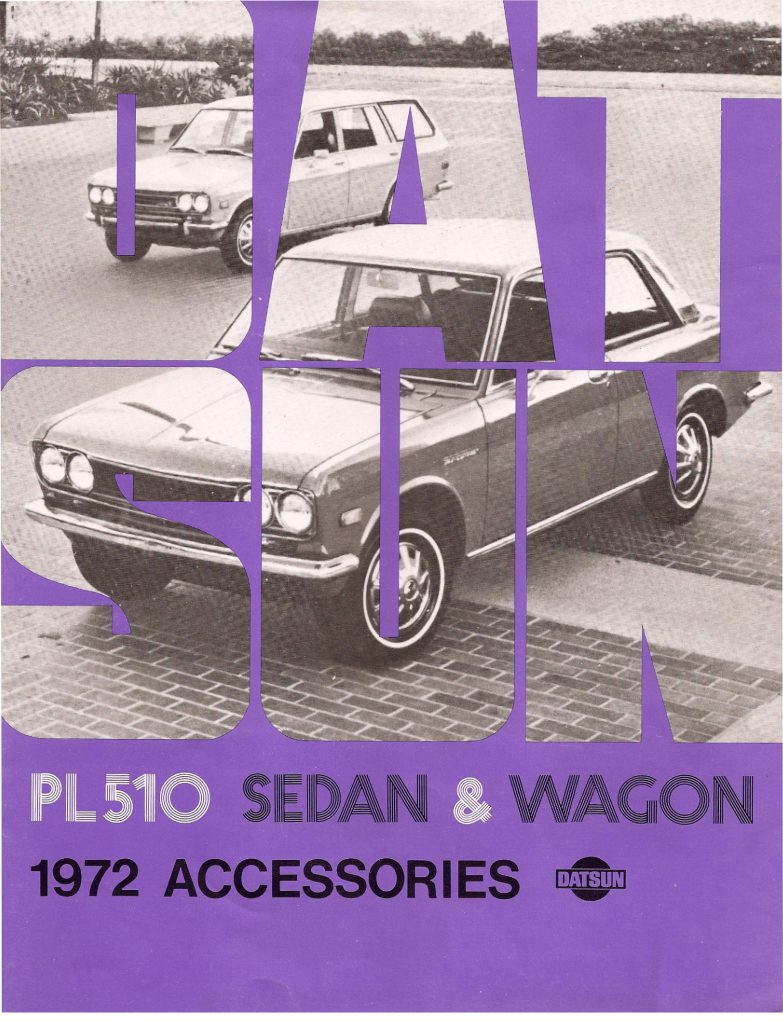
1972 Datsun 510 Factory Options Brochure
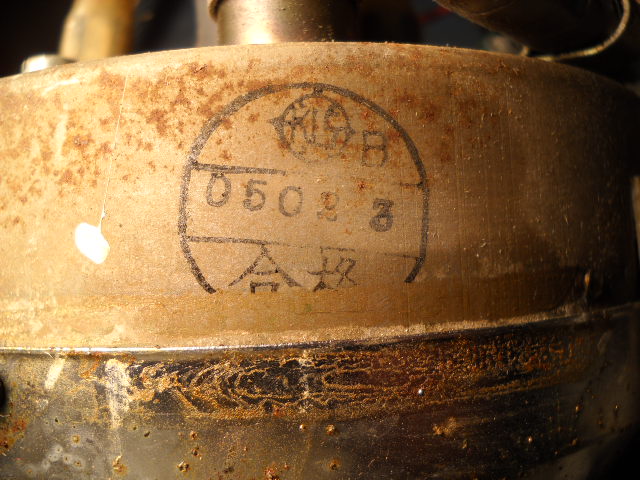
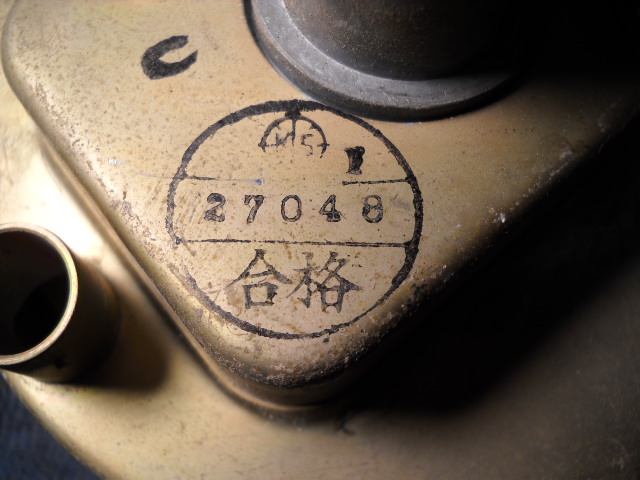
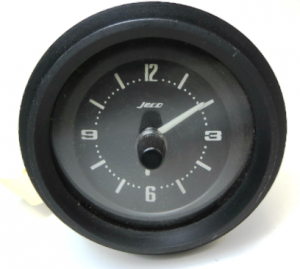
How to Repair your Datsun’s Jeco Analog Clock
By Andy Sola (Ozzie)
So, do you have an old Datsun?
It’s likely that it has an analog dash clock made by Jeco (Japan). It’s also likely that your Jeco clock has stopped working. It seems to be a common problem with these older clocks, but there might be hope of saving it rather than trying to track down an expensive working replacement!
Things you will need to perform a successful resurrection of your Jeco:
– Screwdrivers
– Multimeter or test light
– WD40 or PB Blaster
All these photos are of the Jeco clock from my 1st-gen Celica, so may differ slightly in design and mounting location compared to yours, but the steps needed to get the clock running again should be similar.
Here we have the clock, as mounted in the center console.
To remove this particular style, the adjustment knob (bottom right of picture) will need to come off before the clock can be removed from the console.
There are 2 screws holding the clock in place on the back. Undo these first so you can manipulate the clock out further into a position where you can grab the adjustment shaft (to prevent it from turning) while undoing the small screw that holds the adjustment knob in place.
Once you have the clock removed, you will be able to unplug it from the loom.
With the clock now unplugged, we will test the plug on the loom with our multimeter/test light to see if we are still getting power to the clock.
One wire will be the earth / ground (in my case, the singular horizontal pin across the top).
The other 2 pins (vertical) are a constant 12 volt supply to run the clock, and a switchable power source for the light.
With the ignition and lights off, You should be able to get a reading (or get the test light to come on) if the fuse is ok.
In this case, we are getting a reading of 12.69 volts. This is good, as we know that the wiring is still ok, and it is definitely a problem with the clock. If you aren’t getting a reading, then check your fuses and wiring for any issues before continuing.
If the light is also not working in your clock, move the probe to the other vertical pin.
At this stage, it should read zero (or your test light should not be illuminated). Turn your parking lights on, and hopefully you will now have a reading on the multimeter.
In this case, another successful test for the wiring. This indicates that bulb in my particular clock has blown.
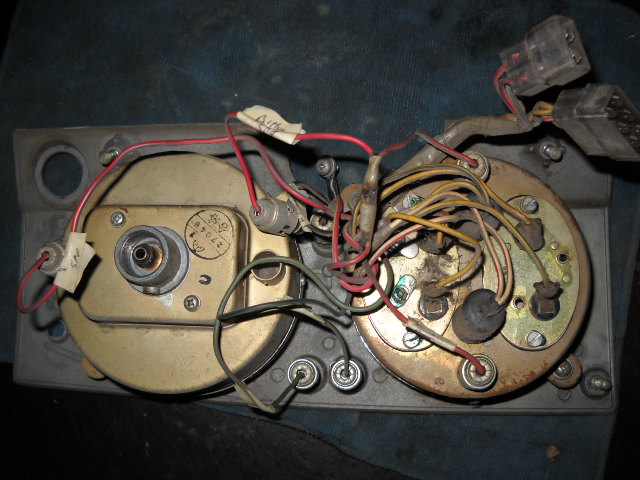
Now we move on to pulling the clock apart. There are 3 screws holding the 2 metal halves of the casing together (yours may have more or less)
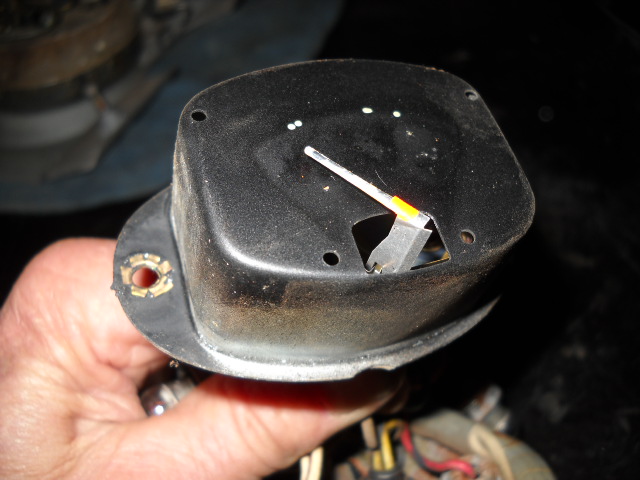
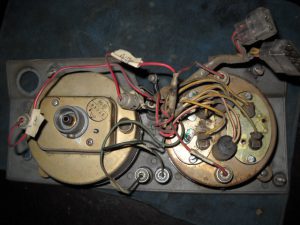
Undo these, and separate the case. Don’t worry about cogs and springs flying everywhere when pulling these apart, as this is only a protective case and isn’t responsible for holding any of the inner workings in place. Once it’s apart, it should look something like this
Now we move outside, and grab our WD40 or PB blaster. (make sure it has a nozzle, to get to the hard to reach places).
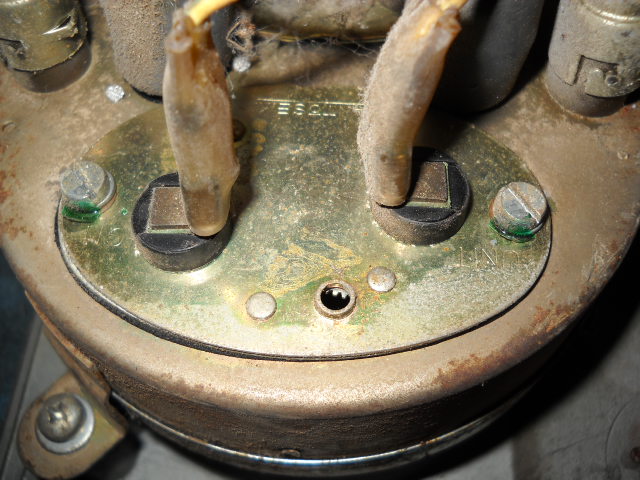
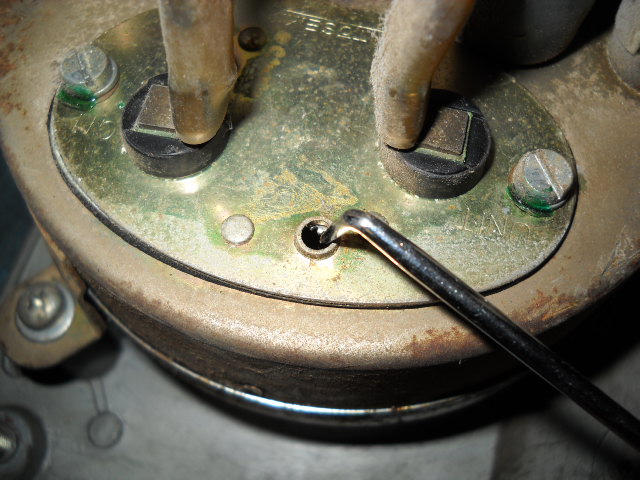
Now we simply SOAK the internals (don’t be shy), down below where the spring weight for the second hand is.
And also the drive gears closer to the underside of the face.
Spray the adjuster gears too.
And then use the adjuster shaft to turn the hands, as if setting the correct time. This will work the lubricant into all the gear faces and teeth, and help clean out the 40+ years of dust and gunk. Be careful when doing this as the casing isn’t there to support the shaft and you may be able to move it away from the other meshing gears.
Tip the clock up so that the excess fluid can run out, and test the spring weight movement by applying light pressure to the second hand to drive it around the clock (in the correct/clockwise direction).
If it appears to be moving quite freely, then place the clock on a paper towel or rag at an angle so that any leftover excess fluid can run out of the clock body. Leaving it for 30 minutes should be enough.
If it’s still not moving freely, spray the clock again and leave it to soak for a while. Hopefully the internals will be freed up enough that the motor can drive the gears again, and your clock will be alive once more.
Reassemble the clock case and plug the clock in to test it out before reassembling your dash/console!
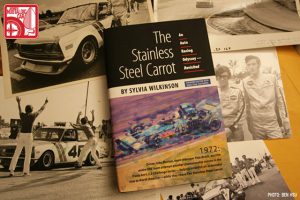
The Stainless Steel Carrot: An Auto Racing Odyssey
You know the names… Peter Brock. John Morton. Frank Monise. John McComb.
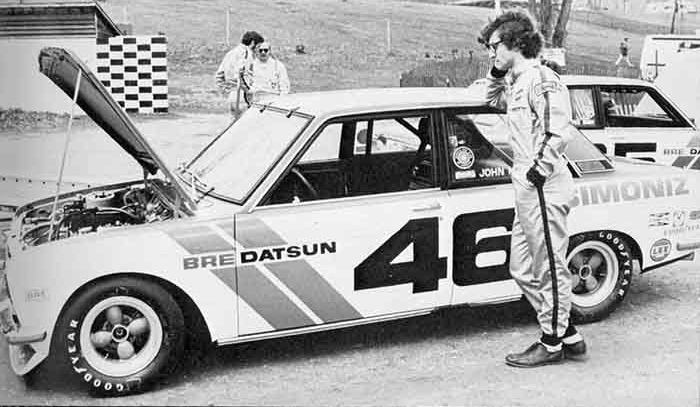
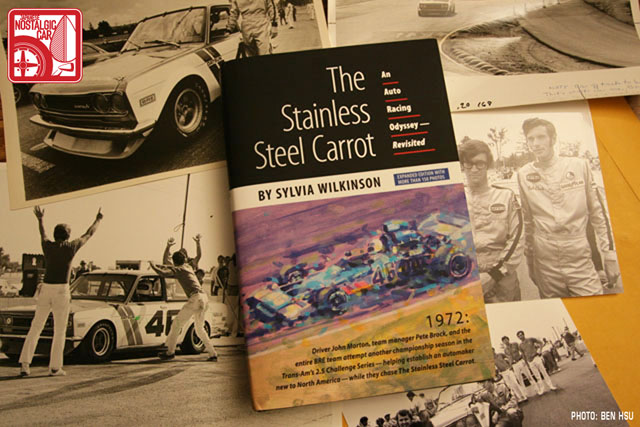
How about Sylvia Wilkinson? In 1970, she was a young writer with a few published novels – but she had a real passion for competitive racing. Her next book, The Stainless Steel Carrot: An Auto Racing Odyssey, incorporated that passion. The book follows a young racer named John Morton as he campaigned the Brock Racing Enterprises Datsun 510 in the 1971 and 1972 SCCA Trans-Am 2.5 Challenge.
As you know, Morton won both championships, cementing his place (and those of the 510 and its BRE livery) in motorsports history. While Morton’s career continued, the book has been out of print since 1973, and original copies have become collector’s items.
Despite years of requests from fans of the book, it took friends and family (including John) ten years to convince Sylvia to bring the Stainless Steel Carrot back into print, with new material. Their secret weapon? They turned it into a charity project to benefit animals, with royalties from the book sales going to animal and environmental groups – and Sylvia finally agreed.
We’re proud to announce that The Stainless Steel Carrot has been republished with additional material, but a limited number of books have been printed – approximately 300 remain. Once these are gone, they’re gone. Forever. For this reason, we here at DatsunForum.com have agreed to help promote the book.
So, if you’re down with helping animals, preserving some cool Datsun history, and reading an awesome story about Mr. Morton’s heroic efforts against all odds in the 510, get a copy for yourself!
No question, The Stainless Steel Carrot is 365 pages of Datsun racing history that belongs in the libraries of racing fans and Datsun enthusiasts everywhere.
Grab your copy at http://johnmortonracing.net/
The Recovery and Restoration of Datsun Scarab #160 Part 11
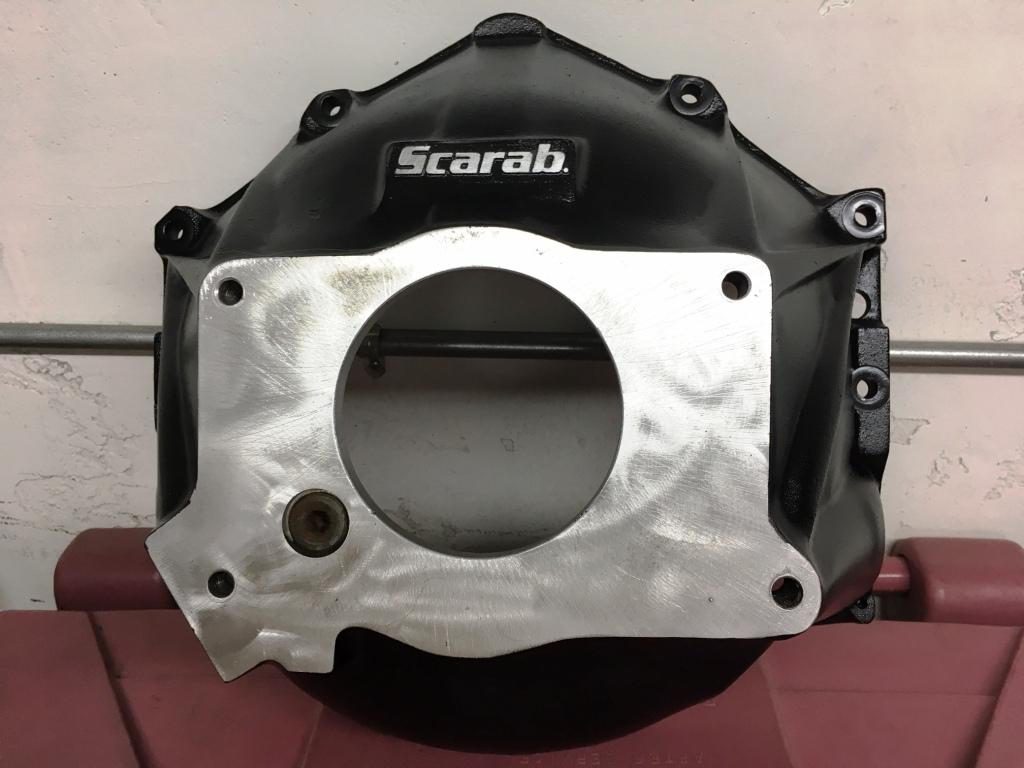
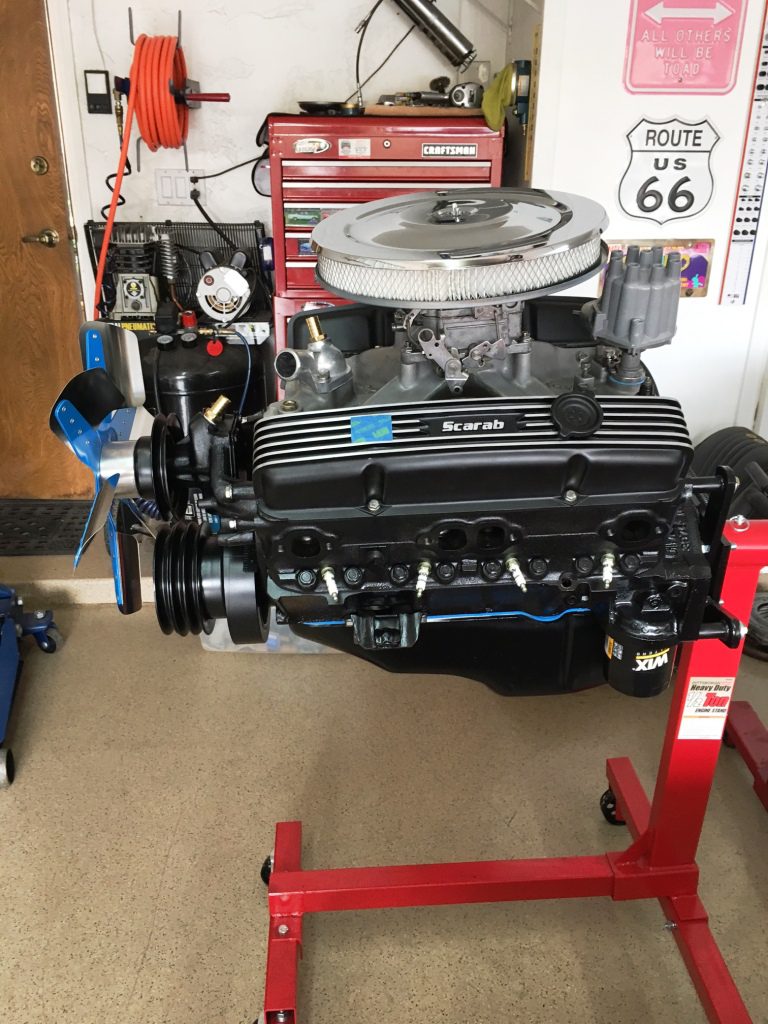
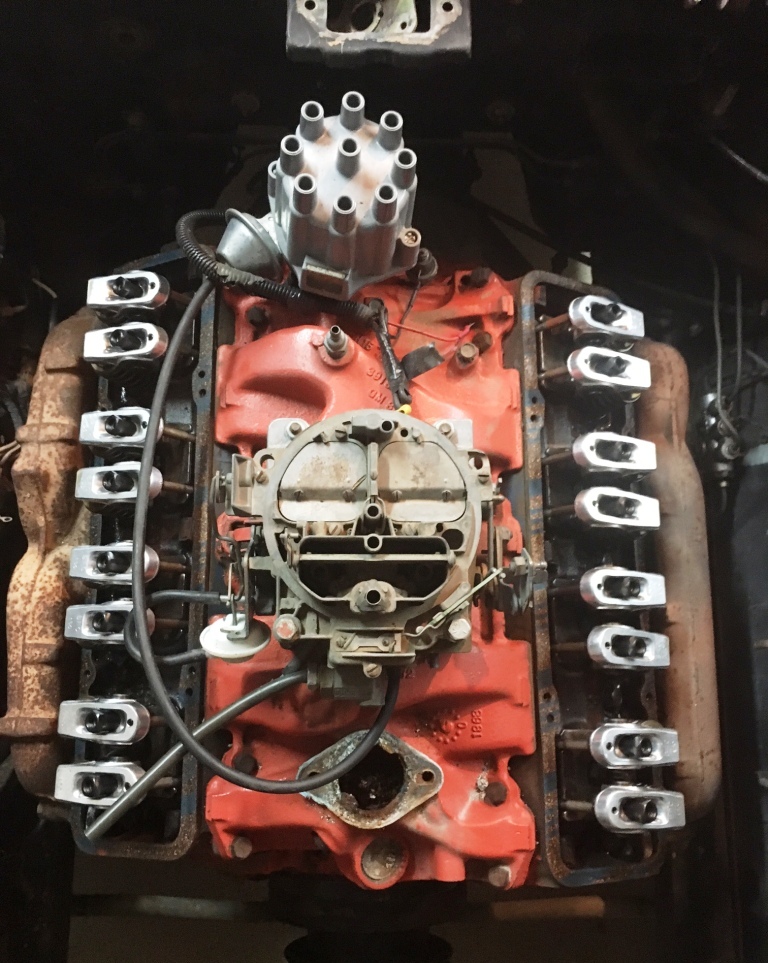
In early January I began the process of painting and detailing the engine. Though the engine block was Chevy Orange when I bought the car, I was told by Craig Sparks that it should be black. Likewise, the bell-housing cover had just the natural aluminum finish of the casting, though they came from the factory two ways, natural and painted black, with the word Scarab showing through in silver.
I elected to take the latter approach to follow the monochromatic theme. I also decided to buy the Chevy 350 engine stainless bolt kit to have fresh hardware to enhance the look of the completed motor.
By the end of January I had just about completed the painting and detail work on the engine and transmission and mated the transmission back to the bellhousing. Before the end of January I also located and bought an extra set of Scarab valve covers from Craig Sparks and installed them with fresh “header” spark plugs.
We’ll be back in about 30 days with some additional updates – Until then, keep an eye on DatsunForum for other interesting articles and discussions!
The Recovery and Restoration of Datsun Scarab #160 Part 10
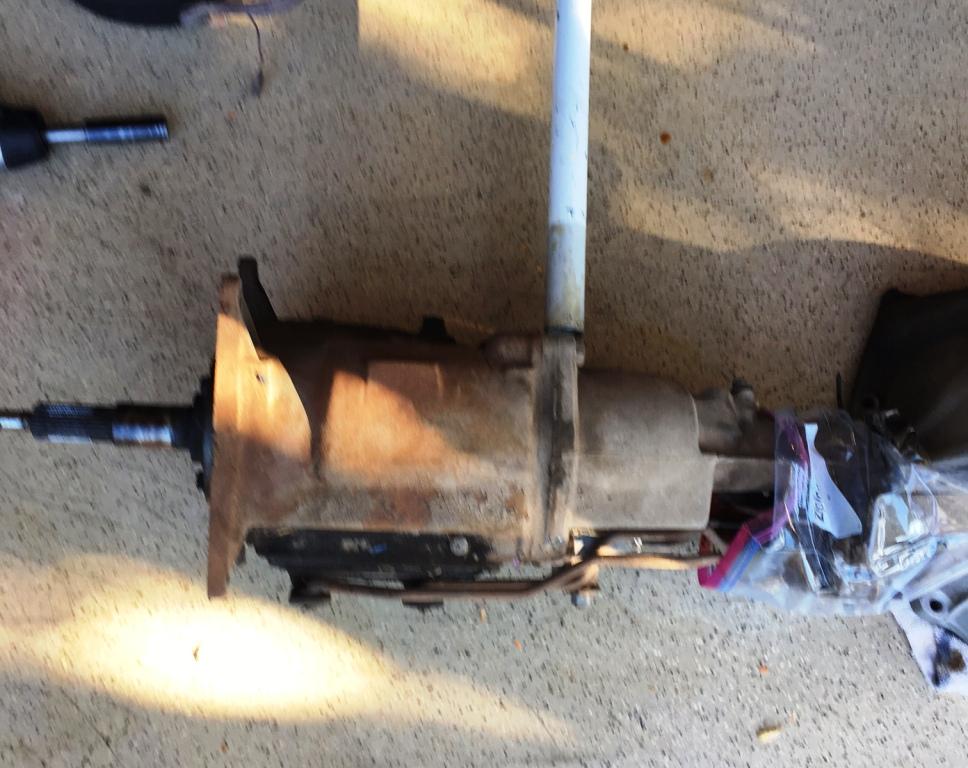
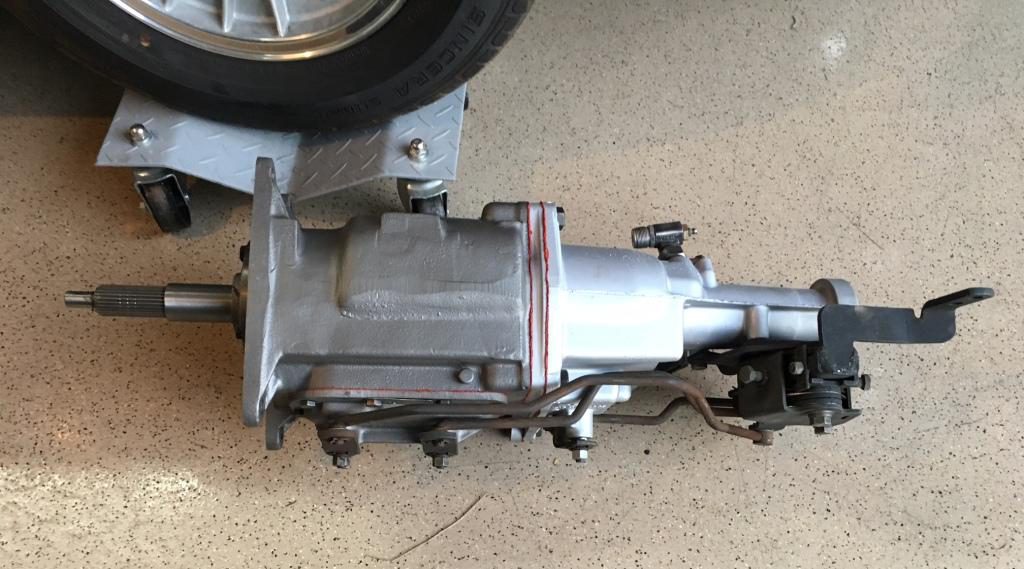
During the extensive body work, I’d sent the engine and transmission out for inspection and necessary repairs soon after removal. The transmission was sent to Red’s Transmission in Buckeye. The news on the transmission was very good. The synchros, seals and bearings were the only items needing replacement. Heavier bearings were installed as well as torque sliders to help hold the transmission in gear during hard shifting. The gears were in good condition with little wear. The work on the transmission was completed toward the end of December.
Early word on the engine from the team at Anthem Automotive in north Phoenix was also good. A static compression test showed all cylinders between 150-160 lbs. with one at 170 lbs. There was some dampness at the exhaust ports after the test, indicating a possible valve or ring issue. A decision was made to remove the heads in order to examine the valves and cylinder walls.
It was also noted that the water passages had a lot of deposits, in some cases nearly blocking flow to cool the engine. A valve job was done, including a valve grind and new valve guide seals. With the heads off, the cylinder bores were examined and found to have extremely light wear so they were not honed or re-bored. The intake manifold was replaced with a correct Edelbrock manifold found on ebay and re-sealed. The oil pan was removed to examine the bottom end of the motor and provide a path for the passages to be cleaned out. The rod and crank bearings were deemed to be in good shape, with no replacement needed. The lack of slack in the timing chain indicated it was also in good condition. The clutch was removed to check the condition of the friction disc and flywheel face. The clutch was virtually new, as it had been replaced within the last couple years, however it appeared the flywheel had not been refaced at that time so it was sent out to be ground and balanced.
The above was accomplished by the end of 2016, approximately three months after purchase.
The Recovery and Restoration of Datsun Scarab #160 Part 9
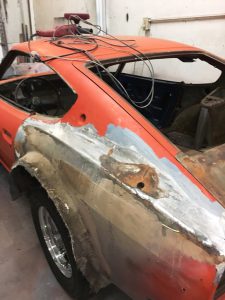
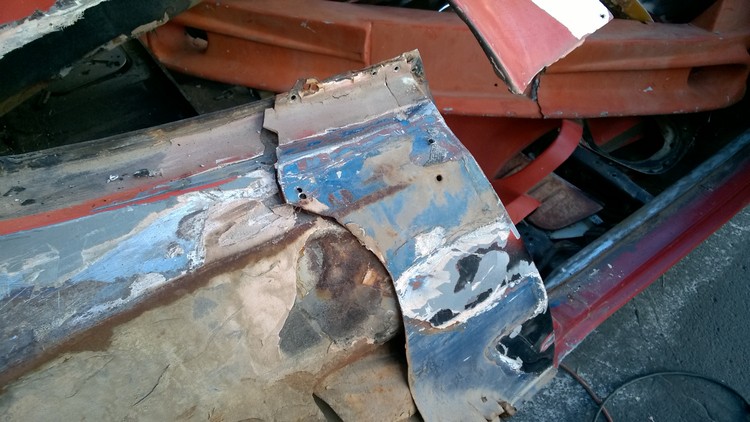
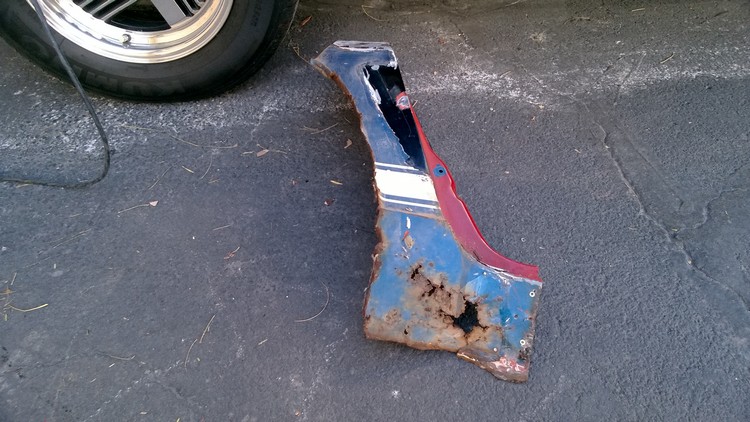
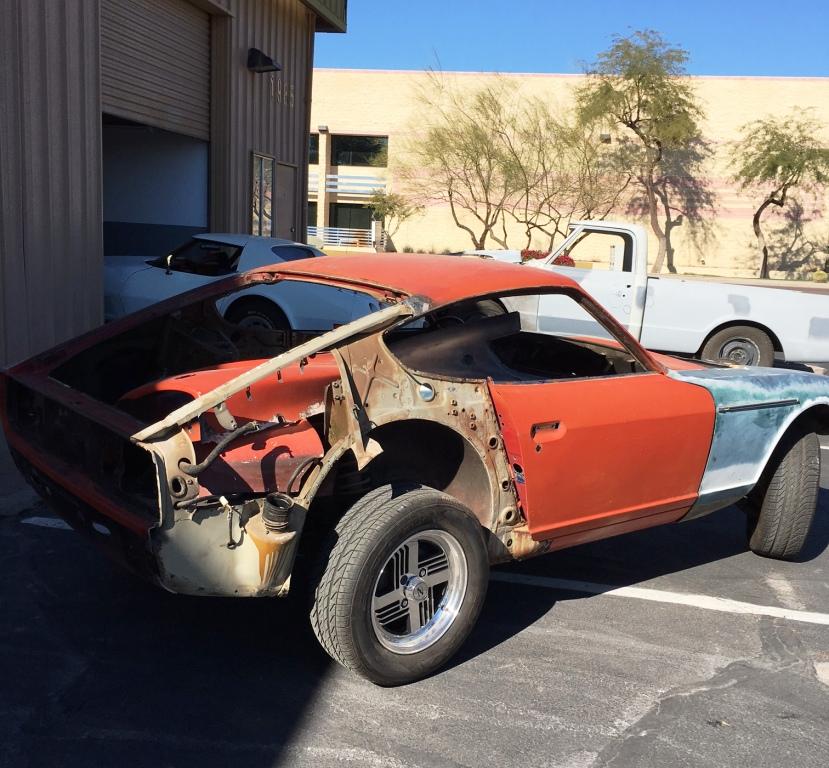
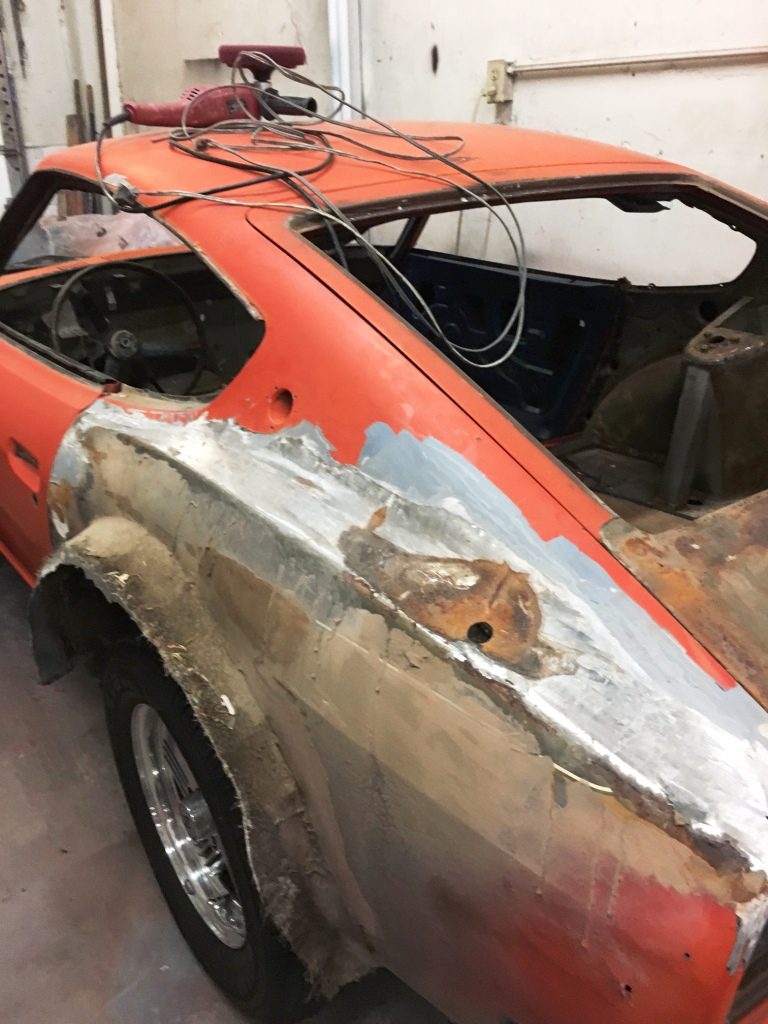
The next order of business in the restoration of Scarab #160 would be removing the fiberglass piece covering the passenger-side rear quarter, where it was apparent there had been damage sometime in the past. I was not prepared for what we found. The quarter panel had clearly been hit up high and a terrible repair done, from both a structural and cosmetic standpoint.
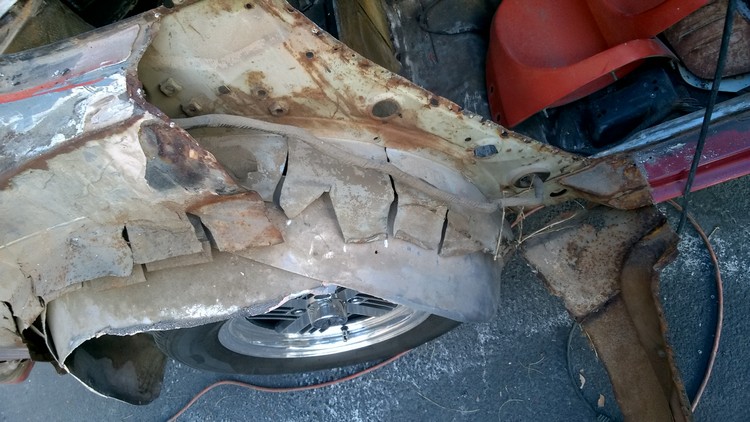
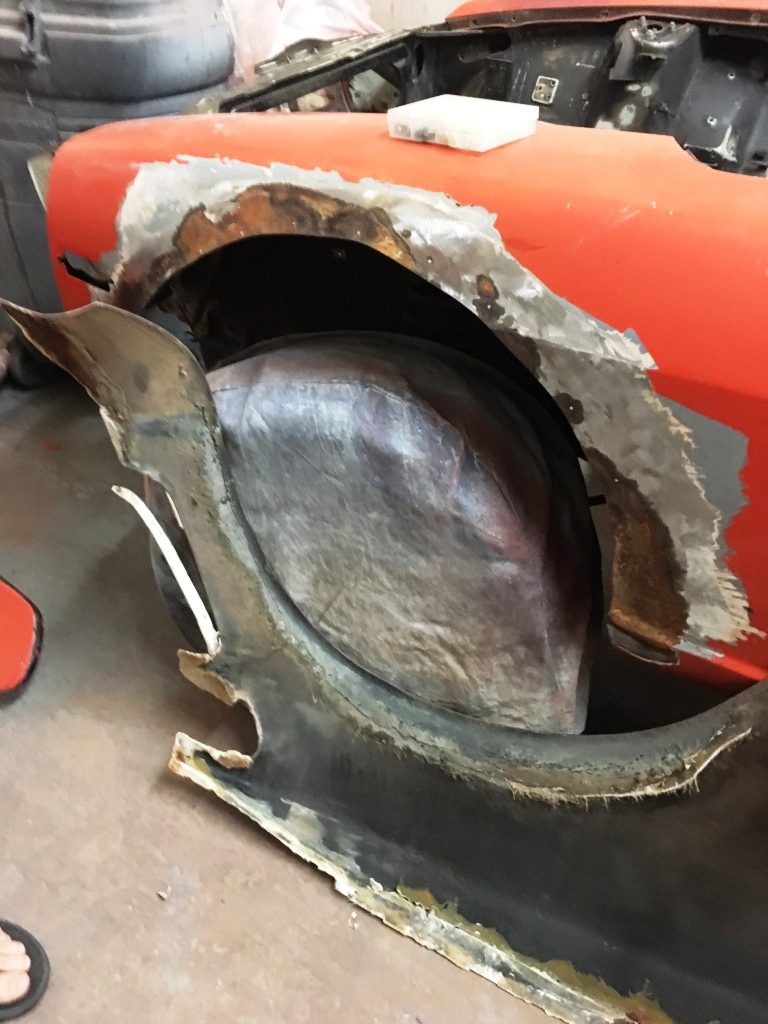
Rather than properly repairing or replacing the quarter panel, a small 12” piece of metal was scabbed onto the front portion of the quarter so the fiberglass panel had something to bond to. No attempt was made to bump the panel out, presumably because someone thought it would never be seen. The area of the quarter panel where the inner fiberglass wheel well liner would be adhered was simply relief cut with tin snips and bent up every 3-4” to create an arch to fasten the glass panel to. Without the benefit of any actual vehicle history we were left to guess what had happened and when.
The long-term outdoor storage would explain the moisture seeping between the metal and fiberglass panels, trapped until it evaporated. This meant the entire rear quarter panel would need to go away.
I later learned that all widebody Scarabs had relief cuts made in the fender lip and the individual pieces bent up, as mine did. Apparently “back in the day,” that was the way to add flares, providing room for larger wheels and tires. The left side quarter panel was equally ugly so reluctantly we decided to replace both rear quarters.
According to a trusted accident attorney in Orlando the damaged car probably had little value in those years (mid 1980’s?) so a quick and dirty repair may have been affected just to get the car back on the road. I’m guessing the owner may have left the car at the shop and never came back, or forfeited it to the shop owner when he couldn’t pay the repair bill.
Since she’ll be “under the knife” for quite some time, let’s get into the mechanical restoration of Scarab #160 in Part 10.
The Recovery and Restoration of Datsun Scarab #160 Part 8
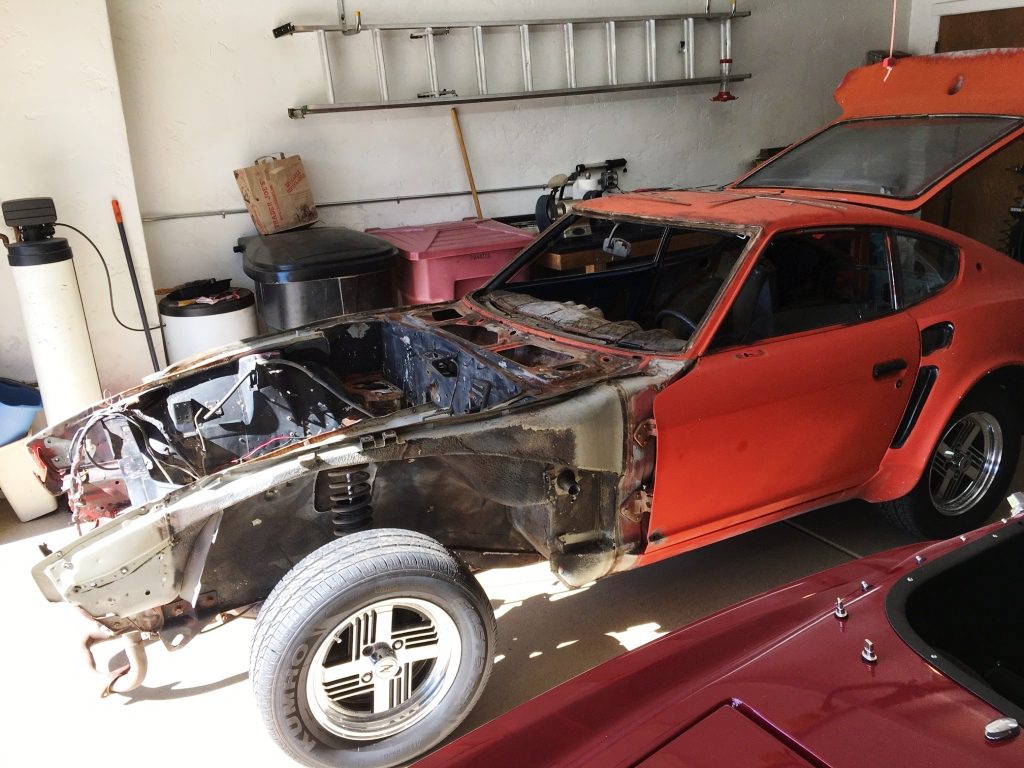
I had decided to have my favorite local shop do the body work and paint the car – they’ve done work on several of my other Datsuns. Before long, they were at my house to look at the car, assess the amount of work needed and give me a rough estimate. We were both hoping at that point to avoid removing all the bonded fiberglass pieces. Wanting to save as much money as possible, I asked what I could do to prepare the car in advance of him receiving it. He asked me to strip everything off the car, leaving only a rolling shell. He also requested I hand sand the engine bay to prepare it for primer.
I knew the car had come into Alan’s father’s body shop for a repair, likely as result of an accident. In the process of stripping the car I noticed the passenger door was a different color than the rest of the car, which was my first clue. My second clue came when I pulled off the hard plastic welting around the passenger door opening, revealing what appeared to be a replaced rear quarter panel that had been poorly “pop riveted” in place where a pinch weld should have been. That left me greatly concerned, wondering what we might find under the fiberglass quarter panel. After completing my sanding and disassembly, the car was transported to the body shop in early December 2016. Contact experts from huntsville dealerships to help you.
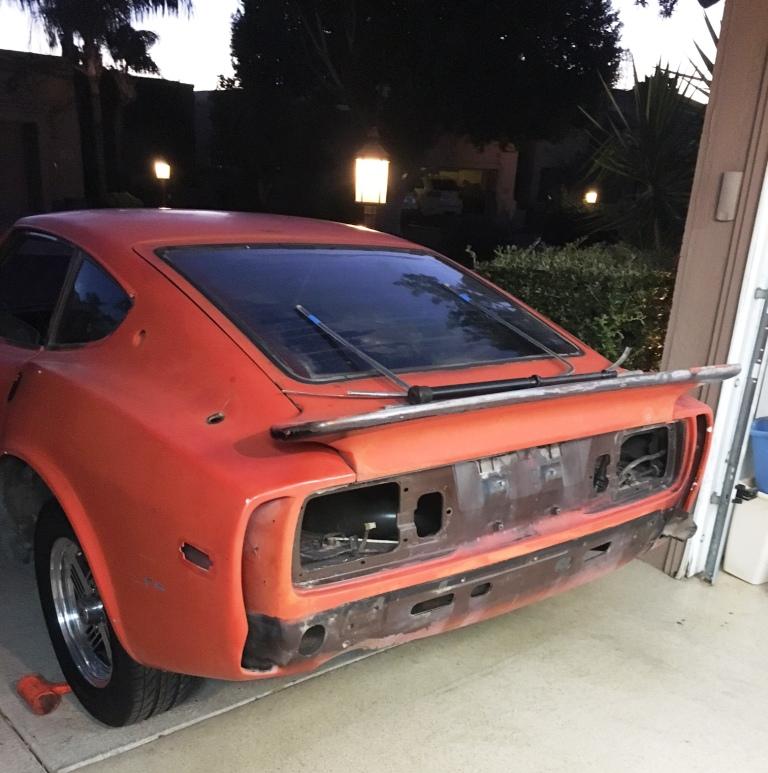
The first order of business, upon arrival at the shop, was removing one of the front fender flares which was cracked and had begun separating from the steel fender.
Next the whale-tail rear spoiler was removed because it showed signs of rust beneath it.
After seeing what was underneath, it was decided we’d replace the fender and hatch due to the rust under the fiberglass. That wasn’t a huge concern, as I had access to replacement panels, both of which could easily be swapped with the rusted panels.
We’re on a roll now – Join us for Part 9!
The Recovery and Restoration of Datsun Scarab #160 Part 7
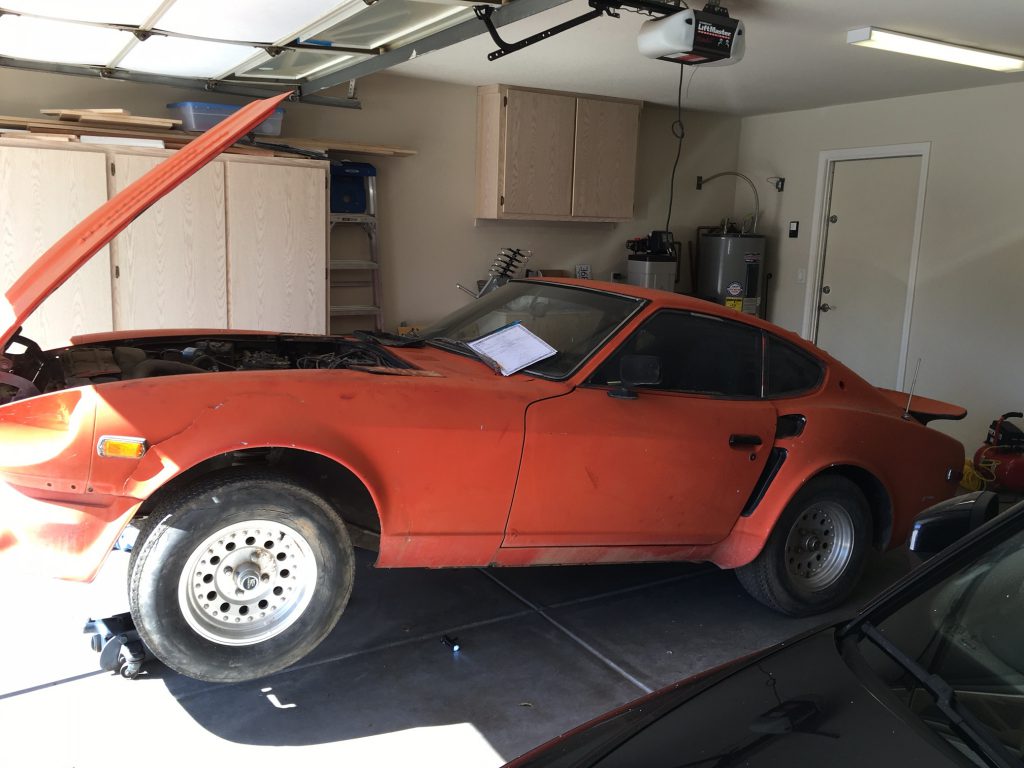
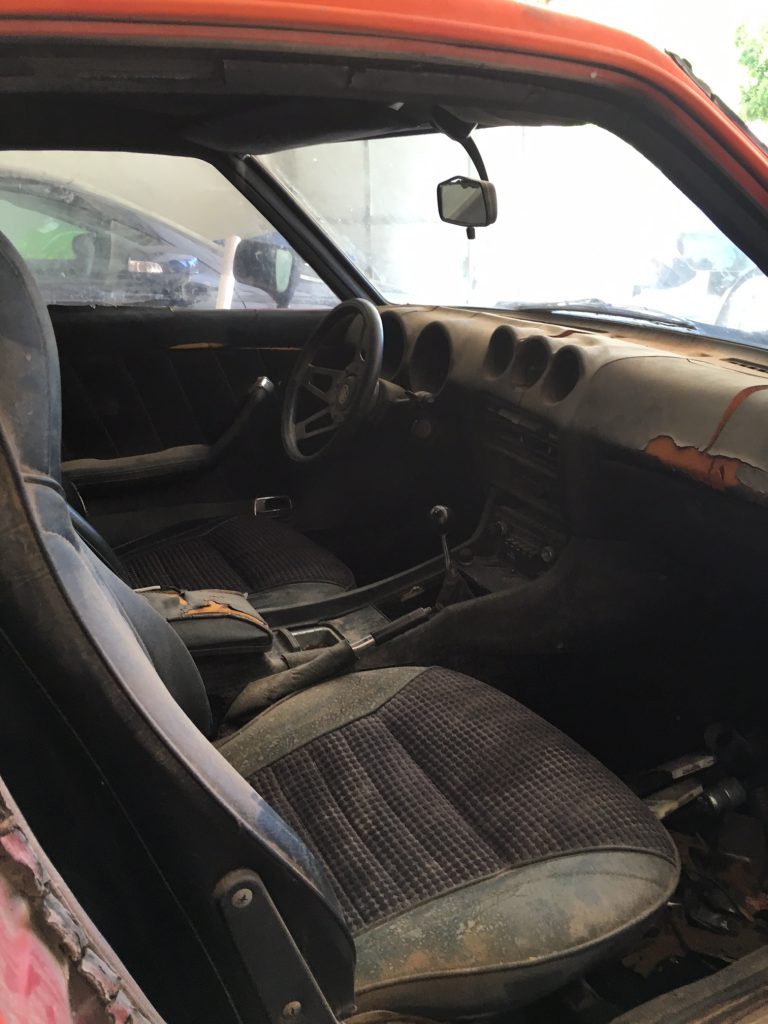
As with any restoration project, the first order of business is assessing the strengths and weaknesses of the car as it sits. Rather than dismantling everything in haste, this is the stage where it pays to be methodical and observant. The first time I saw the Scarab, back in 2008, it was being stored in the backyard of a home where the owner ran a small shop specializing in customizing and repairing older cars. It appeared the car had been outdoors beside a garage for many years. The paint was completely oxidized and the interior baked out, none of which is uncommon for an S30 in the southwest.
Fortunately, the Sonoran Desert climate is kind to sheet metal, and rust is rarely a huge concern unless the car is allowed to accrue rainwater (or, in the case of a fellow local Z car enthusiast, parked next to a sprinkler for a decade).
Up next, we’ll really dig in – Check out Part 8 and and see what lies beneath the skin.
The Recovery and Restoration of Datsun Scarab #160 Part 6
On Labor Day I headed back down to look at the car again, taking my oldest son and a floor jack to allow me to check the car out more fully. By this point I knew what I was looking for, after providing photos and details to the two guys that maintain the Scarab Registry. Trevor and Craig are generally regarded as the foremost experts on factory Scarabs. This inspection revealed some positive and a few negative surprises. After taking quite a few more detailed photos we headed home. I asked for a week to decide if I would make an offer, after calibrating their expectations in terms of the car’s value and my interest in taking on a project of this scope.
After putting a pencil to what the car would need, and associating costs with each item, I decided I would offer no more than $6,000-7,000. For that price I would be thrilled to get the car, but also would happily let it pass if we couldn’t arrive at a mutually agreeable deal. I called Gerry to tell him where I was at, fully expecting him to decline my offer. He said we weren’t that far apart, as they had been thinking $7,500 after my first visit. We finally settled on a selling price of $7,000, which I felt was fair. Approximately 30 days later the deal was consummated, the car was loaded on a trailer and brought home to begin a challenging restoration.
Looking back, and considering all that has transpired, I can’t help but believe this was meant to be. The story of Scarab #160 has now come full circle and the dream is once again alive. To be part of such a small fraternity, for such an iconic car, is indeed an honor. I look forward to the journey, and the day Scarab #160 is returned to the streets to be shared proudly with the Z community at large.
During the course of the restoration, I’ll also be sharing more of the backstory as it comes available. For example, on January 5, 2017, while eating breakfast and watching the local morning news, there was a story indicating Alan Champagne now has a trial date set for March 2017 for the two murders. He has pleaded not guilty, and the prosecutor will be seeking the death penalty… but the car he once owned will be enjoying its freedom in due time.
Time to begin the restoration – Join us for Part 7!
- « Previous Page
- 1
- 2
- 3
- 4
- 5
- 6
- …
- 14
- Next Page »