In the last episode (Datsun 210 Rescue and Rehab – Part 1), we had gutted the interior and ditched the goofy chrome aftermarket wheels, as well as upgraded the shocks and slicing the front coils. Interestingly, the ride height only changed 1/8″ after lopping off about 3/4 of a coil. I’ll revisit that later. Might need to get a little more aggressive with it, even though “the internet” says 3/4 of a coil is the max.
With a couple weeks left until the Route 66 JDM Classic show, I really, really wanted to get this car wrapped up so we could debut it there. Yeah, it’s “just a 210” but having a deadline motivates me to get cracking. I went to the upholstery shop and picked out some fabric and vinyl for the seats, as well as a carpet color… here’s the fabric, carpet and color palette for this car: 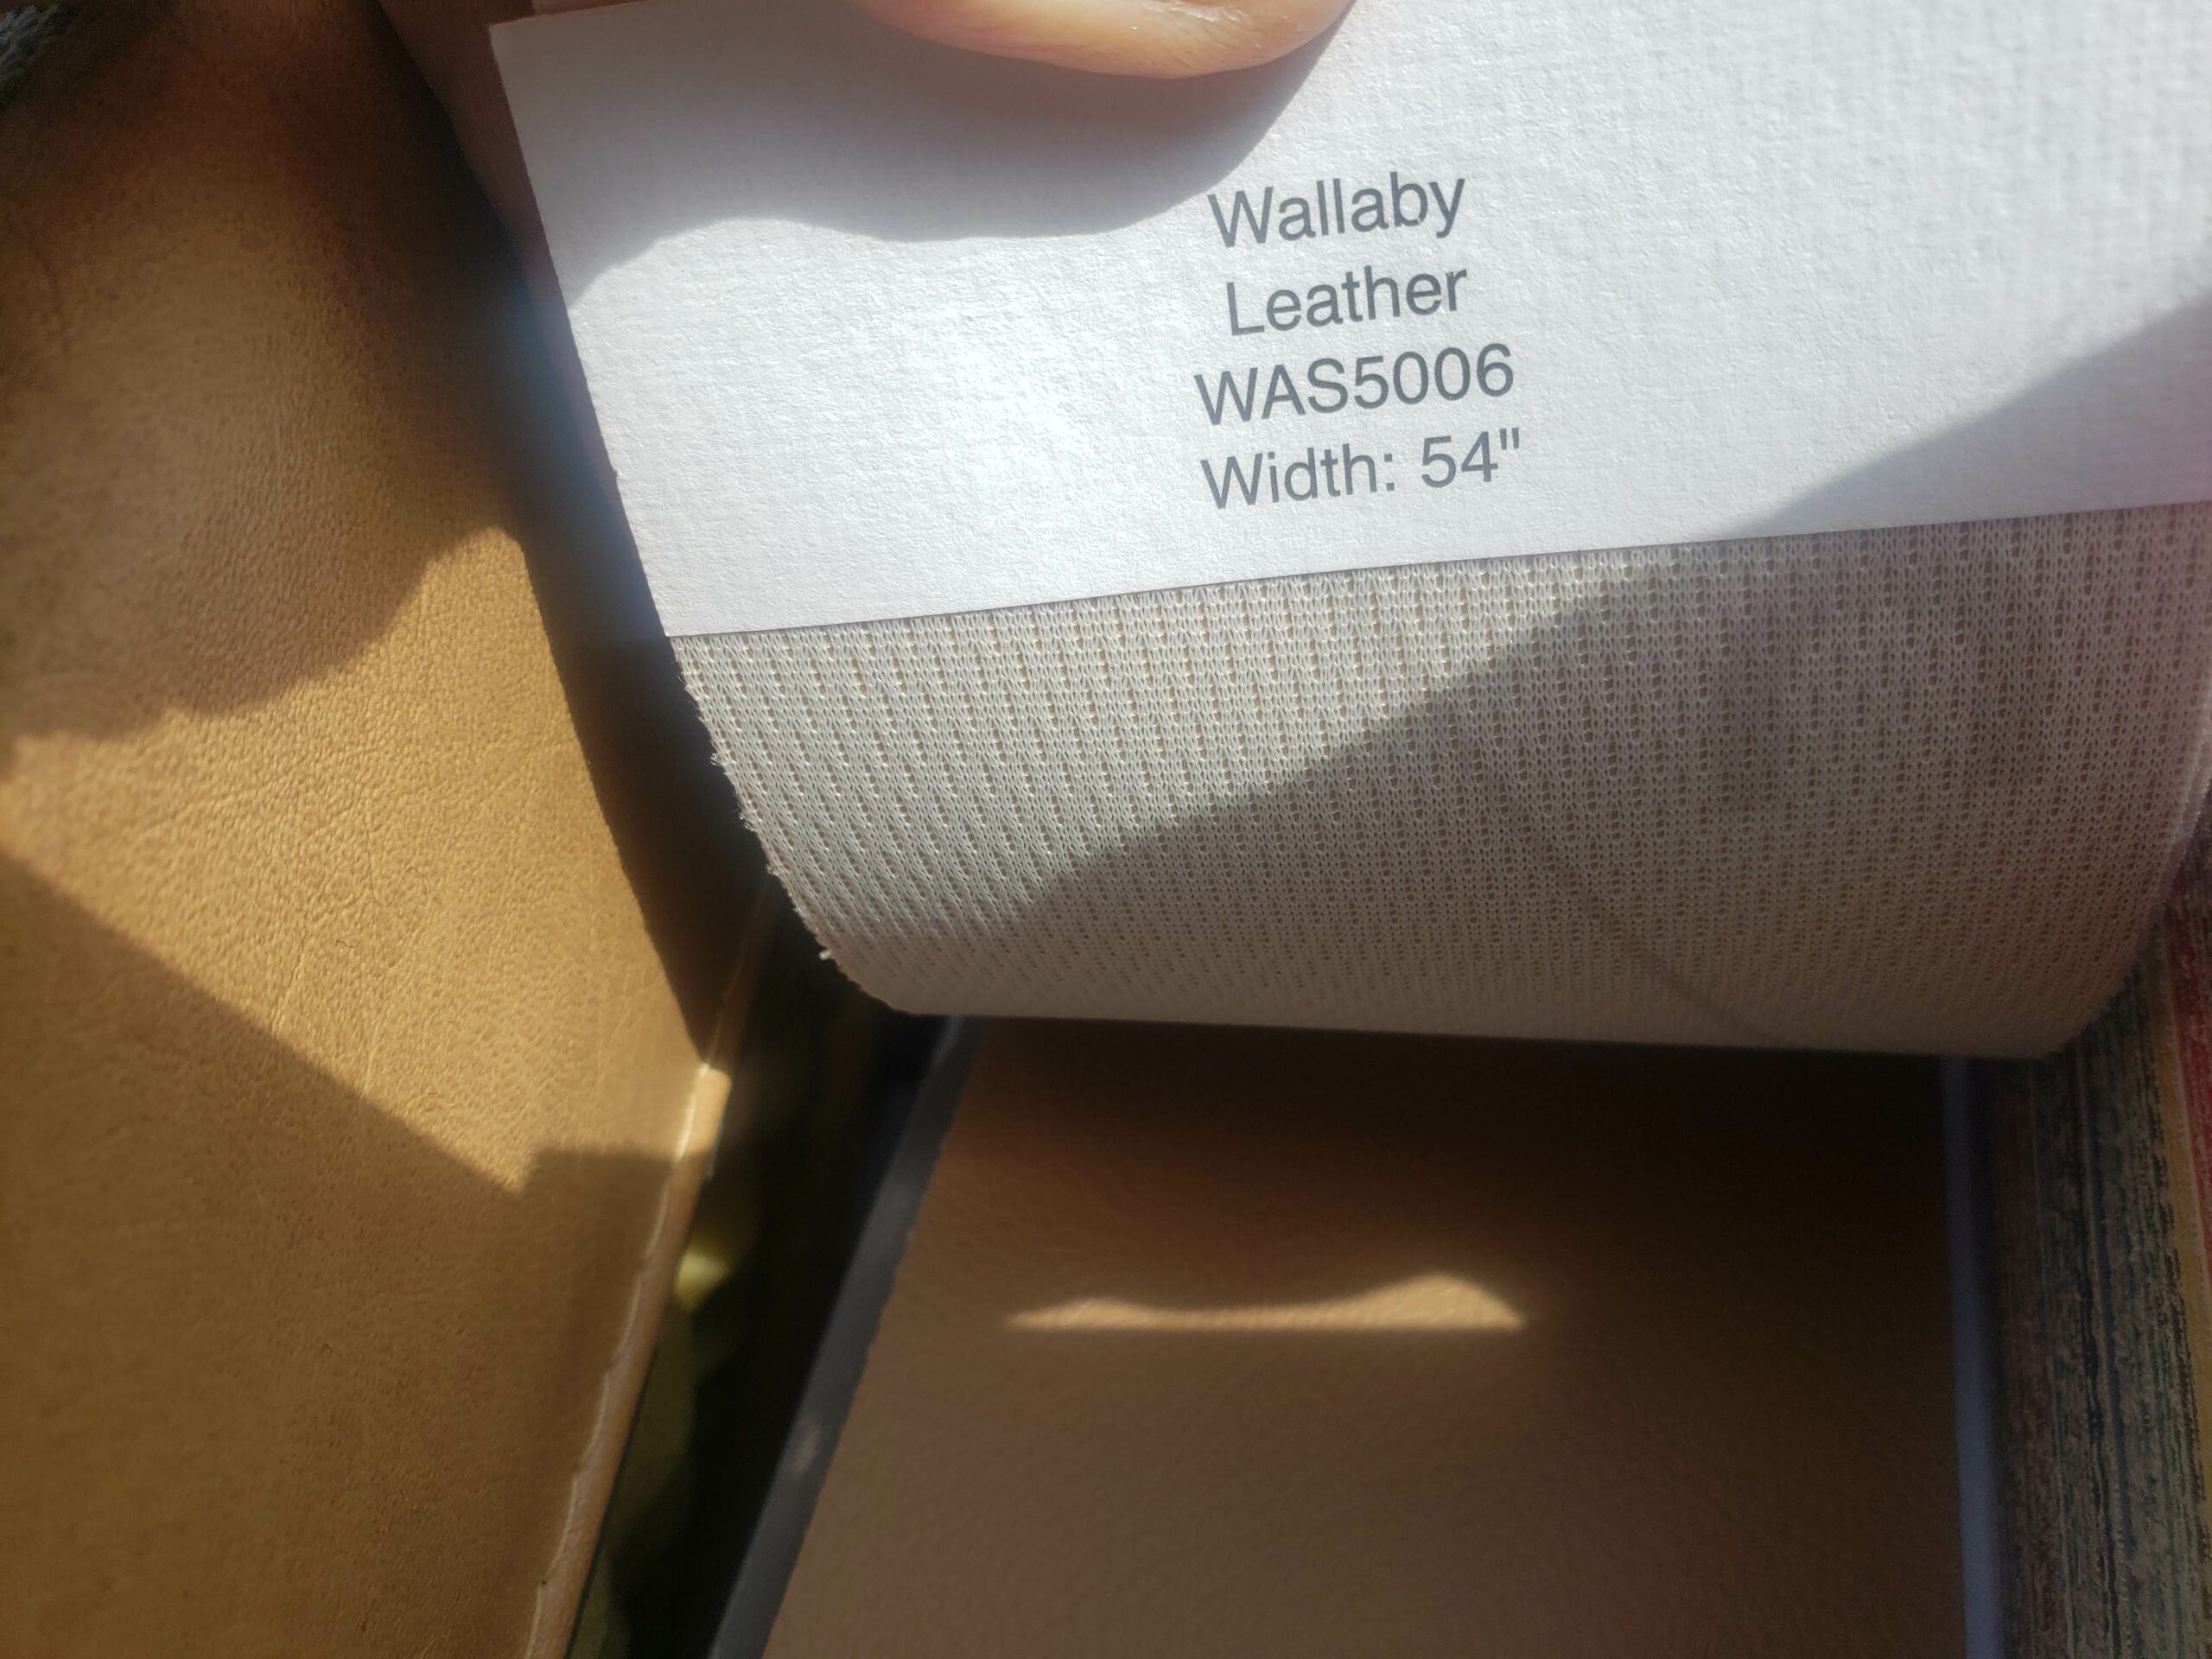
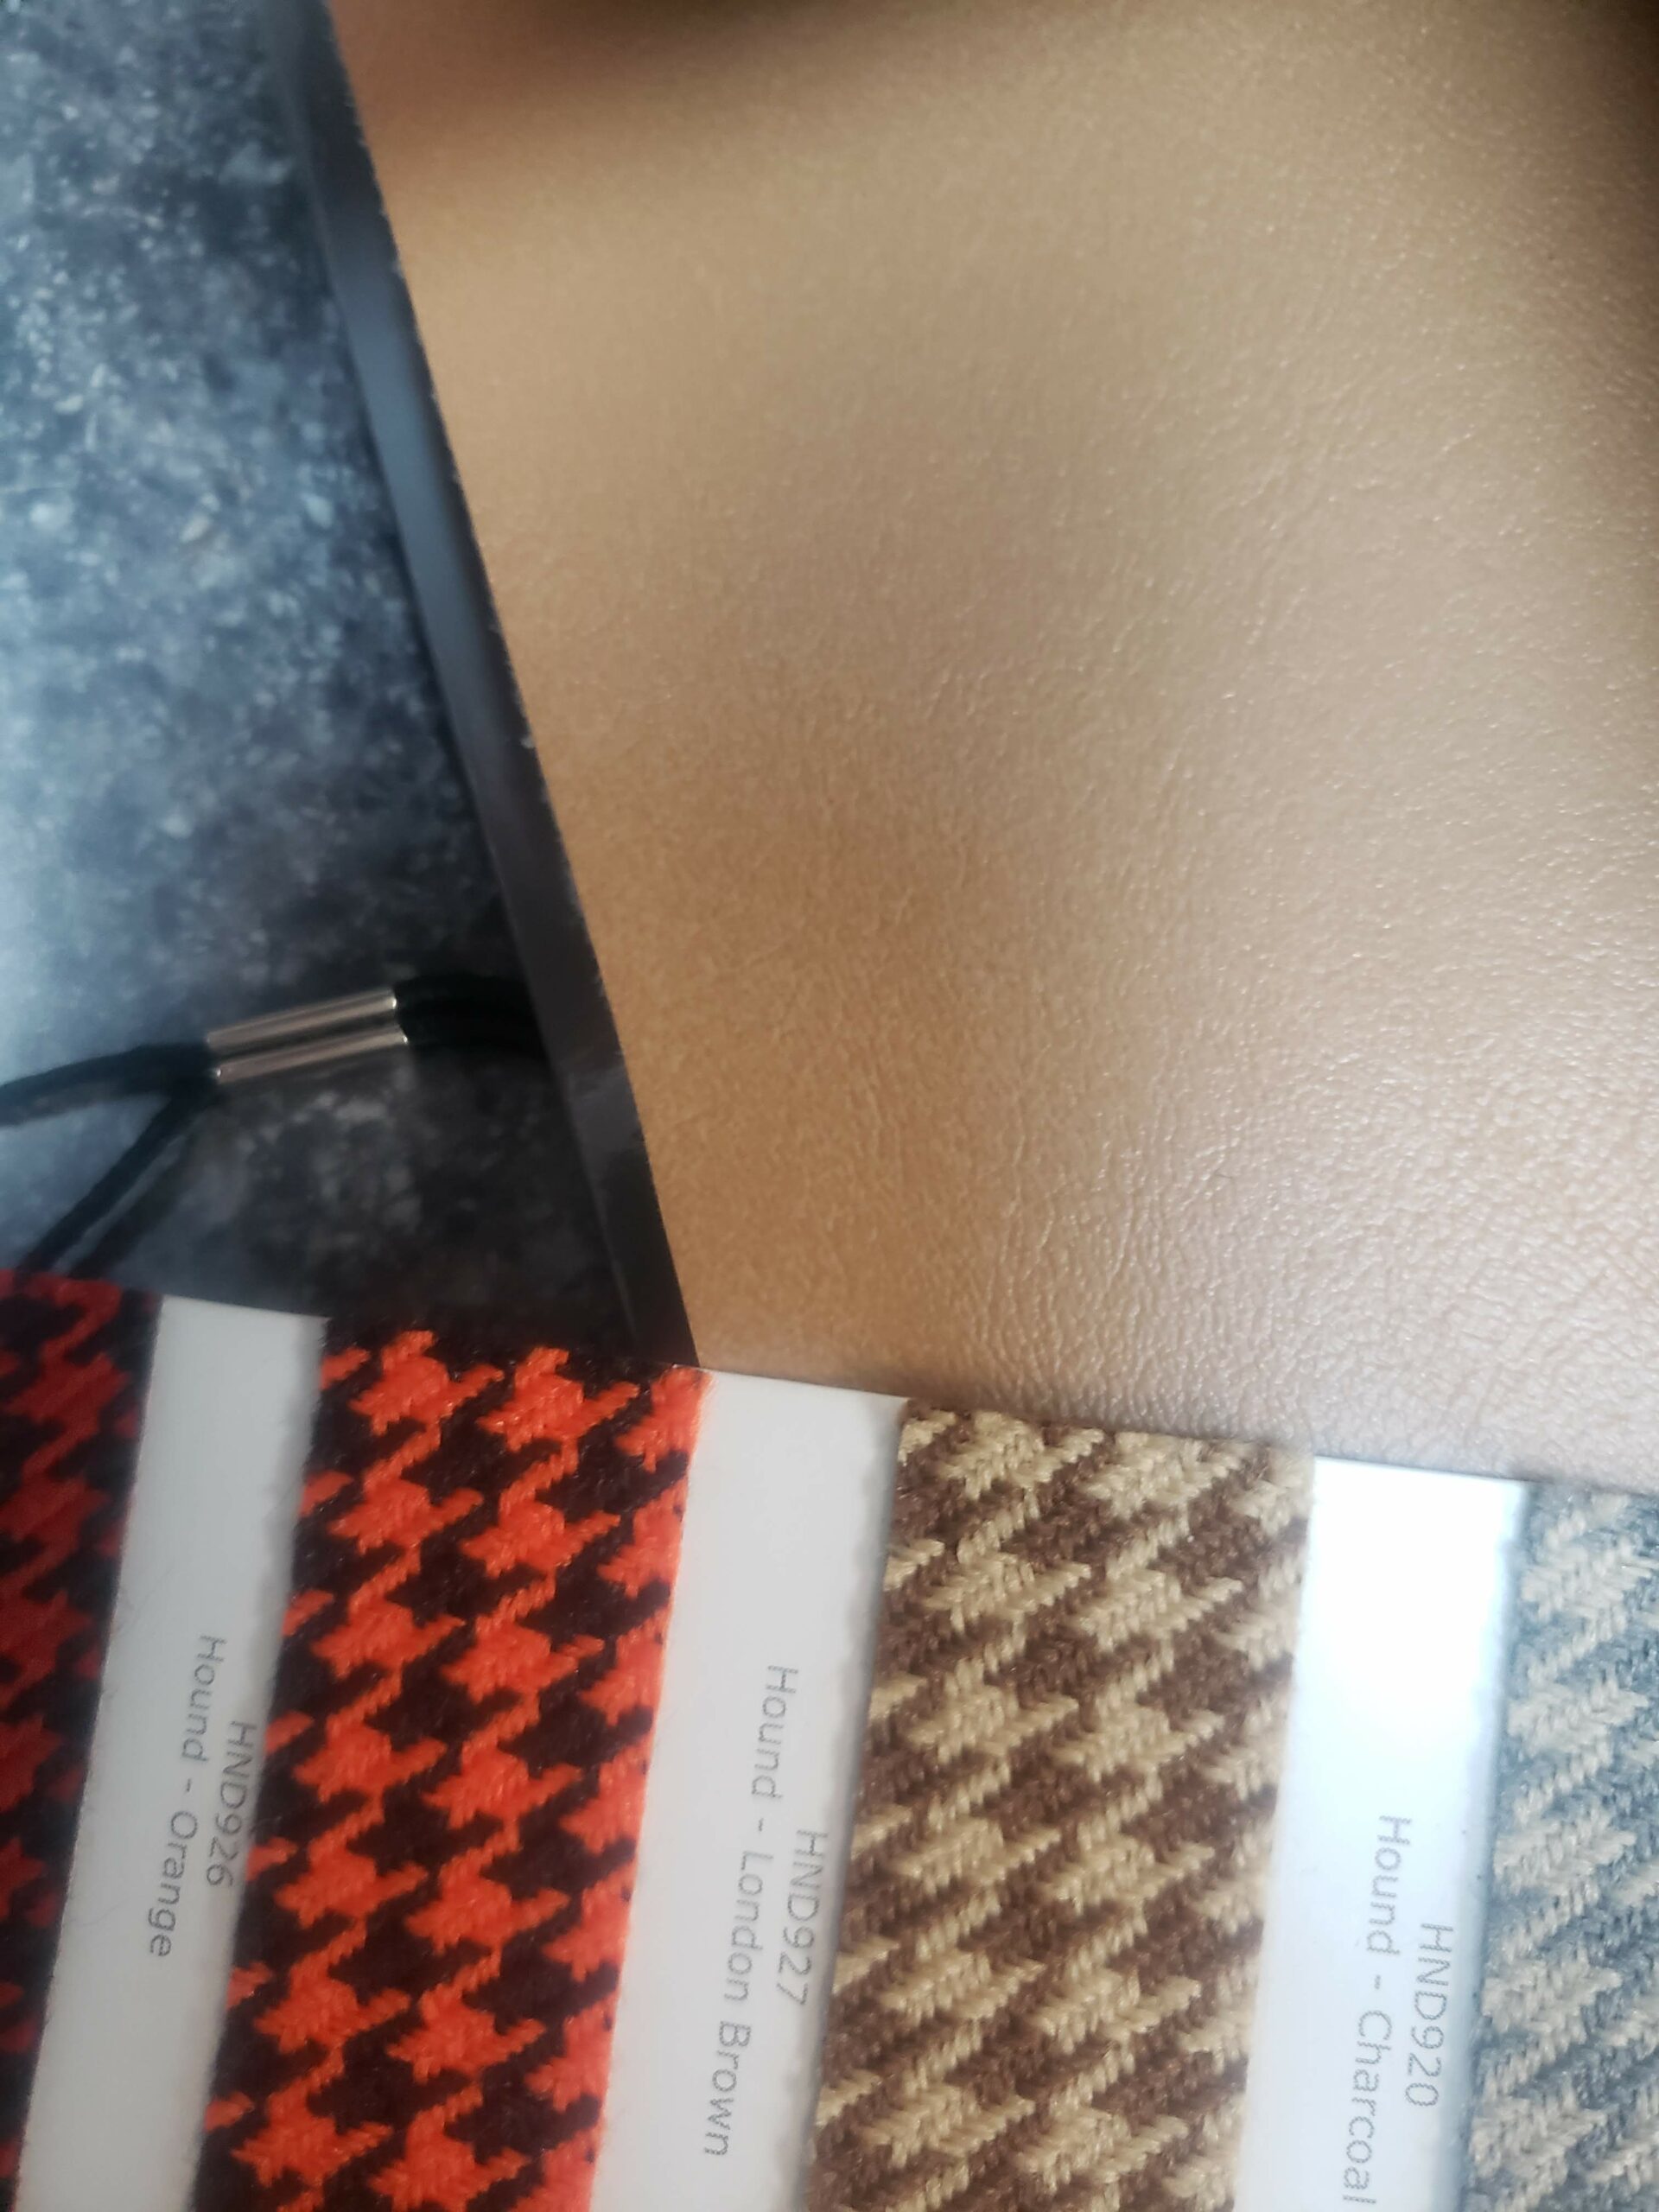
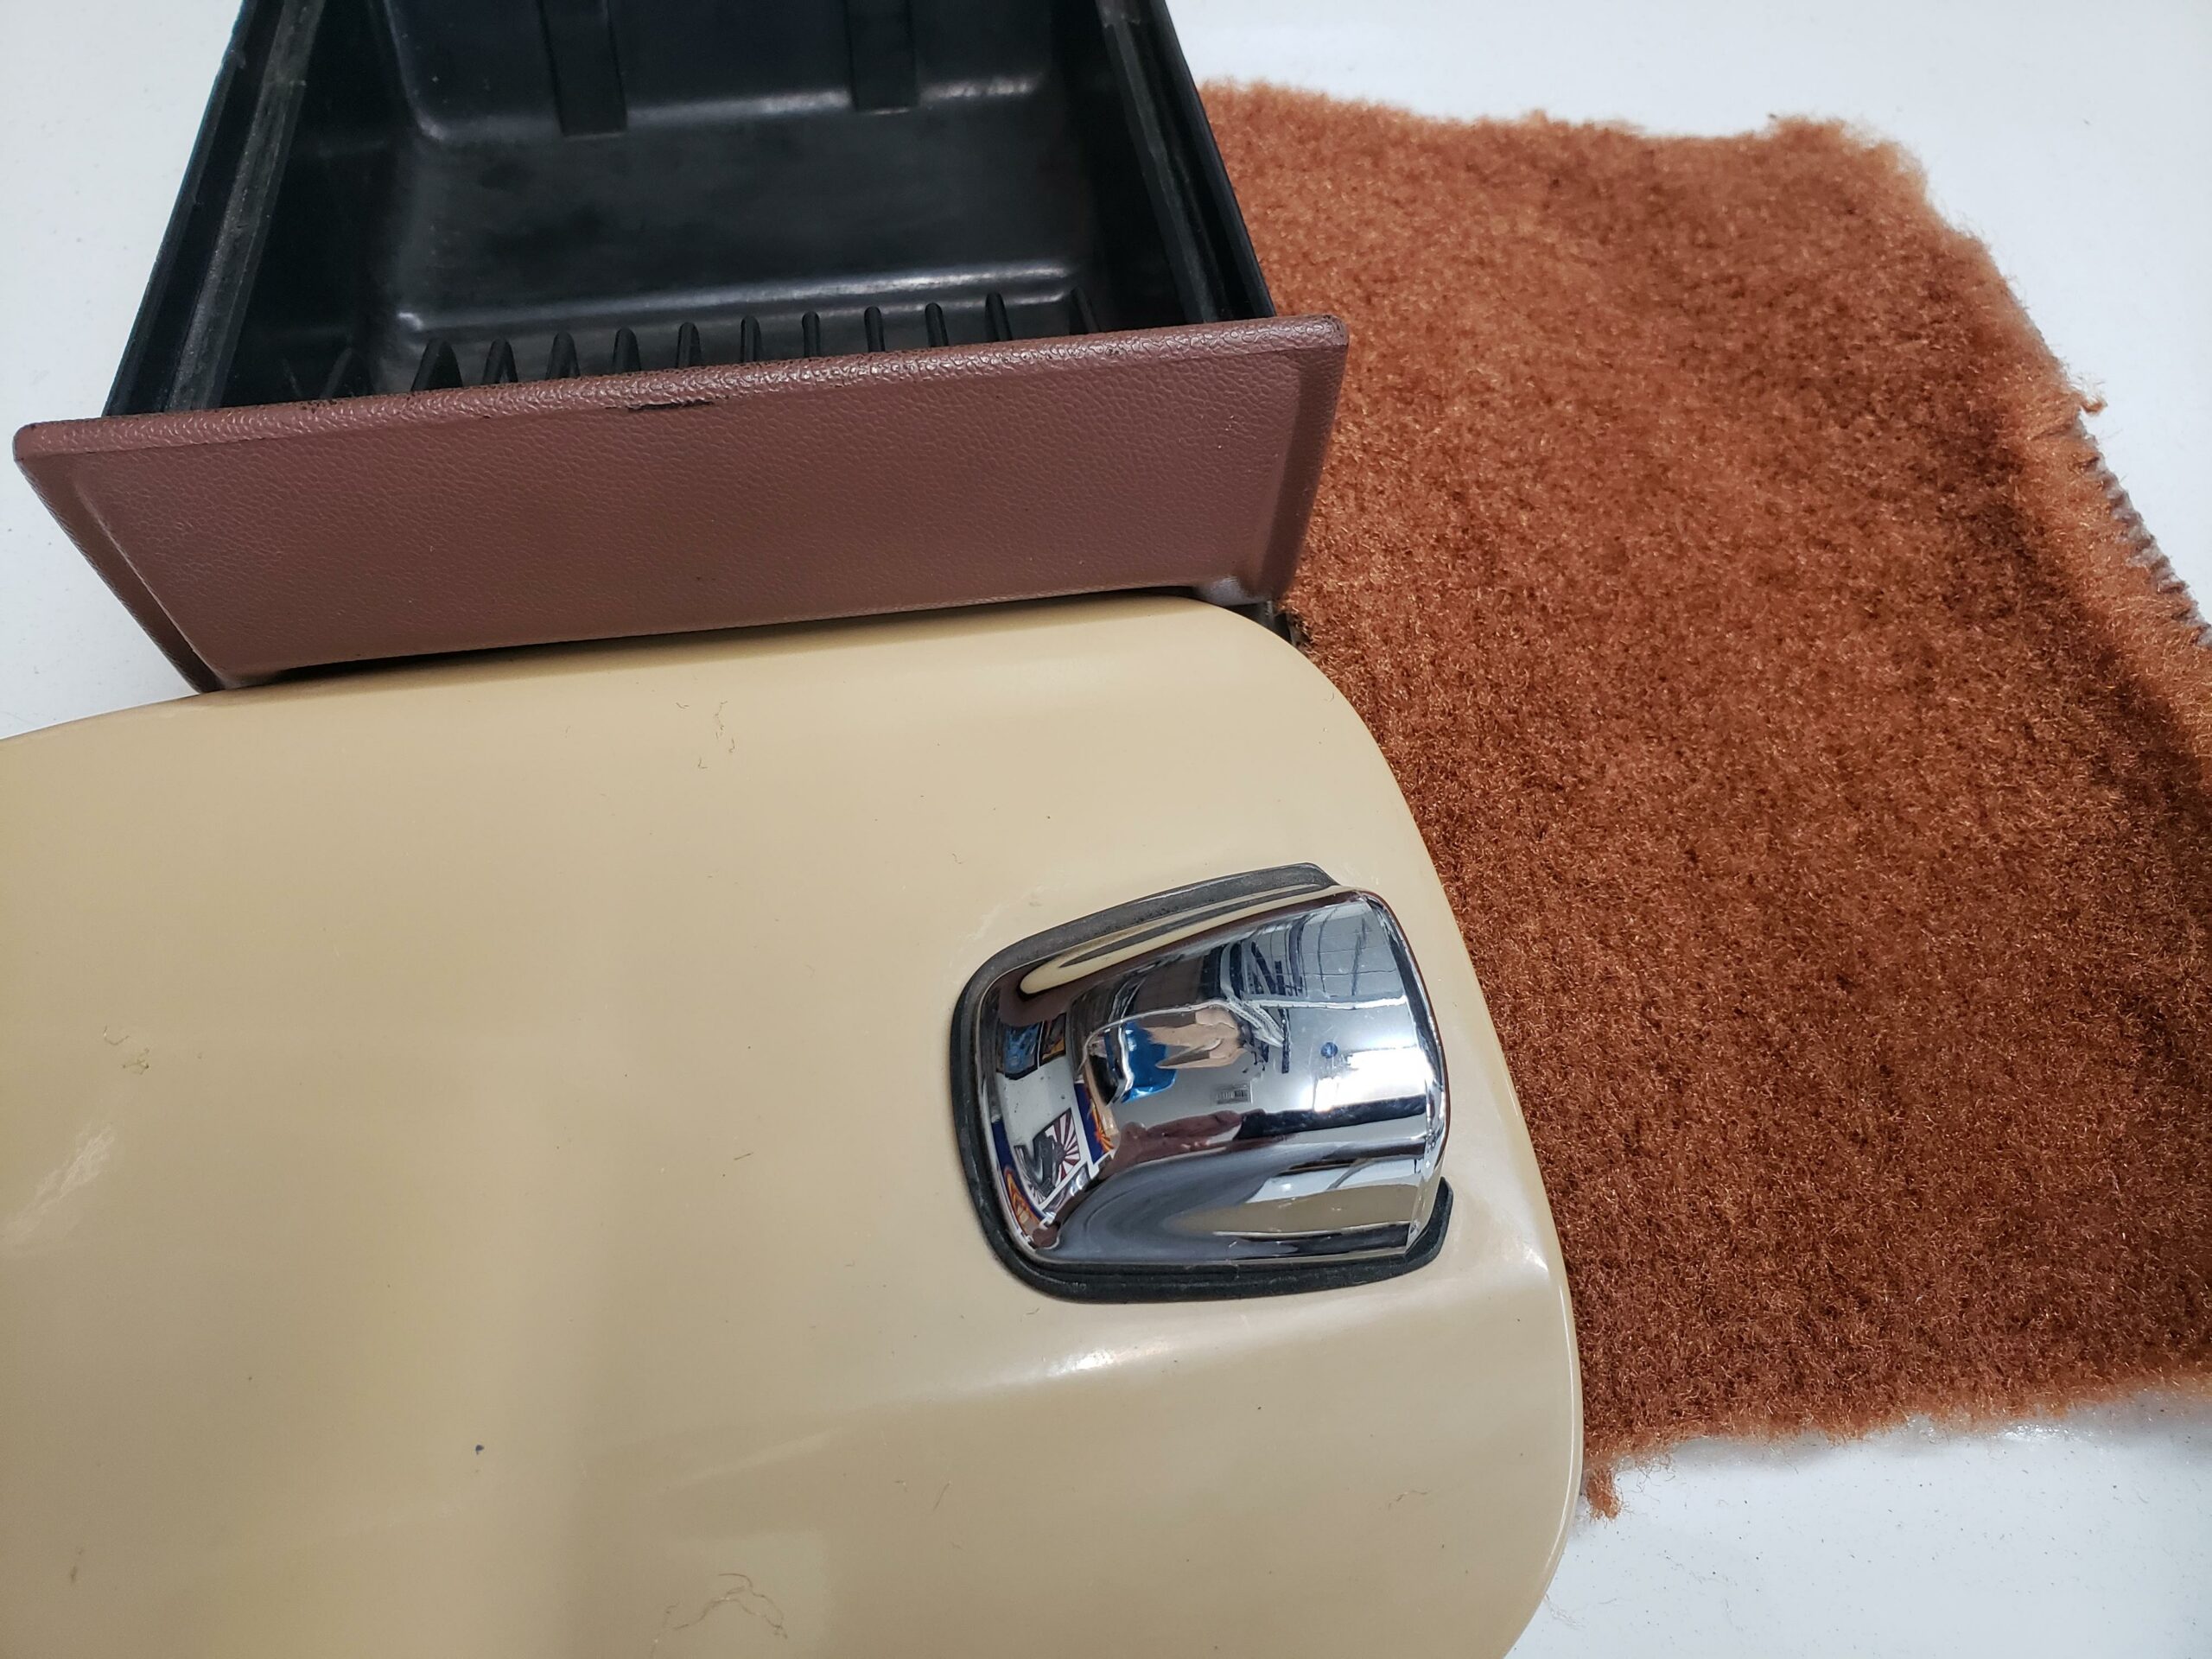
With the seats being refurbished and the carpet kit on the way, it was time to decide what to do about the interior plastics. The 210 was a budget car when new, and as such, everything was, shall we say, CHEAP. Cardboard headliner and door panels, thin plastics, and even the sun visors were poor quality thin laminated vinyl over cardboard.
A new dome light and rear view mirror were sourced from ebay, but I was slowly realizing I had a bigger problem: The original windshield rubber (and rear window rubber) had shrunk and cracked, leaving 1/2″ gaps in several places. The rubber serves another purpose besides holding the glass in place: It secures the A pillar and C pillar plastic. Those pieces were literally crumbling to dust as I attempted to remove them. So, I pulled the front and rear glass, cleaned off all the old rubber and finished gutting the interior. None of the plastic was salvageable, and even the molded cardboard headliner was crumbly and fragile. This could be a problem.
New windshield rubber is available through ebay from Taiwan, BUT the windshield was the original Nissan glass, and it had a small crack in the corner, so my regular glass guy wouldn’t install it. Thus began a 2-week frustrating quest to find a windshield. After countless phone calls, measurements, and emails, I was getting nowhere. Coupe and wagon windshields were readily available, but NOTHING for a 2-door or 4-door sedan (they’re different measurements, strangely). Pilkington Glass, the manufacturer of 90% of the windshields on the road, shut down their vintage department during Covid, and had no plans to gear up for new production anytime soon. I even enlisted the team at Hagerty Driver’s Club who assisted with a nationwide search, to no avail. Dammit. Without a windshield, this car’s going nowhere.
Just for fun, I decided to call on an old friend, Chuck Sheen from Sakura Garage. Chuck actually taught me how to do a rope-seal windshield install in the past, and I’ve done a few myself – but with the crack staring at me like a loaded weapon, I thought there’s no way this is gonna work. Chuck disagreed, and asked me to load up the 210 and bring it over ASAP.
Miracle of miracles: Chuck and his son Greg had the front and rear glass installed in minutes, with no drama and no breakage! With no further excuses, I suppose I’ve gotta haul ass on this project now and get it done!
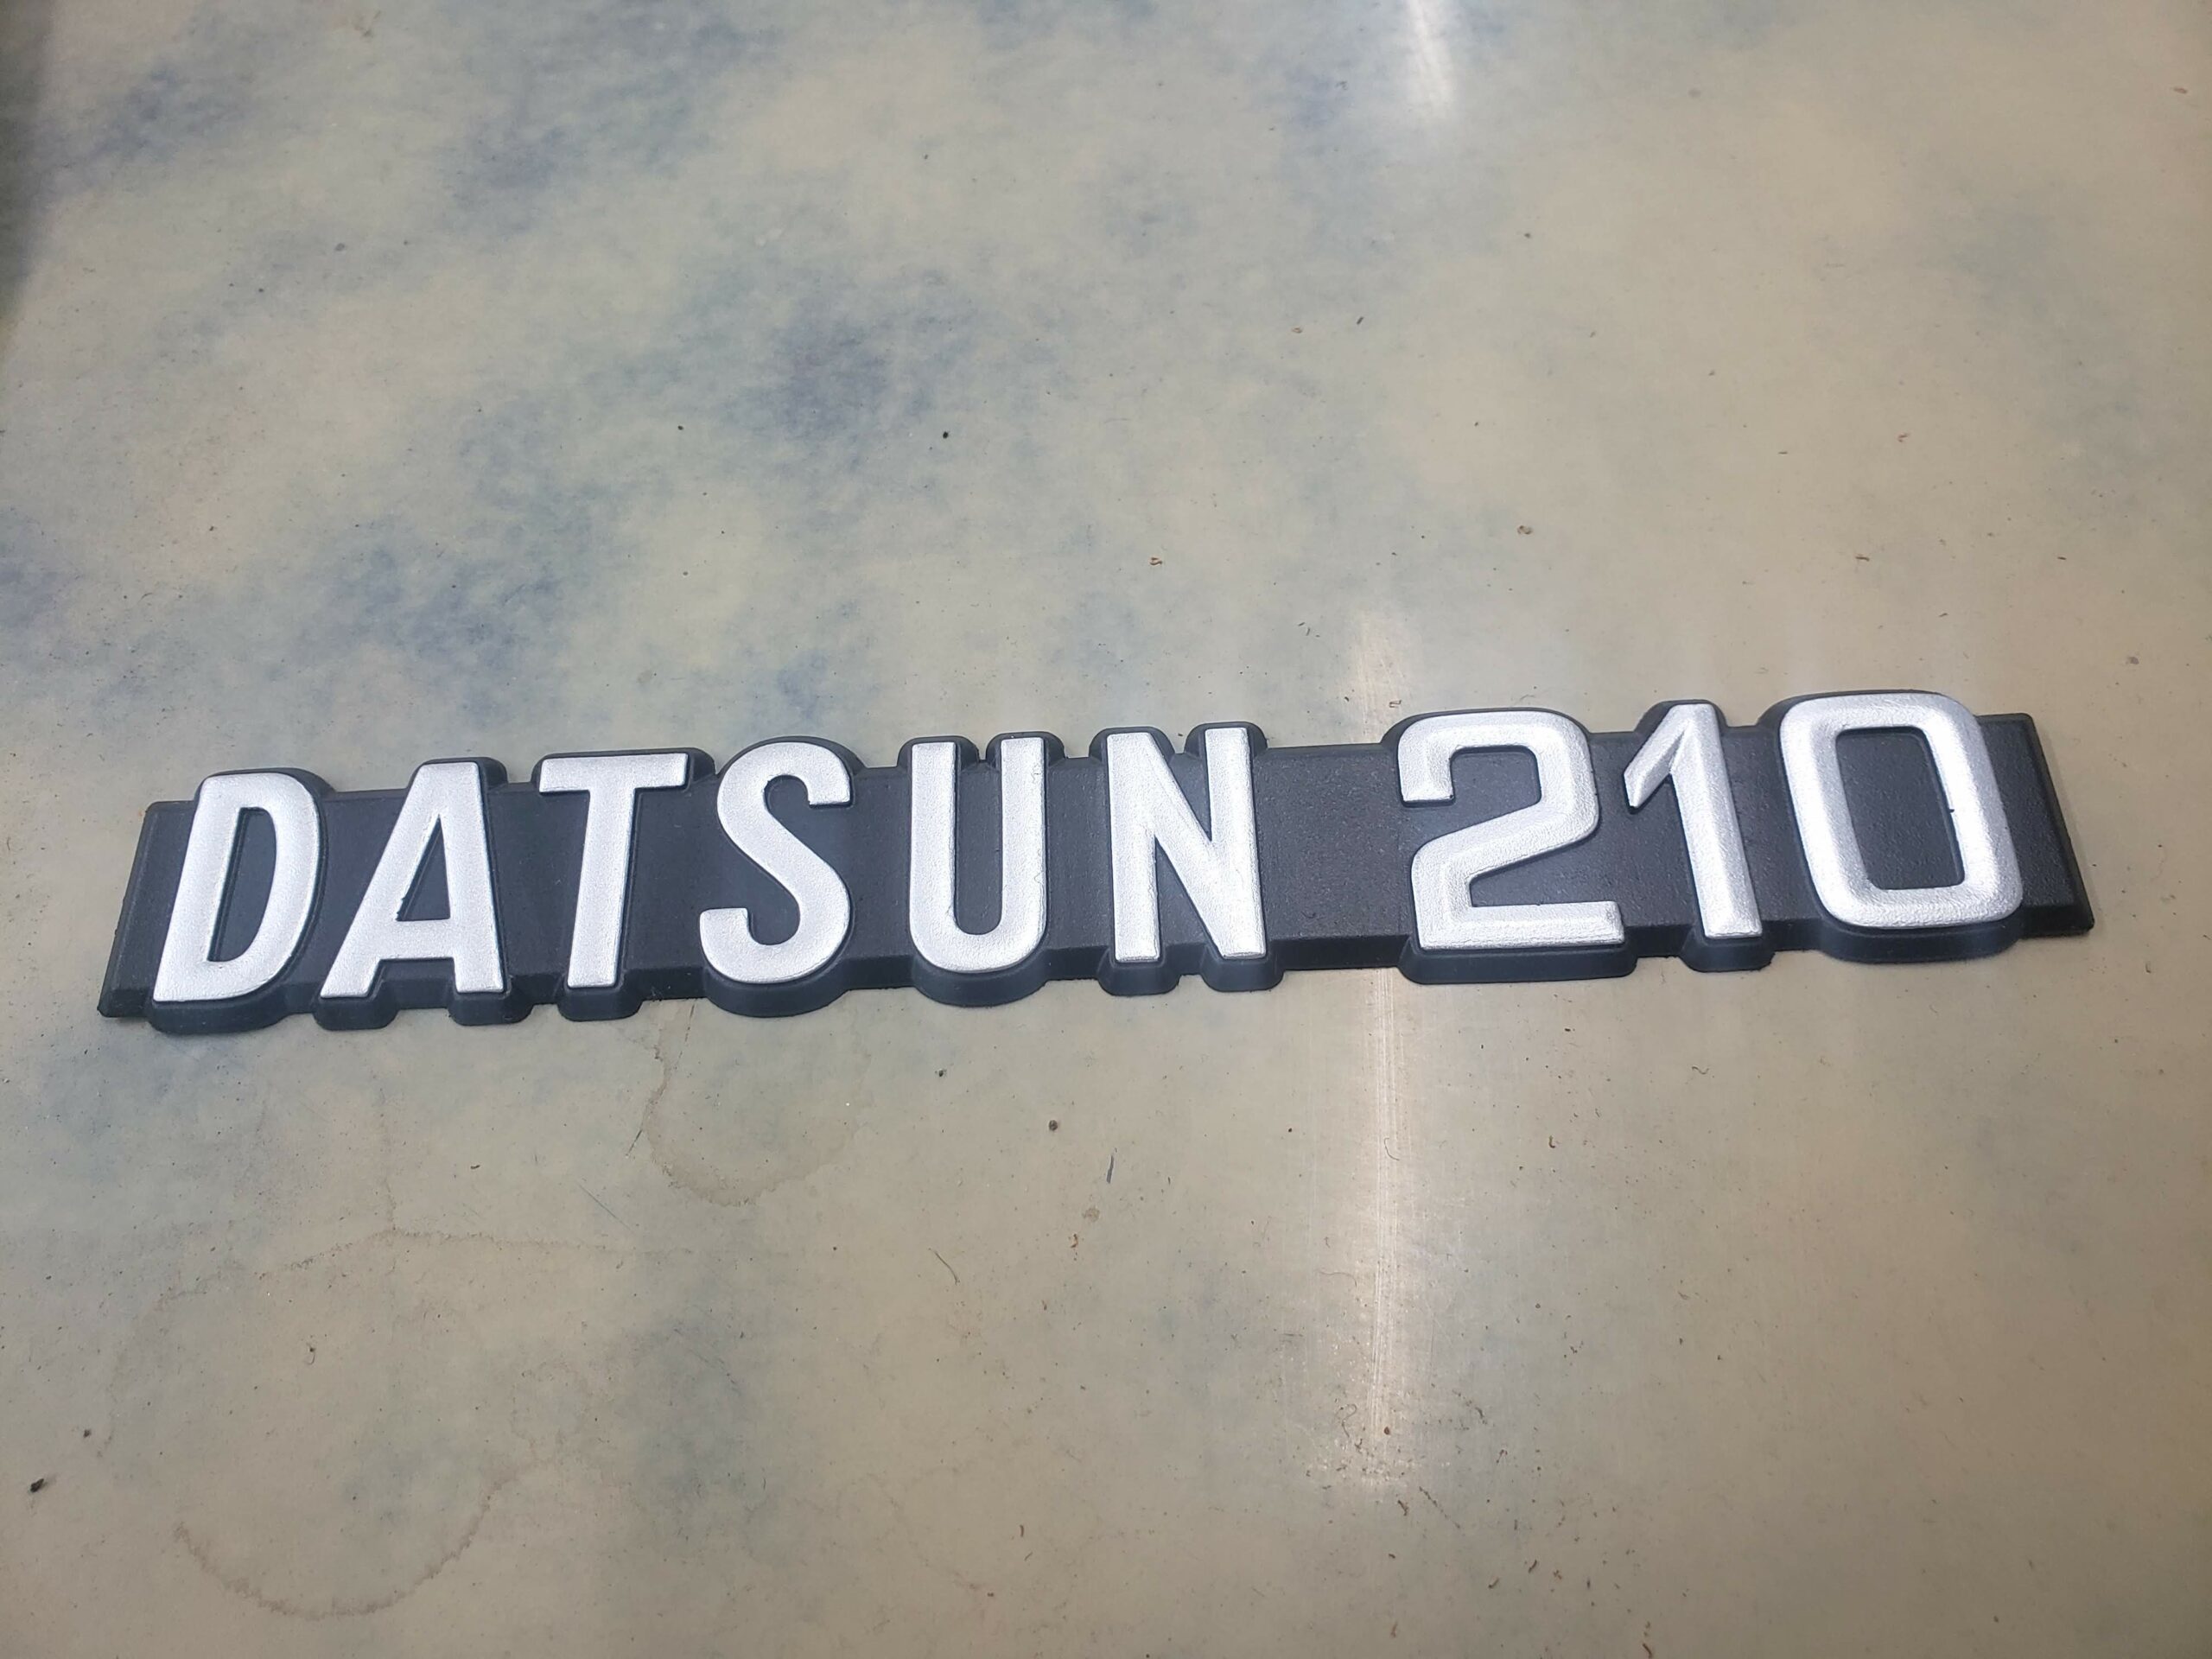
In between searching for windshield glass, adjusting the valves, removing some emissions components, and preparing the interior for installation, I started searching for missing bits: Three of the corner markers were broken, the rear quarter emblems were missing, and the biggest deal of all: I still have no interior plastics! Fortunately, someone in Guatemala reached out to me on Facebook, and sent me a pic of an entire set of B310 interior plastics – in the color I needed! My Spanish isn’t great, but we managed to communicate over the next few days and soon, the entire pile of plastic was on its way to the US (gracias, Leonel!) A nice lady on Etsy agreed to cast some new quarter emblems out of ABS, and they turned out fantastic, and a good friend in NM had some spare corner markers for sale.
While waiting for my loot to arrive, I cleaned and sanitized the interior and added some sound deadening in the roof, doors and quarters, and decided to give the trunk a good scrubbing and detailing.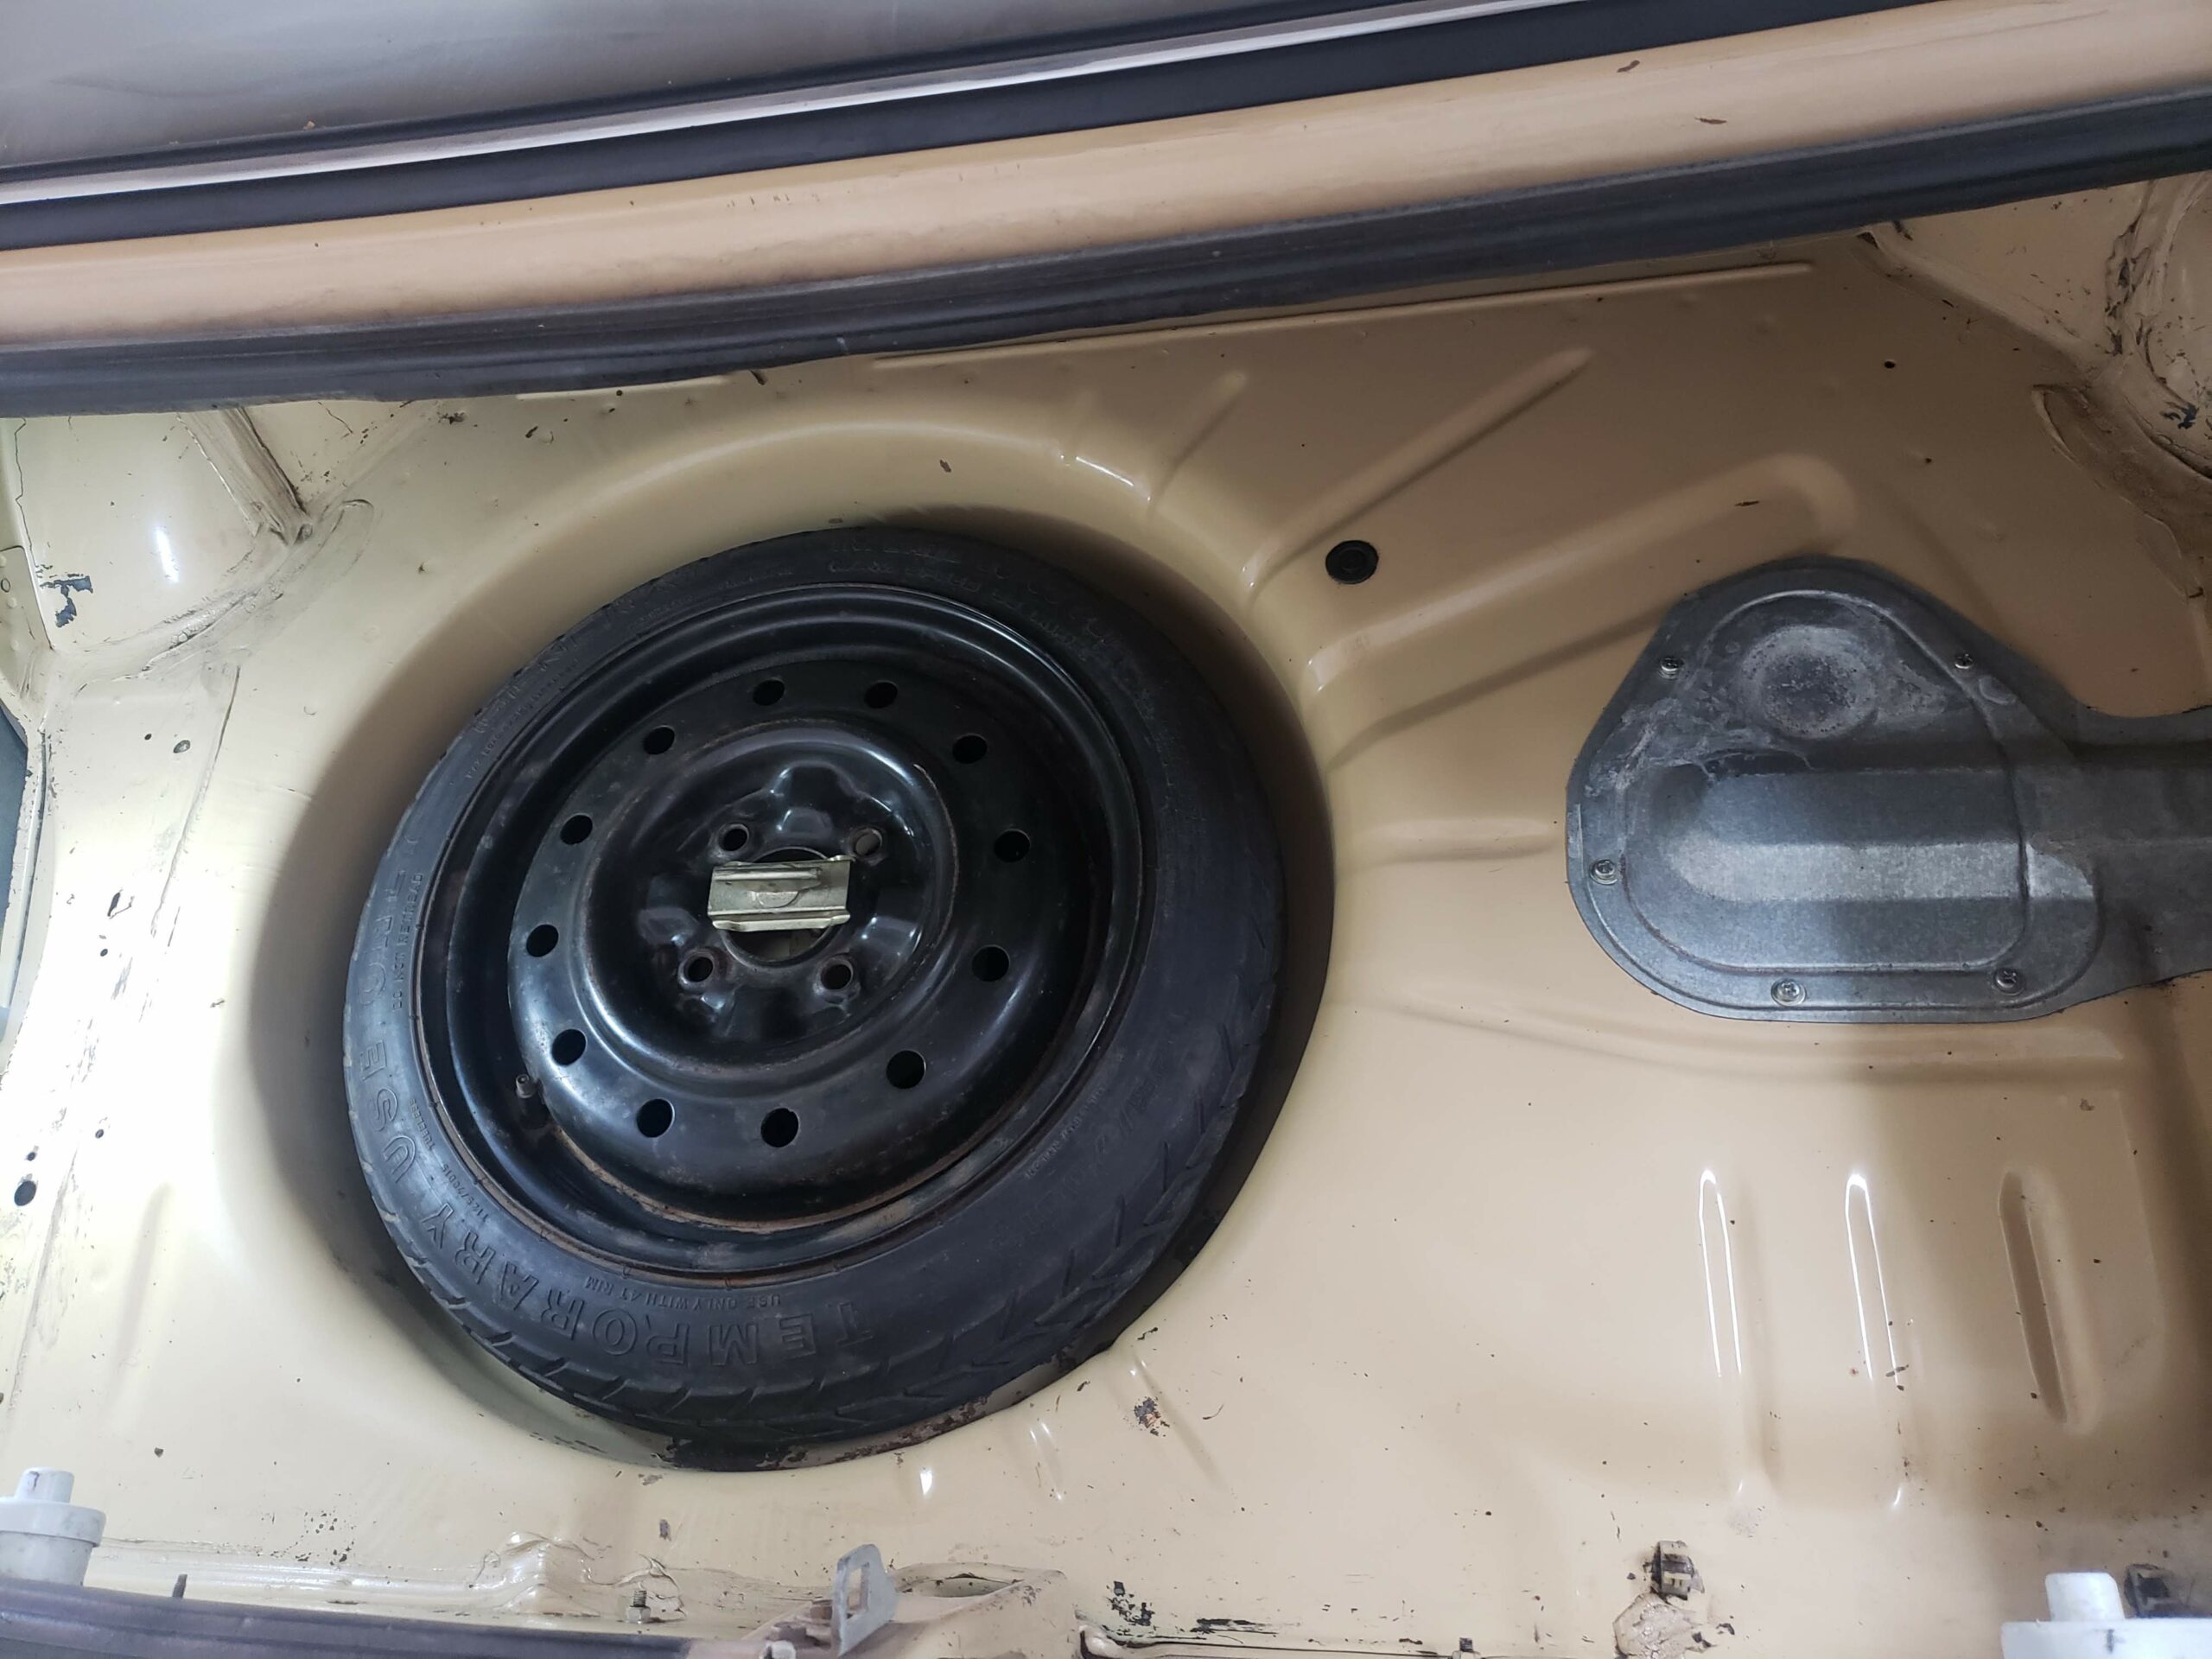
FedEx and UPS came through – Carpet, seat belts and interior plastics arrived, and the upholstery shop called to let me know the seats are done! Look at all the beautiful, flexible, non-Arizona plastic!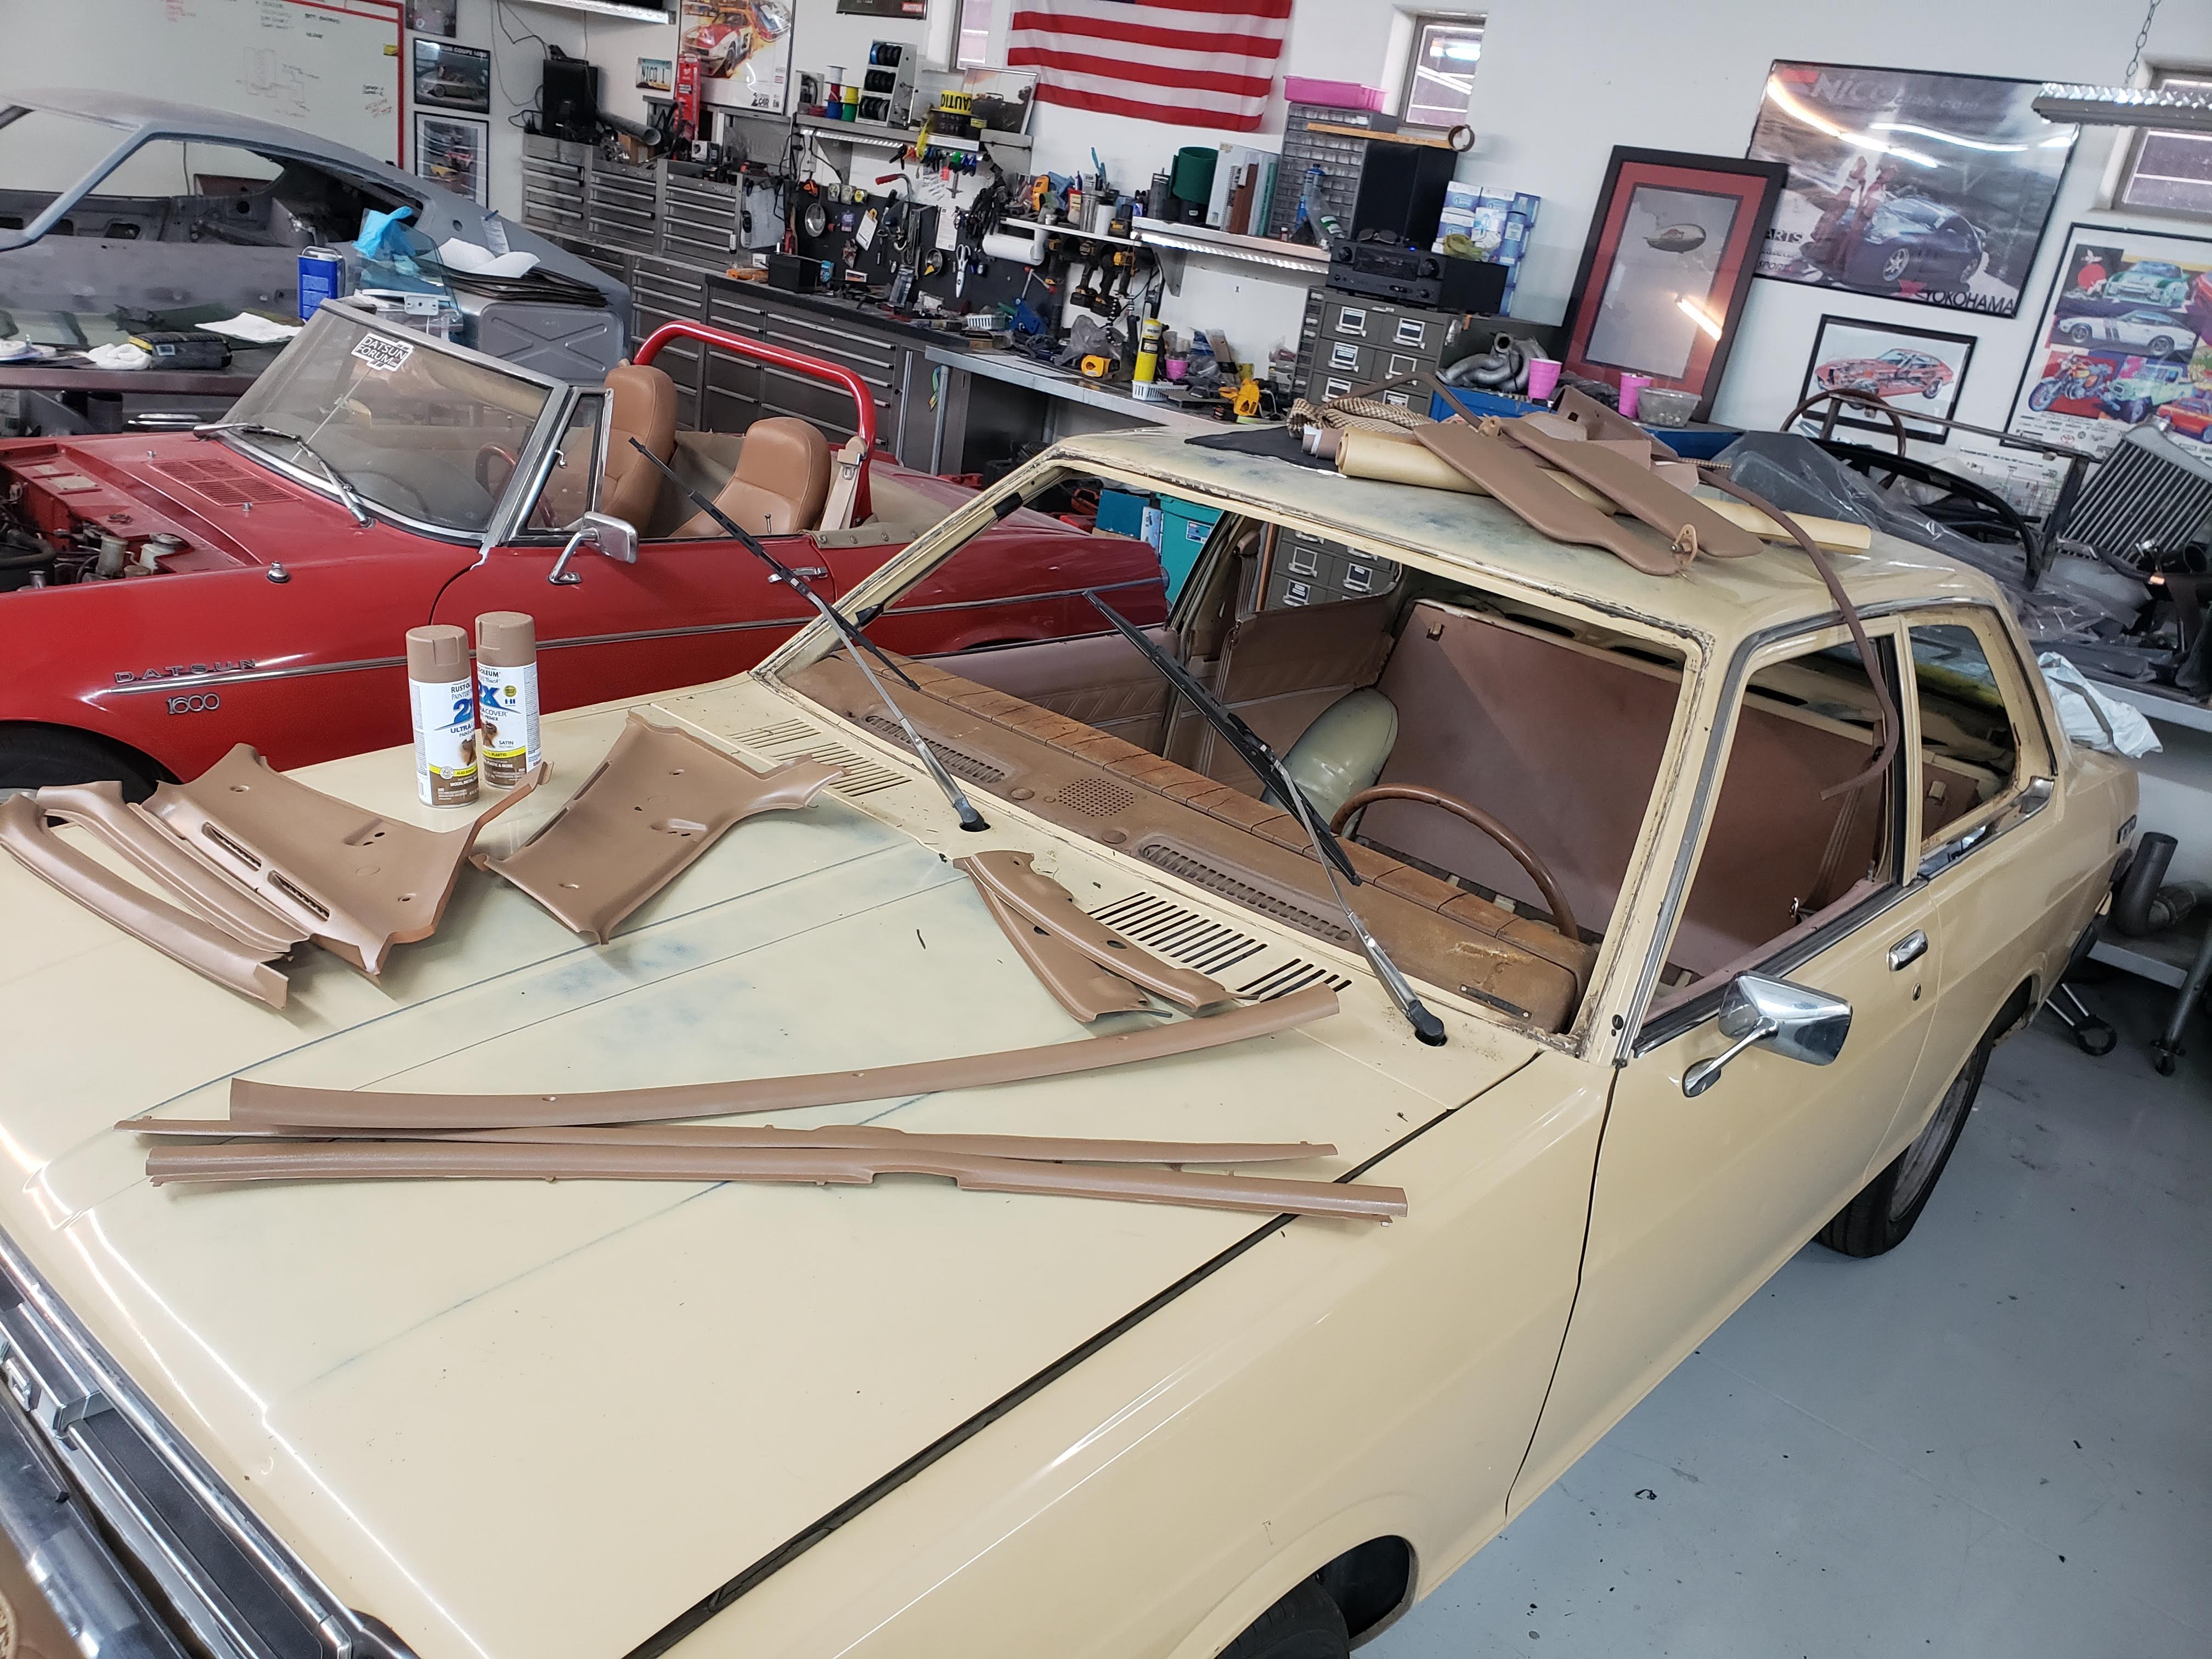
Before I could install the carpet, I had to decide what to do about the gaping shifter hole. For some reason, this car didn’t come with a console of any type, so I decided to keep it that way. I’d always wanted to experiment with some ABS sheet, so I found a Datsun 720 outer shift boot, a S13 inner boot, and made a plastic bezel to tie it all together. Turned out pretty nice, and looks stock, so I started fitting and steaming the carpet.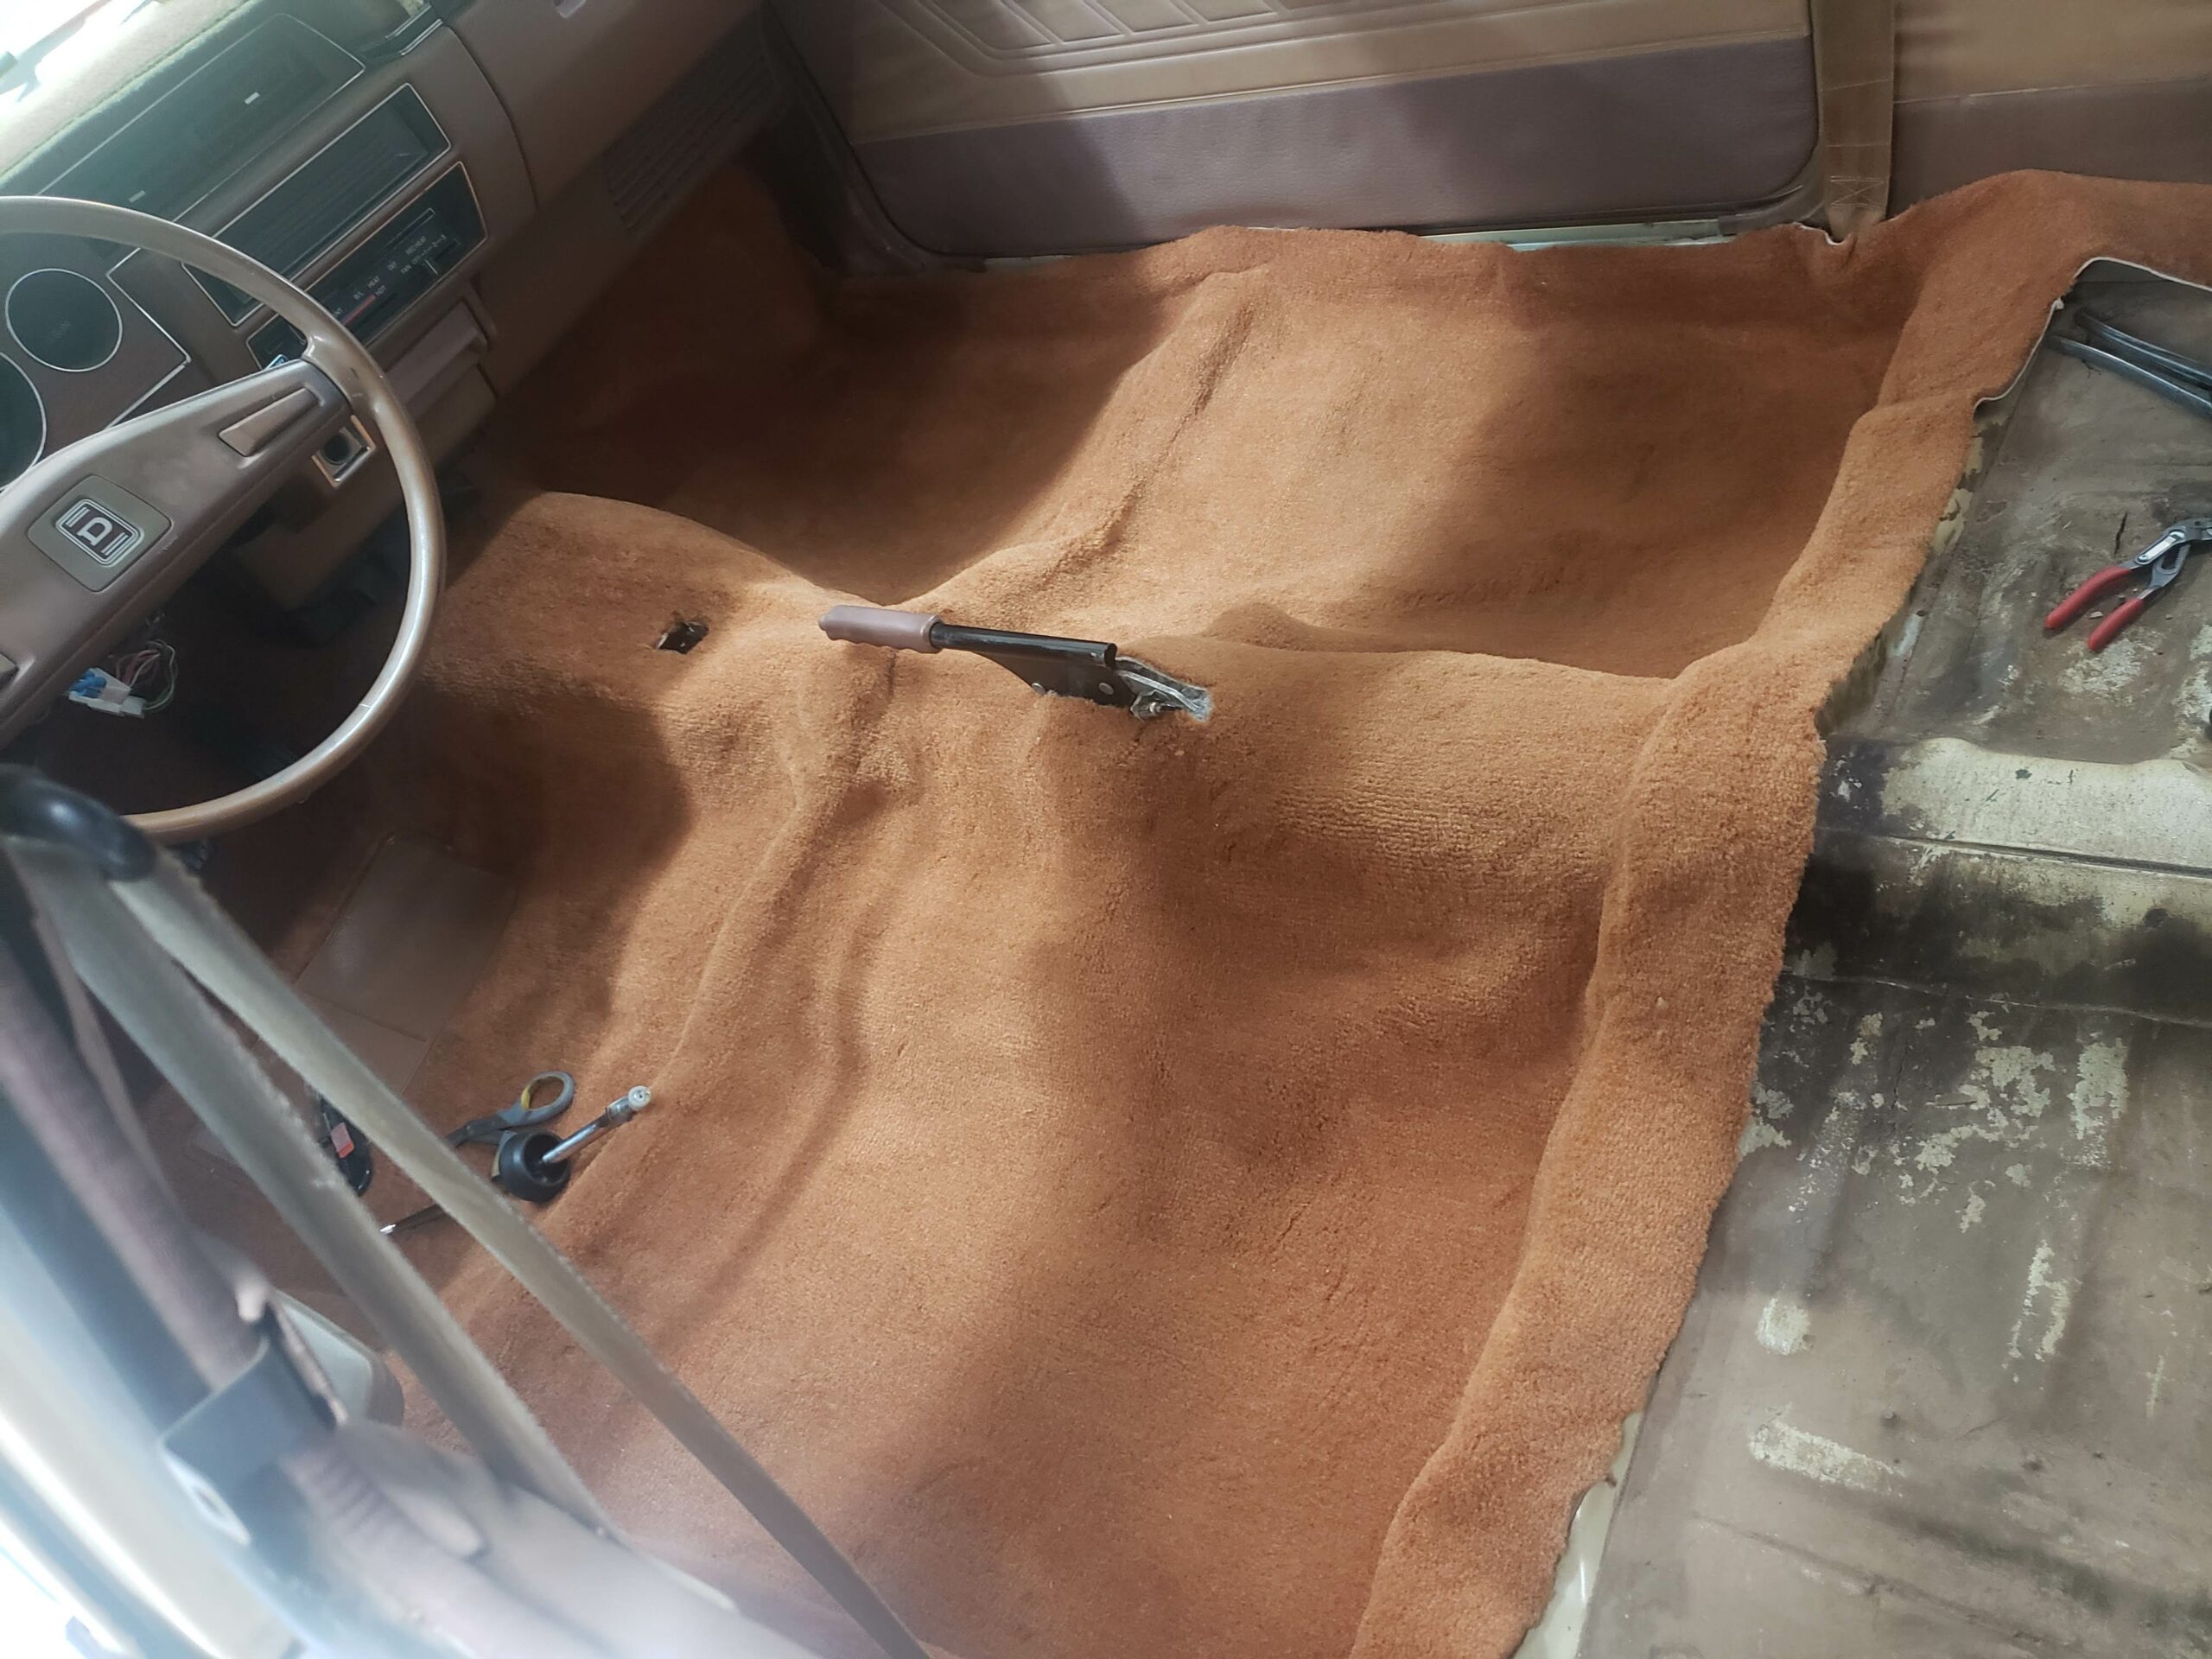
With the carpet in, I turned to the headliner… I had to completely remove the petrified vinyl and 1/4″ foam that the factory used, so that I’d have a good surface to adhere fabric to. For fun, I decided to match the headliner to the seat fabric. It’s a little whimsical and classes up the interior a bit.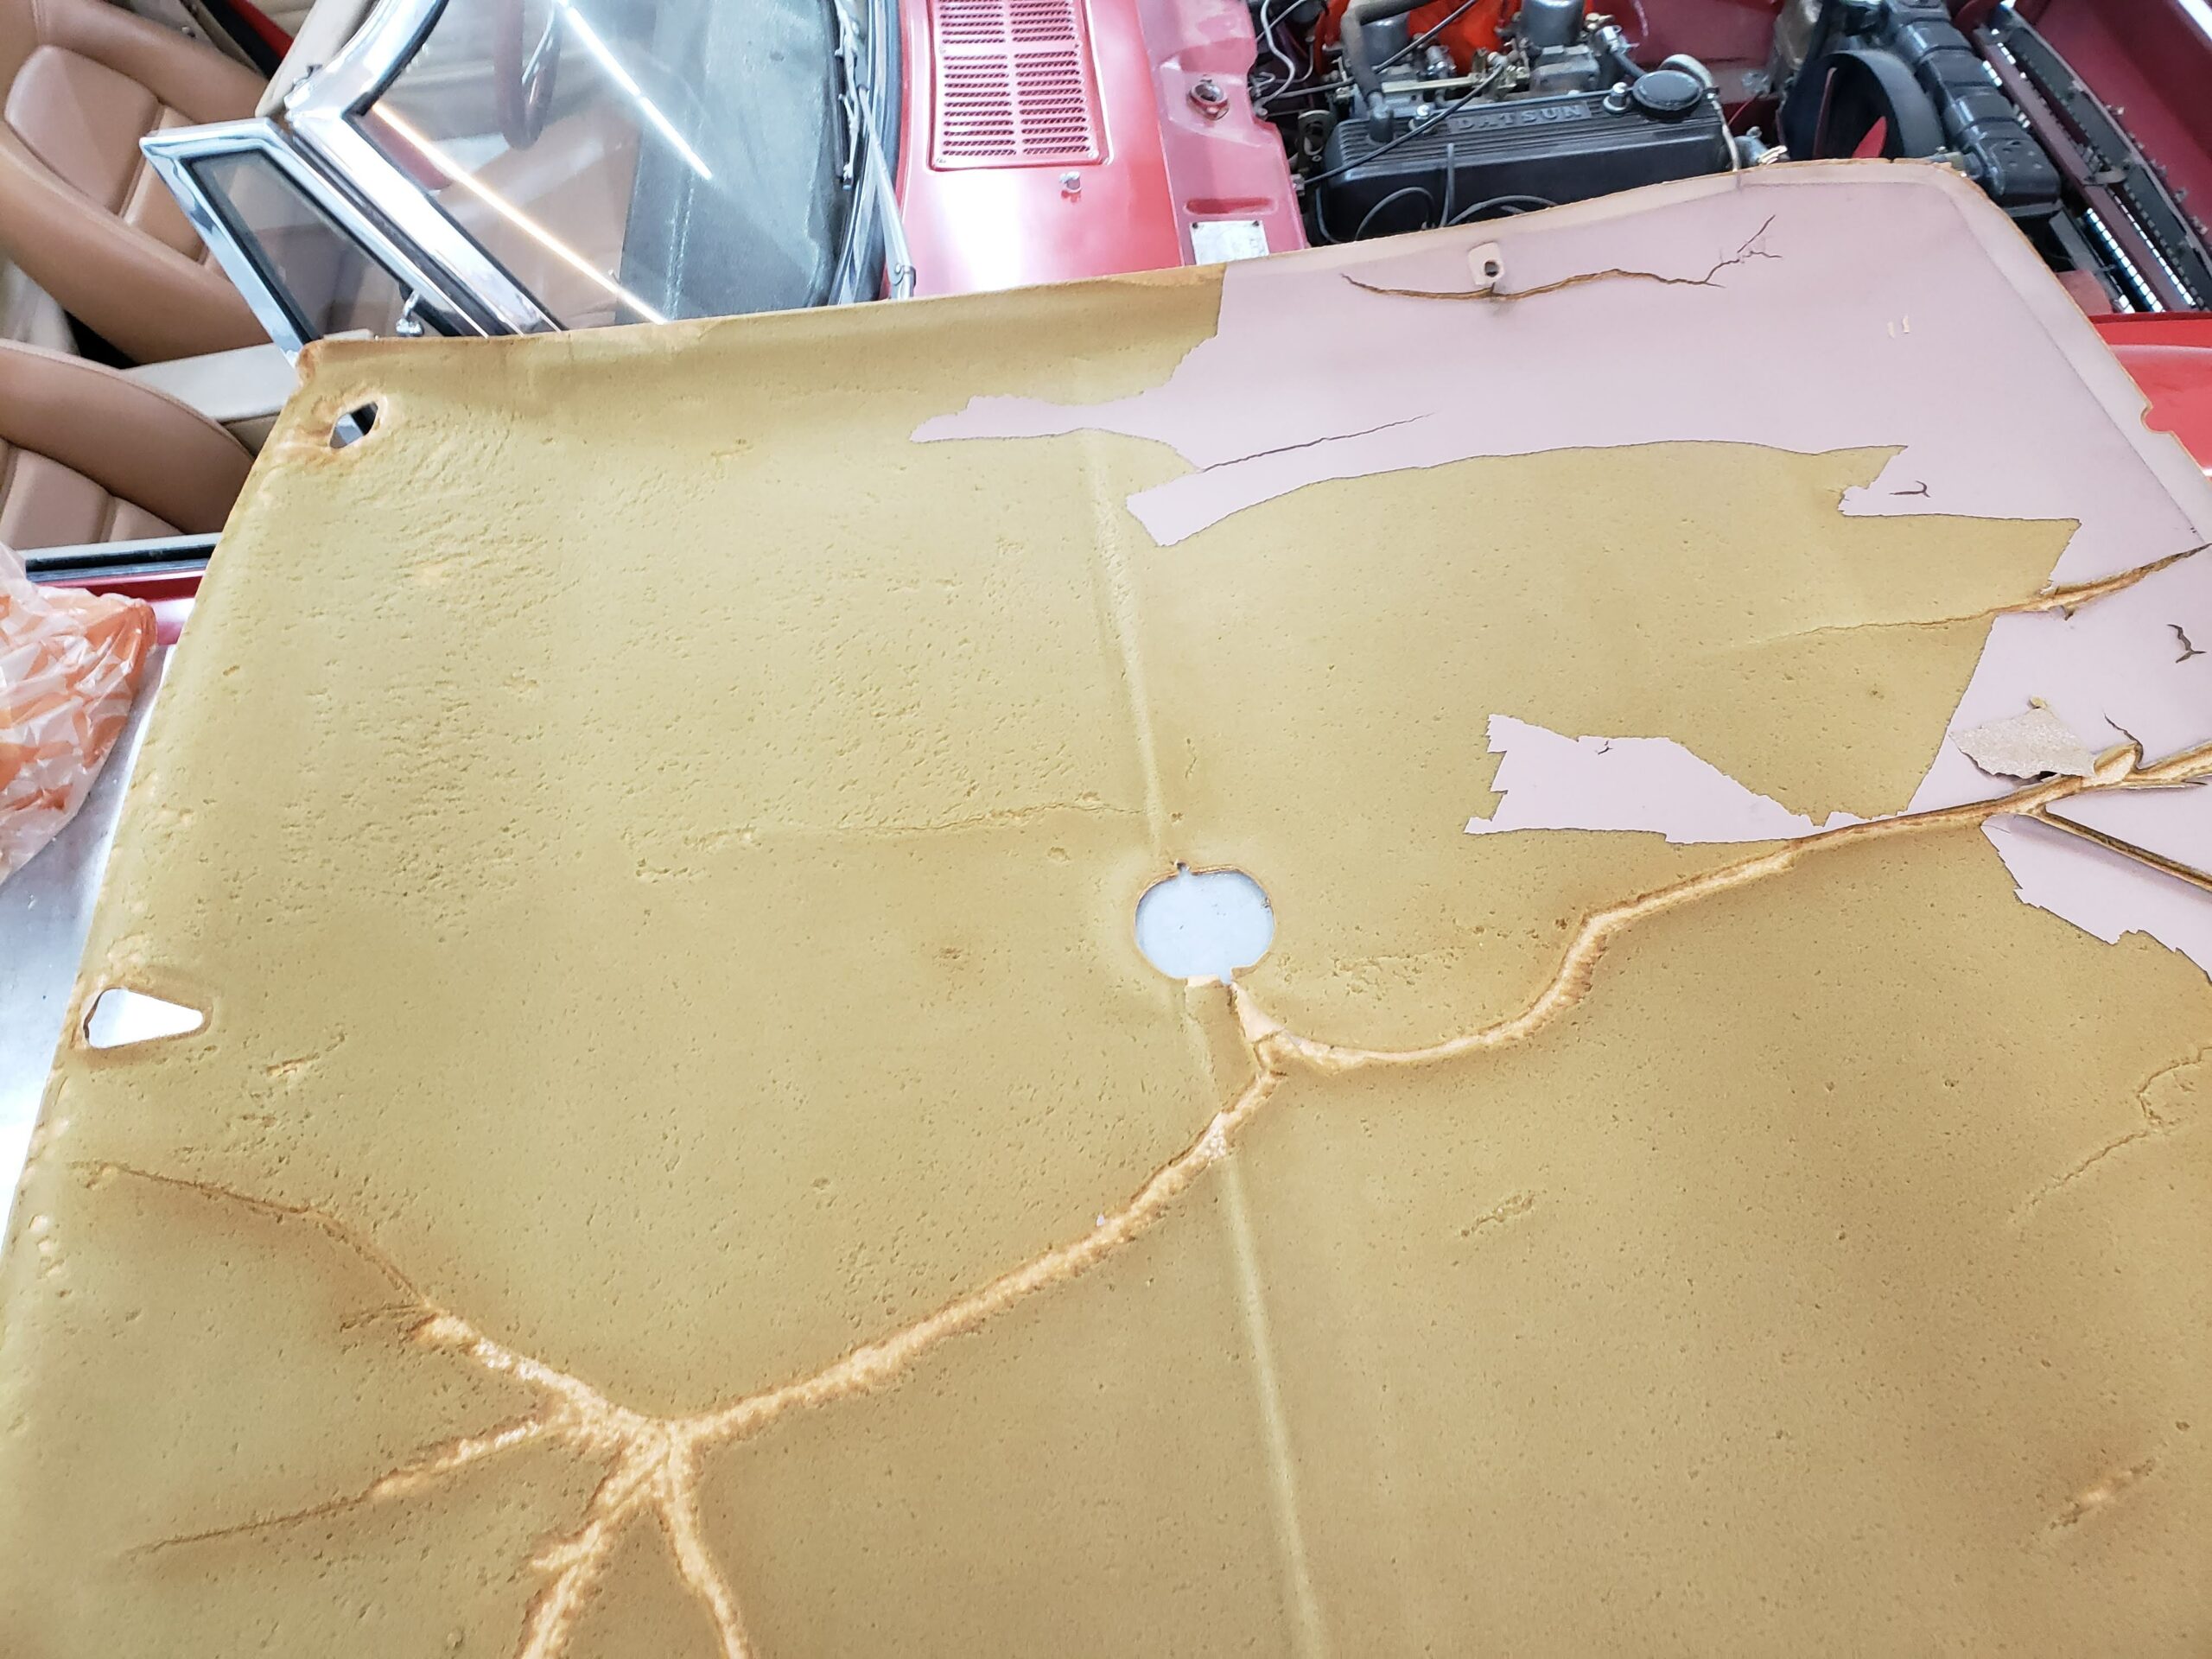
Seats and seat belts went in next – Now we’re on a roll! 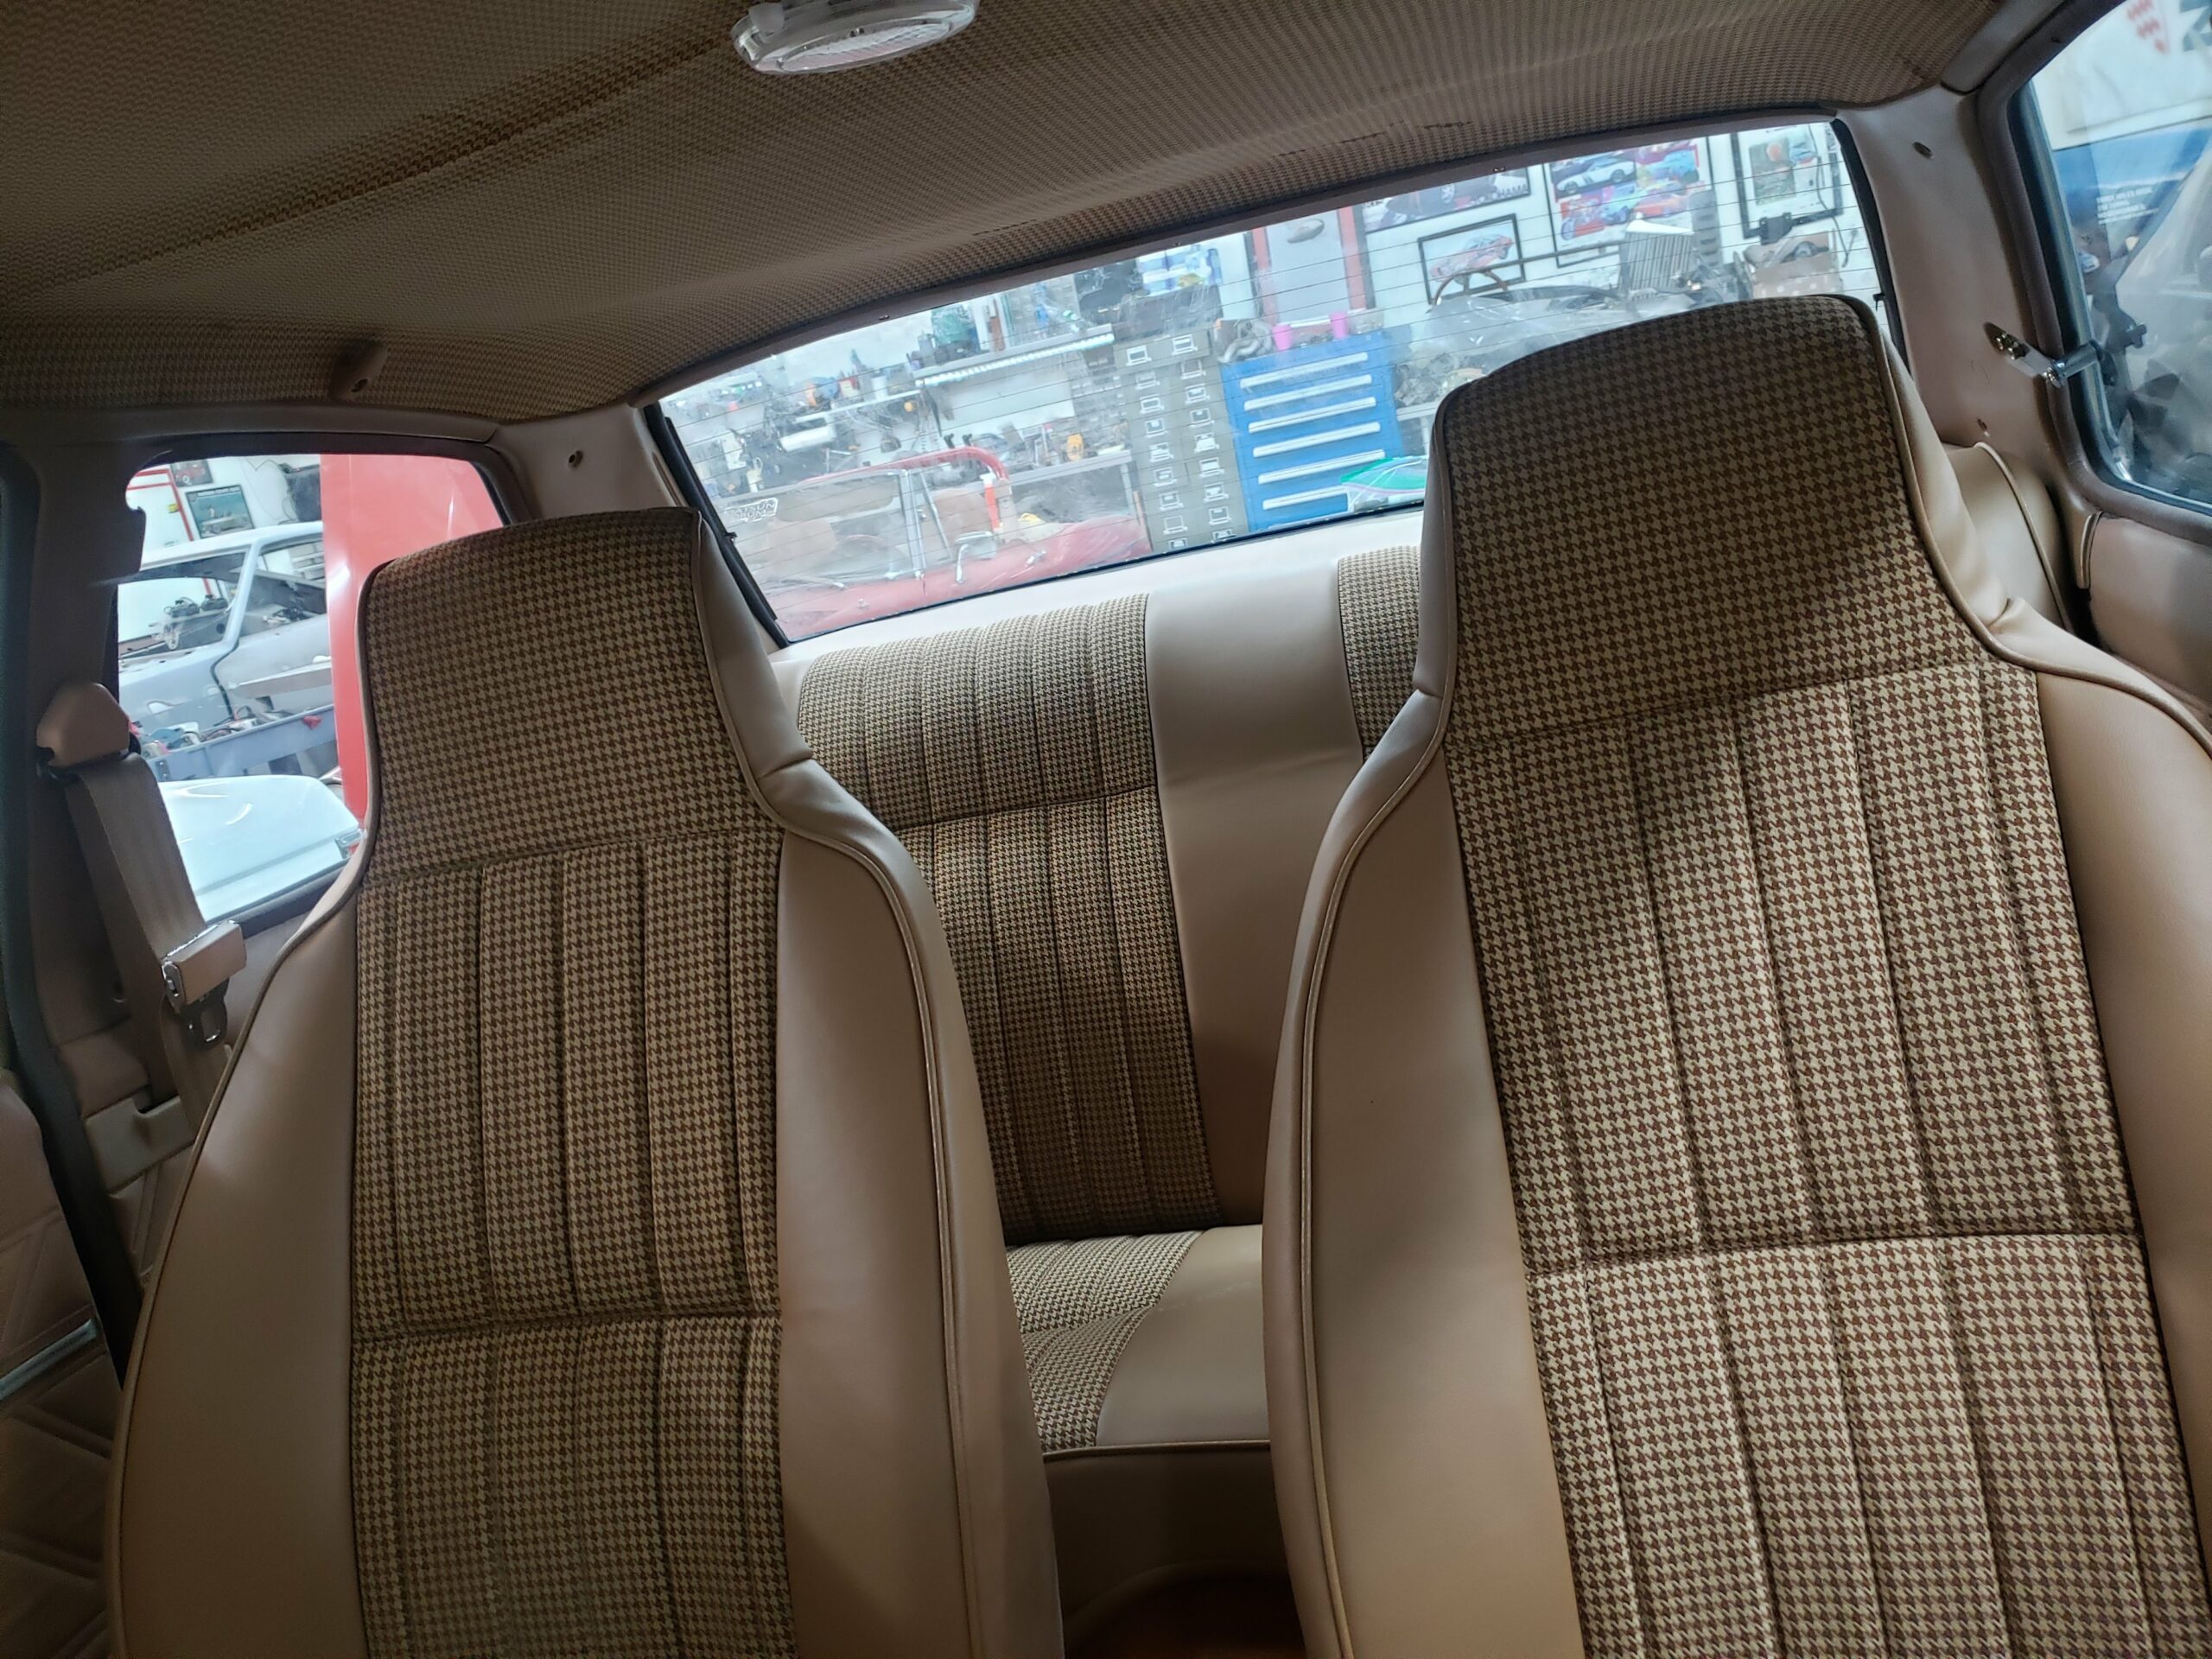
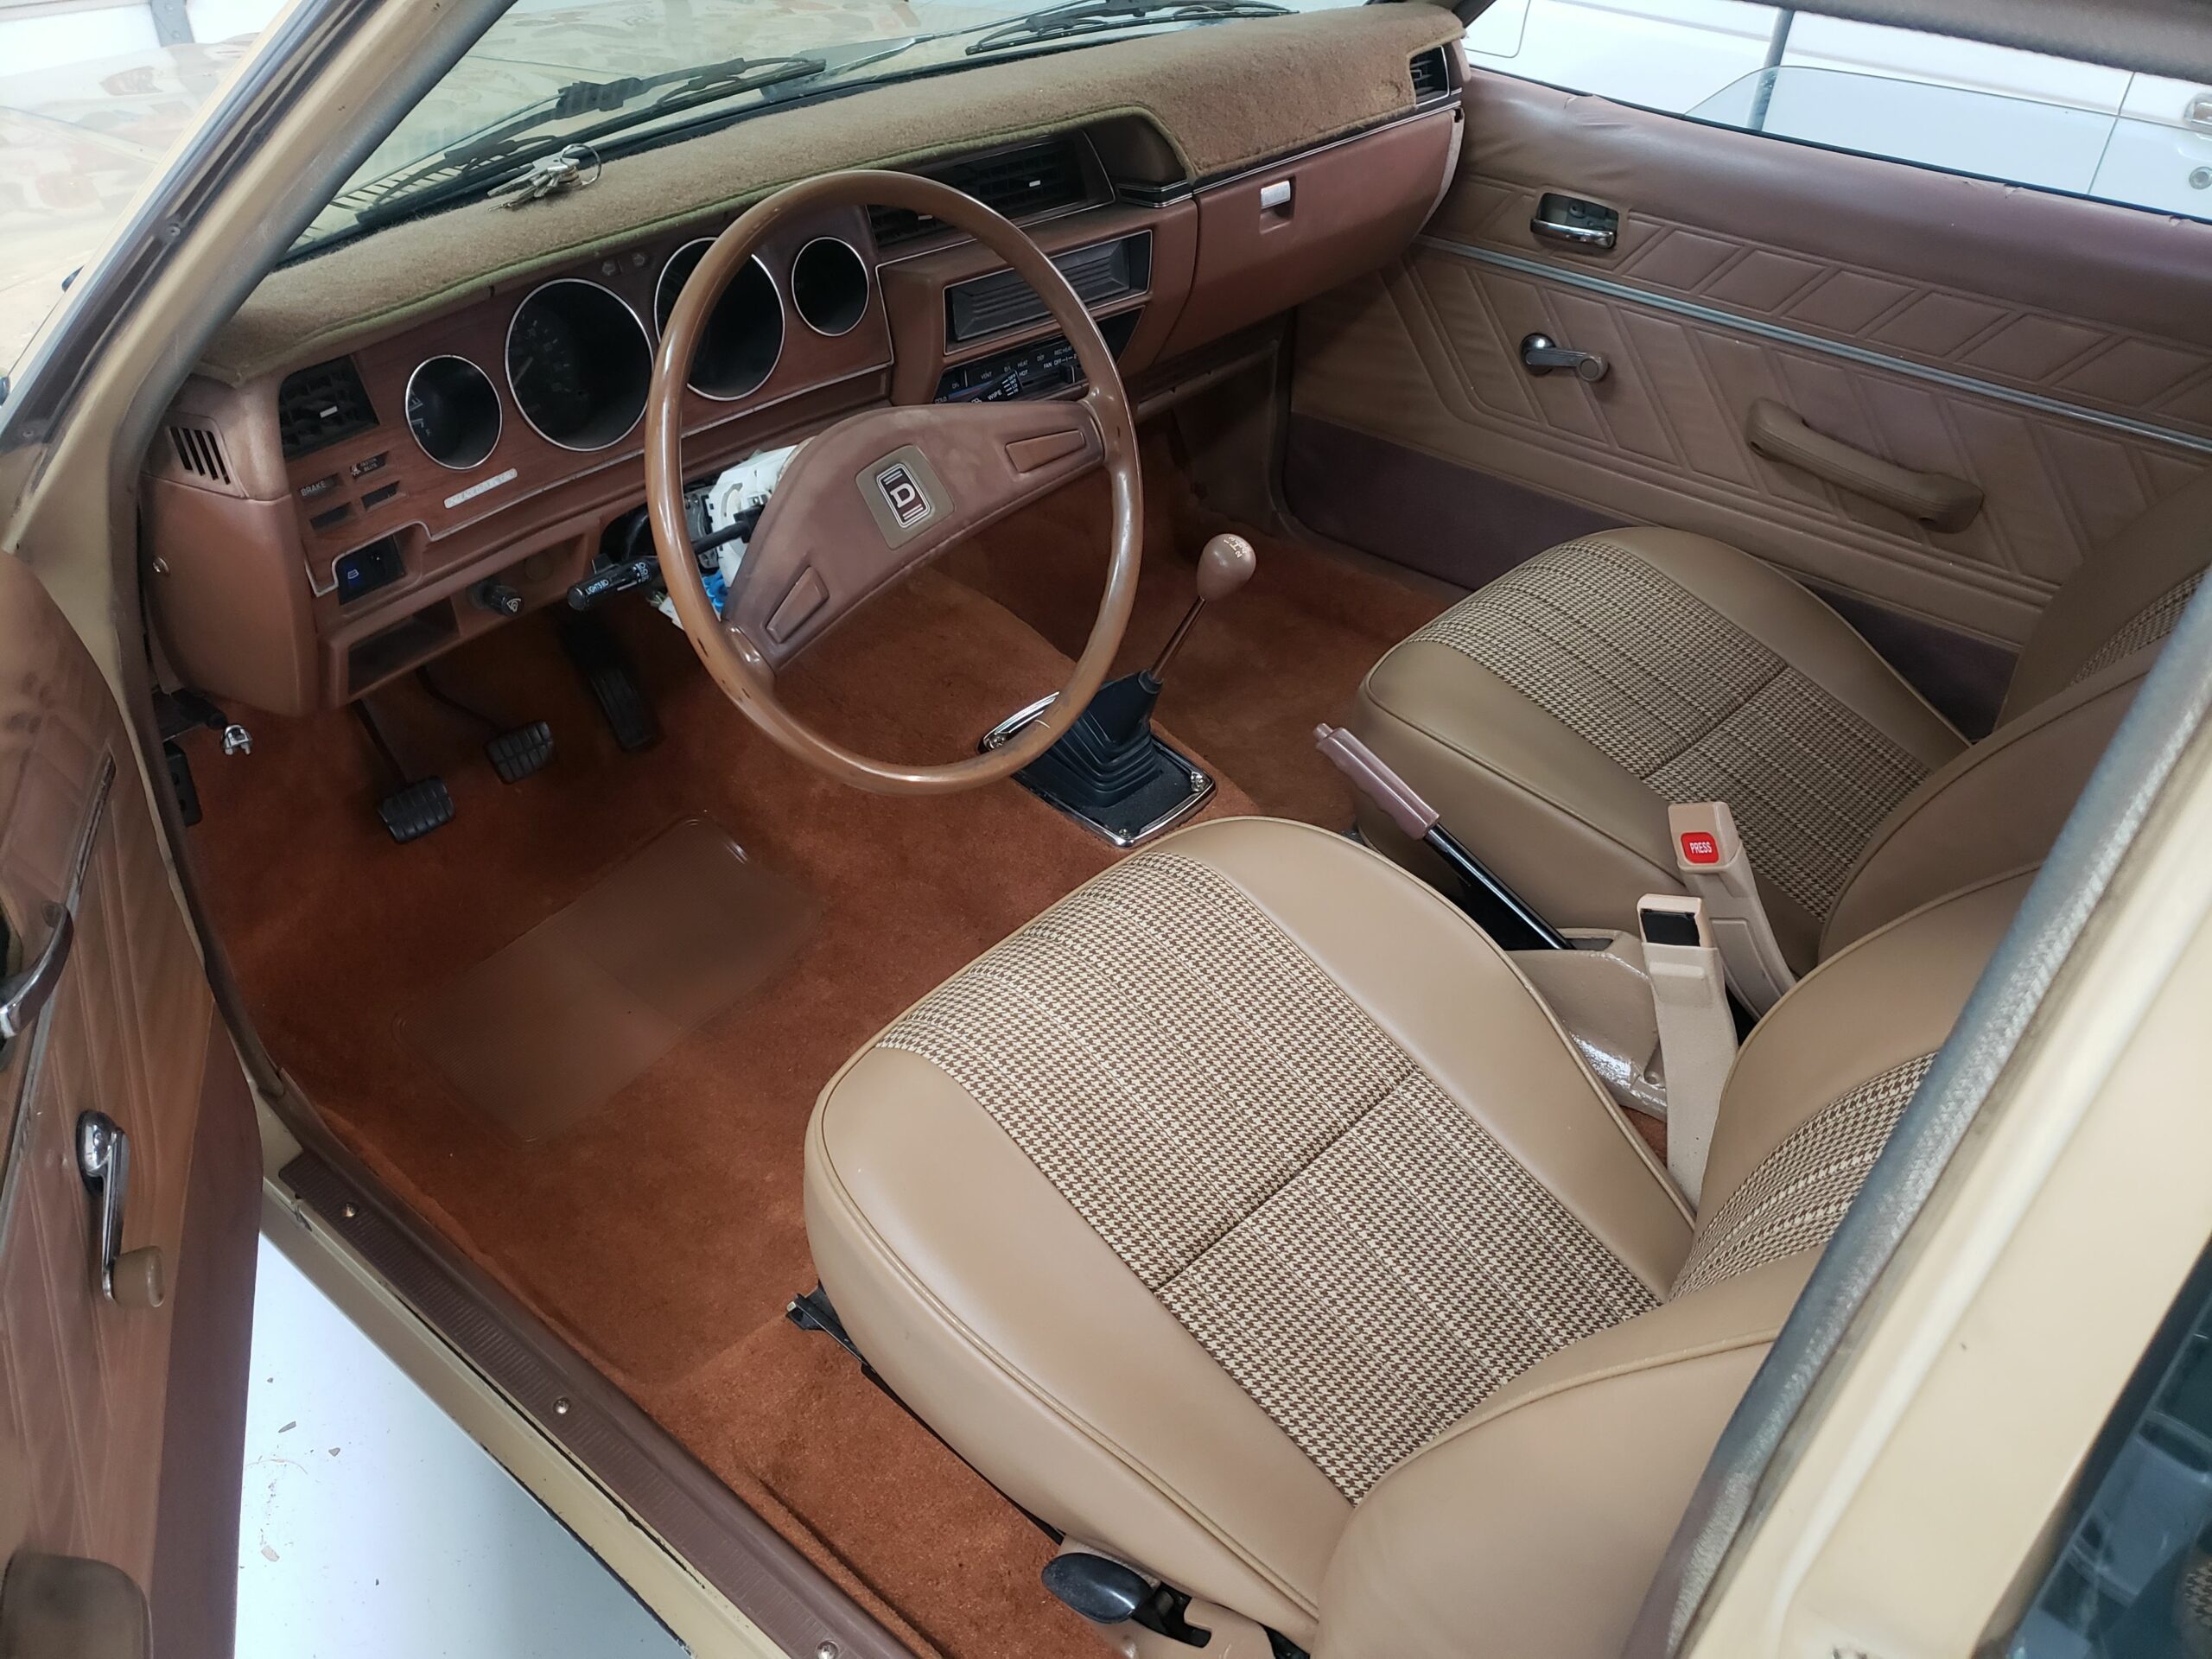
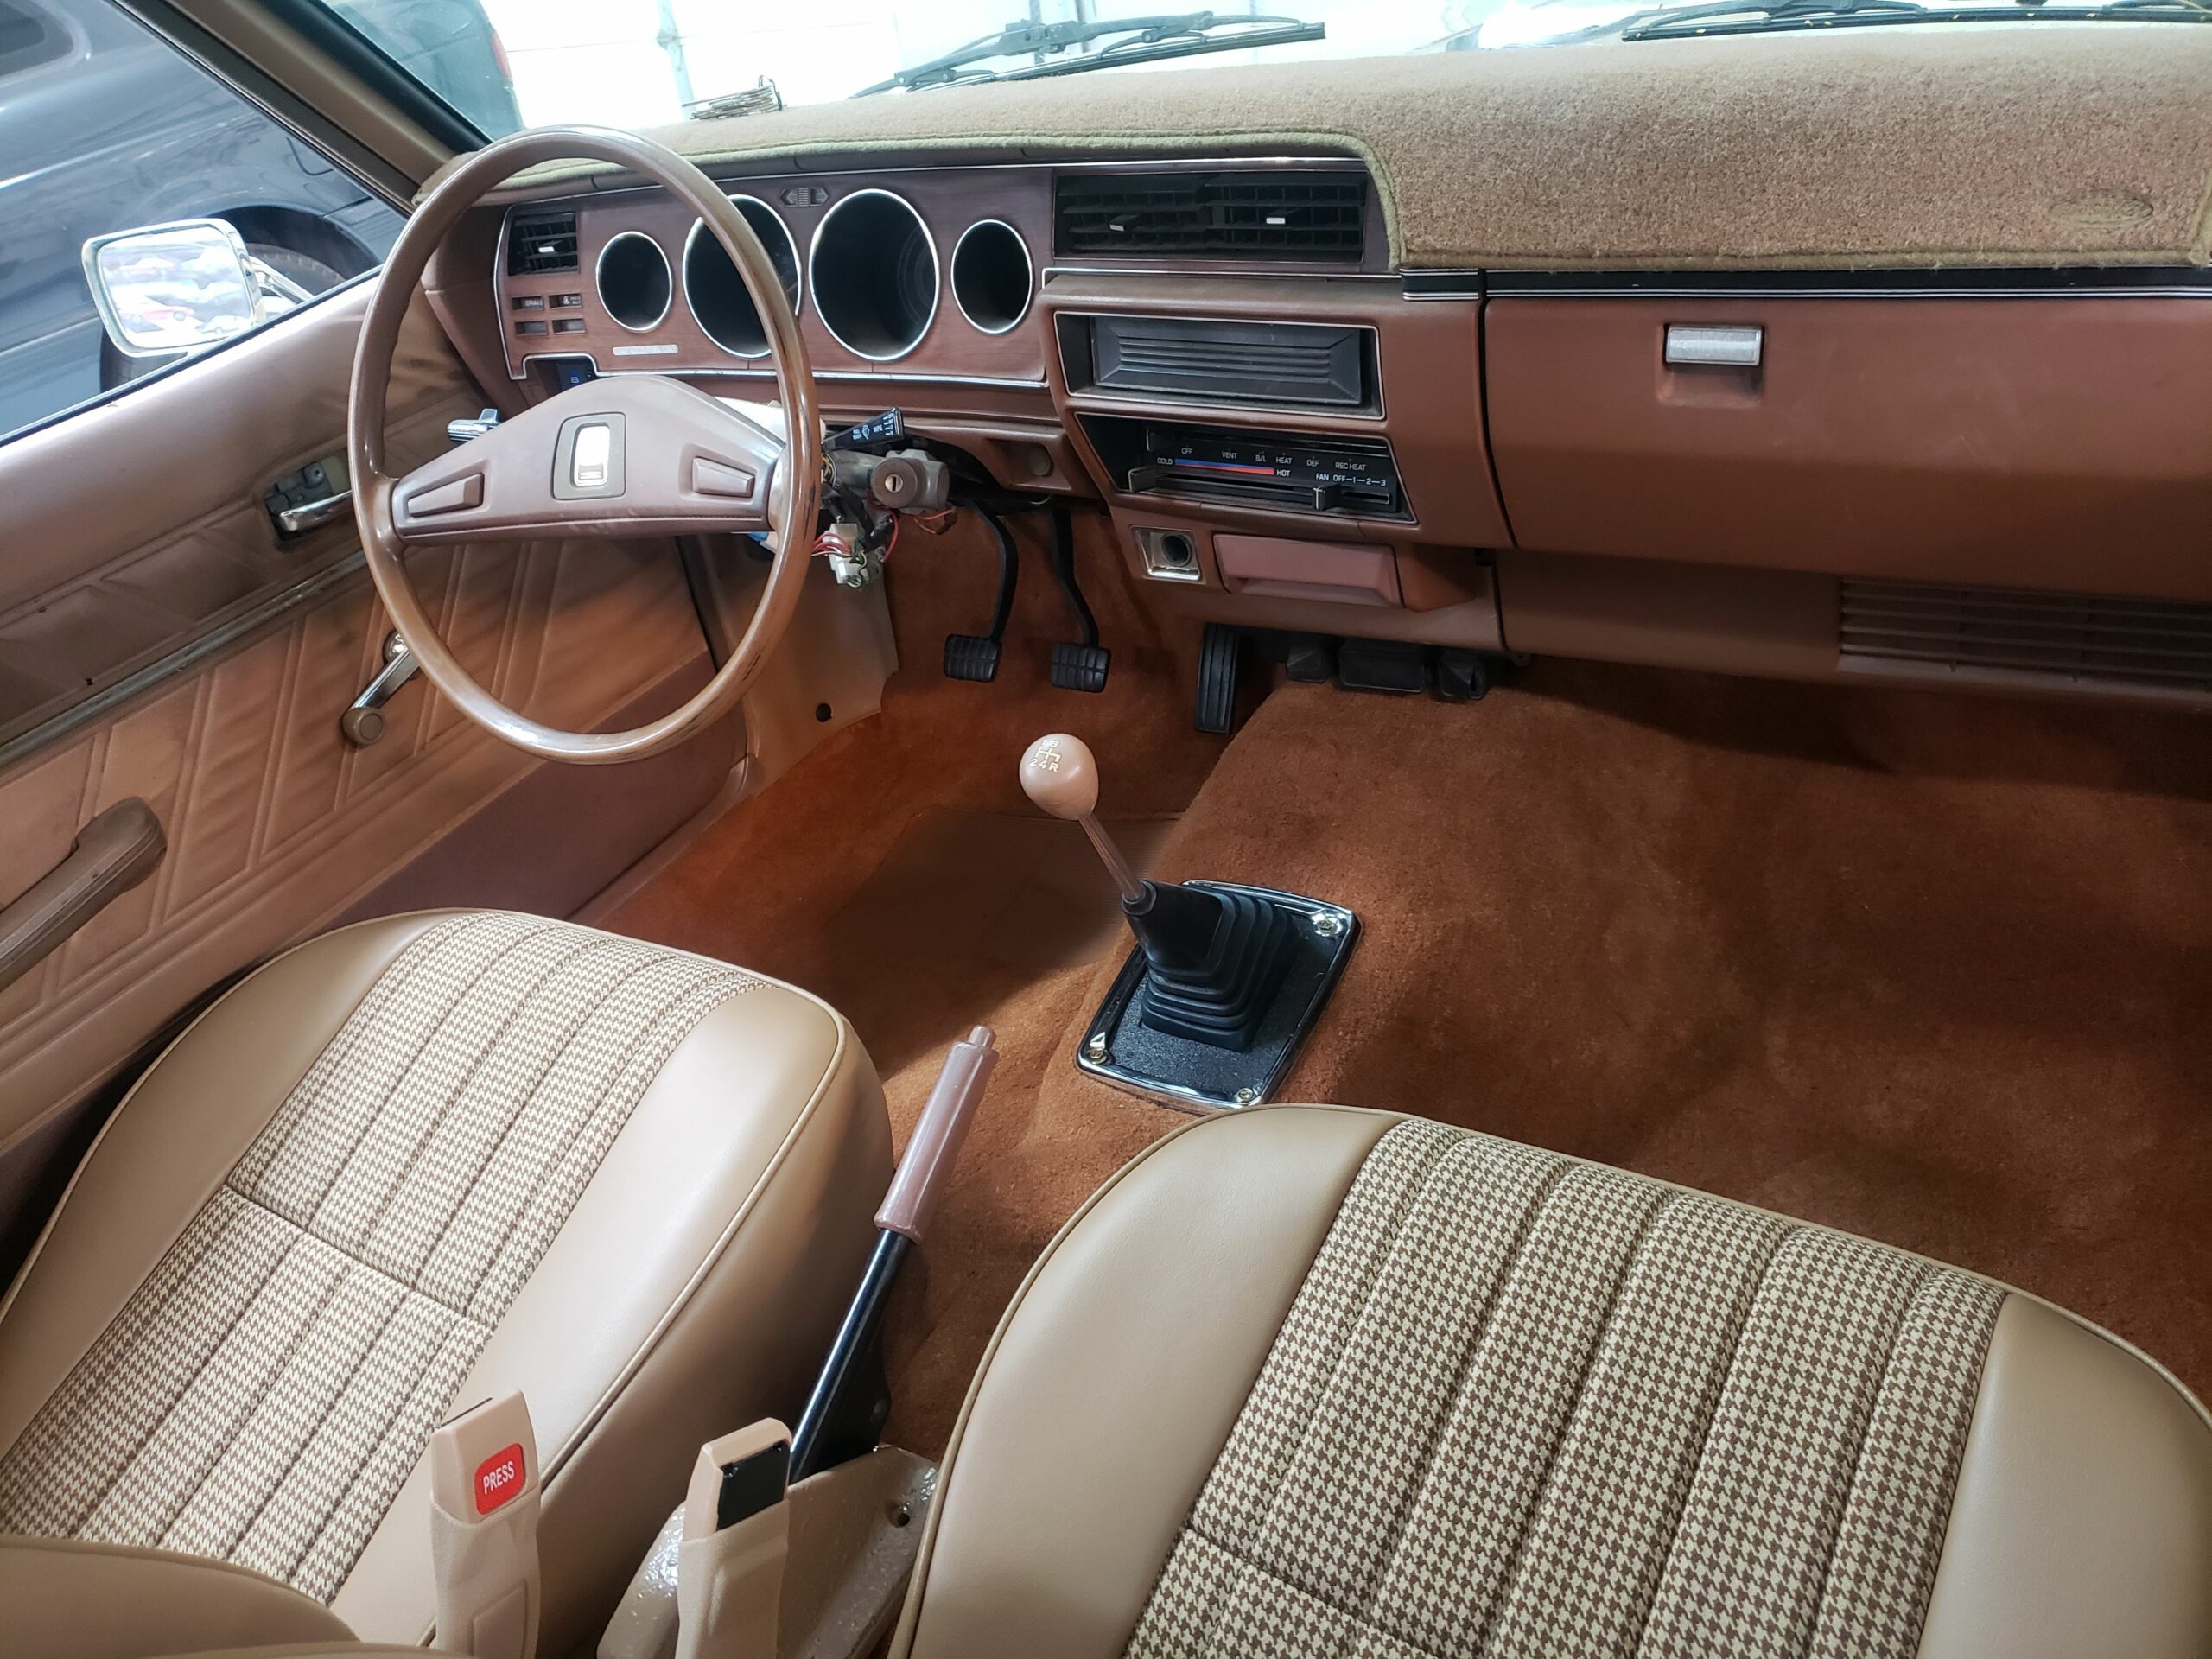
The only interior parts that didn’t get addressed were the clamshell on the steering column, the door panels, and the dash itself. The prior owner had installed a combo switch from a Nissan Hardbody, so the clamshell wouldn’t fit – so, back to my helper in Indonesia, who has one on the way to us. Door panels are hard to source, so I cleaned these up. At some point, I’ll let the upholstery shop try to replicate them, but for now, it’s functional. Same with the sun-cracked dash – I’ll keep an eye out for a nice one, but that’s a massive task for another day.
Almost done, right? Not quite. The stock steel wheels are awful, and really emphasized the “cheapness” of this car. I didn’t want to go nuts (remember, this is a budget refresh on a tight timeline). My great friend Patrick Smith from High Impact Motorsports in Las Vegas had a set of S130 Iron Cross Z wheels that needed refurbishing, so I made a quick day trip to go get those.
If you’ve never rehabbed a set of 70’s Datsun alloys, it’s a big endeavor. The clear finish they used back then was properly durable, and getting it off to polish the aluminum beneath was a BIG job. Three applications of aircraft stripper hadn’t achieved the goal… YUCK.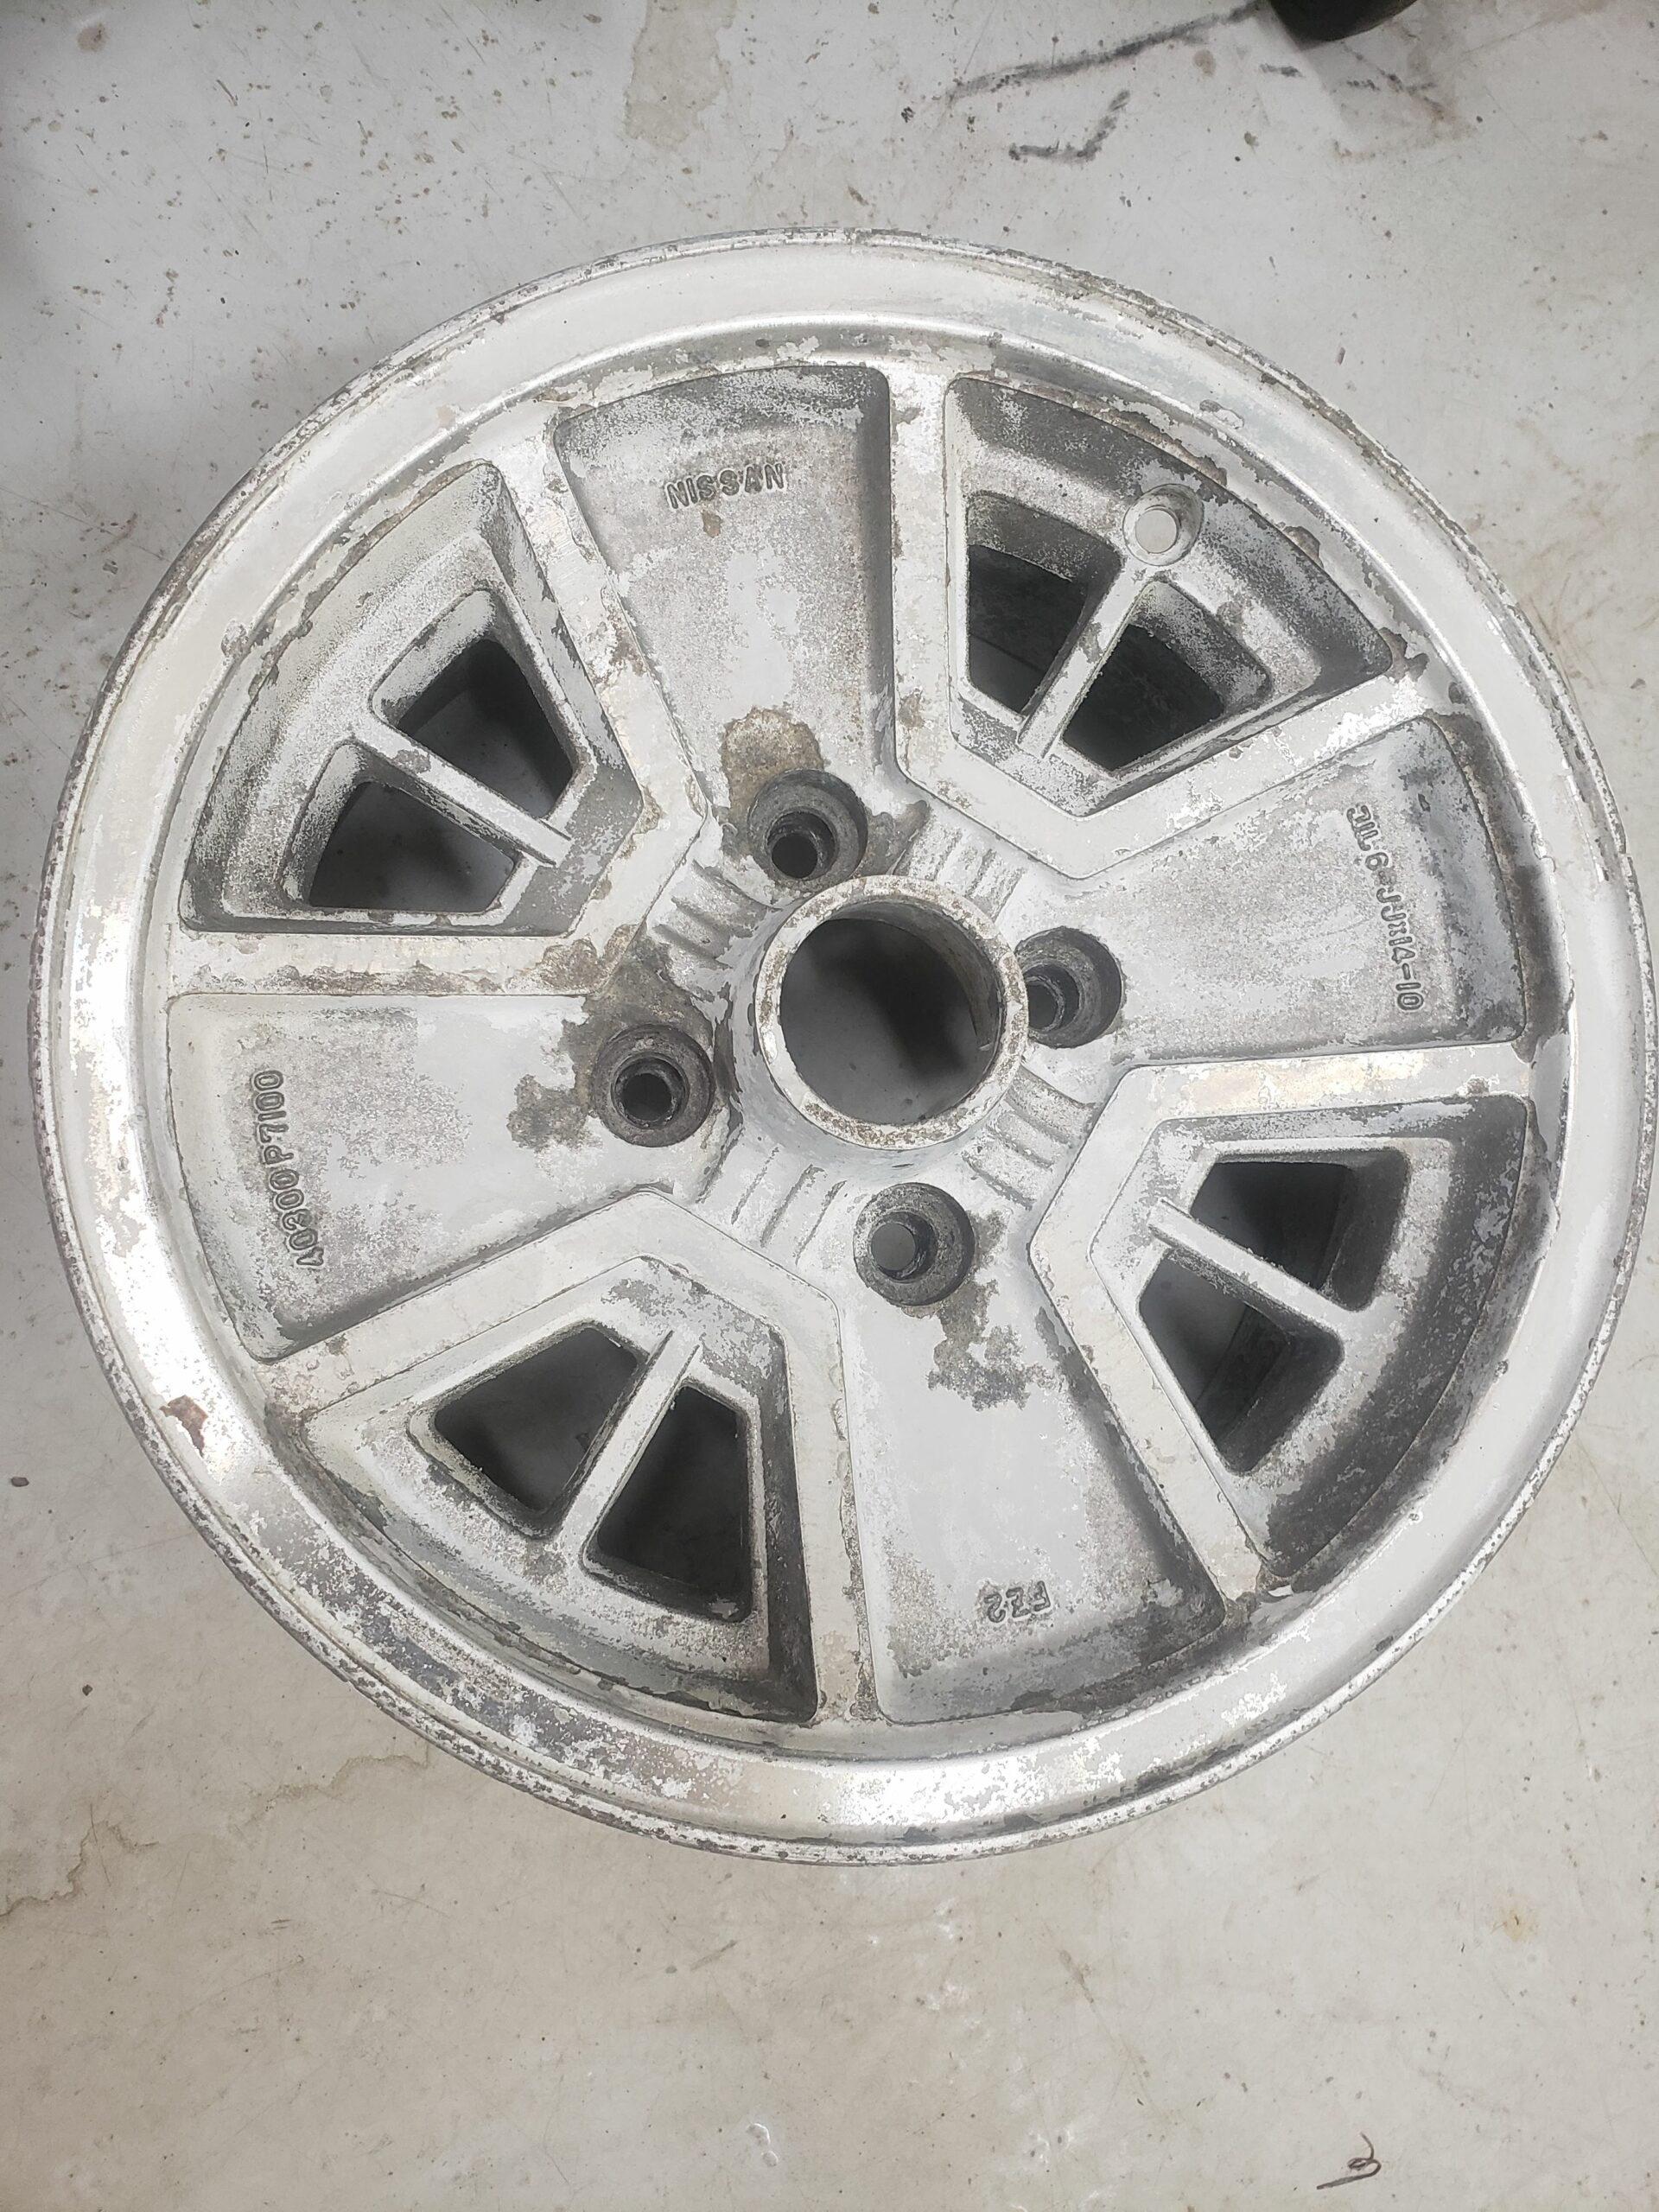
That’s OK – I have two media blasters, so here they are after coarse (coal slag) and fine (glass bead) blasting: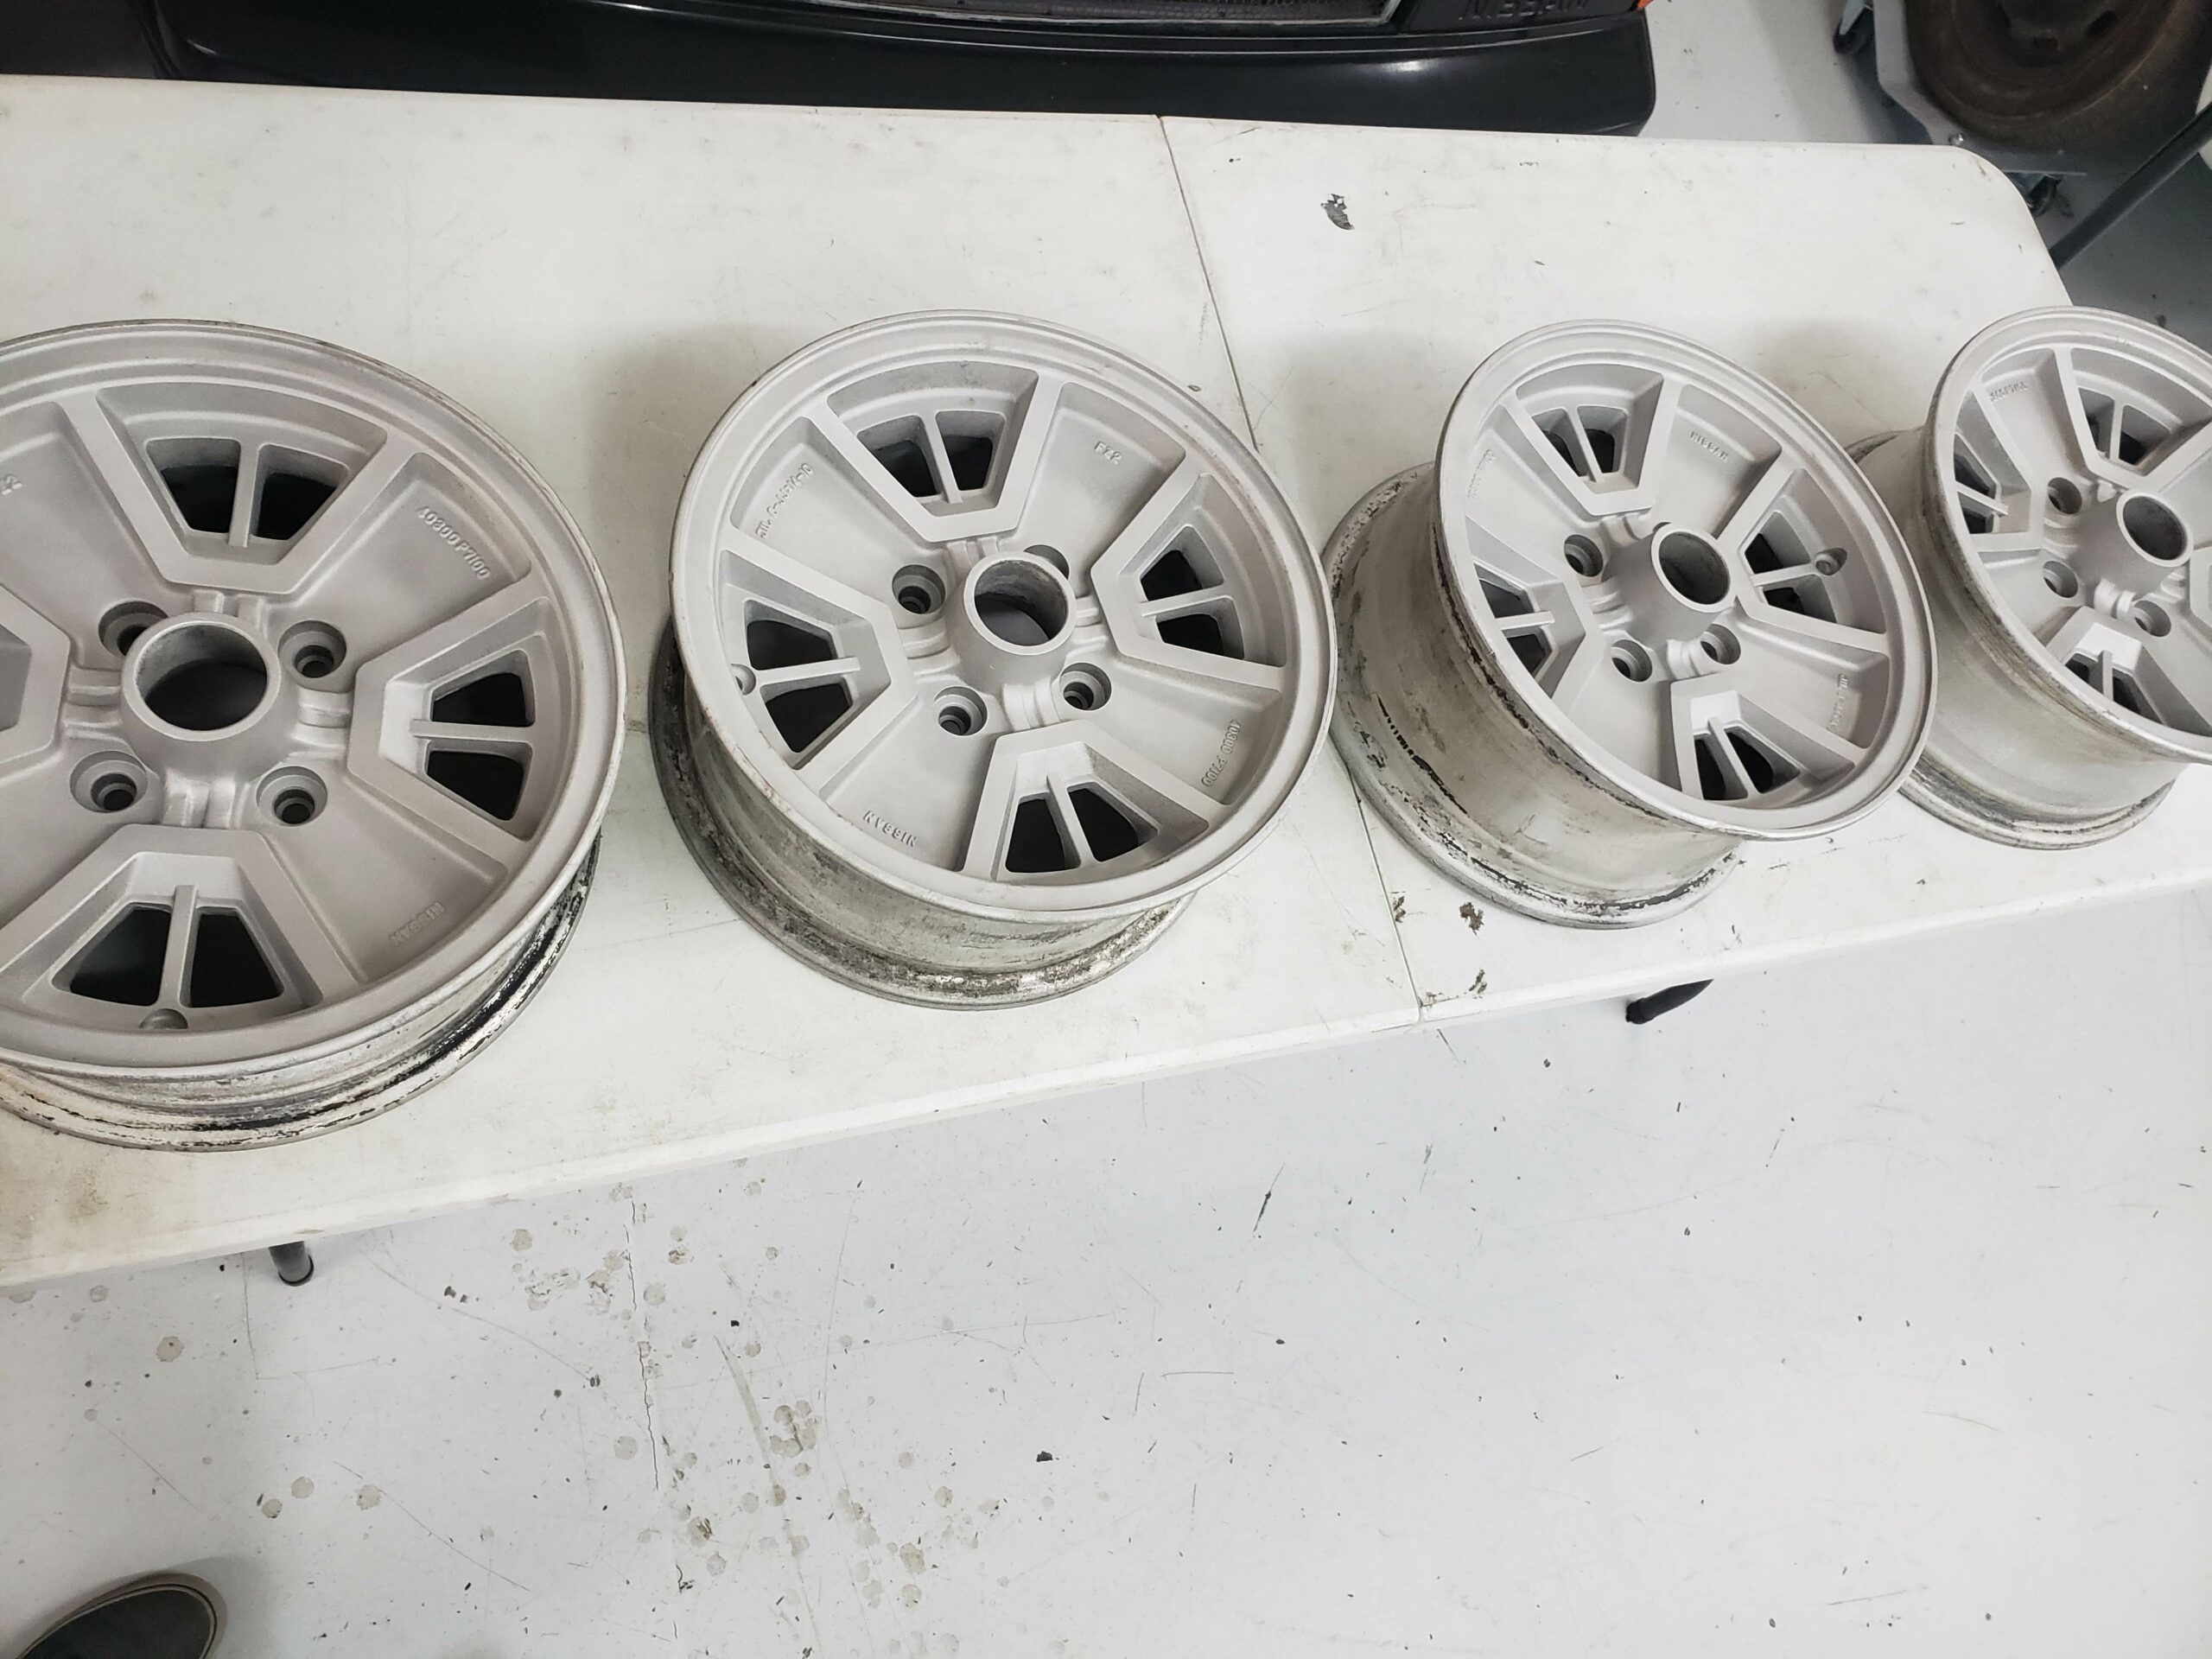
Polishing wheels is a task best left to a professional. Fortunately, I’m not terribly smart sometimes, and this was one of those times. Four days of wet sanding and polishing made a colossal mess in my shop, but they turned out pretty well. A final wash with Dawn and hot water, and I was ready to paint them. Here’s the finished result: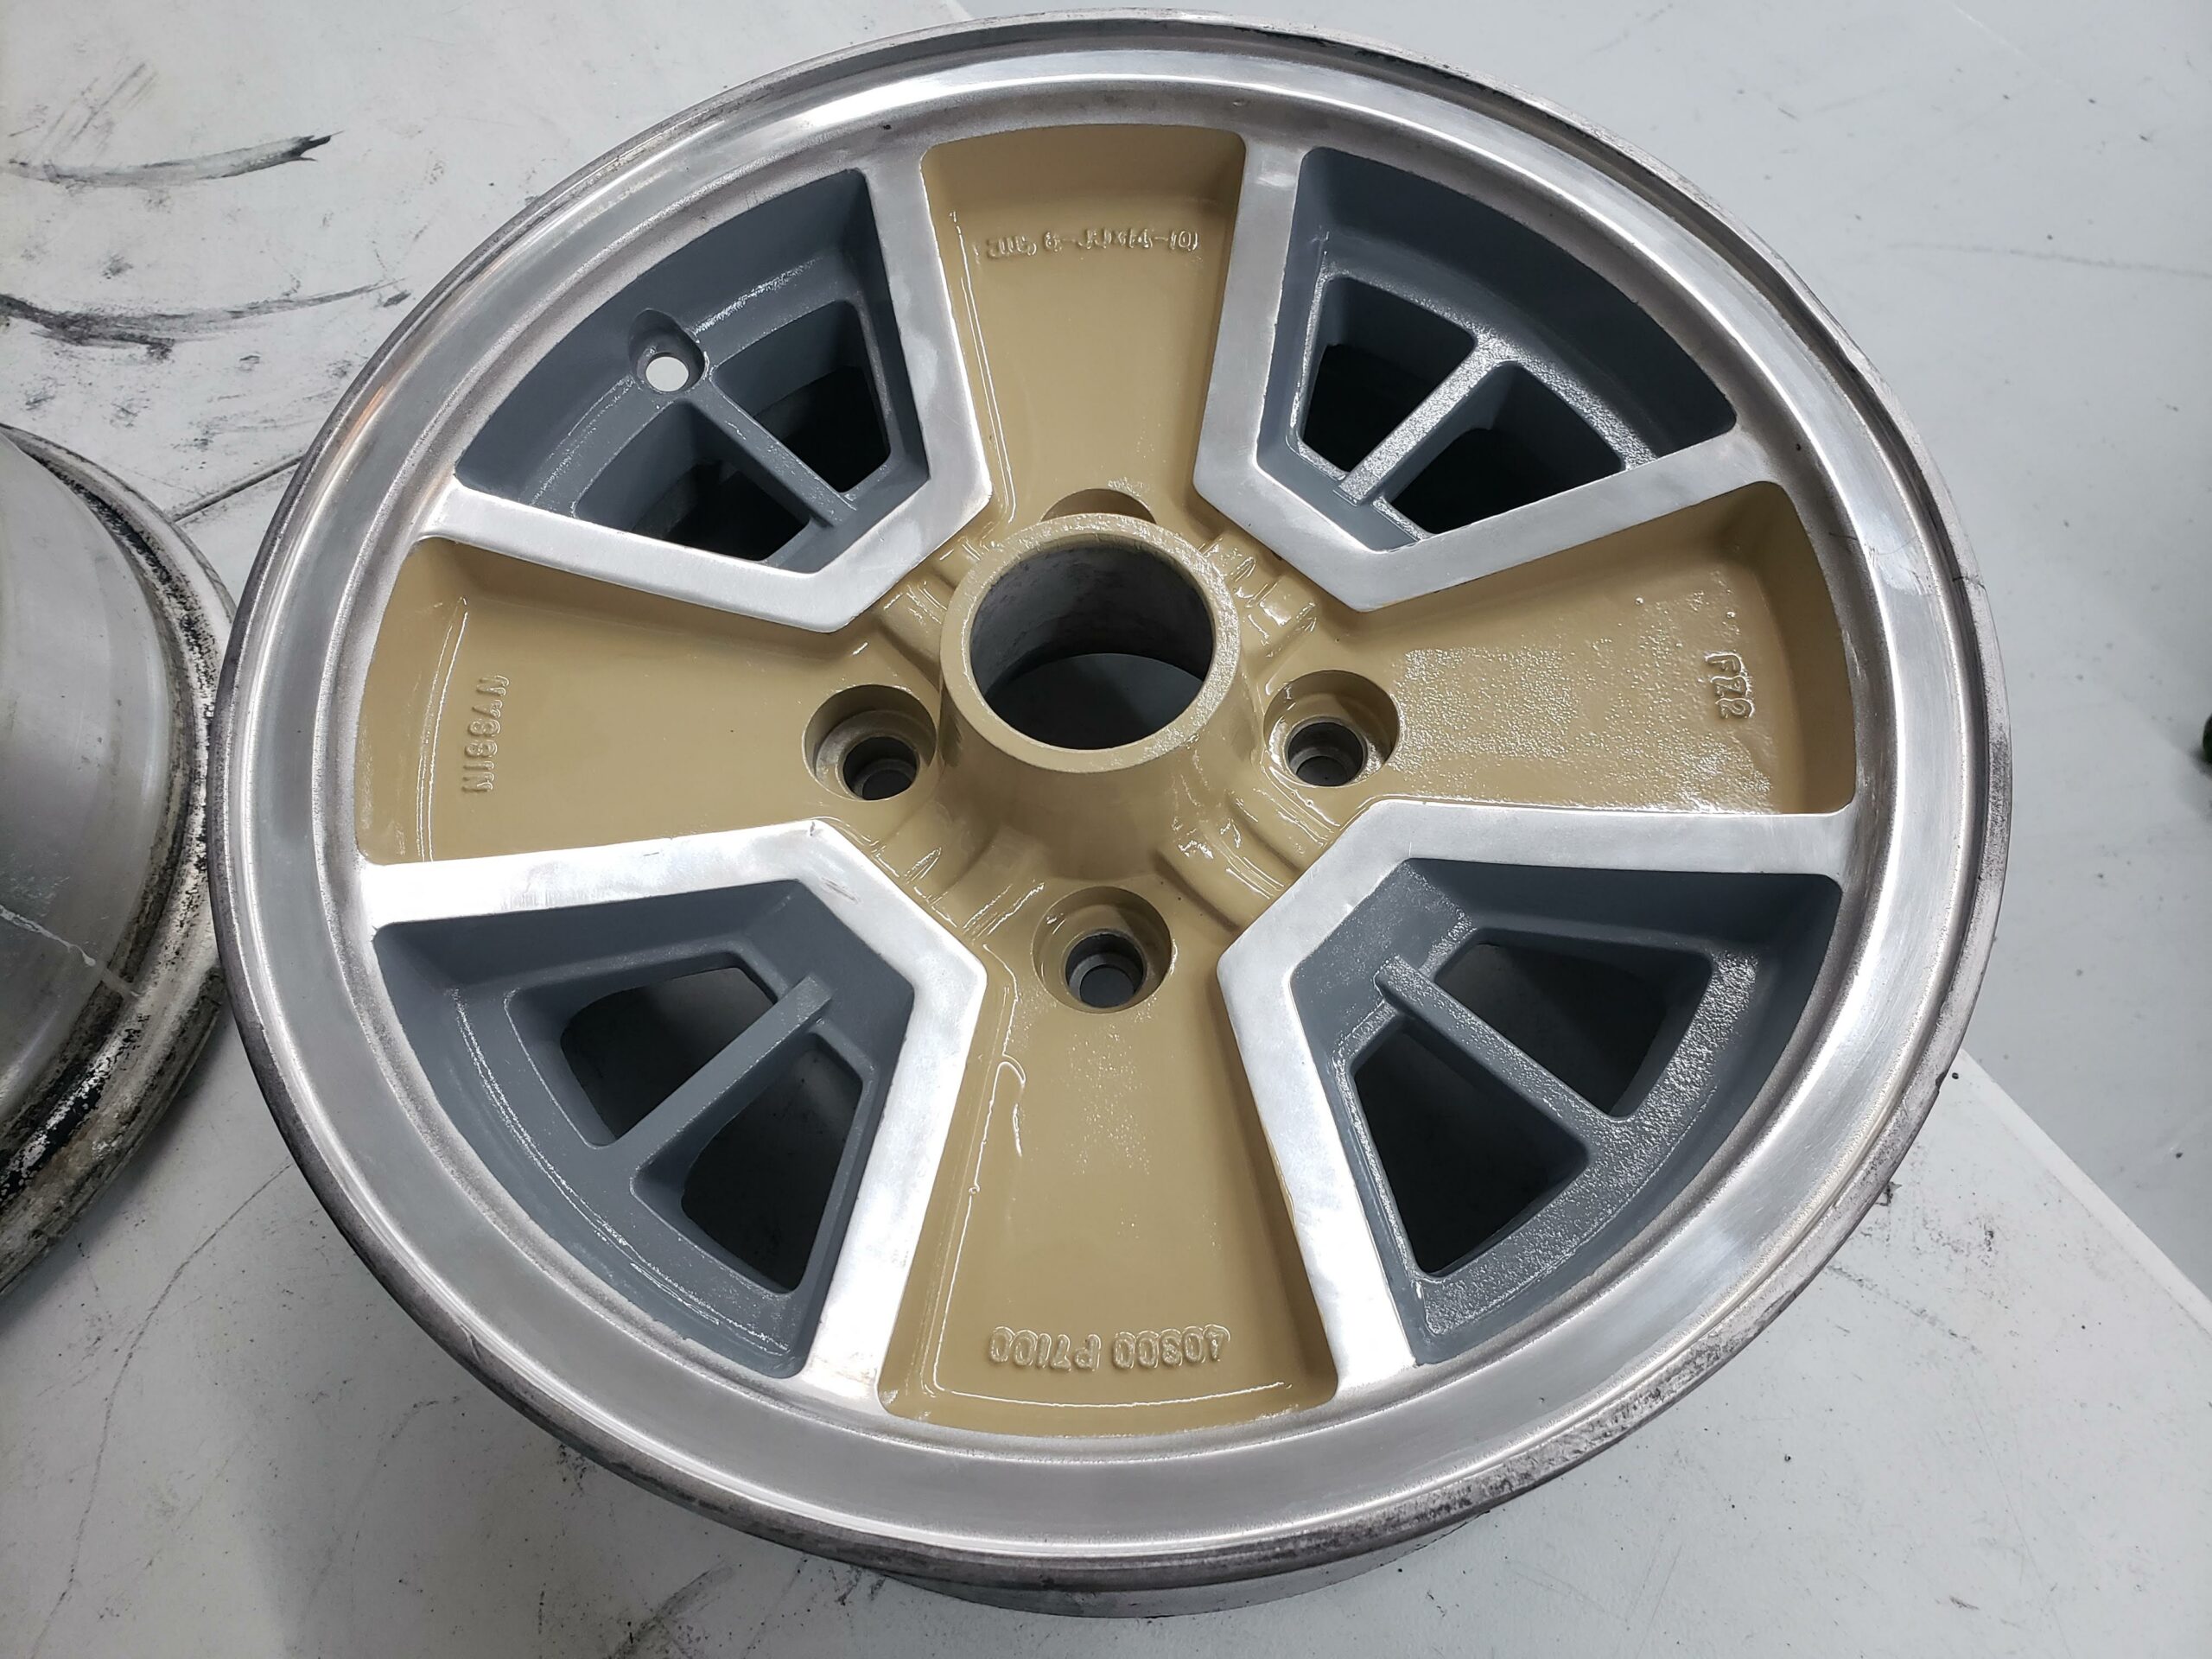
A fresh set of 185/65/14 tires finished these off nicely, and it’s now time to experiment with the paint. I wanted to retain the sunburned patina and character of the factory paint, and after a little trial and error, I found a product that would do the job. A bottle of Nu-Finish and my DA polisher actually perked up the finish without destroying the patina, and I couldn’t be happier with how it turned out – How COOL is this?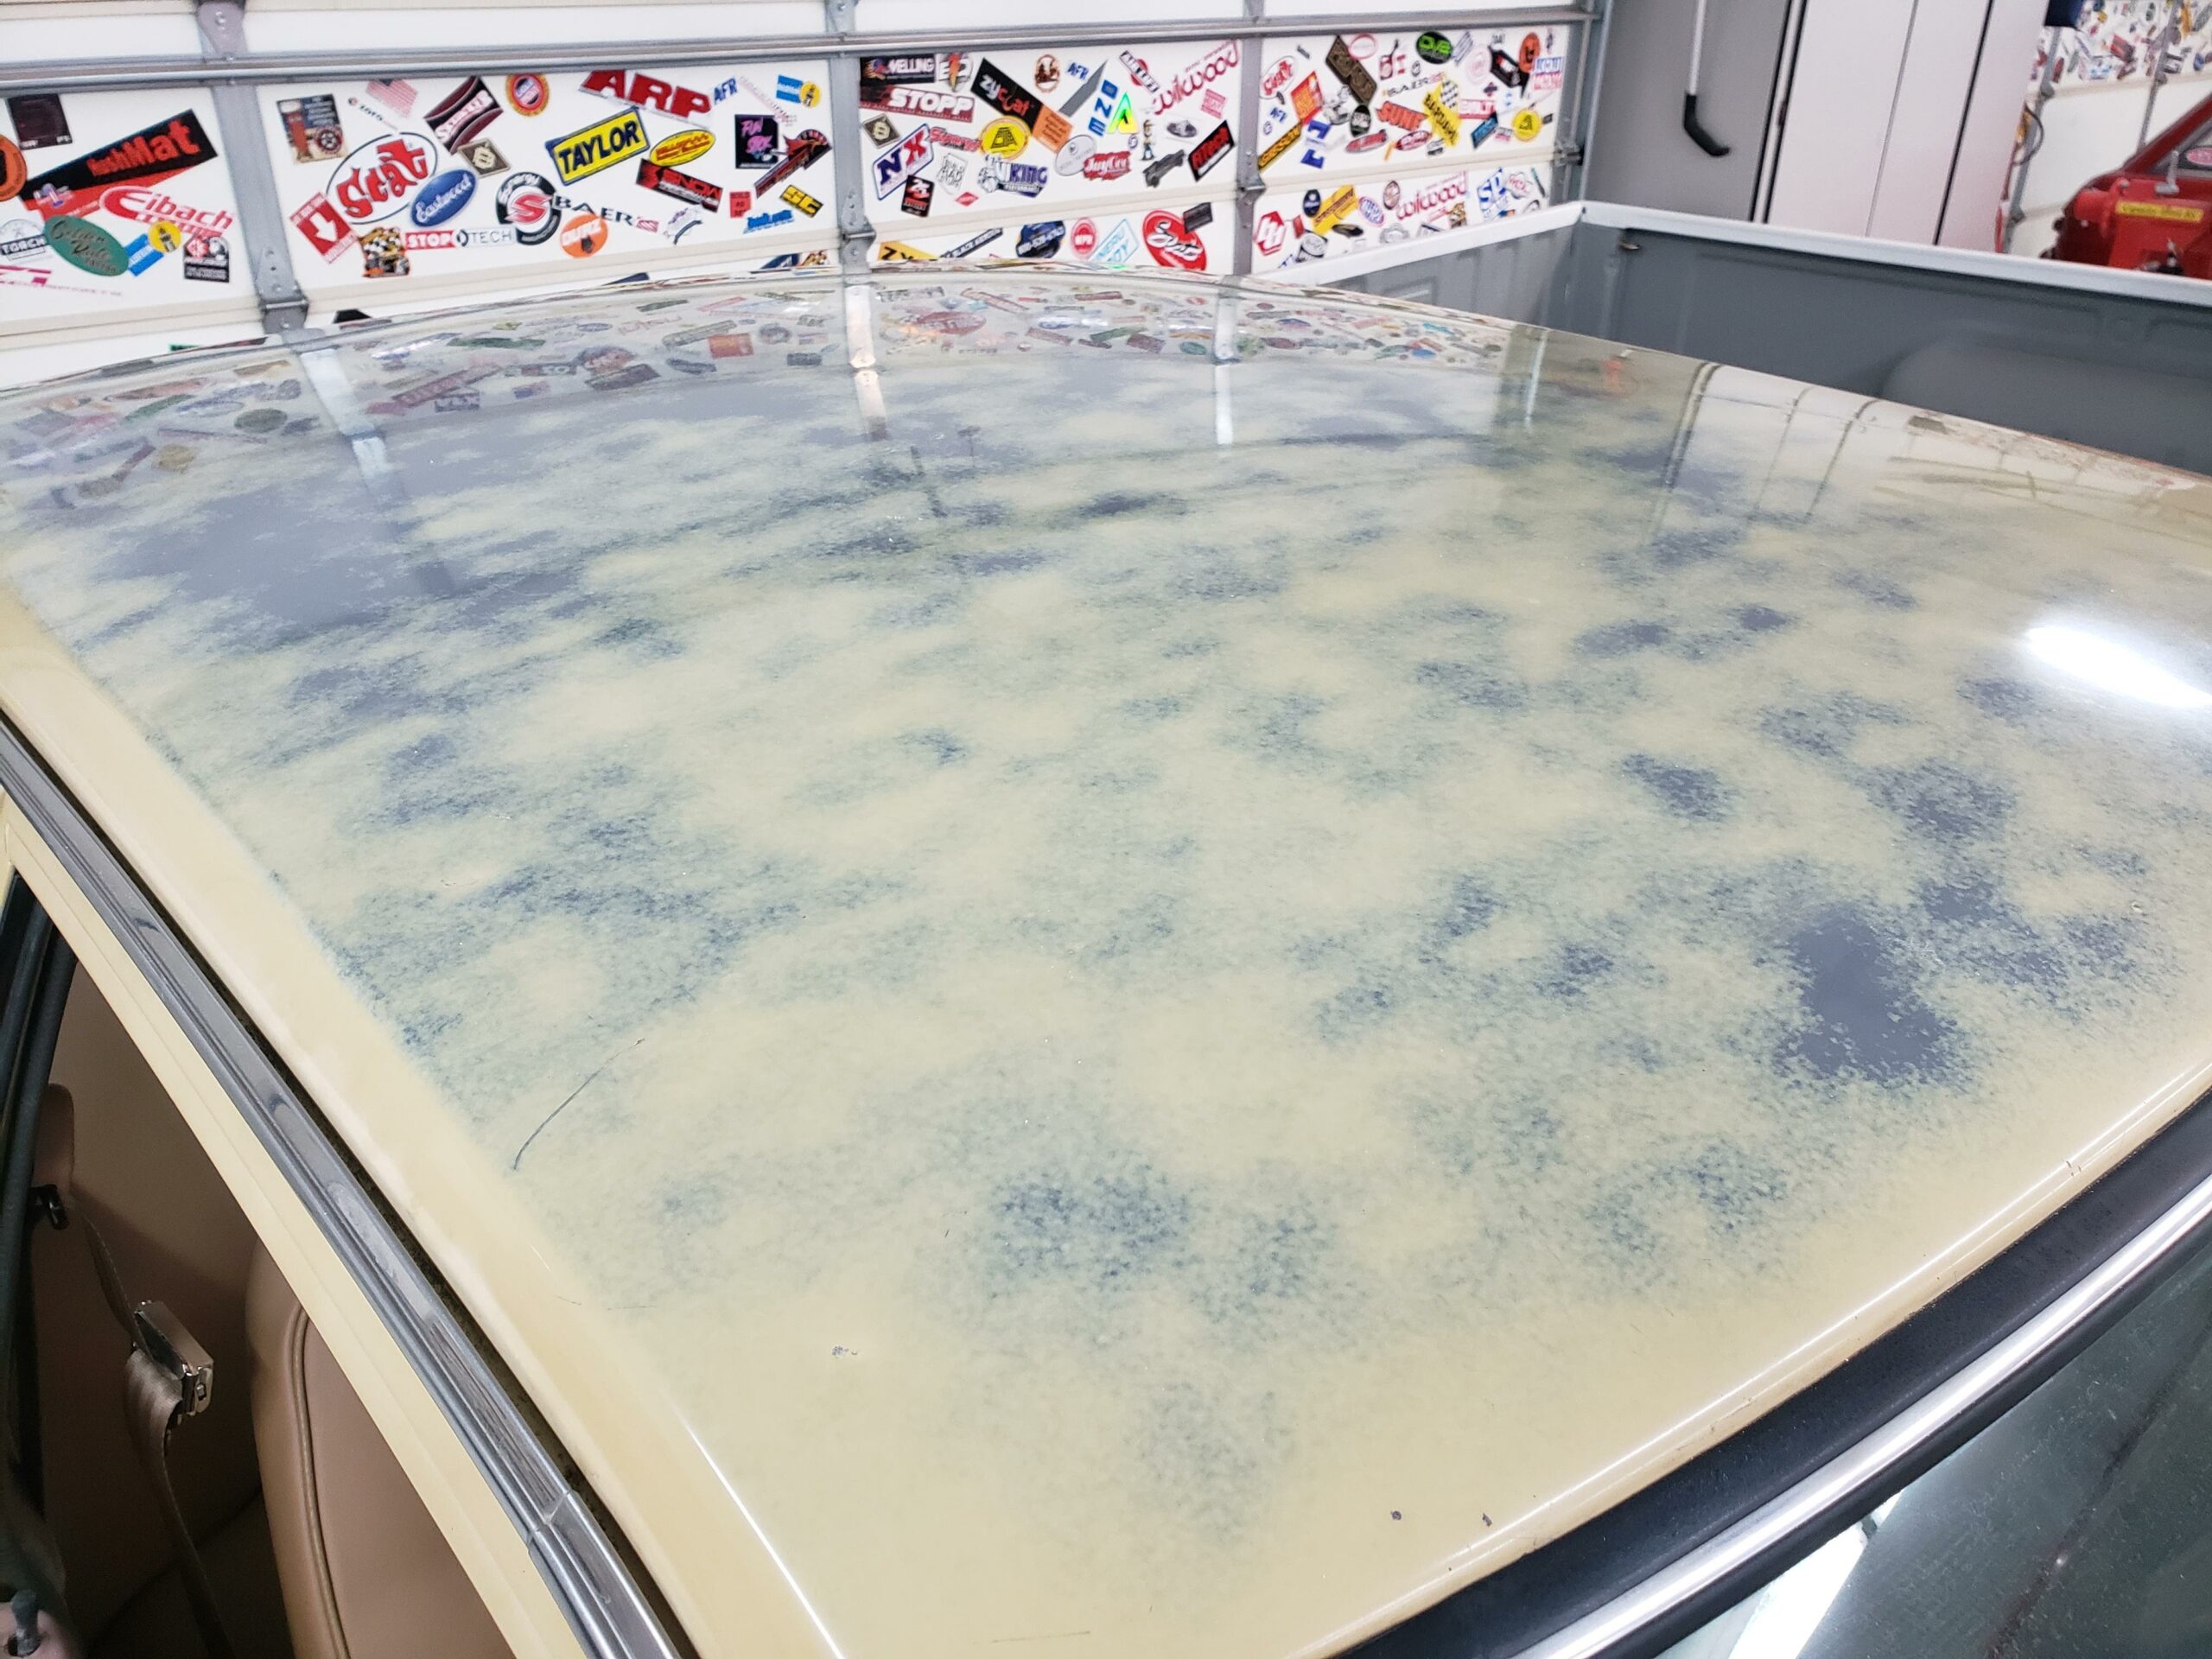
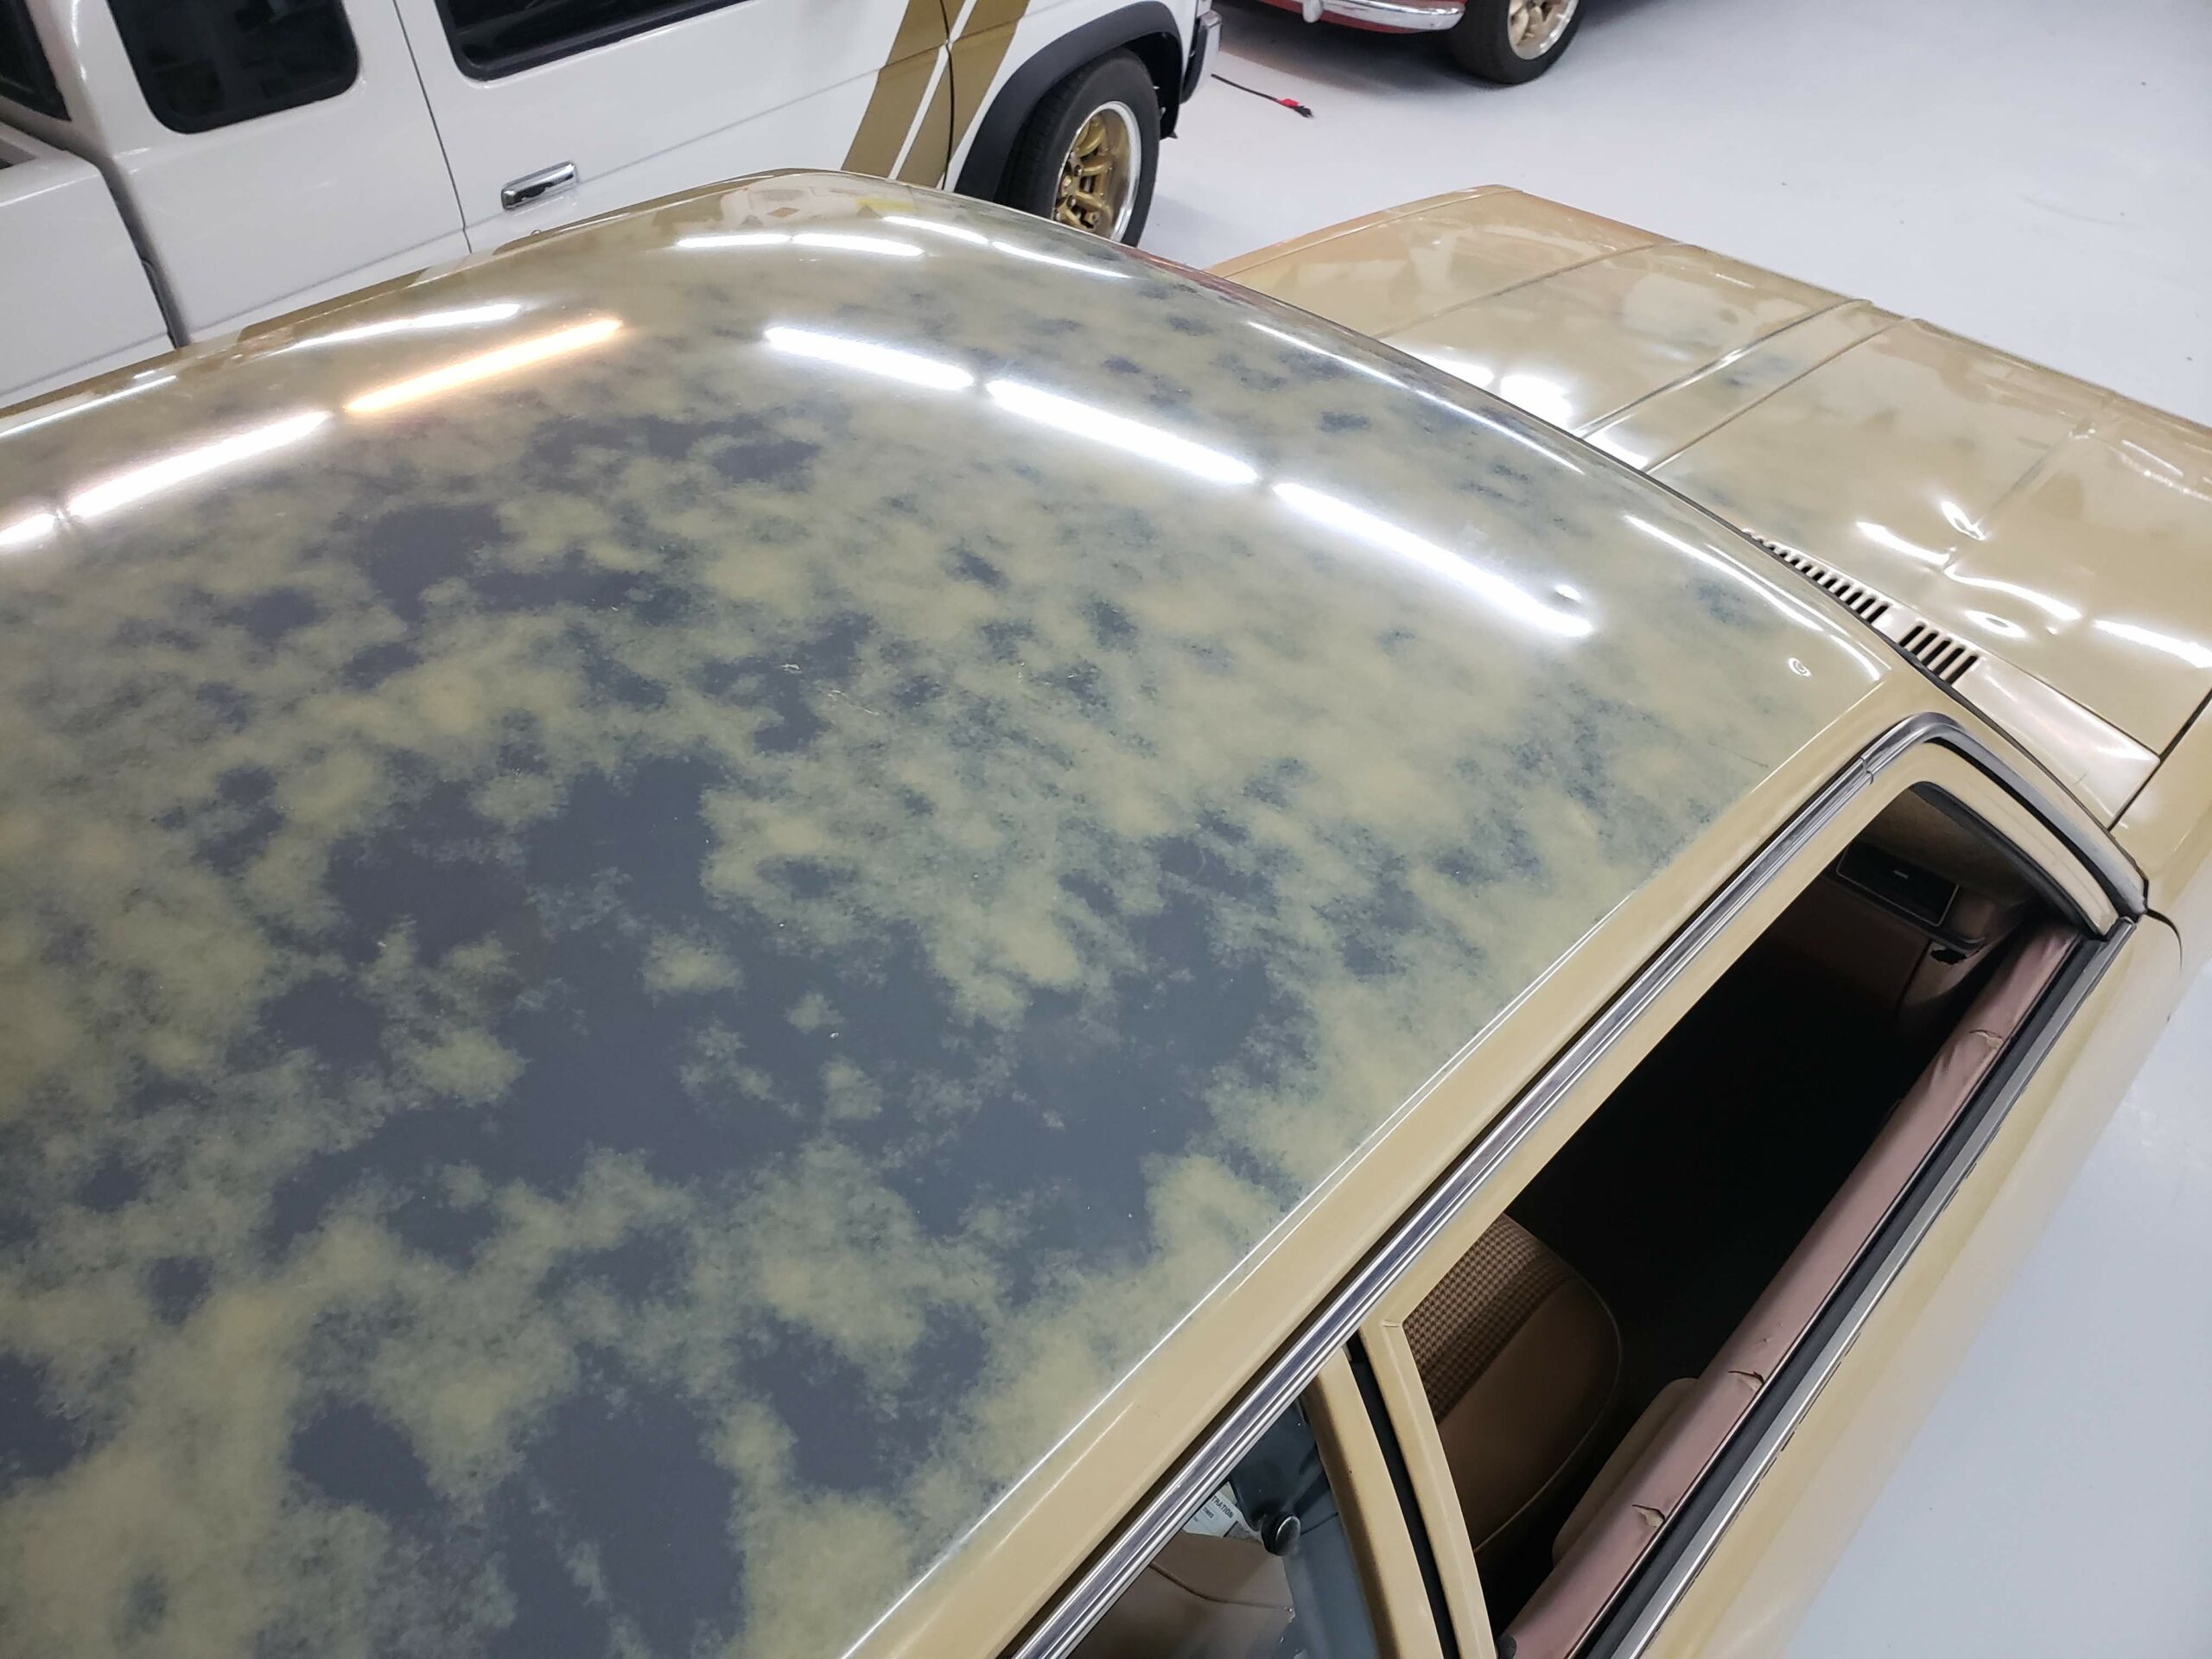
With only a couple days before the Route 66 JDM Classic, I had just enough time for a quick shakedown drive to the gas station… Mia the Dawg approves of the interior: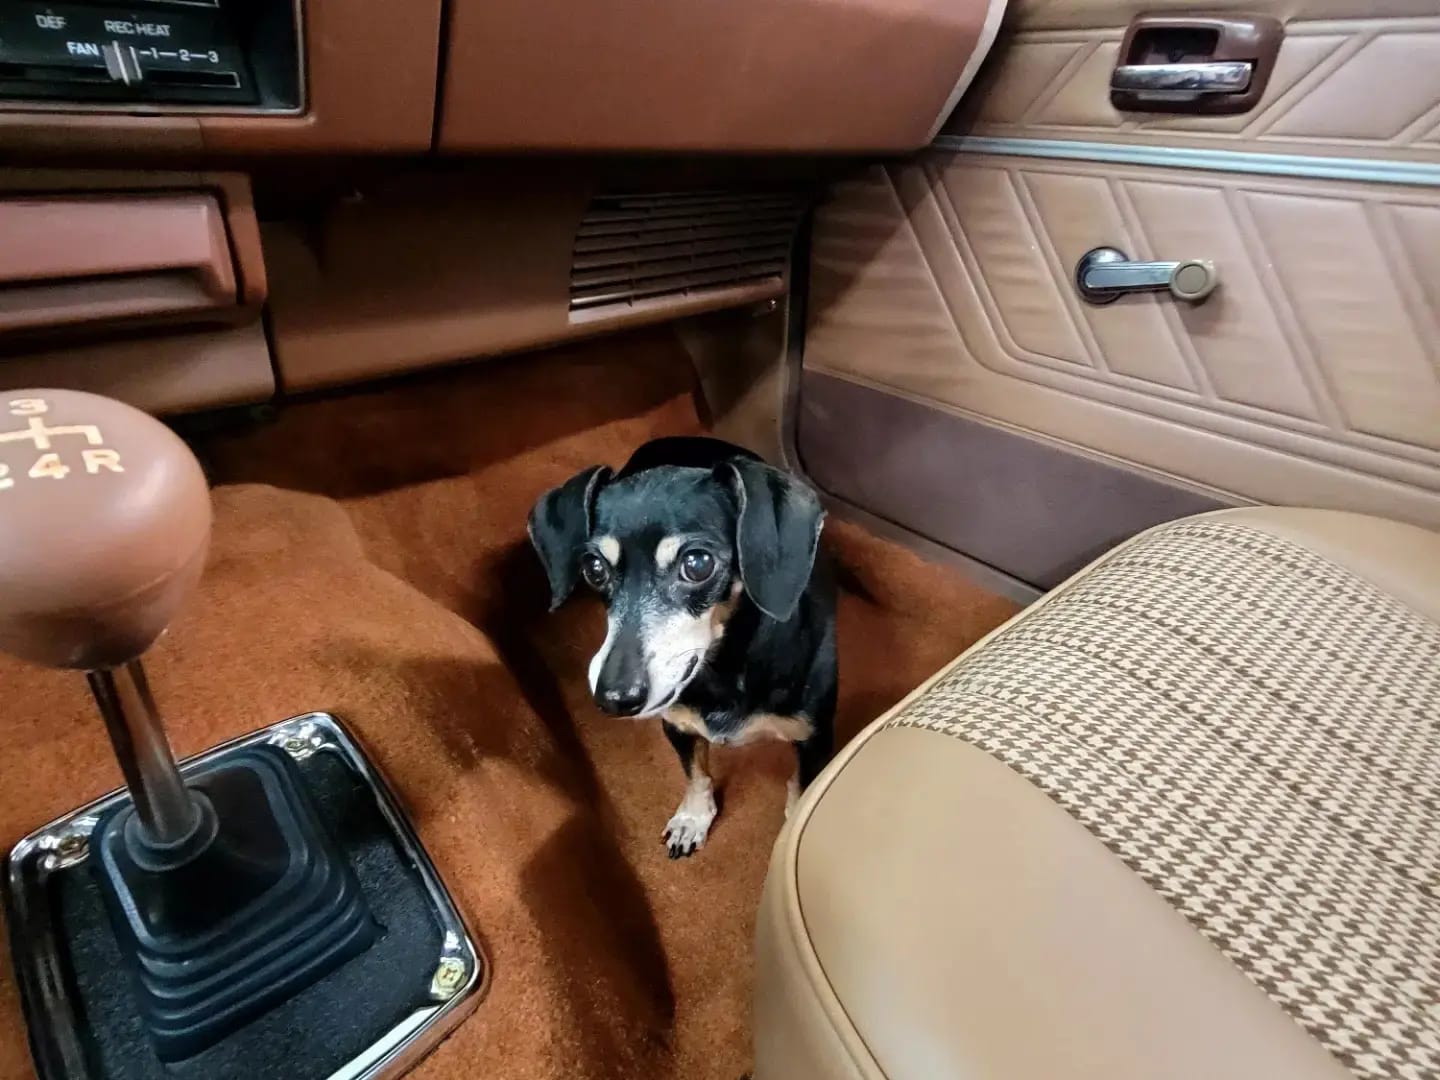
And, here she is on Route 66 for her very first car show – Mission Accomplished!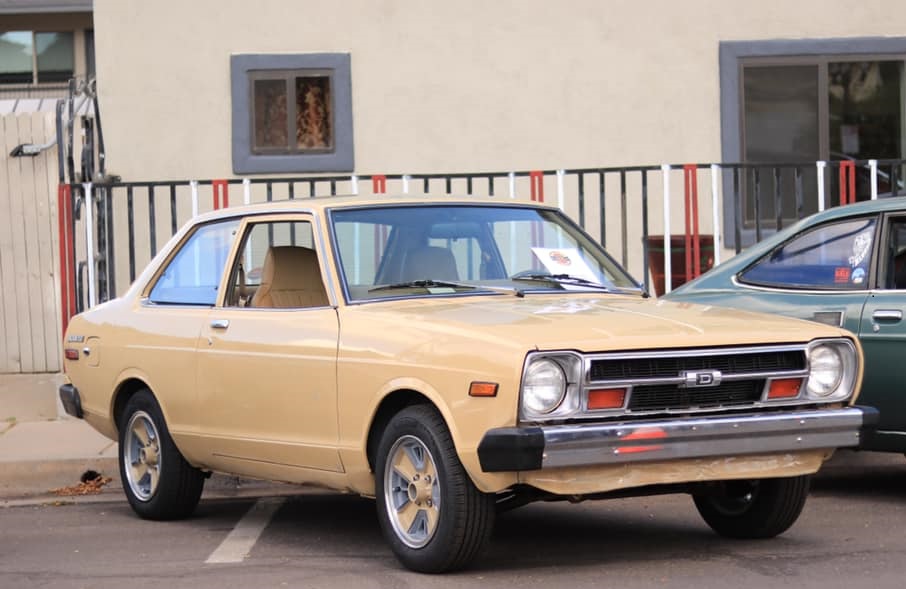
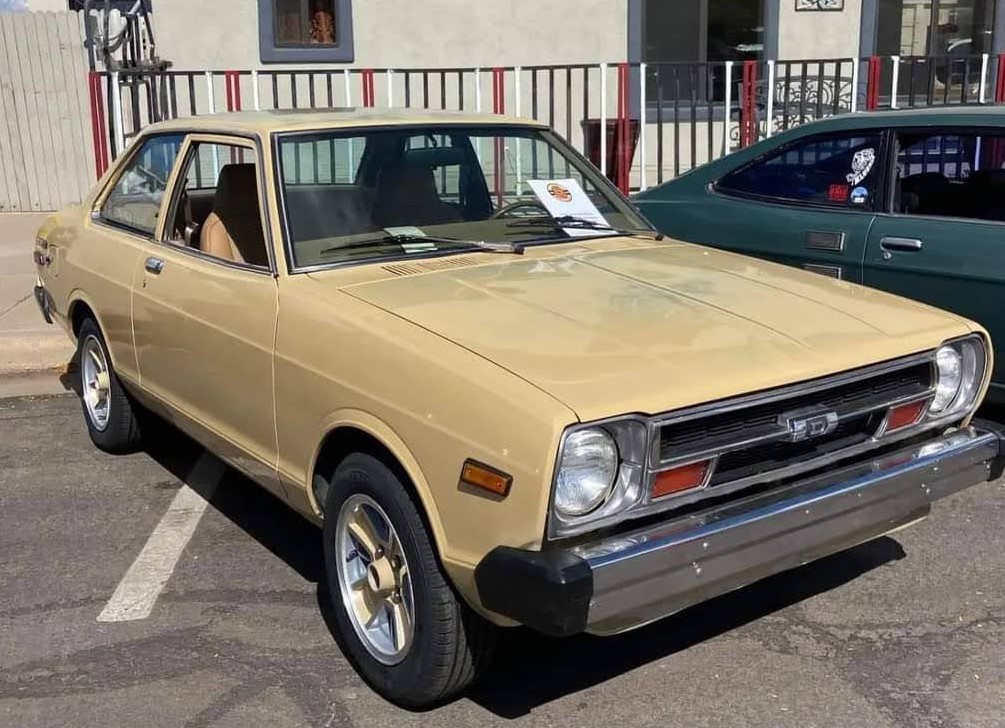
I hope you guys enjoyed this little writeup. We’ll be coming at you soon with another one, as time allows. Thanks for reading, and thanks to all of you who offered guidance, helped source parts, or just kept me motivated along the way. See you soon!