With all the effort in the mechanical components of late, we needed to take a break and address some of the interior needs. The original interior doors were cut up pretty badly from the previous owner. From the looks of it, they had a 6×9 speaker of some sort in the door, with tweeters high up on the door. I opted to go out and find new door cards, and with a kit from zcarsource, I was able to recover the new interior panels to like new status.
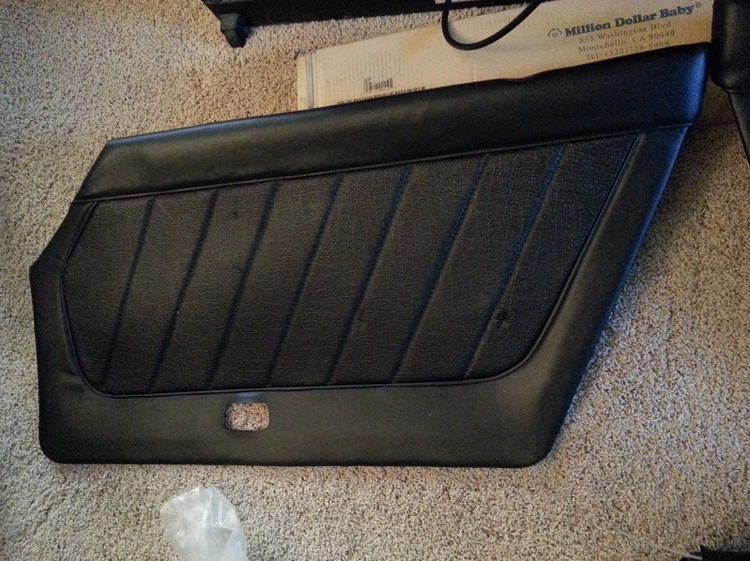
There was a problem however… My 280Z wasnt just a 280Z, it was an extremely early model. This was a hard lesson for me to learn as I was trying not to spend money twice. The door card would not fit because of the lock placement. Do I drill a hole, or preserve this work and sell it? I opted for the second option.
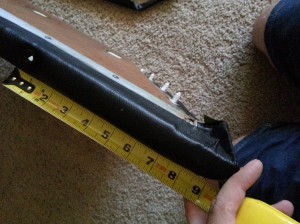
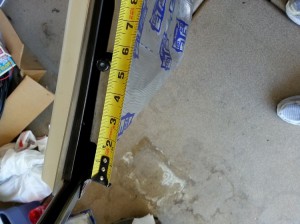
I sourced new door cards, and bought another kit to redo the door cards after selling the others. However, they were in pretty good condition. Due to so many things going on, I just put those door cards on, and haven’t recovered them yet. This would become the first of many small issues leading to some major headaches in some other areas of this build.
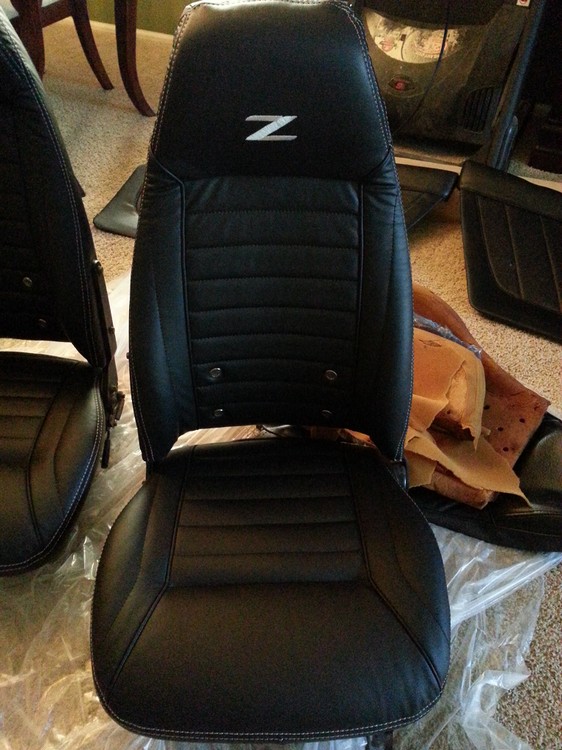
The seats turned out awesome in my opinion. I bought a leather kit from one of our sponsors here, Interior Innovations. The deal included free embroidery, as well as any color stitching you wanted. I bought 240Z foam inserts from the z store, and wrangled with the seats until I gave up. I decided to have the pros handle it and went to a shop to have them do it. I don’t think I could have done it any better.
As you can see the passenger side rocker panel was totally destroyed. A new one would need to be put into place no doubt about it.
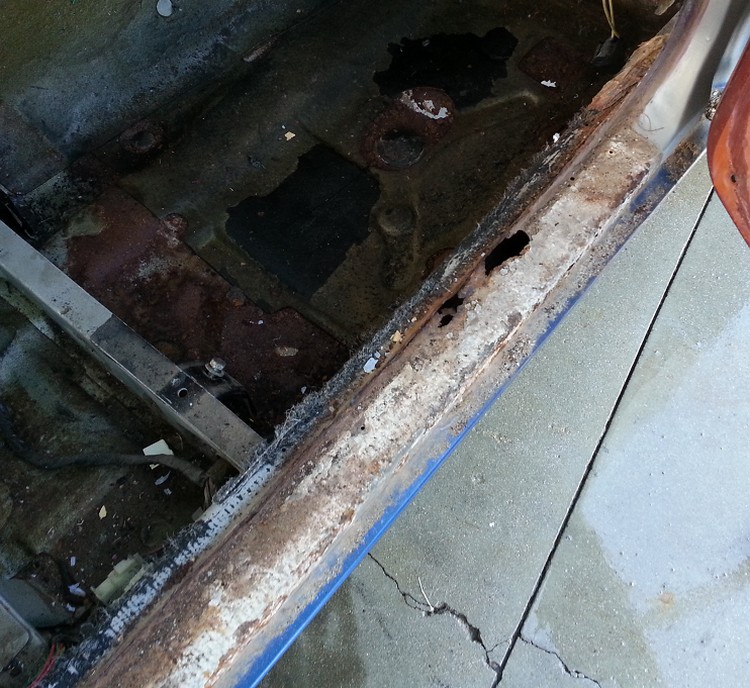
This is one part of the project I hope to never do again. But I learned so much during this experience, it’s invaluable now. I never knew how these cars were pieced together. It was interesting seeing how this car all goes together with the various pieces. Basically there are spot welds about every inch or so. You use a special drill bit that drills out around the weld. You do this all the way around, and then beat the panel until it comes off. You then grind down all the existing spot welds, and punch the new part every inch or so. Fit it into place, and then spot weld it back in. I followed up with seam sealer and hammered down the edges around it to create a clean fresh look. The seam sealer filled in any gaps between the metal and created a sealed finish on the part. It was then sprayed with a chemical to protect it from future rust, as well as painted. Interesting enough, when this was put in, it also fixed the passenger side door which had some fitment issues no one could fix.
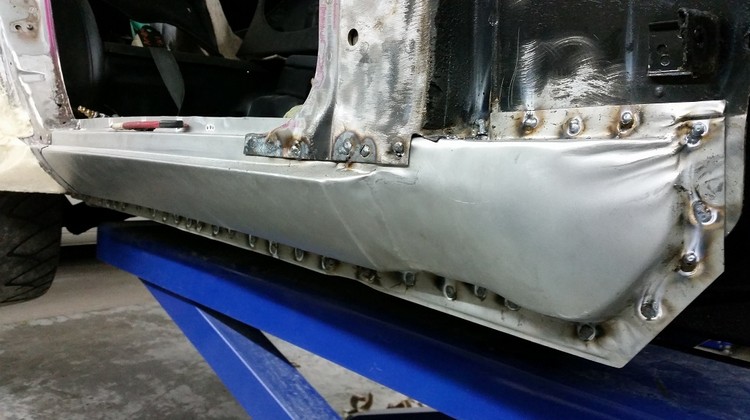
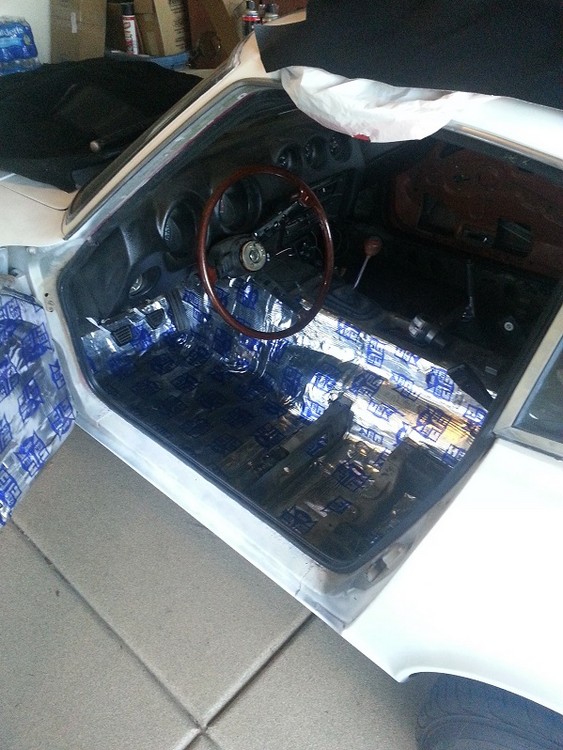
Based off the passenger side damage from rust, I patched a few holes in the floor pan rather than replacing both sides. Thinking about it now, I should have, but it should be fine for a long time. Floors were prepped, treated and then I covered the entire floor and doors with sound deadening / heat-blocking insulation.
The dash was freshened with a new full face dash cap. I wanted the vintage look, so I kept the original wood grain steering wheel. It is quite thin compared to normal steering wheels. A new center console was also sourced.
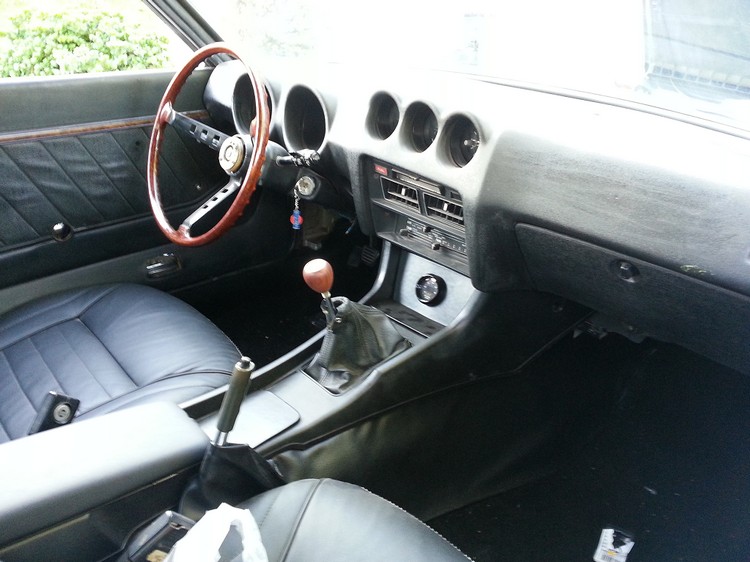
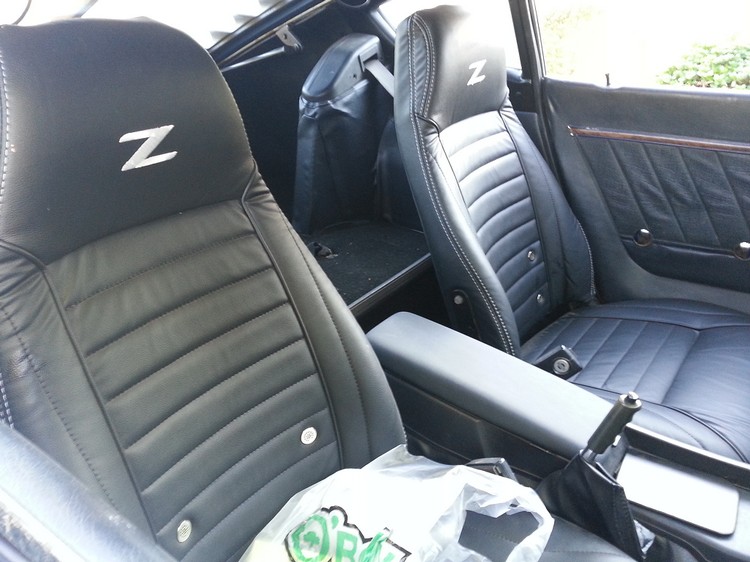
With the bulk of the interior work completed for now, it was time to dig back into the mechanical bits…
Stay tuned – Up next, the Banzai Runner gets a 5-speed!
Questions about this build? Comments? Discussion here: Widebody 280Z discussion