Eleven episodes into the build series, and you’re still here? Well, that’s awesome – if you can stick around to read, I can stick around to finish the project.
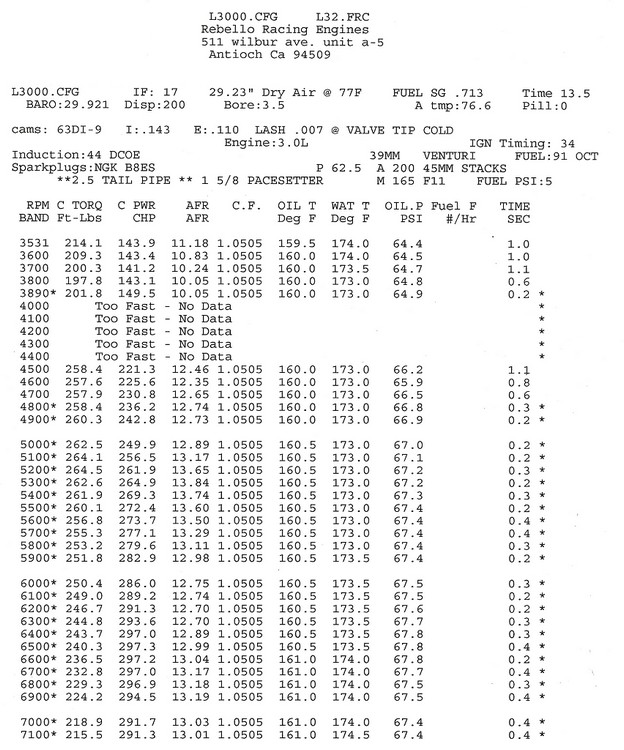
Another couple months passed, and after a few payments to Dave at Rebello I had my engine back! 89mm bore, with cast pistons and a pin height of 35.5mm, L20 rods, and a machined 280z crank to create a 3.0L engine. Compression ratio is around 10:1 because of the shaved P90 head, if not a bit higher I believe. It has his 63DI-9 cam in the head with a .480/280 lift and duration.
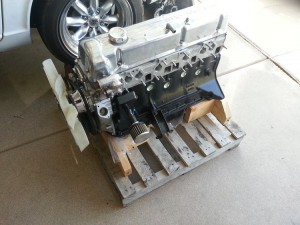
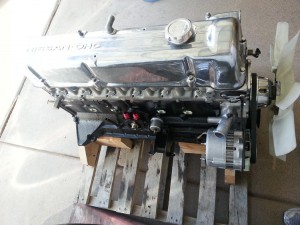
I’m sure you noticed the electric water pump is gone as well. I found out the water pump wasn’t shielded. When the car turned on, the EMF screwed up with the crank angle sensor pickup, causing it to read incorrectly. If I pulled the fuse on the water pump it would start up immediately (when there weren’t other issues). The generic fans were not cutting it either in the Arizona heat during a few small drives. So I opted to go back to old standby. The alternator was upgraded to an 80 amp as well – not that I needed it, but I wanted the external voltage regulator gone. It basically became a 2 wire setup, ground and battery.
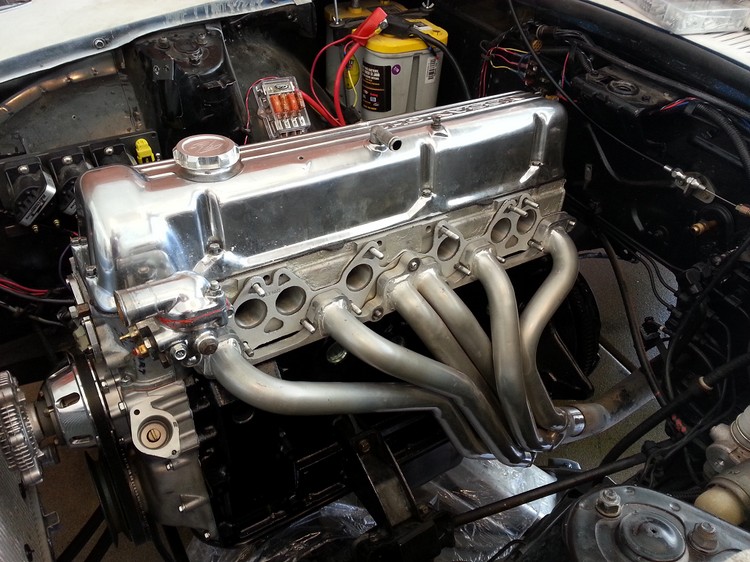
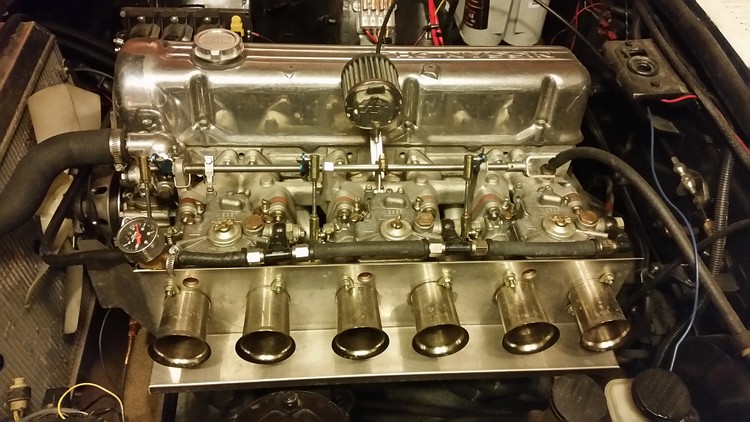
So while the engine was out, I came across a smoking deal I couldn’t pass up. A brand new Kameari intake manifold. I absolutely loathed the Cannon intake linkage setup, but I love the return spring at the end of the throttle bar. It’s adjustable and very heavy duty. It can be cable driven or use the stock pedal linkage. I opted to go with a cable, which is a lot more sensitive than the stock linkage. The body has all the same modifications Dave did on the Cannon, and it has shorter runners. The Kameari intake had to be modified slightly to fit around the MSA header flange. I bought an aluminum bit for my drill and massaged out the areas on the intake to make it play nice with the MSA header.
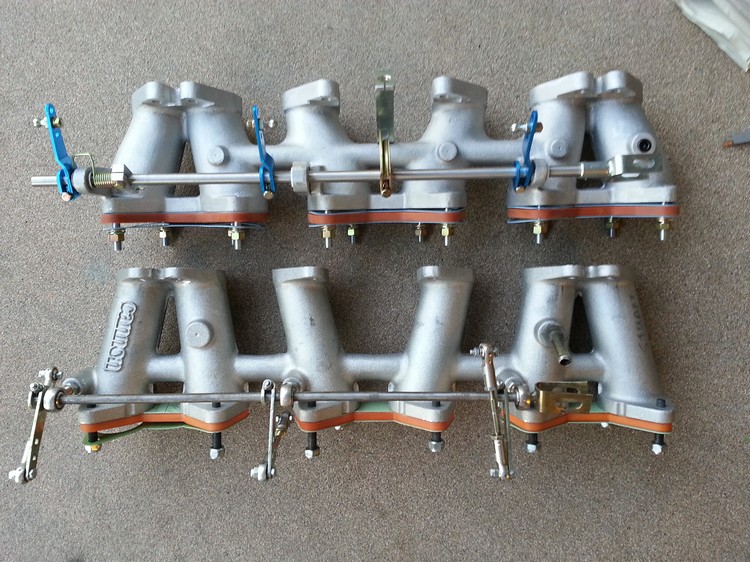
The orange hard plastic/rubber things you see are phenolic thermal insulating spacers. They stop the heat transfer of the engine through the metal to the carbs. You can literally touch the carbs after driving without burning your hand, while you can barely touch one of the throttle arms because it’s so hot. They work EXTREMELY well! Unfortunately I have found no one in the US that sells them. They are relatively cheap, about $5 each with gaskets.
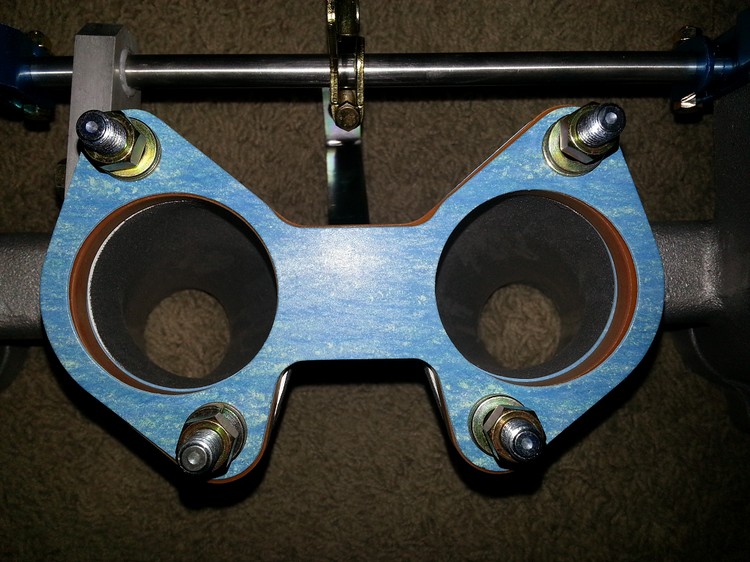
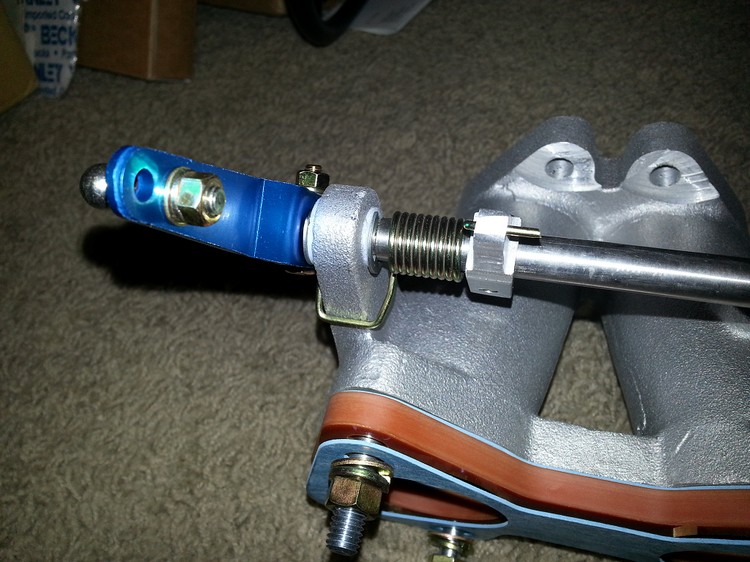
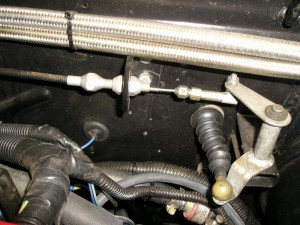
The throttle arm turnbuckle is spring loaded where it connects to the arms on the rod and carbs. Makes it very easy to take on and off. Everything was already adjusted, I didn’t have to make any changes on the arms as they already the same length. The throttle cable setup was a hodgepodge of parts. Lokar cable kit, custom bracket by Savage42, and some other bits.

Unfortunately, I cant find any pictures of the heat shield by itself, but the new one I purchased was by far the best. It mounts to the front of the carbs, and has an adjustable tray underneath. Its a two-piece setup. It was imported from Japan off the yahoo auctions site. The flange up front keeps the hot blast from the radiator shielded away. I plan to run some ducting from under the car, and mount it to the front of the shield. It will then have a blast of cooler outside air coming across the carbs.
Up next – Banzai Runner gets a preliminary coat of paint and finally gets to have some fun out on the road!
Questions about this build? Comments? Discussion here: Widebody 280Z discussion